My Journal

6 Reasons to Buy Secondhand

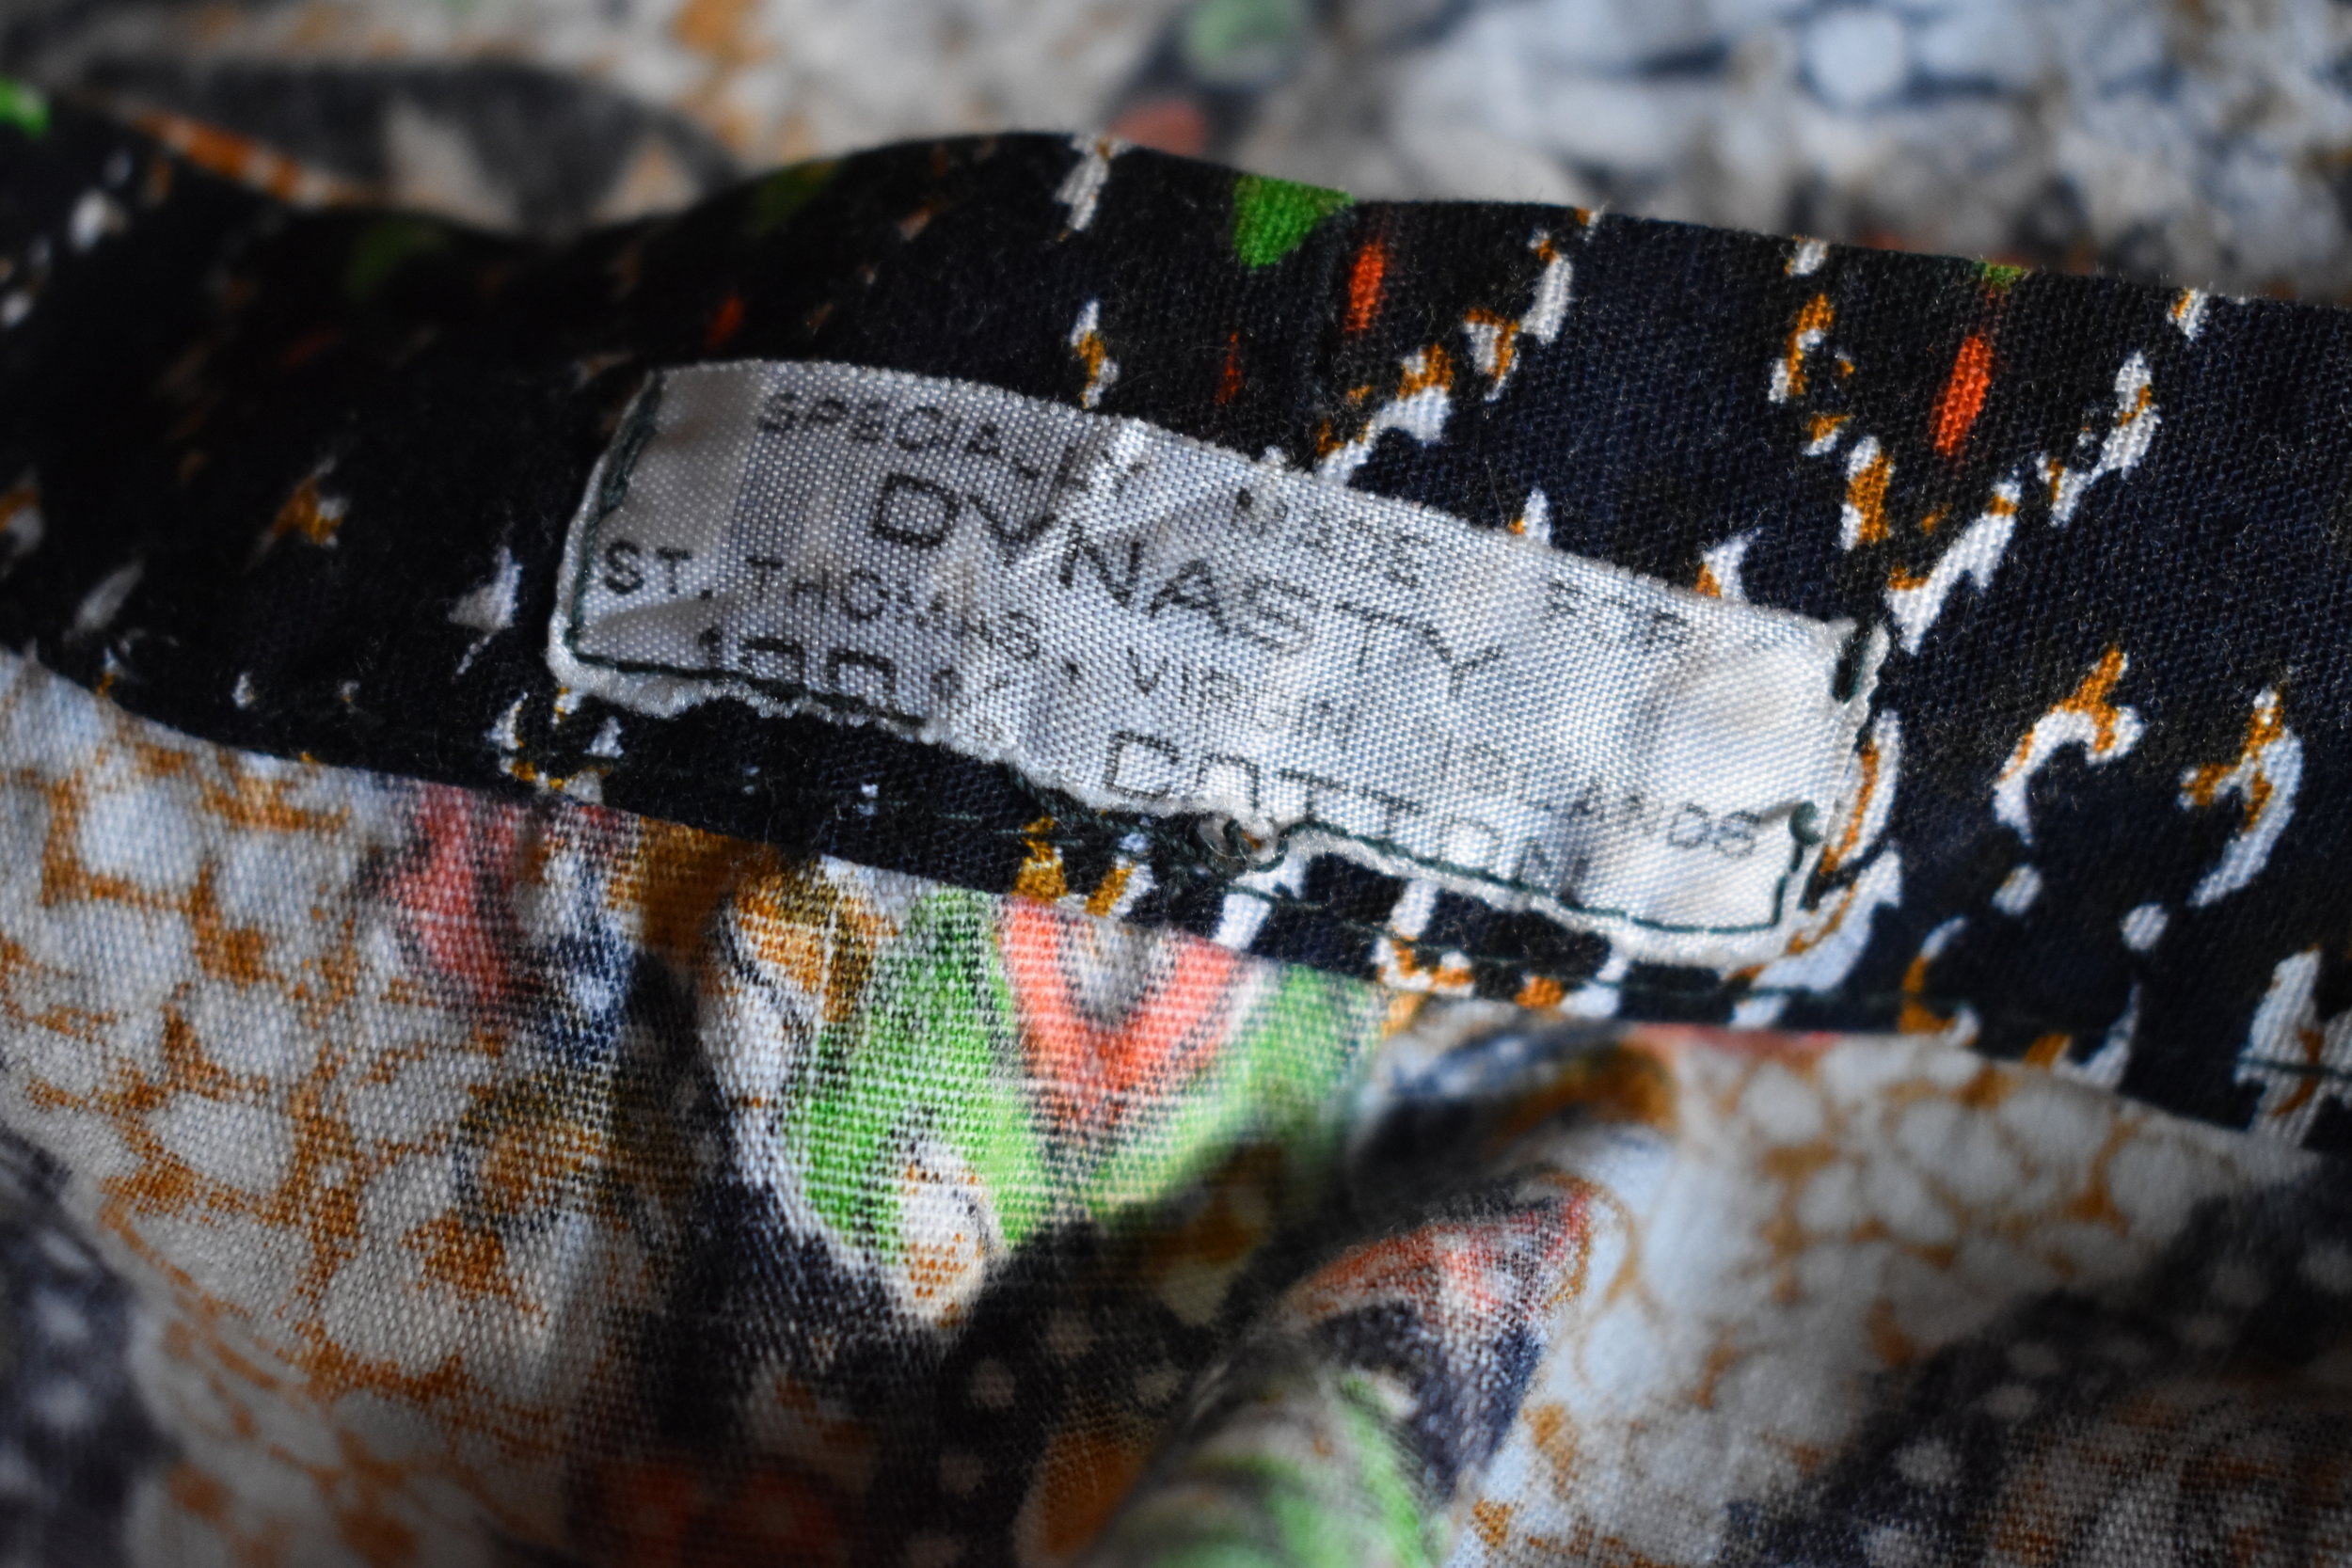
DSC_0220.jpg


1. There's Already Enough Stuff

There is so much stuff already in this world. Like waaaaaay too much stuff. That's why so much of it ends up in landfills and our oceans. Even though manufacturing is continuing at an alarming rate, we don't need to continue to consume new products all the time!

If you really want something new I'd recommend going through sites like Blinq where returned and barely used items are sold. I recently bought a multicooker from Blinq because I wasn't able to find one of the quality I wanted second hand locally.

2. New Life

You have the awesome (and fun!) opportunity to take something that's a little worn, and turn it into something beautiful! I'm currently working on updating a set of 4 chairs that I bought on craigslist. They were a wee bit ugly, but I saw the potential. And a little new paint and upholstery will make them usable for much longer!

3. It's Uniquely Yours

I really don't want someone to be able to walk into my home and know exactly where I bought everything from. Buying second hand often gives you beautiful pieces that aren't the latest season (or decade), so they feel more uniquely yours.

One of my favorite things that I've gotten secondhand is my earthenware dish set. I got it for $100 on craigslist and it came with 8 large plates 6 small plates, 3 serving plates, 8 bowls, 8 mugs, and 2 dutch ovens. Not only was that a freaking STEAL, but I feel like they are irreplaceable!

4. Longevity

I personally feel like many items made decades ago were meant to stand the test of time, that's why they end up in thrift shops 30-70 years later still usable, and yet that IKEA dresser that's 2 years old is completely falling apart. I have baskets, chests, bowls, pots, pans, etc. that are all at least 20 years old. And they can be repaired when they break (unlike that freaking IKEA dresser)

5. Waste Reduction / Diversion

Through donating your used goods (instead of tossing them) and buying second hand, you're diverting waste from landfills. Just because you, or someone else is done with an item, doesn't mean it's lost all it's usefulness. 

6. Money, Honey.

The pure, unadulterated thrill of walking away with an item worth $100 for $8 never gets old! Whether your finding stuff at a thrift store, or through sites like craigslist and nextdoor, it always feels great. Most of my favorite material things are second hand items, and it's probably partially because I didn't have to spend a fortune on them! 


Random Stuff I've gotten second hand: 

Easy Guide to Sourdough Bread

DSC_0092.JPG

I've been consistently making sourdough bread for about 6 months now, and I LOVE it! There's definitely something soothing about working with the dough and having your day be scheduled around it (maybe that's just because I'm a planner though...)

So first things first, sourdough is a time commitment. Because you are using yeast that's growing in its natural, liquid form and you're not kneading. This means you need to tend the bread for about 8 hours before baking it. I like to get mine started on it's first bulk rise before noon so I can get to bed at a decent hour. 

Baking and making sourdough really is a science (or art, if that floats your boat).  It involves exact measurements and temperatures. Don't be scared away by this though. I was a total newbie to bread in general and decided to give sourdough a whirl b/c it's what I wanted.  The results were glorious!

Supplies

Sourdough bread requires some supplies that you may not already have handy. Definitely worth the investment! You can get basically everything you don't have off of breadtopia or amazon. I definitely recommend looking for a dutch oven second hand at goodwill or on craigslist!

1 Dutch Oven - cast iron or ceramic works fine. I have a large and a small ceramic dutch oven that came with my second hand dish set.

2 bread baskets - I have one second hand and two new bread baskets that I got from breadtopia 

1-2 large bowls - you probably already have these, or you can find them secondhand

1 bench knife - I ordered mine from amazon

1 scoring lame, razor blade, or sharp knife - I use one of the blades meant for my saftey razor and just keep it with the baskets in the kitchen

1 thermometer

Ingredients

White flour - I use a combo of white flours. I buy big sacks of Bluebird Flour from Cortez Milling, milled locally in Colorado. While this flour is bleached, unbleached is preferred but not critical. Sometimes I use 100-200g of King Auther's Bread Flour but its too expensive to make the whole loaf with. 

Wheat flour - whatever works, I usually buy this in bulk from Sprouts. 

Salt

Rice flour - you just need a little bit for dusting, you can make due w/o this but I recommend it!

Your sourdough culture


If you don't have a culture

You can make it! I did not do this. A friend at work generously brought me some of her starter which has worked wonderfully for me! If you're lucky enough to know someone who has a good culture, just ask them to set some aside for you the next time they feed it! But if you want to embark on the mission of making your own starter I recommend using King Auther's instructions on how to do so.

If you do have a culture

Ok, your set, you have an awesome culture and are ready to get going! 

DSC_0082.JPG

feeding your culture

Make sure you are taking care of your culture. I like to think of mine as a weird little pet who needs minimal care and attention. I keep mine in the fridge and feed it once a week. You don't want to feed it too close to baking with it. I usually bake on Sundays (leaven made Friday or Saturday) and then feed my culture for the week on Monday. 

  1. Keep at least 50 g of your culture and discard the rest. 
    • When I say discard, I don't mean throw away! Sourdough discard won't be healthy enough to make bread, but you can throw it in pancakes, muffins, or almost anything else! There are lots of recipes you can find online incorporating it. I keep it in a jar in my fridge.
  2. Mix it with 50 g of water, 25 g white flour, 25 g whole wheat flour (or 50 g of a white/whole wheat flour blend)
  3. Place it back in its jar and store so that it has oxygen available. I use one of my beeswax wraps to cover the top of mine, but you could use a jar with a loose lid as well!

Lets bake!

Note: This is a high altitude sourdough recipe. I've tinkered with / combined a few different recipes to adapt this one to the over 5,000 ft elevation of Denver. So if you don't live at a high altitude, you may want to try some adjustments:

  1. Decrease liquid: for each cup, remove 2 to 4 tablespoons.
  2. Decrease baking temperature by 25 degrees F.

Making the leaven

You'll need to make the leaven the night, or two nights before you want to bake your bread. It will need to sit from 12-36 hours before you start working with it, and you will need to figure out what time range works best for your particular culture. I find that mine likes about 18 hours of rest, and it works well up to 42 hours after that. 

  1. Mix 1 Tablespoon of your starter with 200g warm (~80 degree) water, 100g white flour, and 100g whole wheat flour. 
  2. Cover with a towel for 12-36 hours before use 

*Note: you know your leaven is ready by conducting a float test. You add a spoonful of leaven to warm water and see if it floats. If it does, then its ready! If it doesn't , it may not be. For a more detailed explanation of a float test, see here. If were being totally honest, I almost never conduct a float test. I always make my leaven in the same bowl and so I've learned how much it should rise before using it.

Making the Dough

Ingredients:

  1. 700 g of warm (~80 degree)
  2. 200 g readied Leaven
  3. 900 g white bread flour
  4. 100 g whole wheat flour
  5. 20 g salt

Instructions:

  1. Pour all 700 g of warm water into a large bowl. Add 200 g of your leaven to the water. Mix until the leaven is evenly dispursed.
  2.  Add 900 g of white bread flour and 100 g whole wheat flour to the mix. Mix with a wooden spoon / your hands until there is no dry flour left.
  3. Cover the bowl with a towel and let the dough rest for 25-45 min. This is the hydration phase.
  4. When your resting phase is over, mix 60 g warm (~80 degree) water with 20 g of salt. Mix until salt is completely dissolved.
  5. Add the salt-water solution to the dough. Fold the dough over on itself repeatedly until the dough is relatively smooth. Now your dough is ready for its first bulk rise.

Bulk Rise I

  1. If possible, place the bowl with your dough in it in a warm (75+) location.
    • I place my dough in my oven (turned off) with a pot of boiling water to warm it and add humidity (I generally warm the pot up a few times throughout). This keeps the dough warm enough to finish rising in 3-4 hours.
    • If you can't find a warm enough location, that's ok. You just need to led the dough rise longer. if you're working with a 60 degree location you will need to let it rise for about 8 hours. This can sometimes result in bread that is more tangy and sour! You don't need to turn every 30 min if this is the case, I would just let it rise overnight.
  2. Turn the dough every 30 min for 3-4 hours
    • Turning the dough can also be called folding it. Wet your hand, and place your hand under the dough, separating it from the bottom of the bowl. Fold the bottom layer of the dough up and over the top. Do this 3-4 times every time you turn it. Here's a video of what it should look like.
    • If you want to add rosemary or any other delicious things to your sourdough, turning is the best time!

You know your dough is done with it's bulk rise when it has grown by about 20% and will be lighter/airier.

Dough Shaping + Bench rest

  1. Pour your dough onto an unfloured work surface. Lightly flour the surface of the dough. 
    1. Depending on the size of your dutch oven you may cut the dough in half and shape two smaller pieces. I have a very large dutch oven that can bake the dough whole.
  2. There are two strategies that I have used for shaping: the tuck method and the roll method
    1. Tuck method - basically tuck the dough in on itself so that the floured surface of the dough is sealed on the outside of the loaf. Here's a video of what this should look like.
    2. Roll method - you use your bench knife to push and pull the dough around the table, rolling it to seal the outside instead of tucking it with your hands. Here's a video of what it looks like.
  3. Dust the surface of the dough with flour and cover with a towel, then leave it to rest for 2-30 min (bench rest)

Final shaping + Bulk rise II

This process adds strength to the loaf.

  1. Use your bench knife to flip the dough over (floured side on bottom). 
  2. Gently stretch the dough out a bit, don't tear it in any way.
  3. Take the portion of the dough closest to you and fold it over the middle of the dough. Fold the right 3rd of the dough over the middle. Fold the left 3rd and fold it over the middle. Then stretch the portion of the dough furthest from you and fold it over the middle. 
  4. Take the dough nearest to you and wrap it up and over, while rolling the whole loaf away from you. The top should be smooth and round with all the seams underneath. 
  5. Line 1 (or 2) bread baskets with lint-free towels and dust with some rice flour (regular flour is fine if thats all you have)
  6. Use the bench knife to lift the round off the work surface and place it in the basket, smooth side down, seams up.
  7. Place your basket in a warm place (75+ degrees) and let rest for 3-4 hours
    1. If in a cooler place let rise longer.
    2. You can leave them in the fridge for up to 12 hours if you need to (I've had to do this overnight before). If you do this, let the loaves rise back to room temp before baking.

baking the bread

  1. Preheat oven to 450 degrees, place your dutch oven w/ lid into the oven during the preheat.
  2. Dust the surface of your loaf with flour (this will eventually be the bottom of the loaf)
  3. Take the dutch oven out of the oven and place on the stove
  4. Pour your dough into the hot dutch oven, try to center it if possible.
  5. Score your bread with your lame (or razor or sharp knife)
  6.  Put the lid back on, and place in the oven for 20 minutes. Remove the lid and let it bake for another 25 min or until the top is dark brown and crispy.
  7. When you remove it from the oven, allow it to cool with the lid off for 20 min before removing from the dutch oven. If you leave the lid on, water will collect and dampen the top of the bread.
DSC_0090.JPG

Zero Waste in NYC

Photo taken by Gary Sheer

Photo taken by Gary Sheer

I spent a little over a week in New York City recently. We visited friends, saw the sights, went to museums, and ate tons of delicious food!  But let me tell you, I have gained a completely new level of respect for those of you in the community who live in NYC (check out Laura from Trash is for Tossers, for an amazing example).  I produced more trash in a week there than in the previous seven months of attempting to go zero waste!

I had a much tougher time getting people to listen to my "no straw, please!" request, and food at restaurants would appear wrapped in all kinds of nonsense before I knew what was happening. 

I attribute part of this to the fact that we were eating out A LOT.  At home in Denver almost all of our meals are home made, and it's easy to bring a coffee mug out for beverages.   But being out an about and not wanting to take up our kind friends' tiny kitchens, we were eating out for almost every meal. 

I'm also not quite up to the NYC speed of things, maybe if I had a little more umph behind my request and looked a little less like I fell out of the CO mountains I'd have some more success. Then again, maybe it is just legitimately way harder to make this happen in the city. 

So my attempts ins NYC did not go so swimmingly, I guess I'll have to give it another shot soon! 

However, I was taken to one zero-waste friendly restaurant by a friend! It was an awesome, small Pho joint in Brooklyn. The only non-zero waste friendly item was the paper napkin with the place setting. However, they had reusable chopsticks (my friend had legitimately not seen that anywhere in the city before), nothing came in plastic/styrofoam, and there wasn't a straw in sight! Also the waitress there was outrageously nice and helpful.

The name of this glorious place was Falansai, and I would highly recommend it to anyone interested in a more minimal-waste dining experience in NYC. They are also vegan and vegetarian friendly!

Falansia, 112 Harrison Place, Brooklyn, NY 11237

Falansia, 112 Harrison Place, Brooklyn, NY 11237