zero waste kitchen

Easy Guide to Sourdough Bread

DSC_0092.JPG

I've been consistently making sourdough bread for about 6 months now, and I LOVE it! There's definitely something soothing about working with the dough and having your day be scheduled around it (maybe that's just because I'm a planner though...)

So first things first, sourdough is a time commitment. Because you are using yeast that's growing in its natural, liquid form and you're not kneading. This means you need to tend the bread for about 8 hours before baking it. I like to get mine started on it's first bulk rise before noon so I can get to bed at a decent hour. 

Baking and making sourdough really is a science (or art, if that floats your boat).  It involves exact measurements and temperatures. Don't be scared away by this though. I was a total newbie to bread in general and decided to give sourdough a whirl b/c it's what I wanted.  The results were glorious!

Supplies

Sourdough bread requires some supplies that you may not already have handy. Definitely worth the investment! You can get basically everything you don't have off of breadtopia or amazon. I definitely recommend looking for a dutch oven second hand at goodwill or on craigslist!

1 Dutch Oven - cast iron or ceramic works fine. I have a large and a small ceramic dutch oven that came with my second hand dish set.

2 bread baskets - I have one second hand and two new bread baskets that I got from breadtopia 

1-2 large bowls - you probably already have these, or you can find them secondhand

1 bench knife - I ordered mine from amazon

1 scoring lame, razor blade, or sharp knife - I use one of the blades meant for my saftey razor and just keep it with the baskets in the kitchen

1 thermometer

Ingredients

White flour - I use a combo of white flours. I buy big sacks of Bluebird Flour from Cortez Milling, milled locally in Colorado. While this flour is bleached, unbleached is preferred but not critical. Sometimes I use 100-200g of King Auther's Bread Flour but its too expensive to make the whole loaf with. 

Wheat flour - whatever works, I usually buy this in bulk from Sprouts. 

Salt

Rice flour - you just need a little bit for dusting, you can make due w/o this but I recommend it!

Your sourdough culture


If you don't have a culture

You can make it! I did not do this. A friend at work generously brought me some of her starter which has worked wonderfully for me! If you're lucky enough to know someone who has a good culture, just ask them to set some aside for you the next time they feed it! But if you want to embark on the mission of making your own starter I recommend using King Auther's instructions on how to do so.

If you do have a culture

Ok, your set, you have an awesome culture and are ready to get going! 

DSC_0082.JPG

feeding your culture

Make sure you are taking care of your culture. I like to think of mine as a weird little pet who needs minimal care and attention. I keep mine in the fridge and feed it once a week. You don't want to feed it too close to baking with it. I usually bake on Sundays (leaven made Friday or Saturday) and then feed my culture for the week on Monday. 

  1. Keep at least 50 g of your culture and discard the rest. 
    • When I say discard, I don't mean throw away! Sourdough discard won't be healthy enough to make bread, but you can throw it in pancakes, muffins, or almost anything else! There are lots of recipes you can find online incorporating it. I keep it in a jar in my fridge.
  2. Mix it with 50 g of water, 25 g white flour, 25 g whole wheat flour (or 50 g of a white/whole wheat flour blend)
  3. Place it back in its jar and store so that it has oxygen available. I use one of my beeswax wraps to cover the top of mine, but you could use a jar with a loose lid as well!

Lets bake!

Note: This is a high altitude sourdough recipe. I've tinkered with / combined a few different recipes to adapt this one to the over 5,000 ft elevation of Denver. So if you don't live at a high altitude, you may want to try some adjustments:

  1. Decrease liquid: for each cup, remove 2 to 4 tablespoons.
  2. Decrease baking temperature by 25 degrees F.

Making the leaven

You'll need to make the leaven the night, or two nights before you want to bake your bread. It will need to sit from 12-36 hours before you start working with it, and you will need to figure out what time range works best for your particular culture. I find that mine likes about 18 hours of rest, and it works well up to 42 hours after that. 

  1. Mix 1 Tablespoon of your starter with 200g warm (~80 degree) water, 100g white flour, and 100g whole wheat flour. 
  2. Cover with a towel for 12-36 hours before use 

*Note: you know your leaven is ready by conducting a float test. You add a spoonful of leaven to warm water and see if it floats. If it does, then its ready! If it doesn't , it may not be. For a more detailed explanation of a float test, see here. If were being totally honest, I almost never conduct a float test. I always make my leaven in the same bowl and so I've learned how much it should rise before using it.

Making the Dough

Ingredients:

  1. 700 g of warm (~80 degree)
  2. 200 g readied Leaven
  3. 900 g white bread flour
  4. 100 g whole wheat flour
  5. 20 g salt

Instructions:

  1. Pour all 700 g of warm water into a large bowl. Add 200 g of your leaven to the water. Mix until the leaven is evenly dispursed.
  2.  Add 900 g of white bread flour and 100 g whole wheat flour to the mix. Mix with a wooden spoon / your hands until there is no dry flour left.
  3. Cover the bowl with a towel and let the dough rest for 25-45 min. This is the hydration phase.
  4. When your resting phase is over, mix 60 g warm (~80 degree) water with 20 g of salt. Mix until salt is completely dissolved.
  5. Add the salt-water solution to the dough. Fold the dough over on itself repeatedly until the dough is relatively smooth. Now your dough is ready for its first bulk rise.

Bulk Rise I

  1. If possible, place the bowl with your dough in it in a warm (75+) location.
    • I place my dough in my oven (turned off) with a pot of boiling water to warm it and add humidity (I generally warm the pot up a few times throughout). This keeps the dough warm enough to finish rising in 3-4 hours.
    • If you can't find a warm enough location, that's ok. You just need to led the dough rise longer. if you're working with a 60 degree location you will need to let it rise for about 8 hours. This can sometimes result in bread that is more tangy and sour! You don't need to turn every 30 min if this is the case, I would just let it rise overnight.
  2. Turn the dough every 30 min for 3-4 hours
    • Turning the dough can also be called folding it. Wet your hand, and place your hand under the dough, separating it from the bottom of the bowl. Fold the bottom layer of the dough up and over the top. Do this 3-4 times every time you turn it. Here's a video of what it should look like.
    • If you want to add rosemary or any other delicious things to your sourdough, turning is the best time!

You know your dough is done with it's bulk rise when it has grown by about 20% and will be lighter/airier.

Dough Shaping + Bench rest

  1. Pour your dough onto an unfloured work surface. Lightly flour the surface of the dough. 
    1. Depending on the size of your dutch oven you may cut the dough in half and shape two smaller pieces. I have a very large dutch oven that can bake the dough whole.
  2. There are two strategies that I have used for shaping: the tuck method and the roll method
    1. Tuck method - basically tuck the dough in on itself so that the floured surface of the dough is sealed on the outside of the loaf. Here's a video of what this should look like.
    2. Roll method - you use your bench knife to push and pull the dough around the table, rolling it to seal the outside instead of tucking it with your hands. Here's a video of what it looks like.
  3. Dust the surface of the dough with flour and cover with a towel, then leave it to rest for 2-30 min (bench rest)

Final shaping + Bulk rise II

This process adds strength to the loaf.

  1. Use your bench knife to flip the dough over (floured side on bottom). 
  2. Gently stretch the dough out a bit, don't tear it in any way.
  3. Take the portion of the dough closest to you and fold it over the middle of the dough. Fold the right 3rd of the dough over the middle. Fold the left 3rd and fold it over the middle. Then stretch the portion of the dough furthest from you and fold it over the middle. 
  4. Take the dough nearest to you and wrap it up and over, while rolling the whole loaf away from you. The top should be smooth and round with all the seams underneath. 
  5. Line 1 (or 2) bread baskets with lint-free towels and dust with some rice flour (regular flour is fine if thats all you have)
  6. Use the bench knife to lift the round off the work surface and place it in the basket, smooth side down, seams up.
  7. Place your basket in a warm place (75+ degrees) and let rest for 3-4 hours
    1. If in a cooler place let rise longer.
    2. You can leave them in the fridge for up to 12 hours if you need to (I've had to do this overnight before). If you do this, let the loaves rise back to room temp before baking.

baking the bread

  1. Preheat oven to 450 degrees, place your dutch oven w/ lid into the oven during the preheat.
  2. Dust the surface of your loaf with flour (this will eventually be the bottom of the loaf)
  3. Take the dutch oven out of the oven and place on the stove
  4. Pour your dough into the hot dutch oven, try to center it if possible.
  5. Score your bread with your lame (or razor or sharp knife)
  6.  Put the lid back on, and place in the oven for 20 minutes. Remove the lid and let it bake for another 25 min or until the top is dark brown and crispy.
  7. When you remove it from the oven, allow it to cool with the lid off for 20 min before removing from the dutch oven. If you leave the lid on, water will collect and dampen the top of the bread.

DSC_0090.JPG

Your Sponge is Gross

DSC_0115.JPG

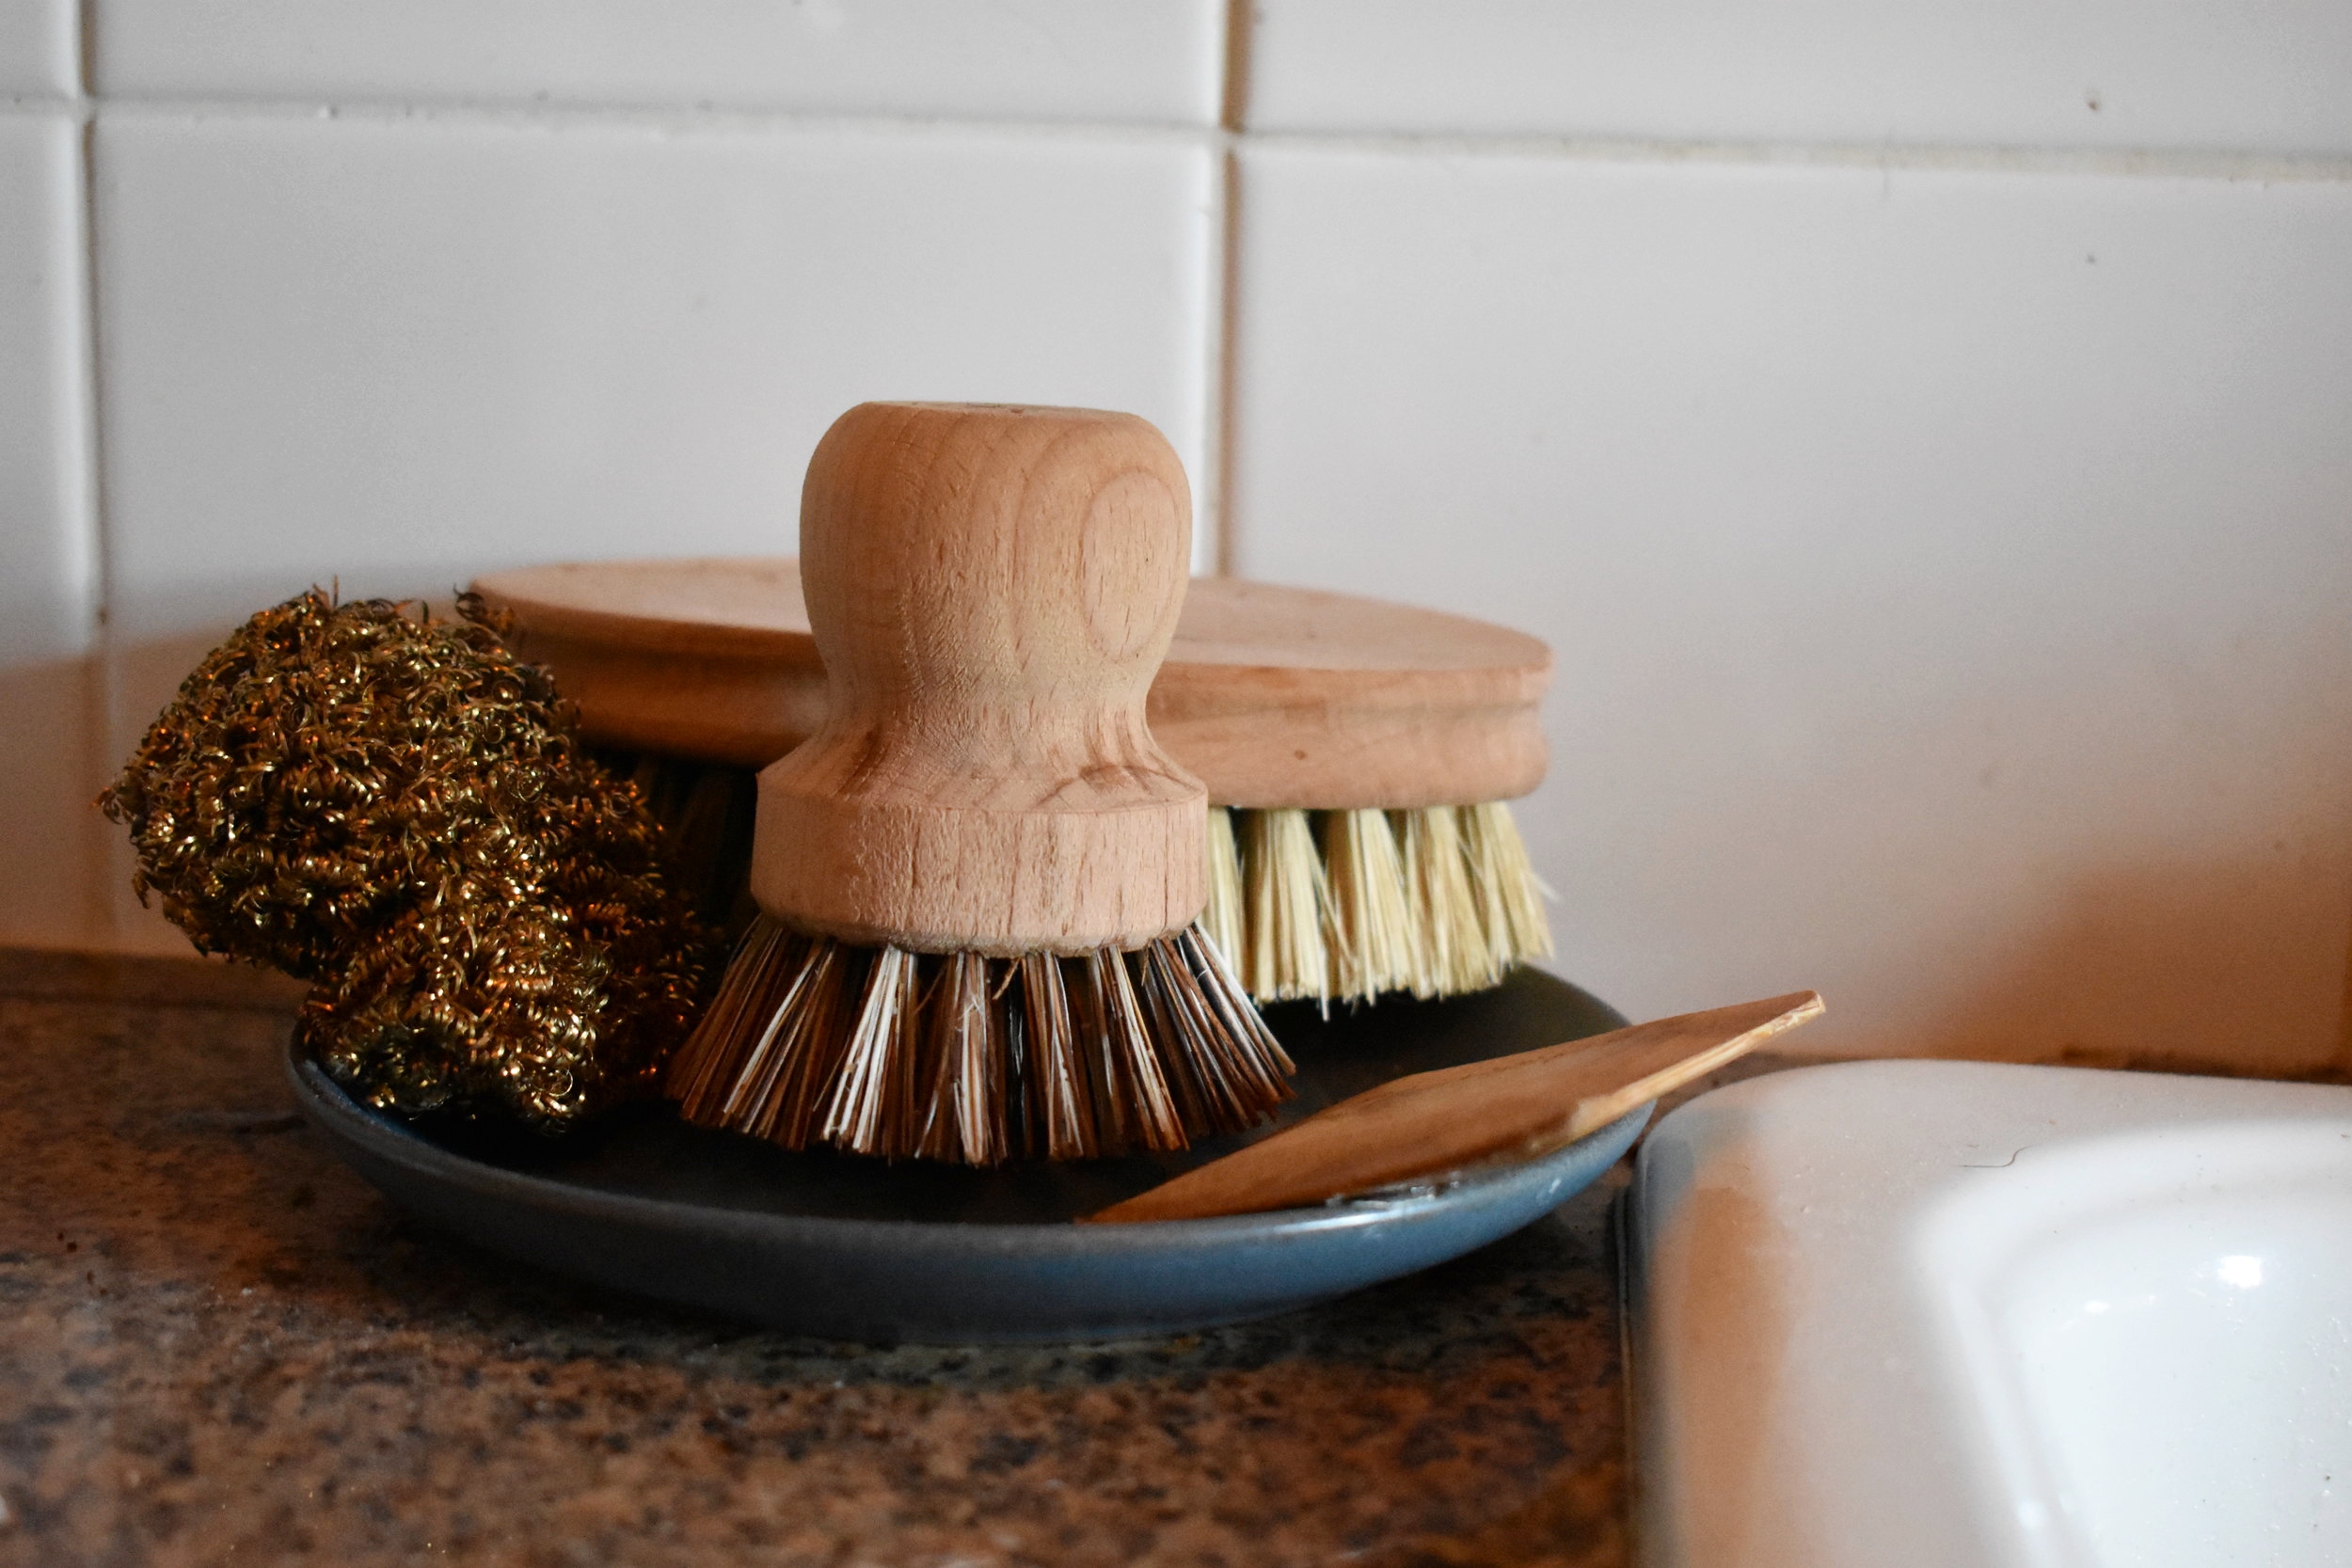
There's a lot to be done to reduce waste in the kitchen. But one of the first places you can start is ditching your sponge for some natural for natural brushes and scrapers. 

Your sponge is gross.

Don't worry, it's not personal. Everyone's sponge is gross. 

According to a recent study published in the distinguished scientific journal Nature there are up to forty-five billion microbes per square centimeter on your sponge. As NPR put it "that's like stuffing all the people who live in Manhattan into the Rockefeller ice rink."

However the line that really got me in this paper was that "kitchen environments host more microbes than toilets ... mainly due to the contribution of kitchen sponges."

Yup, your kitchen sponge is what makes your kitchen harbor more microbes (mostly bacteria) than your bathroom.

But before you freak out, the bacteria that would actually make you ill (pathogenic bacteria) were very uncommon and made up only about 1% of the bacteria found on sponges. So in all likelihood, you are probably not going to get really sick from your sponge, especially if you clean and replace it often. 

But shouldn't there be a better way than microwaving and throwing out a plastic sponge every few weeks to prevent dangerous bacteria from building up? Yes, there should be (especially for those of us without a microwave!).

Ok, my sponge is gross. are brushes actually cleaner?

DSC_0136.jpg

A quick google search will lead you to plenty of sites saying that "dish brushes are more sanitary than sponges." But I haven't been able to find any science to really back this up. So I'll give you my personal argument for them, but none of this was tested in a lab.

Ok, so science has held up that sponges are a hotbed for bacterial activity, and although pathogenic bacteria are rare, they can still occur. This is especially common when sponges are used on items that came into contact raw meat.  It is recommended that sponges are cleaned daily and replaced every 1-2 weeks. This is a significant amount of plastic just to clean your dishes.

Dish brushes also probably harbor lots of bacteria simple because they are constantly coming into contact with food and humans. However, since dish brushes dry much more quickly and easily than sponges, they are not as iddlic for many bacteria, which prefer warm, moist environments. So there is a good chance that dish brushes are less habitable than sponges for bacteria. 

However, from a zero waste perspective all that sanitation is really just icing on the cake.  Dish brushes are just as effective at cleaning as sponges, last longer, and are completely plastic free! You can upcycle them when the bristles are worn out, burn them, or just throw them in the compost pile.

What Brushes are the best?

Stay away from plastic dish brushes which are just as bad as kitchen sponges for the earth. The number one thing to look for is that your brush is made out of natural, biodegradable materials. Some common materials are:

  • stainless steel
  • bamboo
  • palm fiber
  • Tampico Fiber
  • boar or horse hair

I personally get most of my brushes from Redecker and Klean Kanteen. They both make high quality products and follow strict labor regulations.

essentials:

  1. Soft Dish Brush - this guy has a long handle and is what I use the most
  2.  Bamboo Pot brush - this brush has tougher bristles, so it works on those caked on items
  3.  Bamboo/Steal Bottle Brush - if you are making the zero waste switch, you are going to have lots of jars, bottles, and reusable coffee cups that need cleaning and this brush will become your best buddy.
  4. Bamboo Pot Scraper - this little hand piece of bamboo is really helpful for getting off that caked-on, doughy, or stuck food. 

optionals: 

  1. Vegetable Brush - I like to have a separate brush for veggies
  2. Copper Scrubber - this is the replacement for steel wool, and is recyclable after use
  3. Straw Cleaner - if you're going the reusable straw route, I definitely recommend these! I got mine from Klean Kanteen, but you can find them on Amazon too.
DSC_0027.jpg

You still need to clean your brushes

Just because dish brushes probably harbor less bacteria than sponges doesn't mean they don't need to be cleaned. So follow these guidelines to keep your brushes nice and sanitary!

Always remove food particles that lodge in bristles by holding the brush under running water until all particles are gone, allow to dry.

Daily(ish): Remove any greasy, sticky residue by rubbing a few drops of dish soap into the bristles and the handle. I sometimes rub two brushes together or use my hand. Rinse under hot, running water. Hang to dry. Some people run their brushes through the dishwasher, but I don't have one so I haven't tried this.

Weekly: If you use your brushes every day, then sanitize once a week. If you use them less, then maybe once every 2-3 (but keep them dry when you're not using them!). Soak the bristles in vinegar (white or apple cider) for 1-2 hours. Rinse and hang to dry.


Zero Waste Starter Kit

DSC_0004.JPG

So, how do you go zero waste? I quickly realized that the process of going zero waste requires some purchasing, some DIYing, and a lot of commitment. So I decided to fashion myself a zero waste starter kit.  This doesn't handle everything but it takes a big step in the right direction, and most of it can be purchased on Amazon.com

Drinking:

DSC_0017.JPG

I prefer brands like Klean KanteenTM and Hydro FlaskTM for these products because they both have high ecological and humanitarian ethics and limit the plastic they use. Klean Kanteen even offers a completely plastic free water bottle!

1. Reusable water bottle

I gave up on bottled water a long time ago, so I already had a 64 fl oz Klean Kanteen bottle

2. Reusable coffee cups

I use a 20 fl oz insulated Hydro Flask Coffee cup and a 16 oz insulated Klean Kanteen insulated tumbler

These keep my coffee, tea, or anything else I want hot or cold almost all day!  When I order coffee out I hand the barista my mug (without the top), ask for it to be rinsed if it’s necessary, and enjoy my drink the rest of the day!  

3. Stainless steel drinking straws

I would go with Klean Kanteen's Stainless Steel Straws, they are the only one's I've been able to find that come with a cleaning brush made out of natural fibers, not plastic! 

I use these for everything from smoothies to booze to chocolate milk!  

Kitchen:

DSC_0041.JPG

1. Paperless Towels

You can DIY these very easily, I chose not to for the time being but probably will soon! I bought a cute set of 10 of these for $19.  Two bucks a pop, but when you think about how much you may spend on paper towels, it's definitely cost effective.

2. Bamboo Pot brush 

This guy works just as well as any sponge, and lasts longer too! Set me back $8.

3. Bamboo/Steal Bottle Brush 

Natural fiber brushes are going to be some of your best friends in this transition. Not only are they necessary for cleaning in the kitchen (sponge replacements). But you really want them for all of your reusable cups and bottles!

RedeckerTM offers some off of Amazon, and Klean Kanteen has a great set as well!

4. Bamboo Pot Scraper 

These handy little guys can scrape just about anything off the bottom of a pot, I’ve yet to meet their match. Until I do these will be my replacement for steel wool and sponge scrubbers. 

Groceries:

Part of transitioning to zero waste is buying lots of fresh produce, and buying in bulk. Grocery stores provide plastic bags for these, but having nice organic cotton bags works even better. 

DSC_0013.JPG

1. Organic Cotton Muslin Produce bag 

I bought a set of 7 of these for about $15. I use these for produce and lots of bulk items (coffee, popcorn, lentils, etc.)

2. Organic Cotton Mesh Produce bags 

These were a huge game changer for me. I use them for bulkier items like apples, oranges, and potatoes that the muslin ones are just too small for. I got a set of 6 for about $17

3. Reusable grocery bags

I feel like this one is sort of a no brainer. Most of us know that plastic grocery bags are wasteful, and these reusable ones are very widely available.  You should be able to buy some at your local grocery store for under $5.

The biggest leap to make with the reusable bags is habit. I keep a bag of them in my car all the time, and have a basket by our front door for them as well.

Bathroom:

DSC_0068.JPG

1. Plant based toothbrush 

I bought a set of four of these for about $15.00.  They are completely plant based, as is the packaging. They are pretty plain and so I drew an A and a P on them so my boyfriend and I could tell the difference between ours.

Plastic #5 toothbrush - Before switching to bamboo and natural fiber, I had started using this 100% recycled plastic #5 toothbrush from PreserveTM.  They can be bought in many health food stores and also returned directly to the company for complete recycling. While this is a great system, attempting to eliminate all plastic use is ideal, so bamboo would be my more highly recommended product.

My order from Amazon totaled $111.70, and I already had my reusable water and coffee containers.  I was able to make this purchase all at one time, but you could certainly spread it out if finances demanded.  There was some disposable packaging that came with these items which I wasn’t thrilled about. Next time I make an order I will weigh what can't be recycled and report it here.


This post contains affiliate links. As always, all thoughts and opinions are my own.