DIY

DIY Vanilla Lavender Bath Bombs

DSC_0021.jpg

So my cousin, aka my best friend, LOVES Lush's bath bombs.  And to be fair, I am a huge fan of lush and the products they put out. However, I figured I could make these on my own.  And with Galentine's day coming up (February 13th!) I knew I had to make a zero waste treat for my girlfriends!

Ingredients:

  • 1 cup Baking Soda
  • 1/2 cup Citric Acid
    • Citric acid is a weak acid that naturally occurs in citric fruits.  It is responsible for the fizzing of the bath bomb. I bought mine in the bulk spice section at Sprouts.
  • 1/2 cup Epsom Salt or table salt
  • 2 teaspoons olive oil or sweet almond oil
  • 2 teaspoons witch hazel or water
  • 1 teaspoon vanilla extract or water
  • 20-30 drops lavender essential oil
    • You can use whatever essential oils you want, I just like lavender because of its calming/ soothing scent
  • 1-2 teaspoons dried lavender buds (optional)
    • you can either add these in with the dry ingredients or sprinkle on the bottom of your mold before you start and they will come out on top of the bath bomb
  • Some sort of mold: silicone molds, ice cube trays, cupcake tins, etc.
    • if using a tray or pan, grease with oil before hand (not butter)

Instructions:

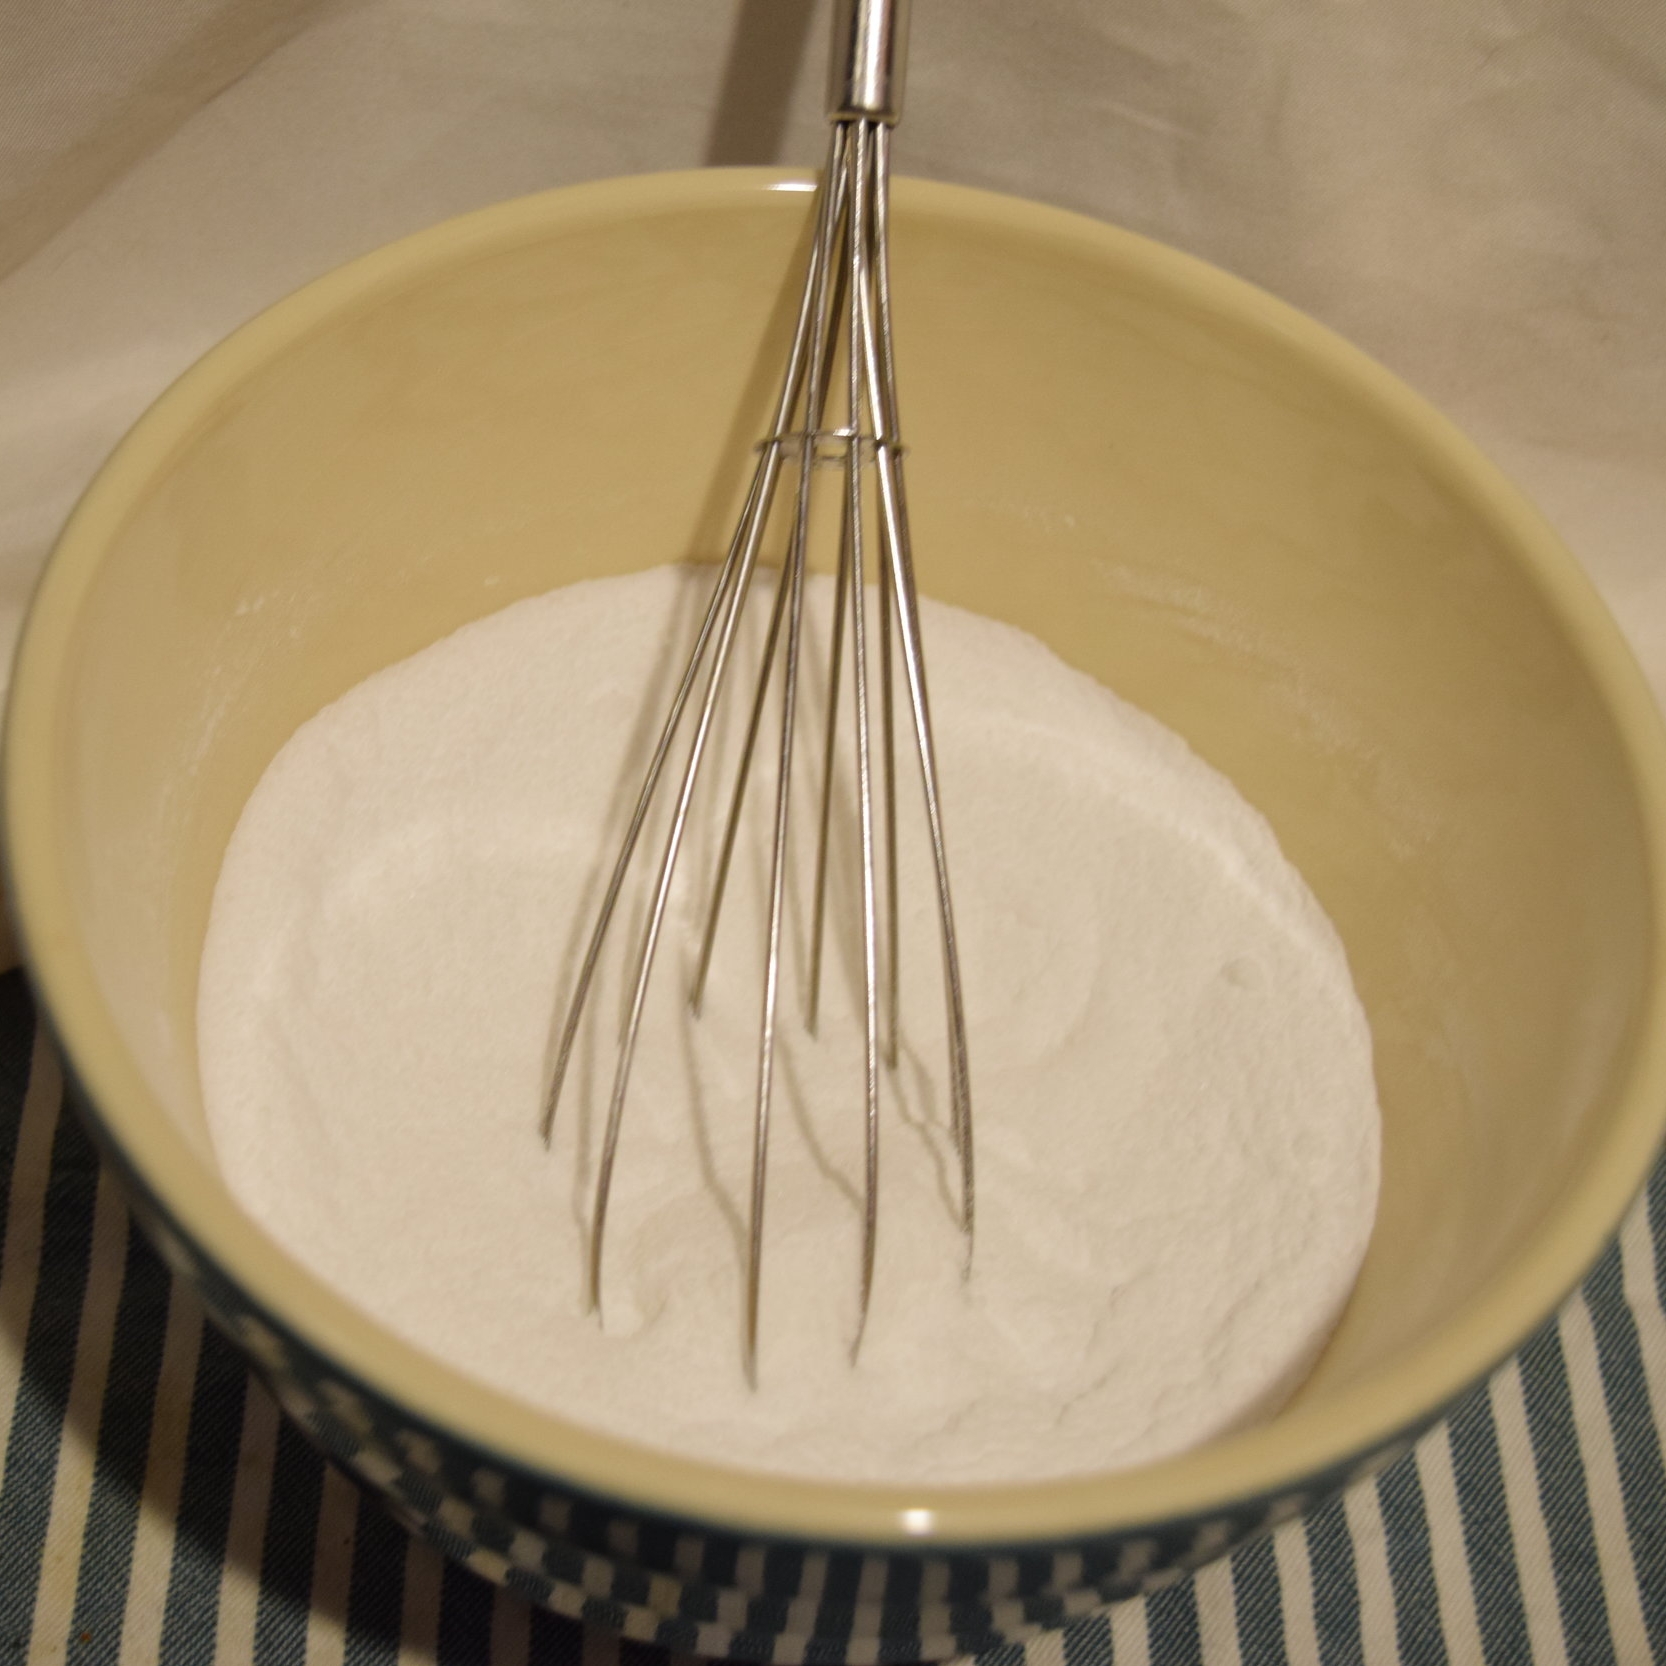
  1. Combine dy ingredients (baking soda, citric acid, and epsom salt, lavender buds) into a bowl and whisk together
  2. In a separate bowl, combine the wet ingredients (olive oil, witch hazel, vanilla extract, essential oil) and whisk until will mixed
  3. Pour the wet ingredients into the dry ones and very quickly mix with your hands.
  4. At this point the mixture should hold together when you squeeze it. If it doesn't, add some more witch hazel or spritz with water.
  5. Press the mixture firmly into your molds and let it sit out for 24-48 hours or until hardened (48 hours is better)
    1. These will continue to puff up over the course of the next few hours (it will look like you have little white muffins), just press them down with your fingers when they do!
  6. Once removed, store in airtight container and use within 2 months!

To use:  Place into your warm bath as you get in it and enjoy the fizzy, vanilla-lavender glory!
Homemade Coconut Oil Shaving Cream

When I first started shaving, it became quickly apparent that I was not only sensitive to the traditional foaming shaving creams, but actually allergic to them.  My legs would rash and become uncontrollably itchy. I fell asleep in school a few times from taking bennydryl to calm the reaction down.  So it didn't take long for my mom to help me find some alternative options. There weren't really any health food stores near us at the time, so I started using soap and conditioner with no problems, and for years that's what I shaved with.

 As some new stores came into town (Sprouts and Trader Joe's specifically), we found some different, more natural products like Dr. Bronner's Shaving Soaps and Trader Joe's Honey Mango Shave Cream.  I used these on and off into and out of college, but now that I'm going zero waste, these won't cut it anymore because the packaging is not recyclable.

So after some internet research, and some experimentation with different recipes, here is my coconut shaving cream recipe! While there are quite a few more ingredients and steps than any of my previous body care products, I promise this is still easier to make than making a batch of cookies (even the kind that comes out of the box) so don't be intimidated!

INGREDIENTS:

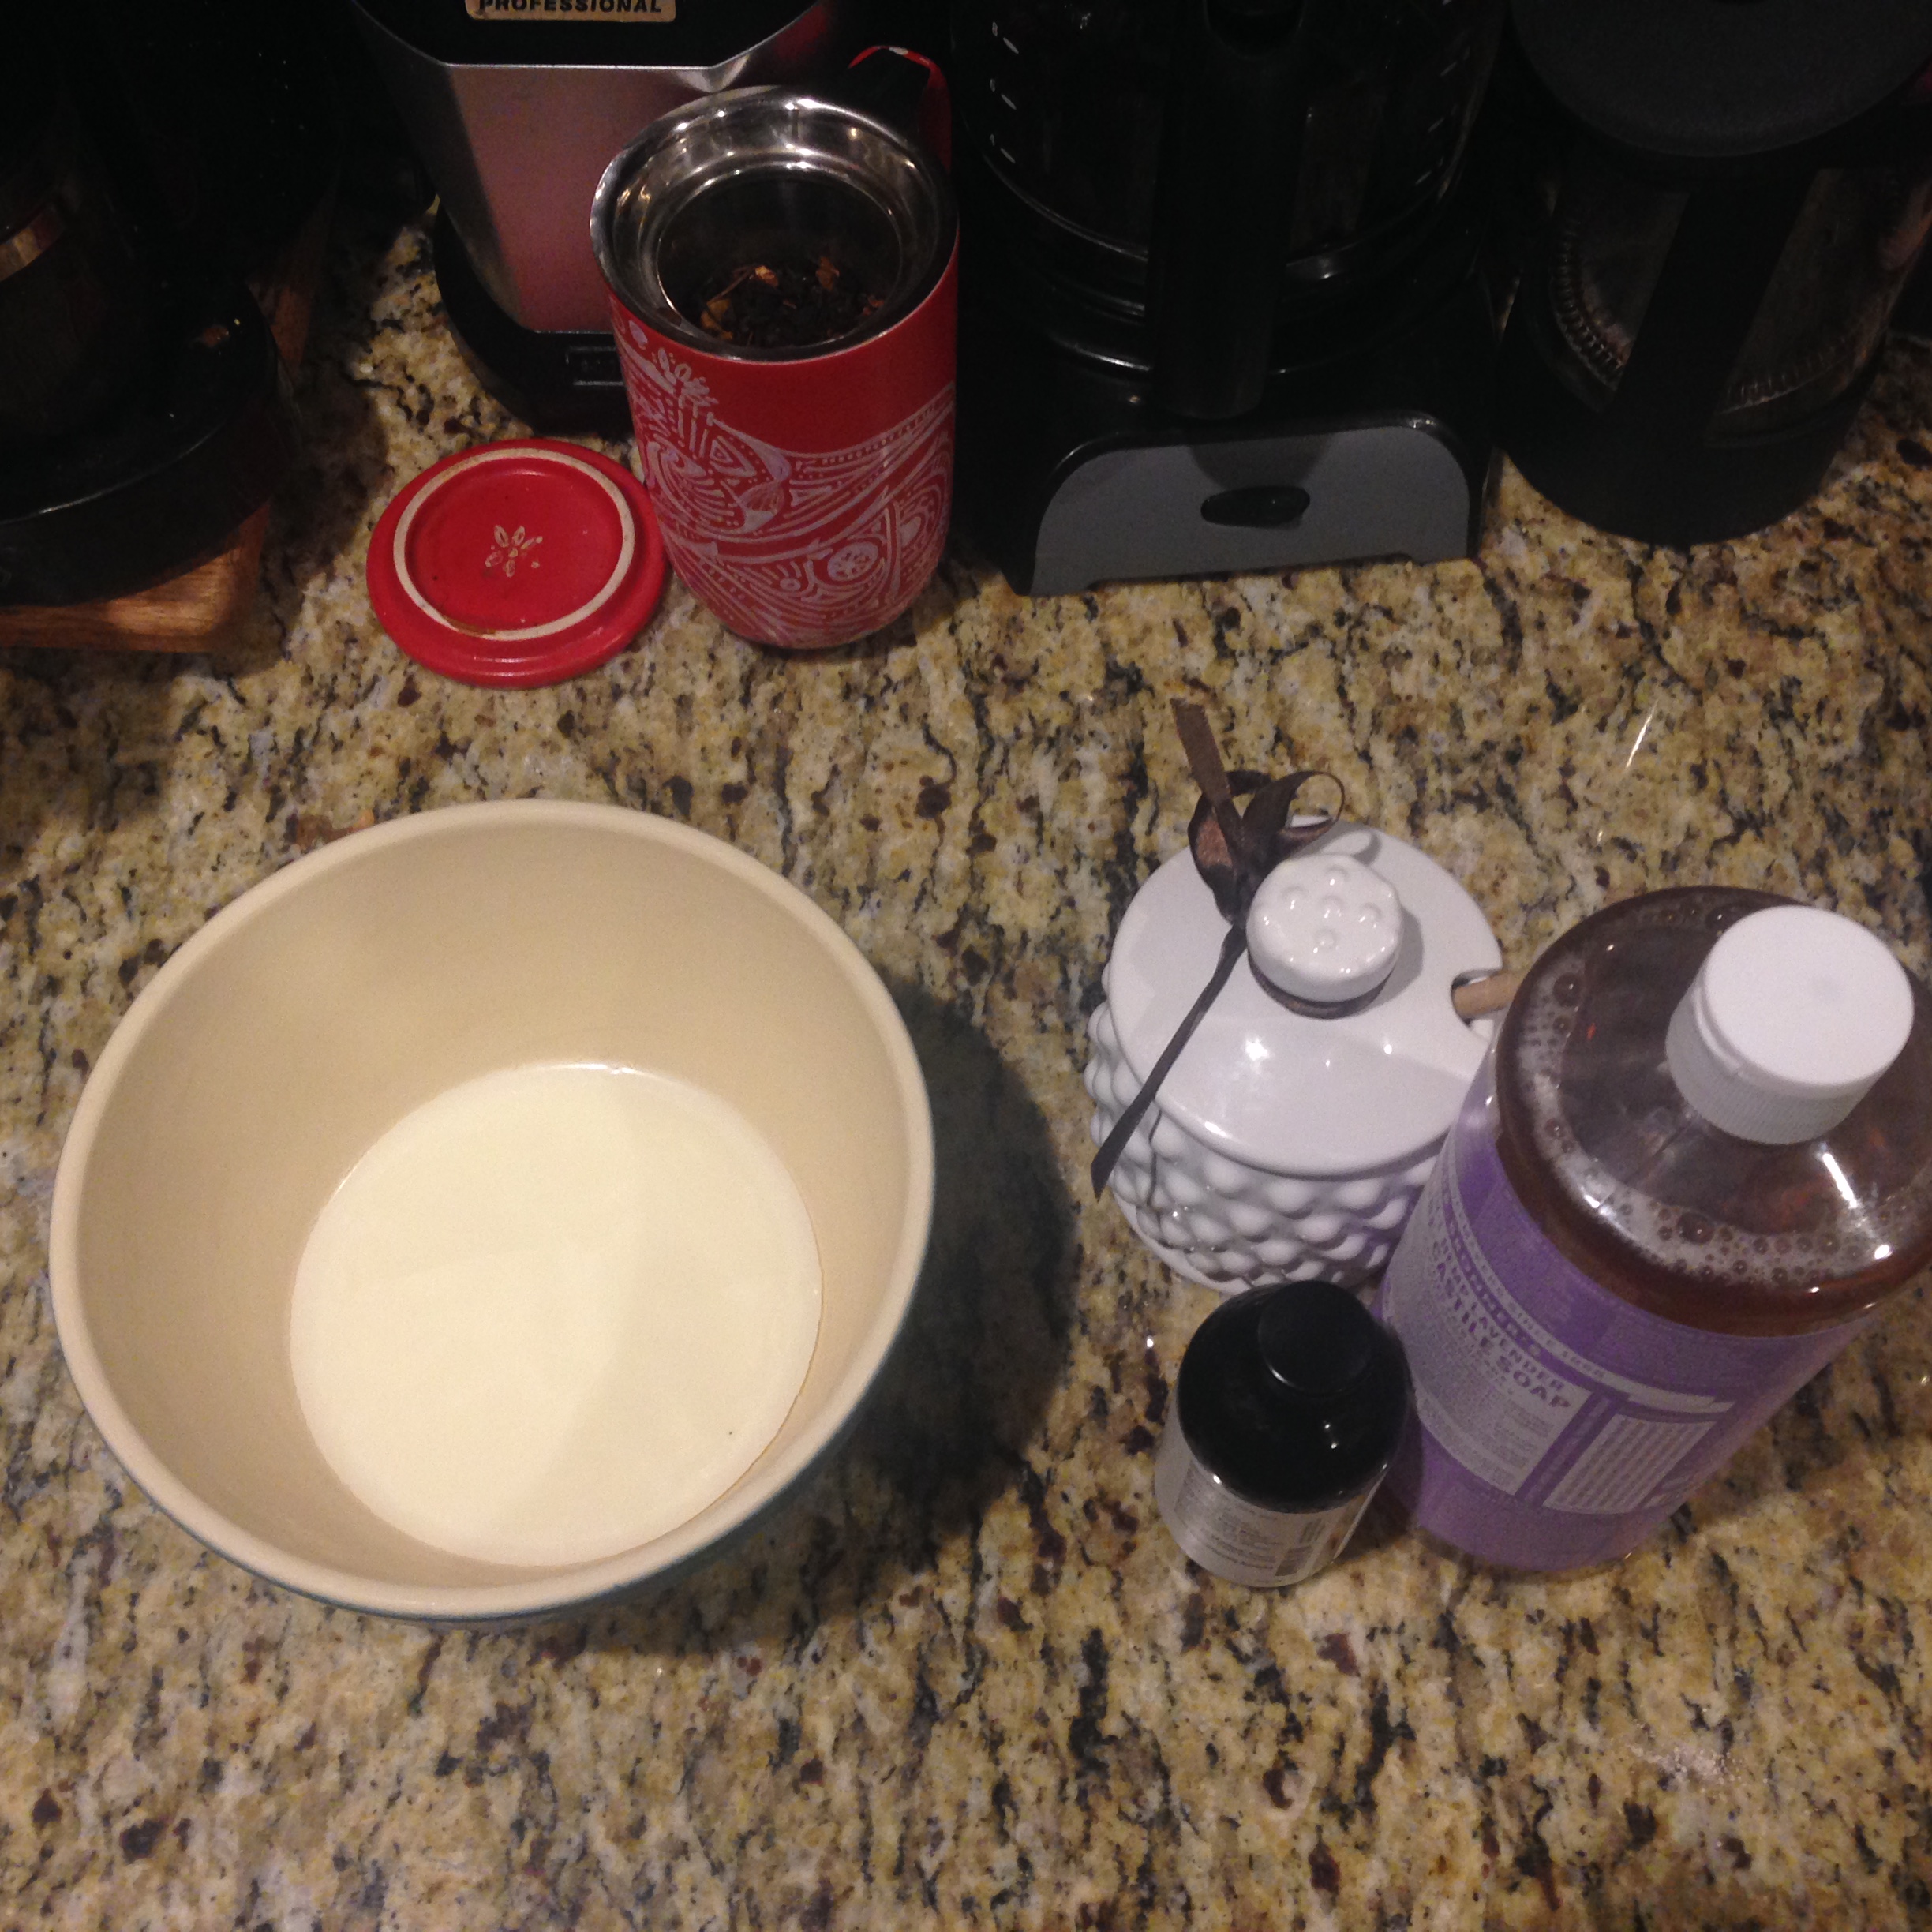
  • 1/2 cup unrefined coconut oil
  • 1/2 cup pure shea butter
  • 2 tablespoons cocoa butter (optional)
  • 2 tablespoons vitamin E, olive, or grapeseed oil
  • 2 tablespoons of honey (optional)
  • 3 tablespoons liquid Castile soap
    • I recommend lavender, eucalyptus, or peppermint
  • 10–20 drops of your essential oils of choice (optional)
    • I recommend lavender, my boyfriend likes peppermint for his face

DIRECTIONS:

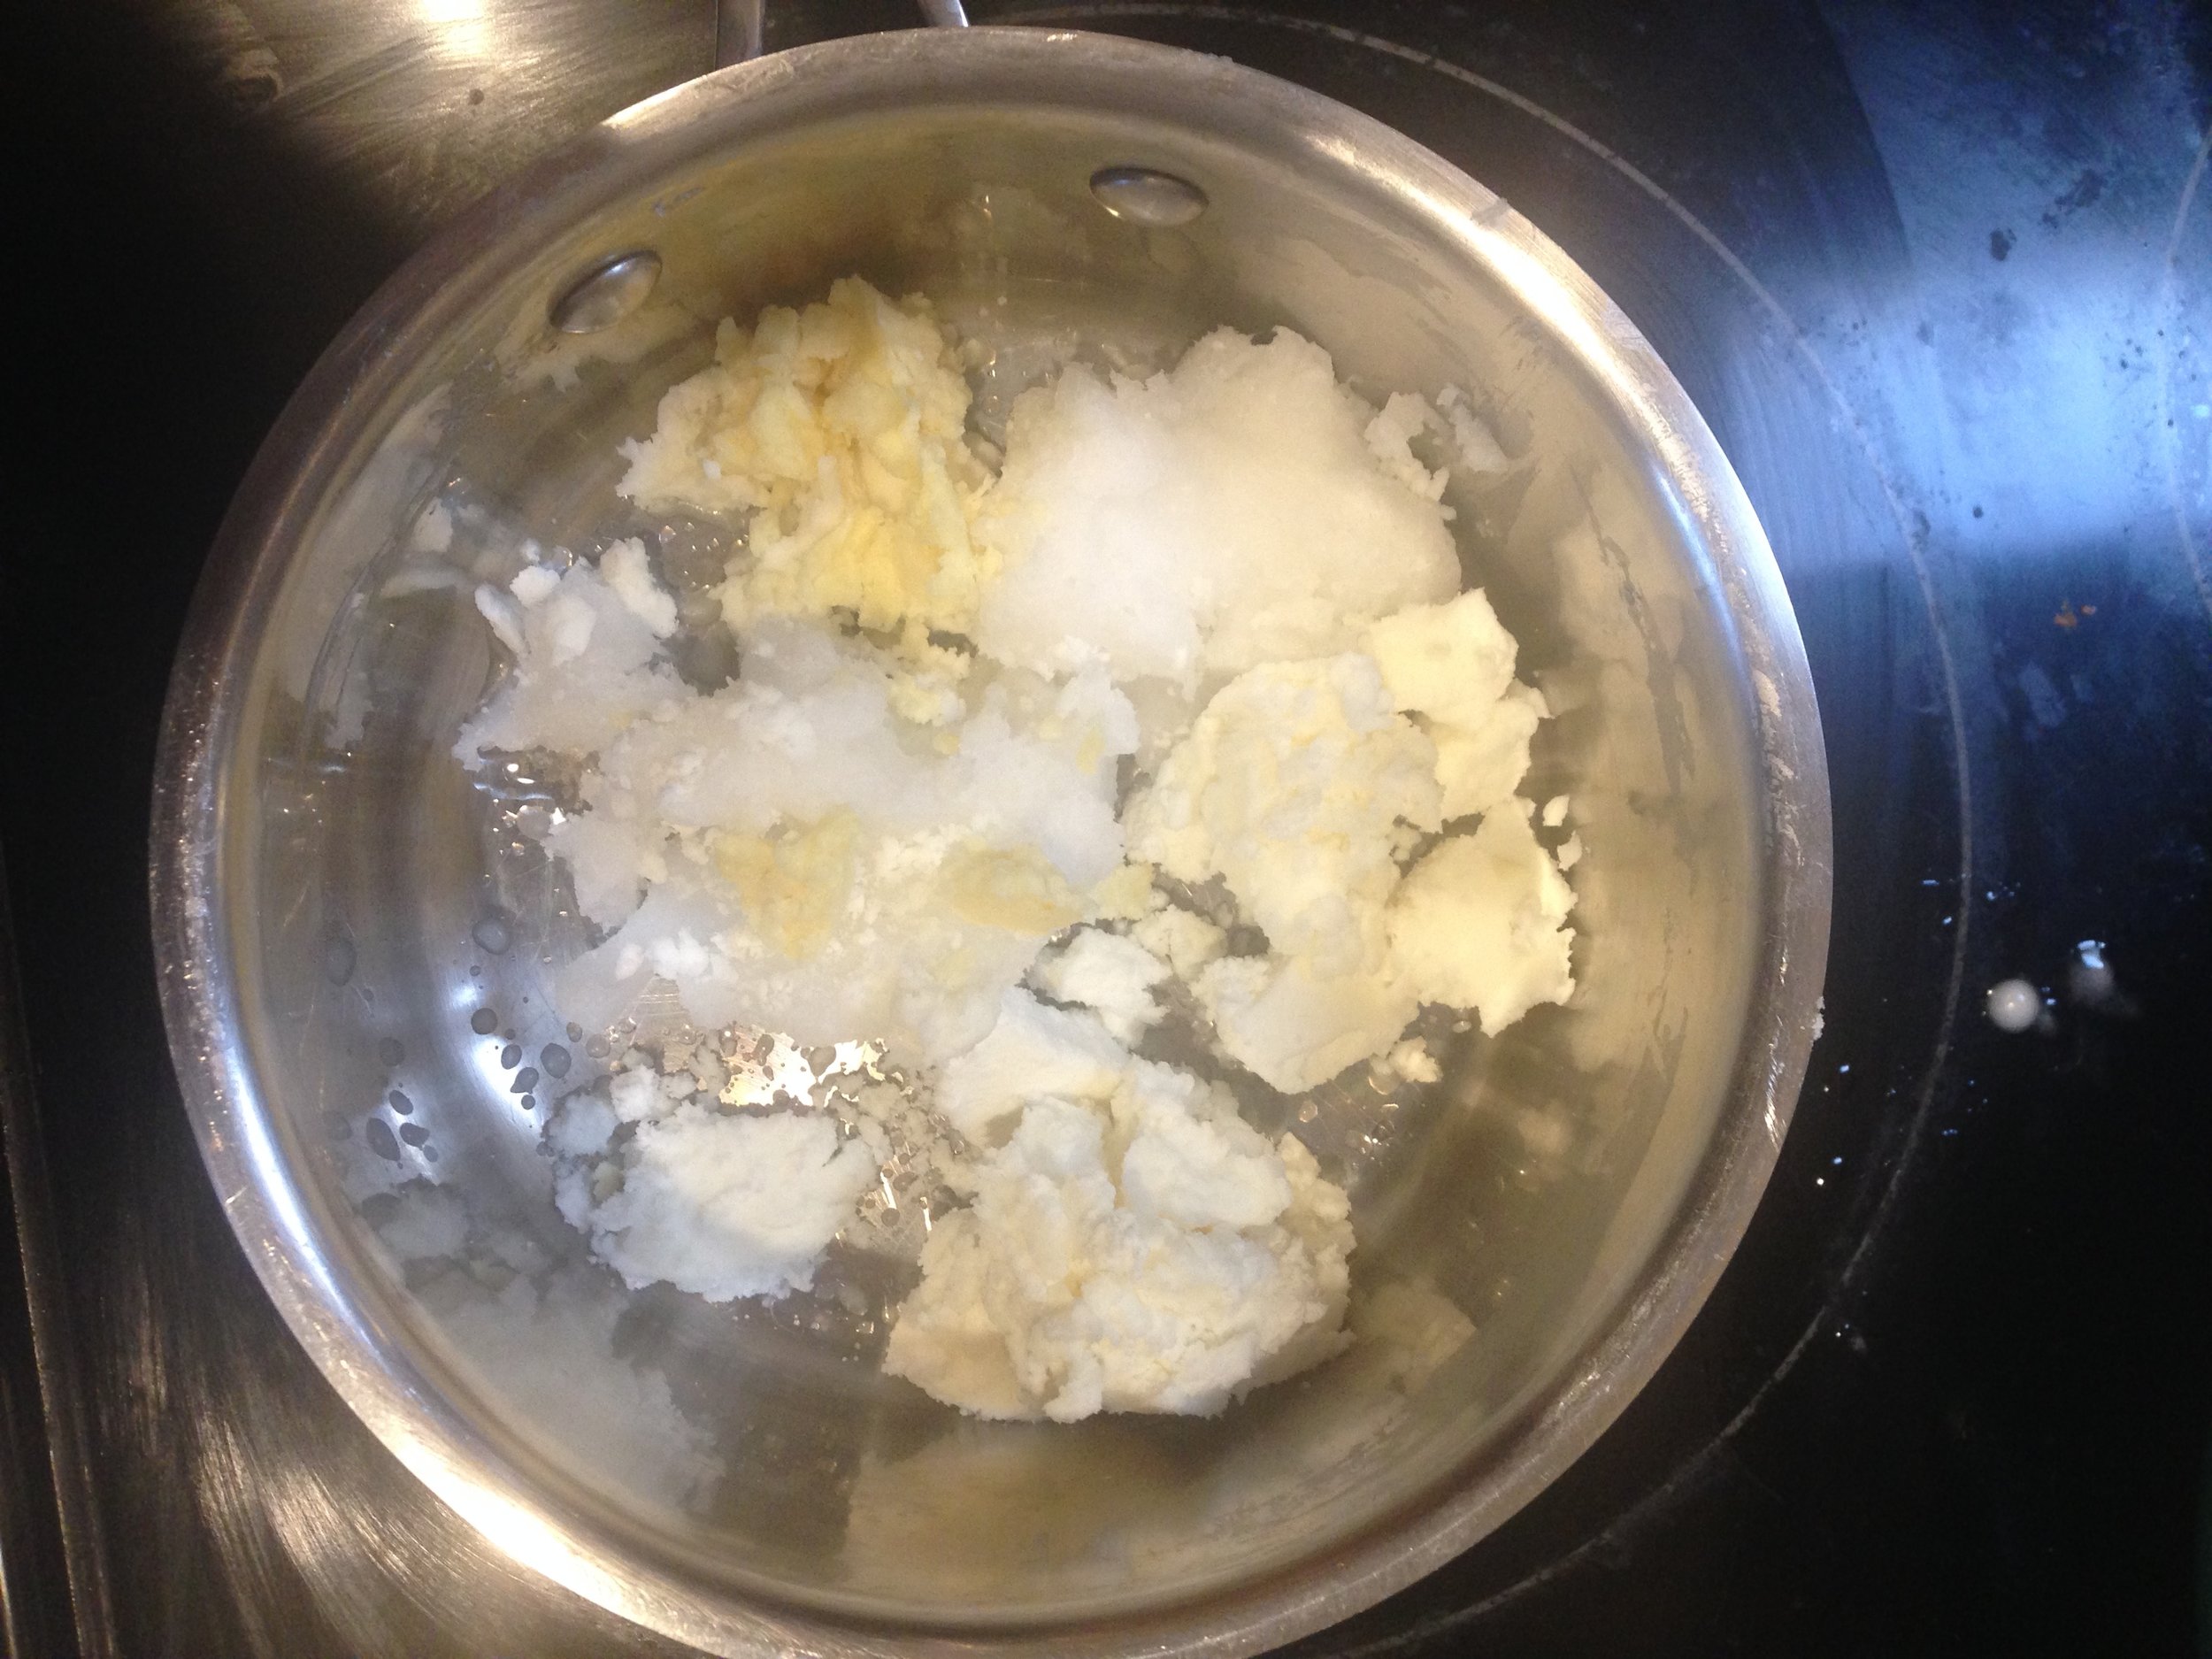
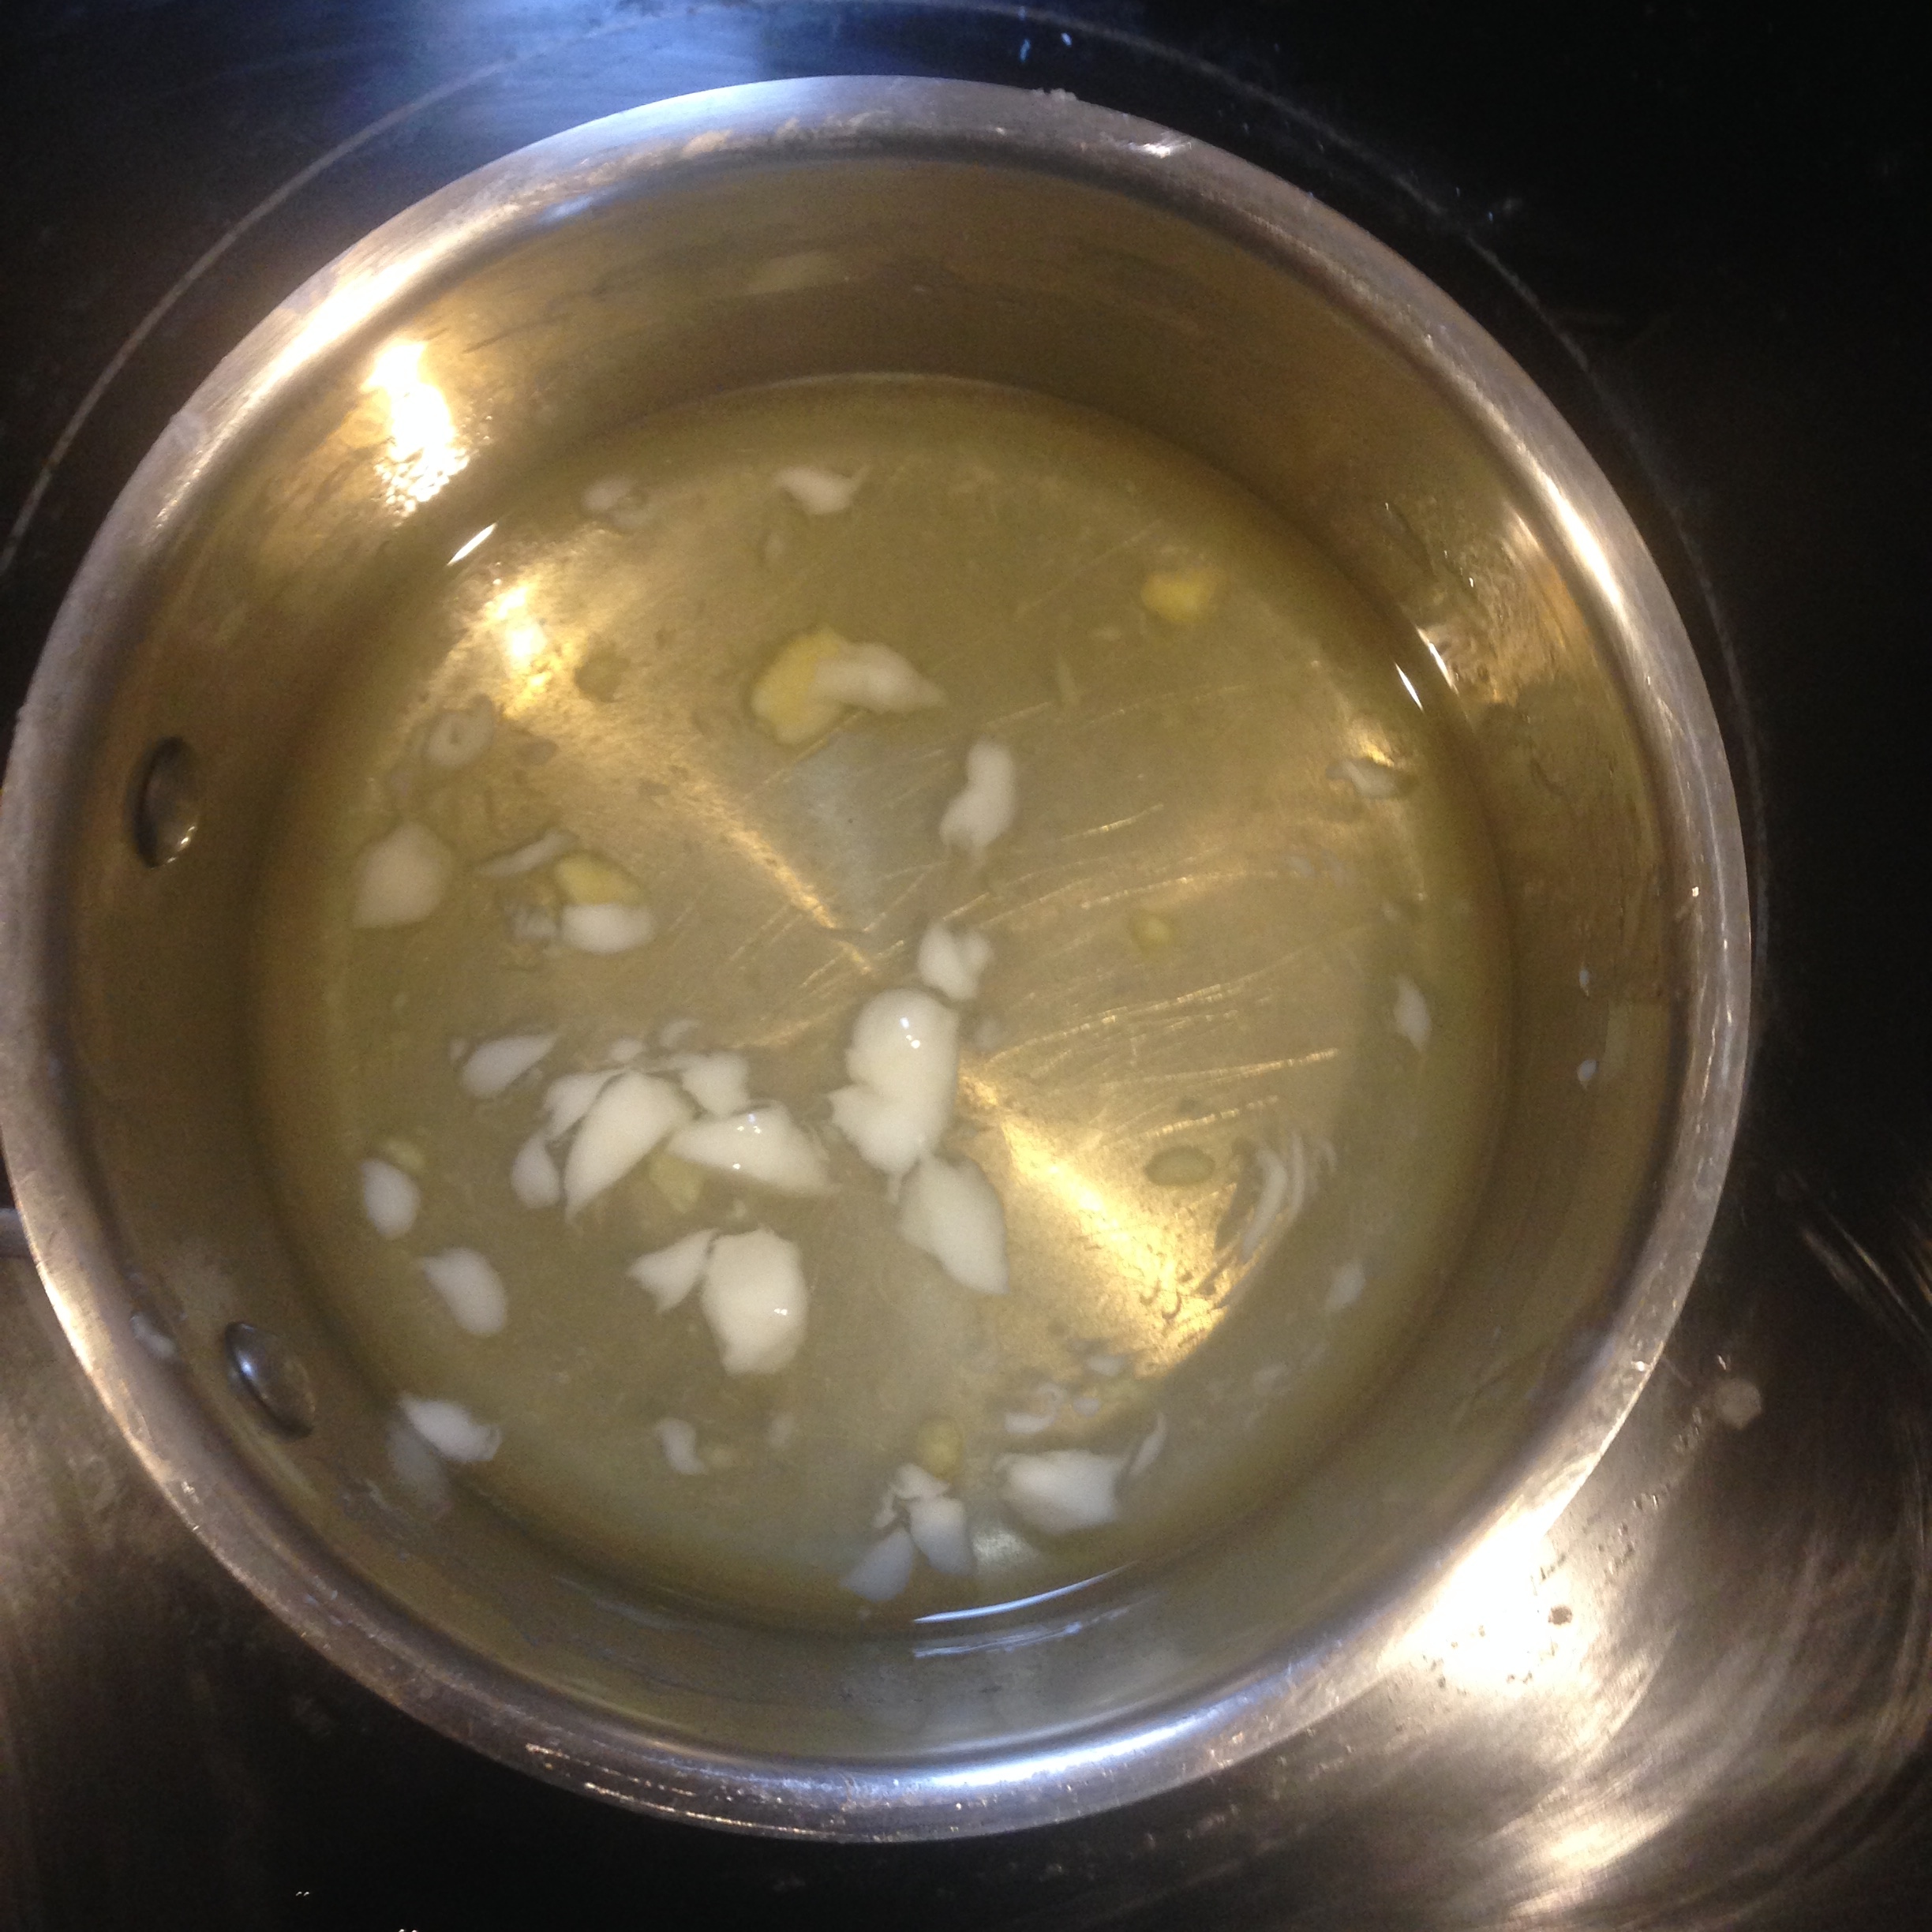
  1. Using a small saucepan, melt the shea butter and coconut oil (and cocoa butter if your using it) on a very low heat setting on the stove.
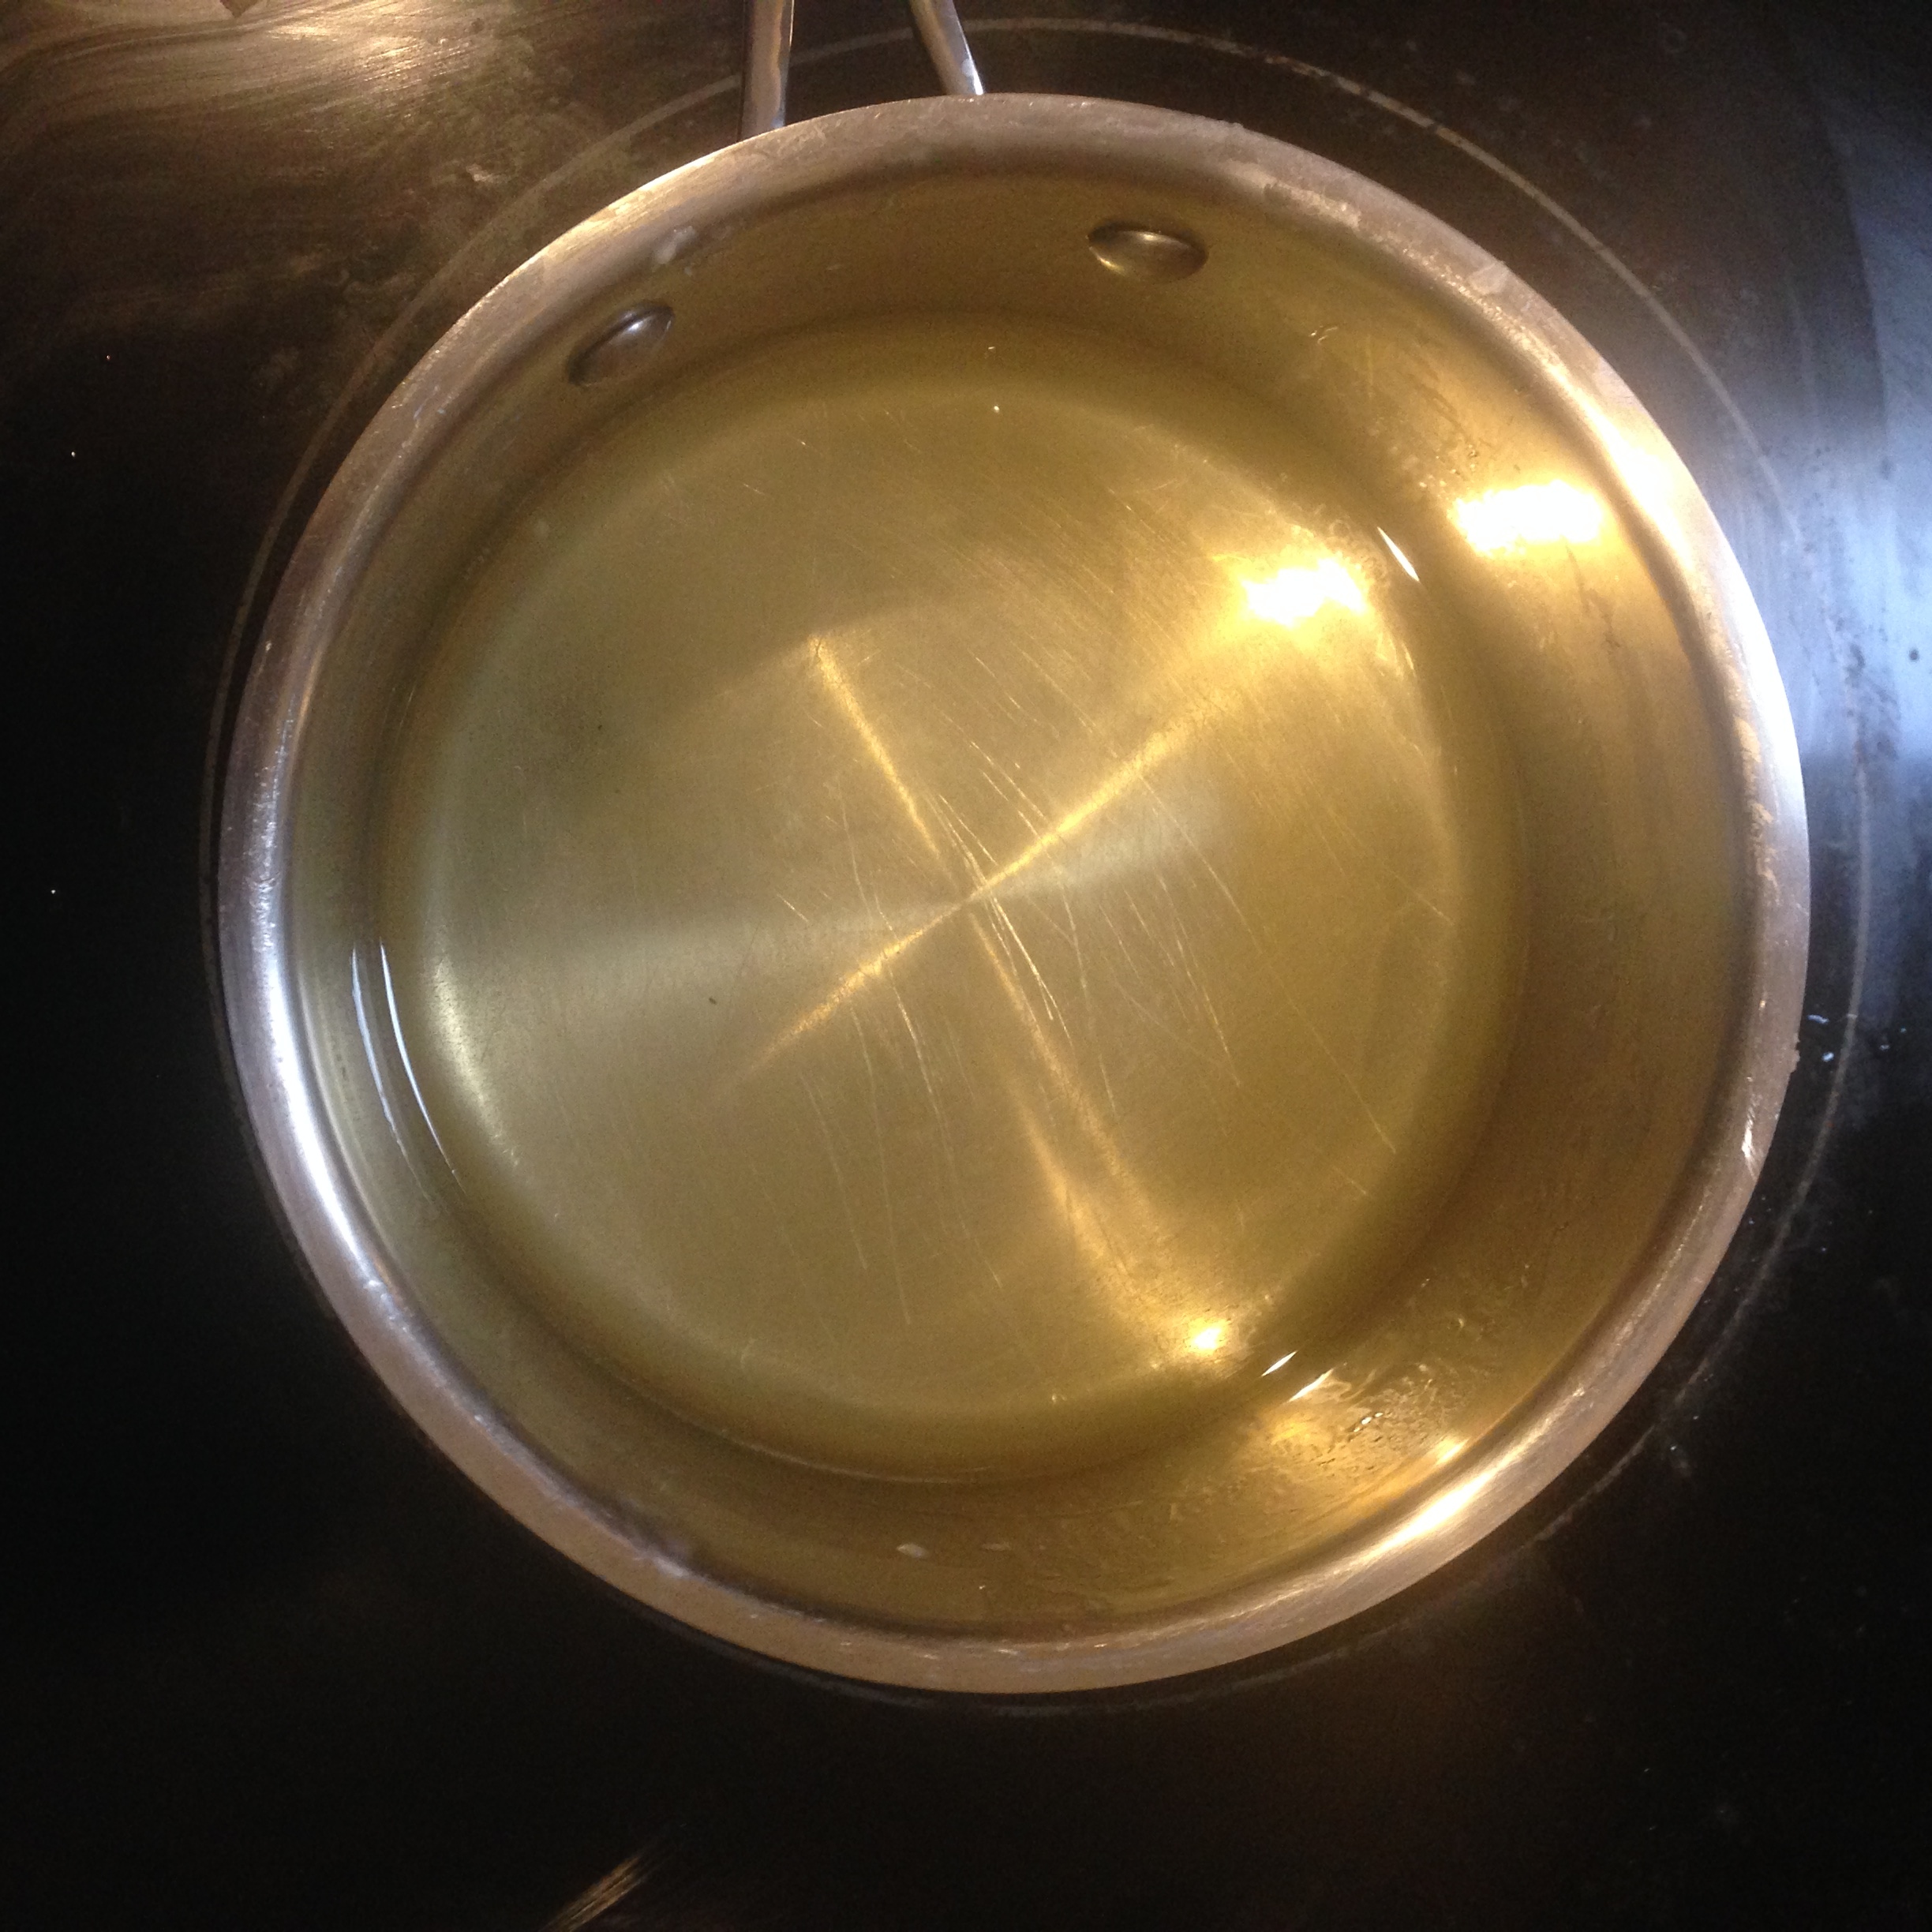
  2. Stir until fully melted.
  3. Add vitamin E/olive oil/grape-seed oil and stir until fully blended.
  4. Remove from heat.
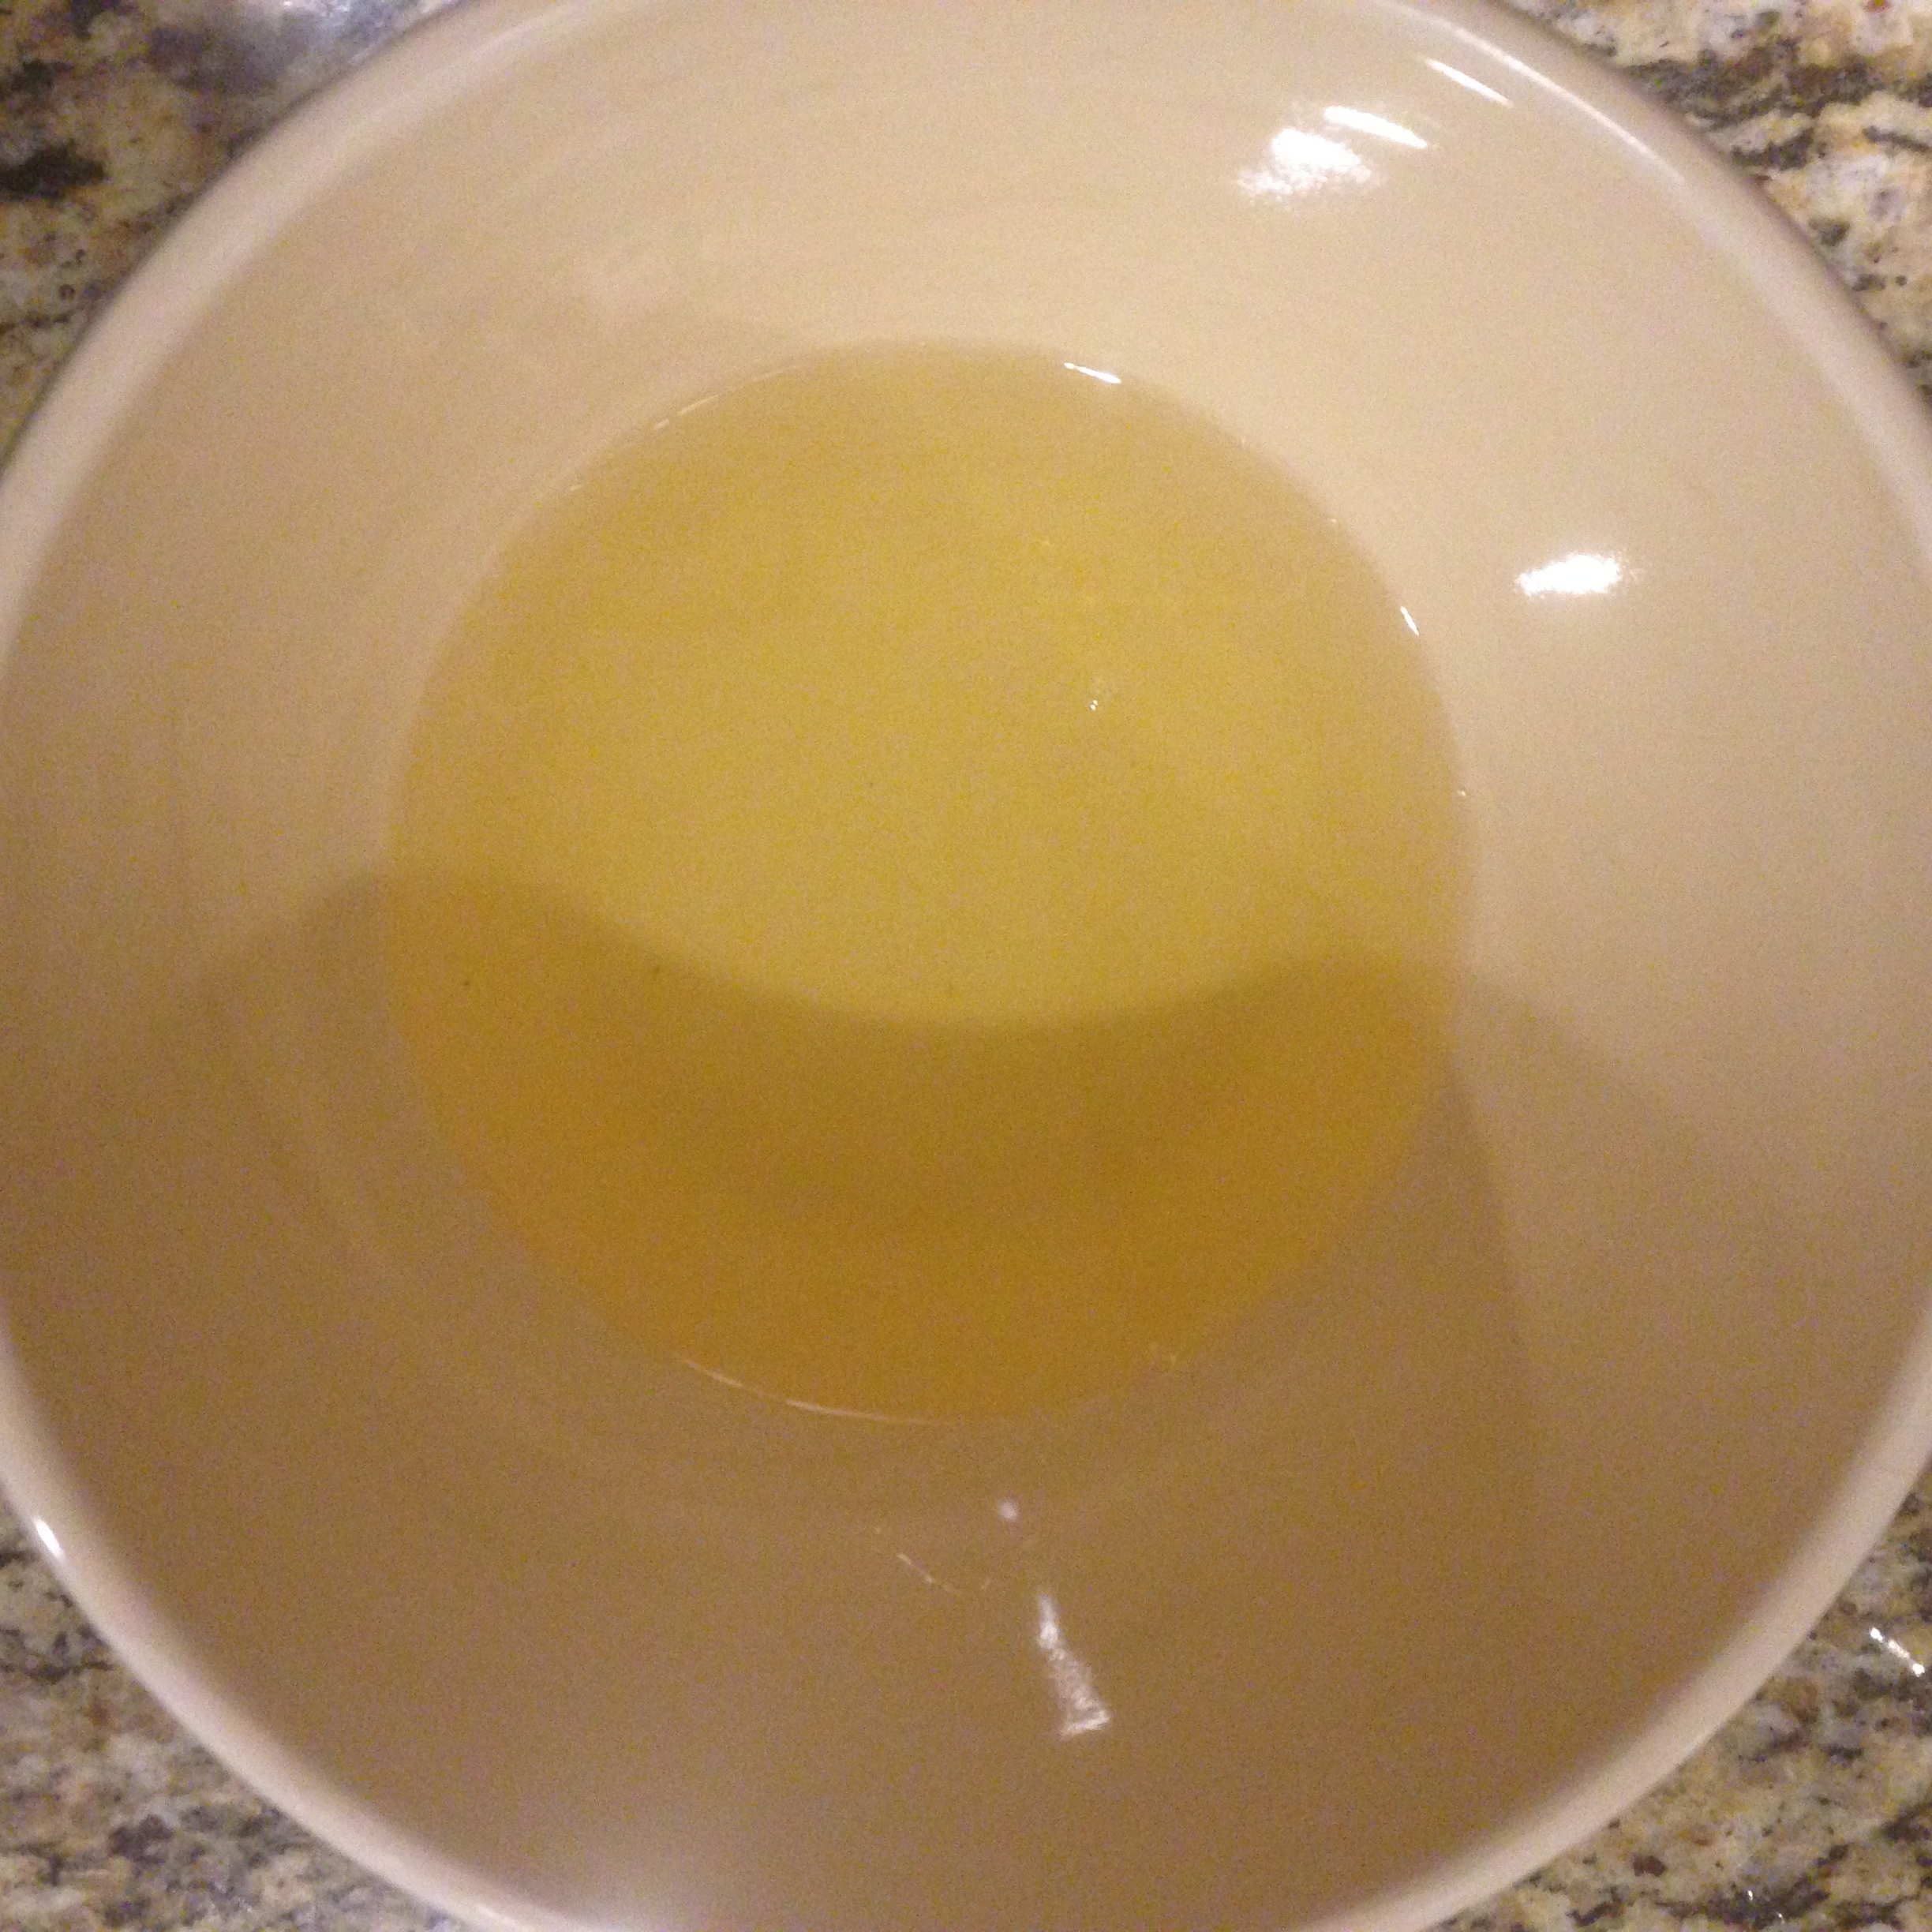
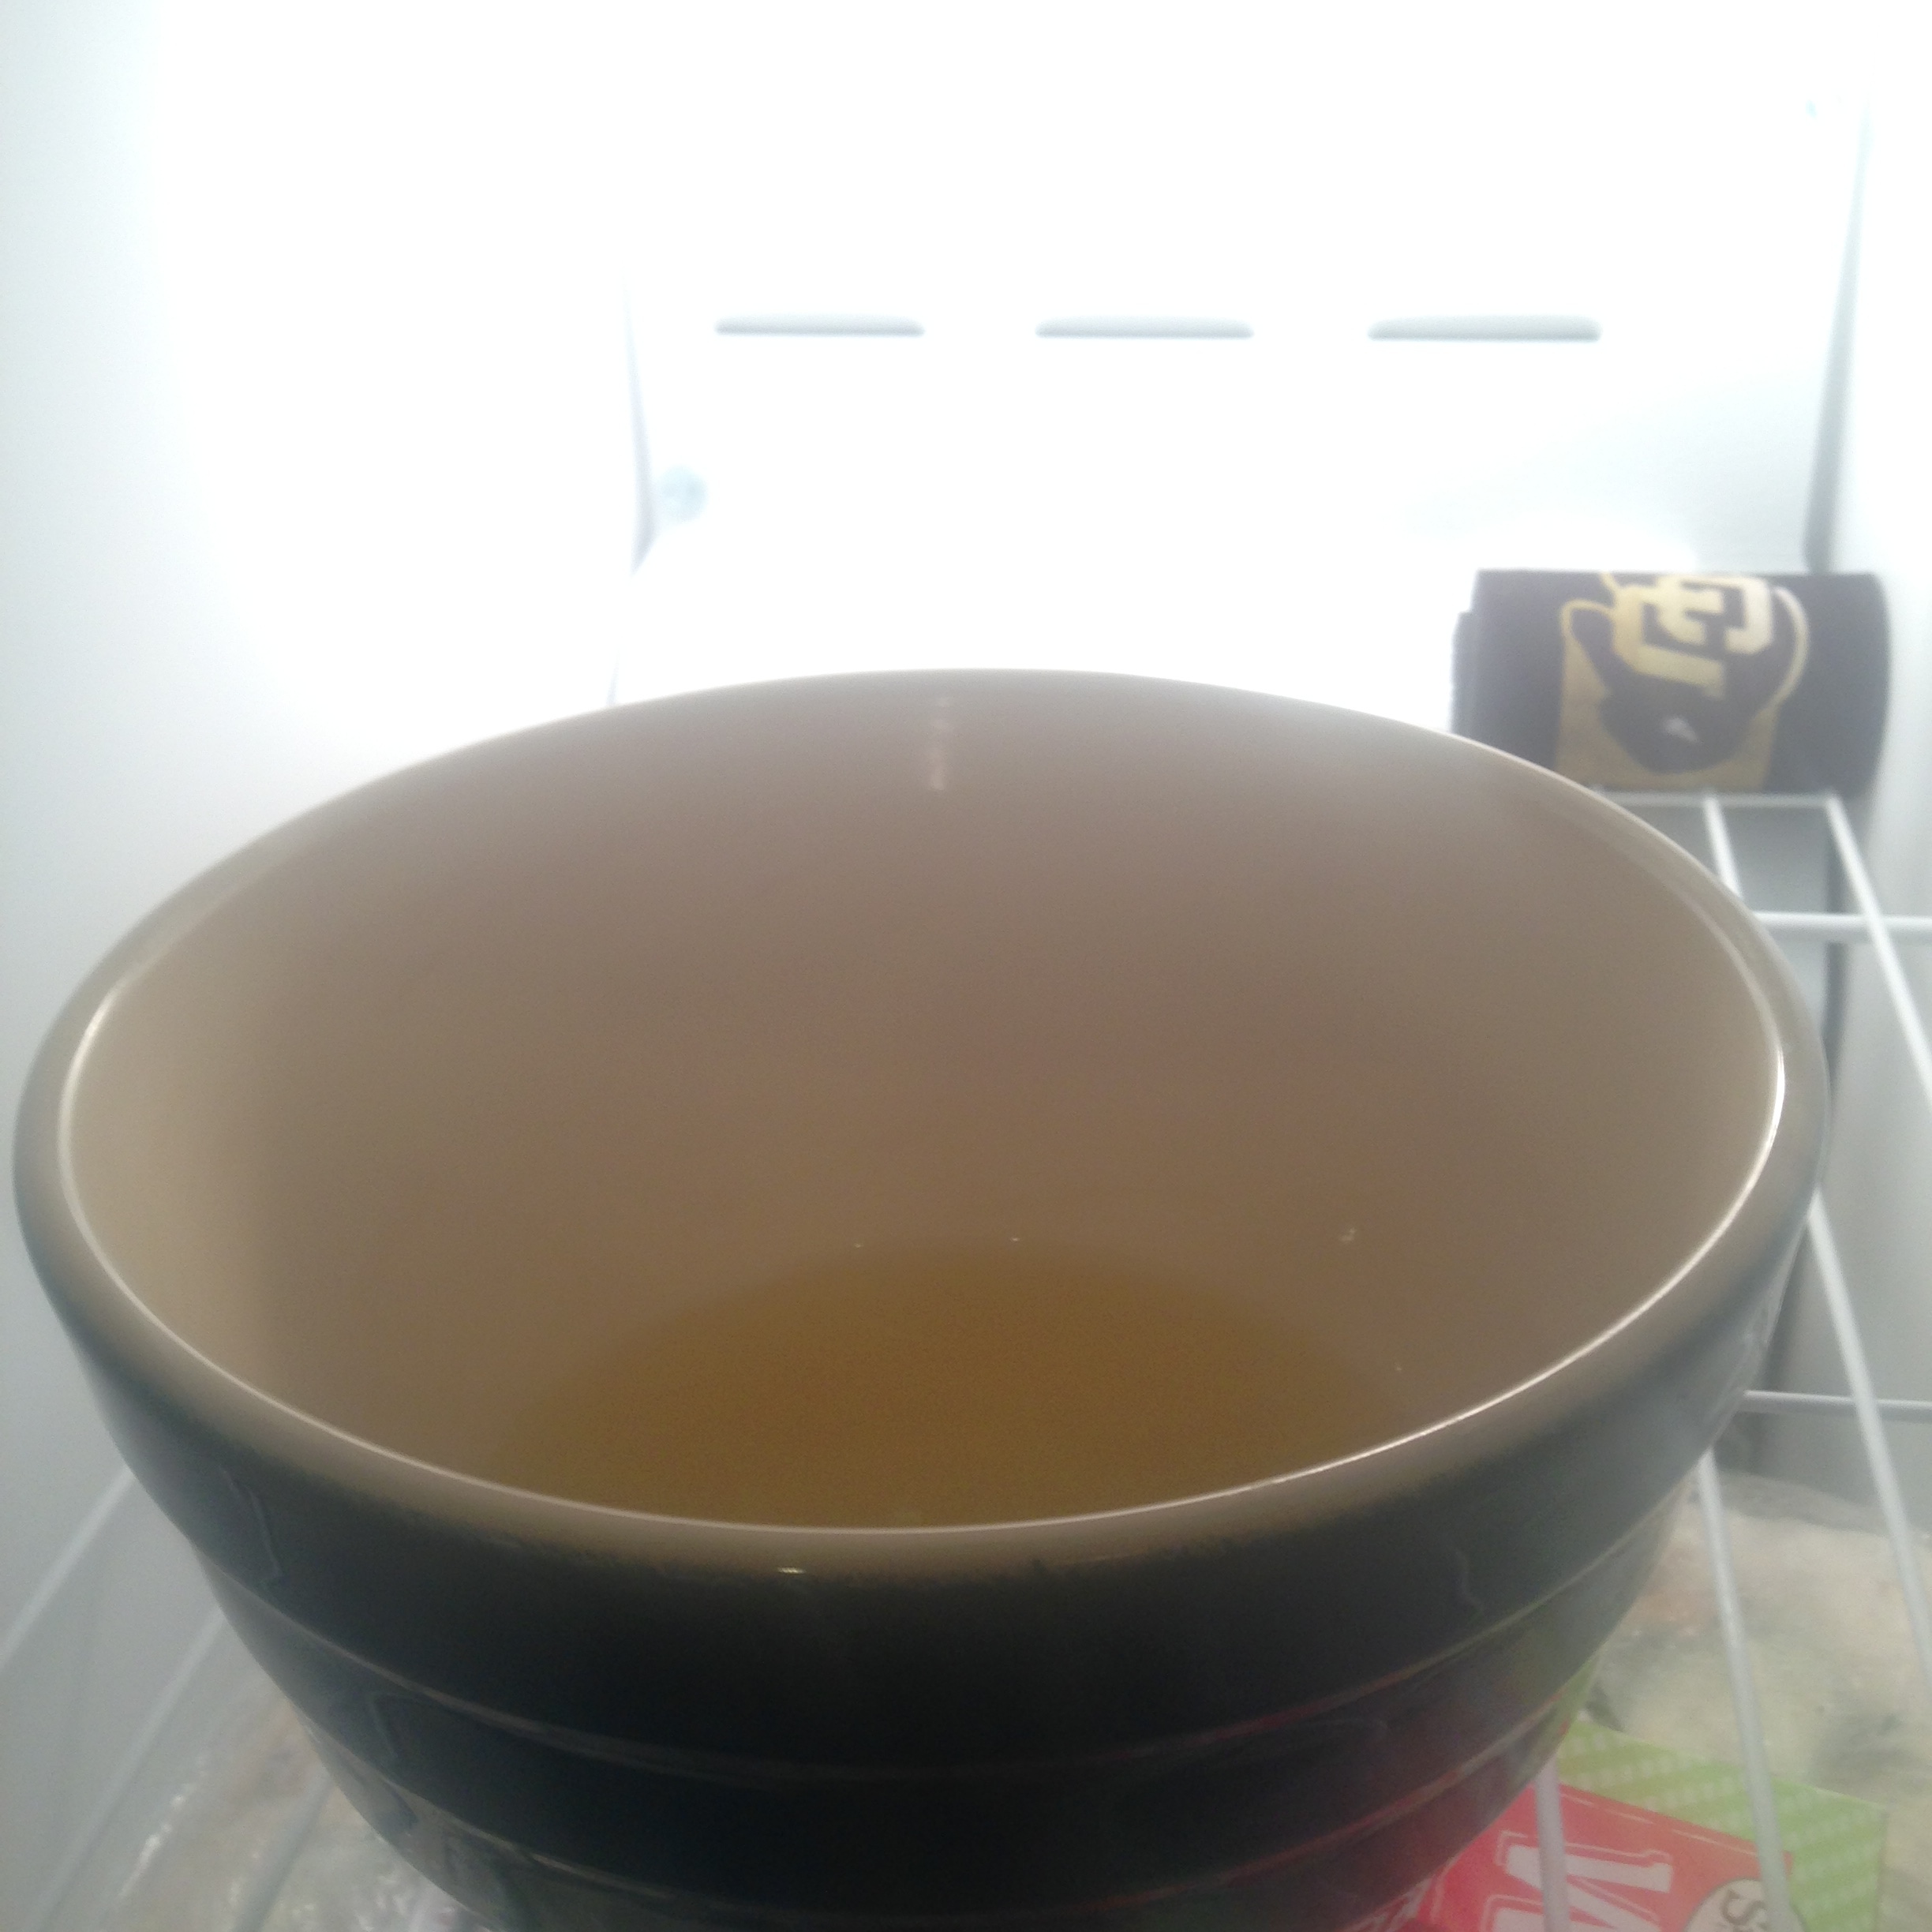
  5. Transfer the mixture to a medium-sized bowl and place in the fridge or freezer until it becomes solid, about 15-30 min.
    • Make sure the oil hardens but doesn't freeze, you will find whipping it difficult if it does.
  6. Remove the mixture from fridge/freezer.
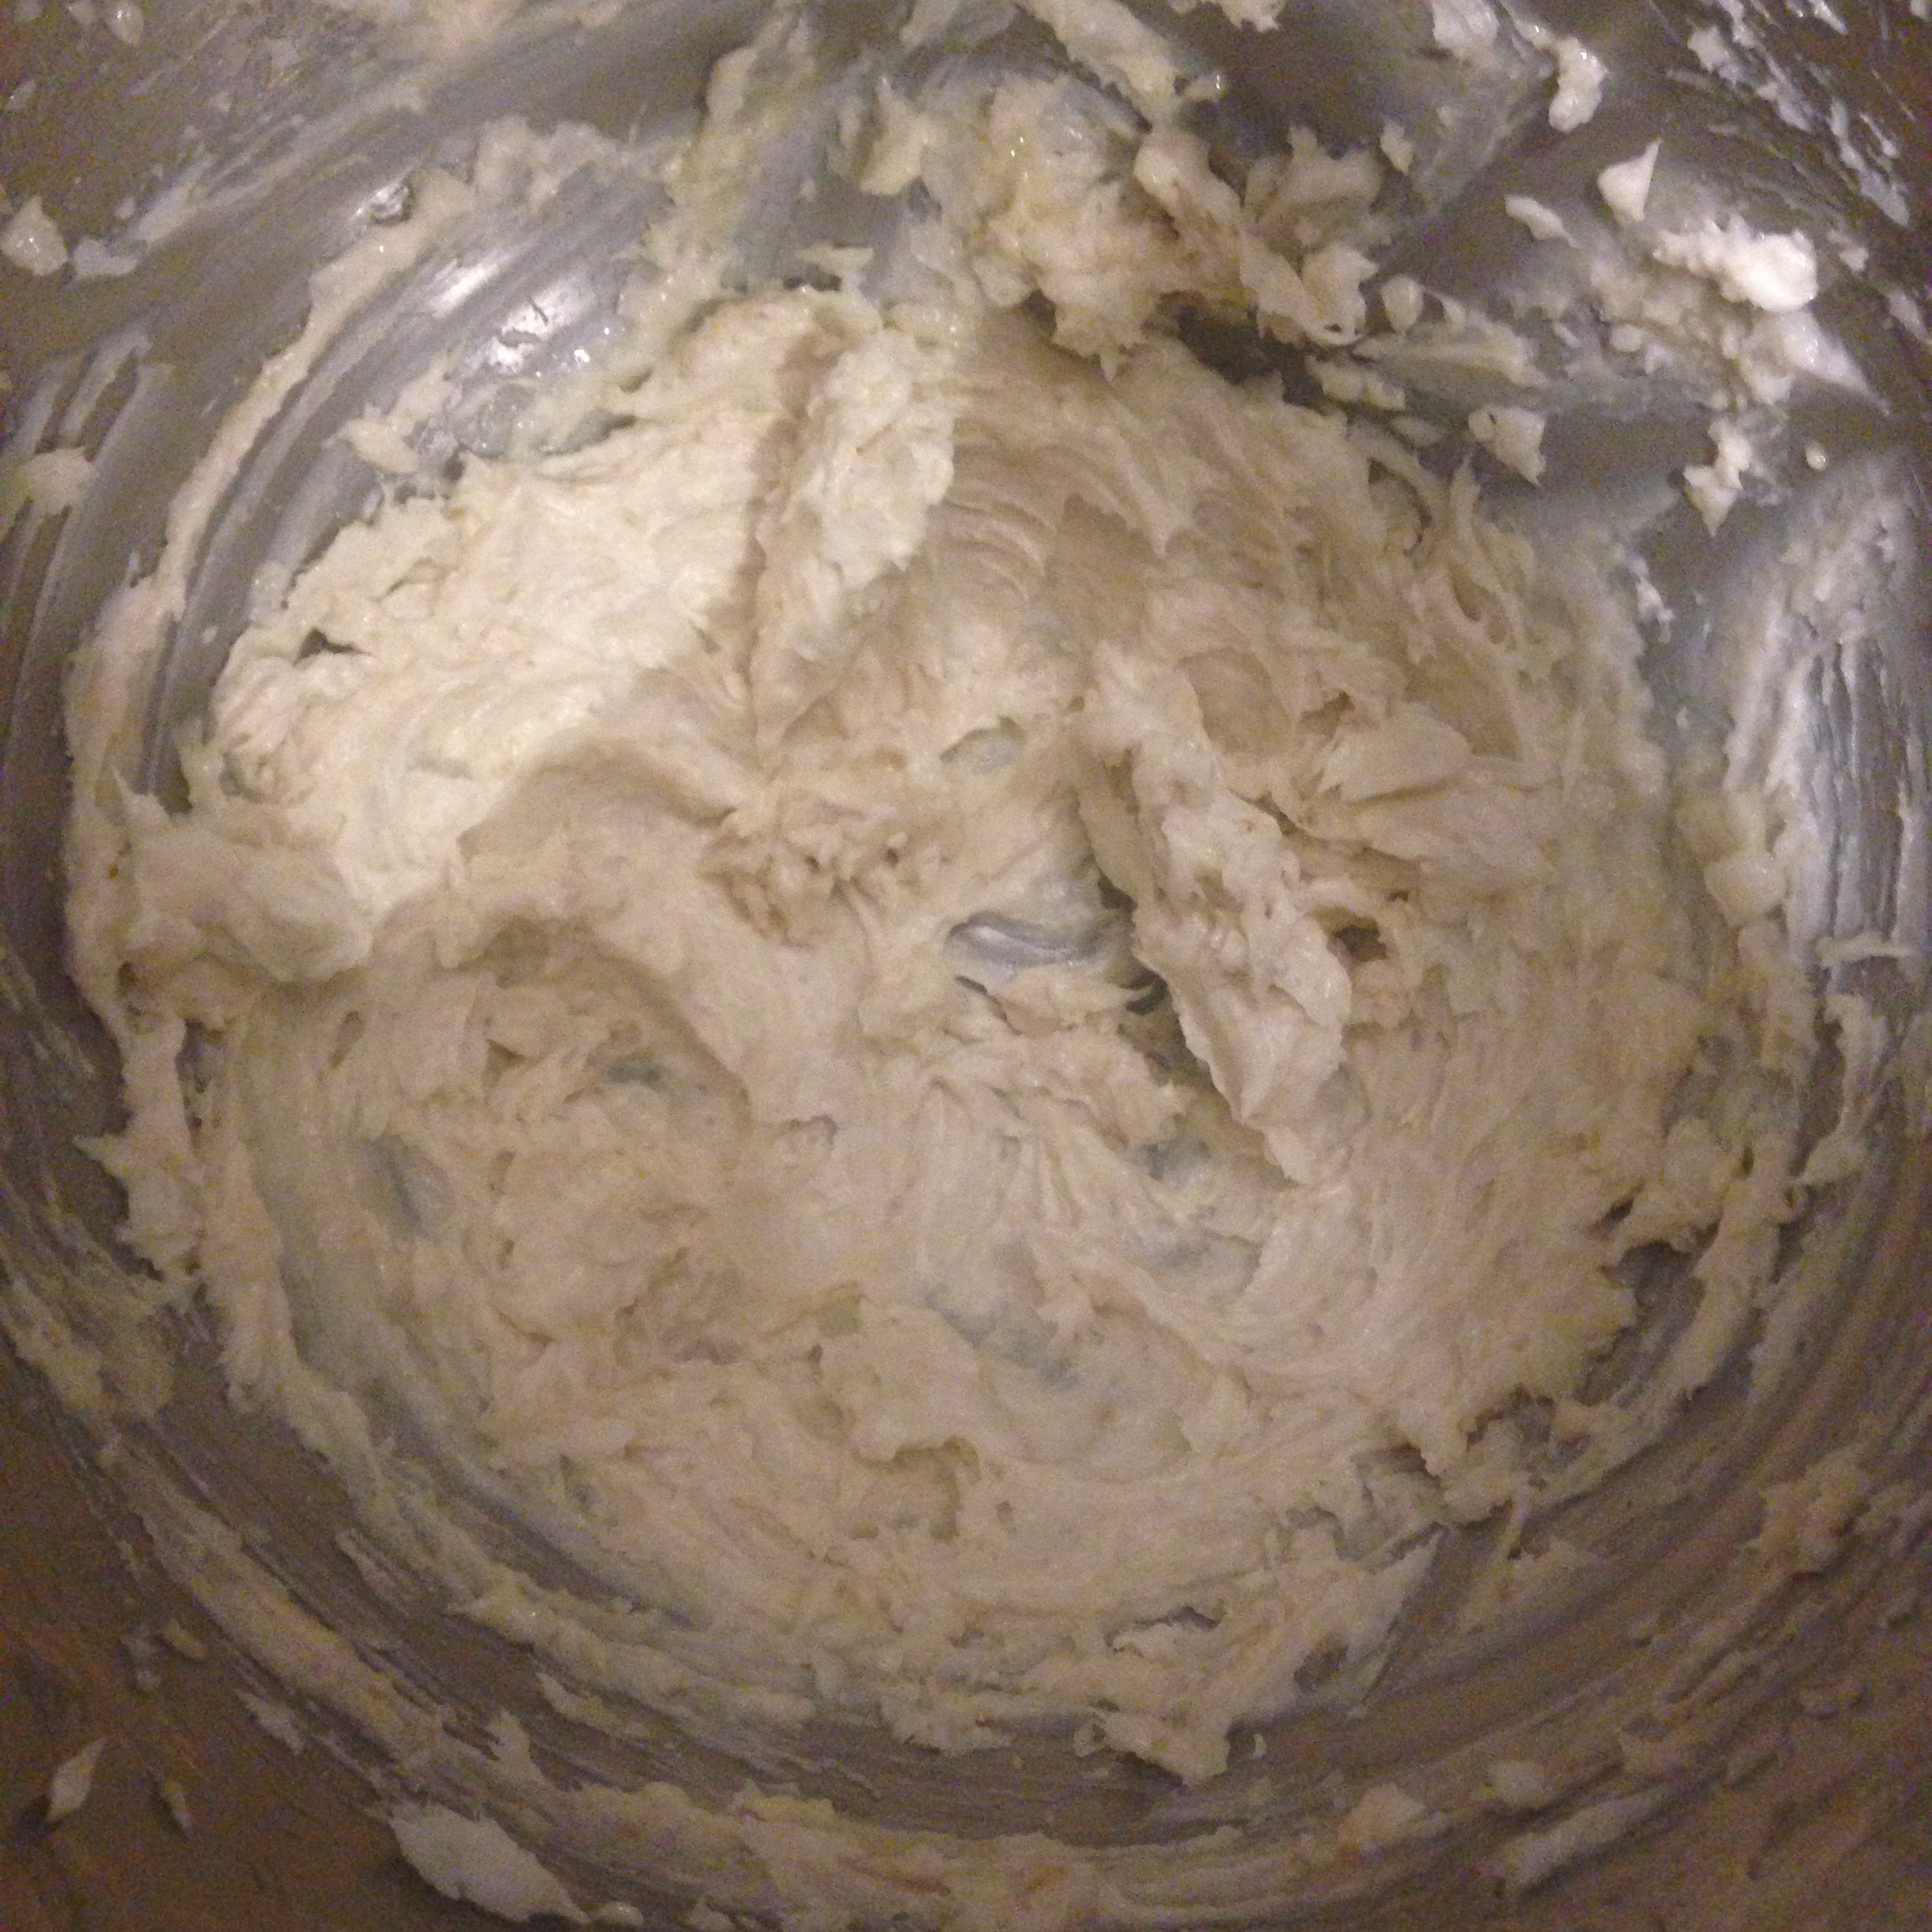
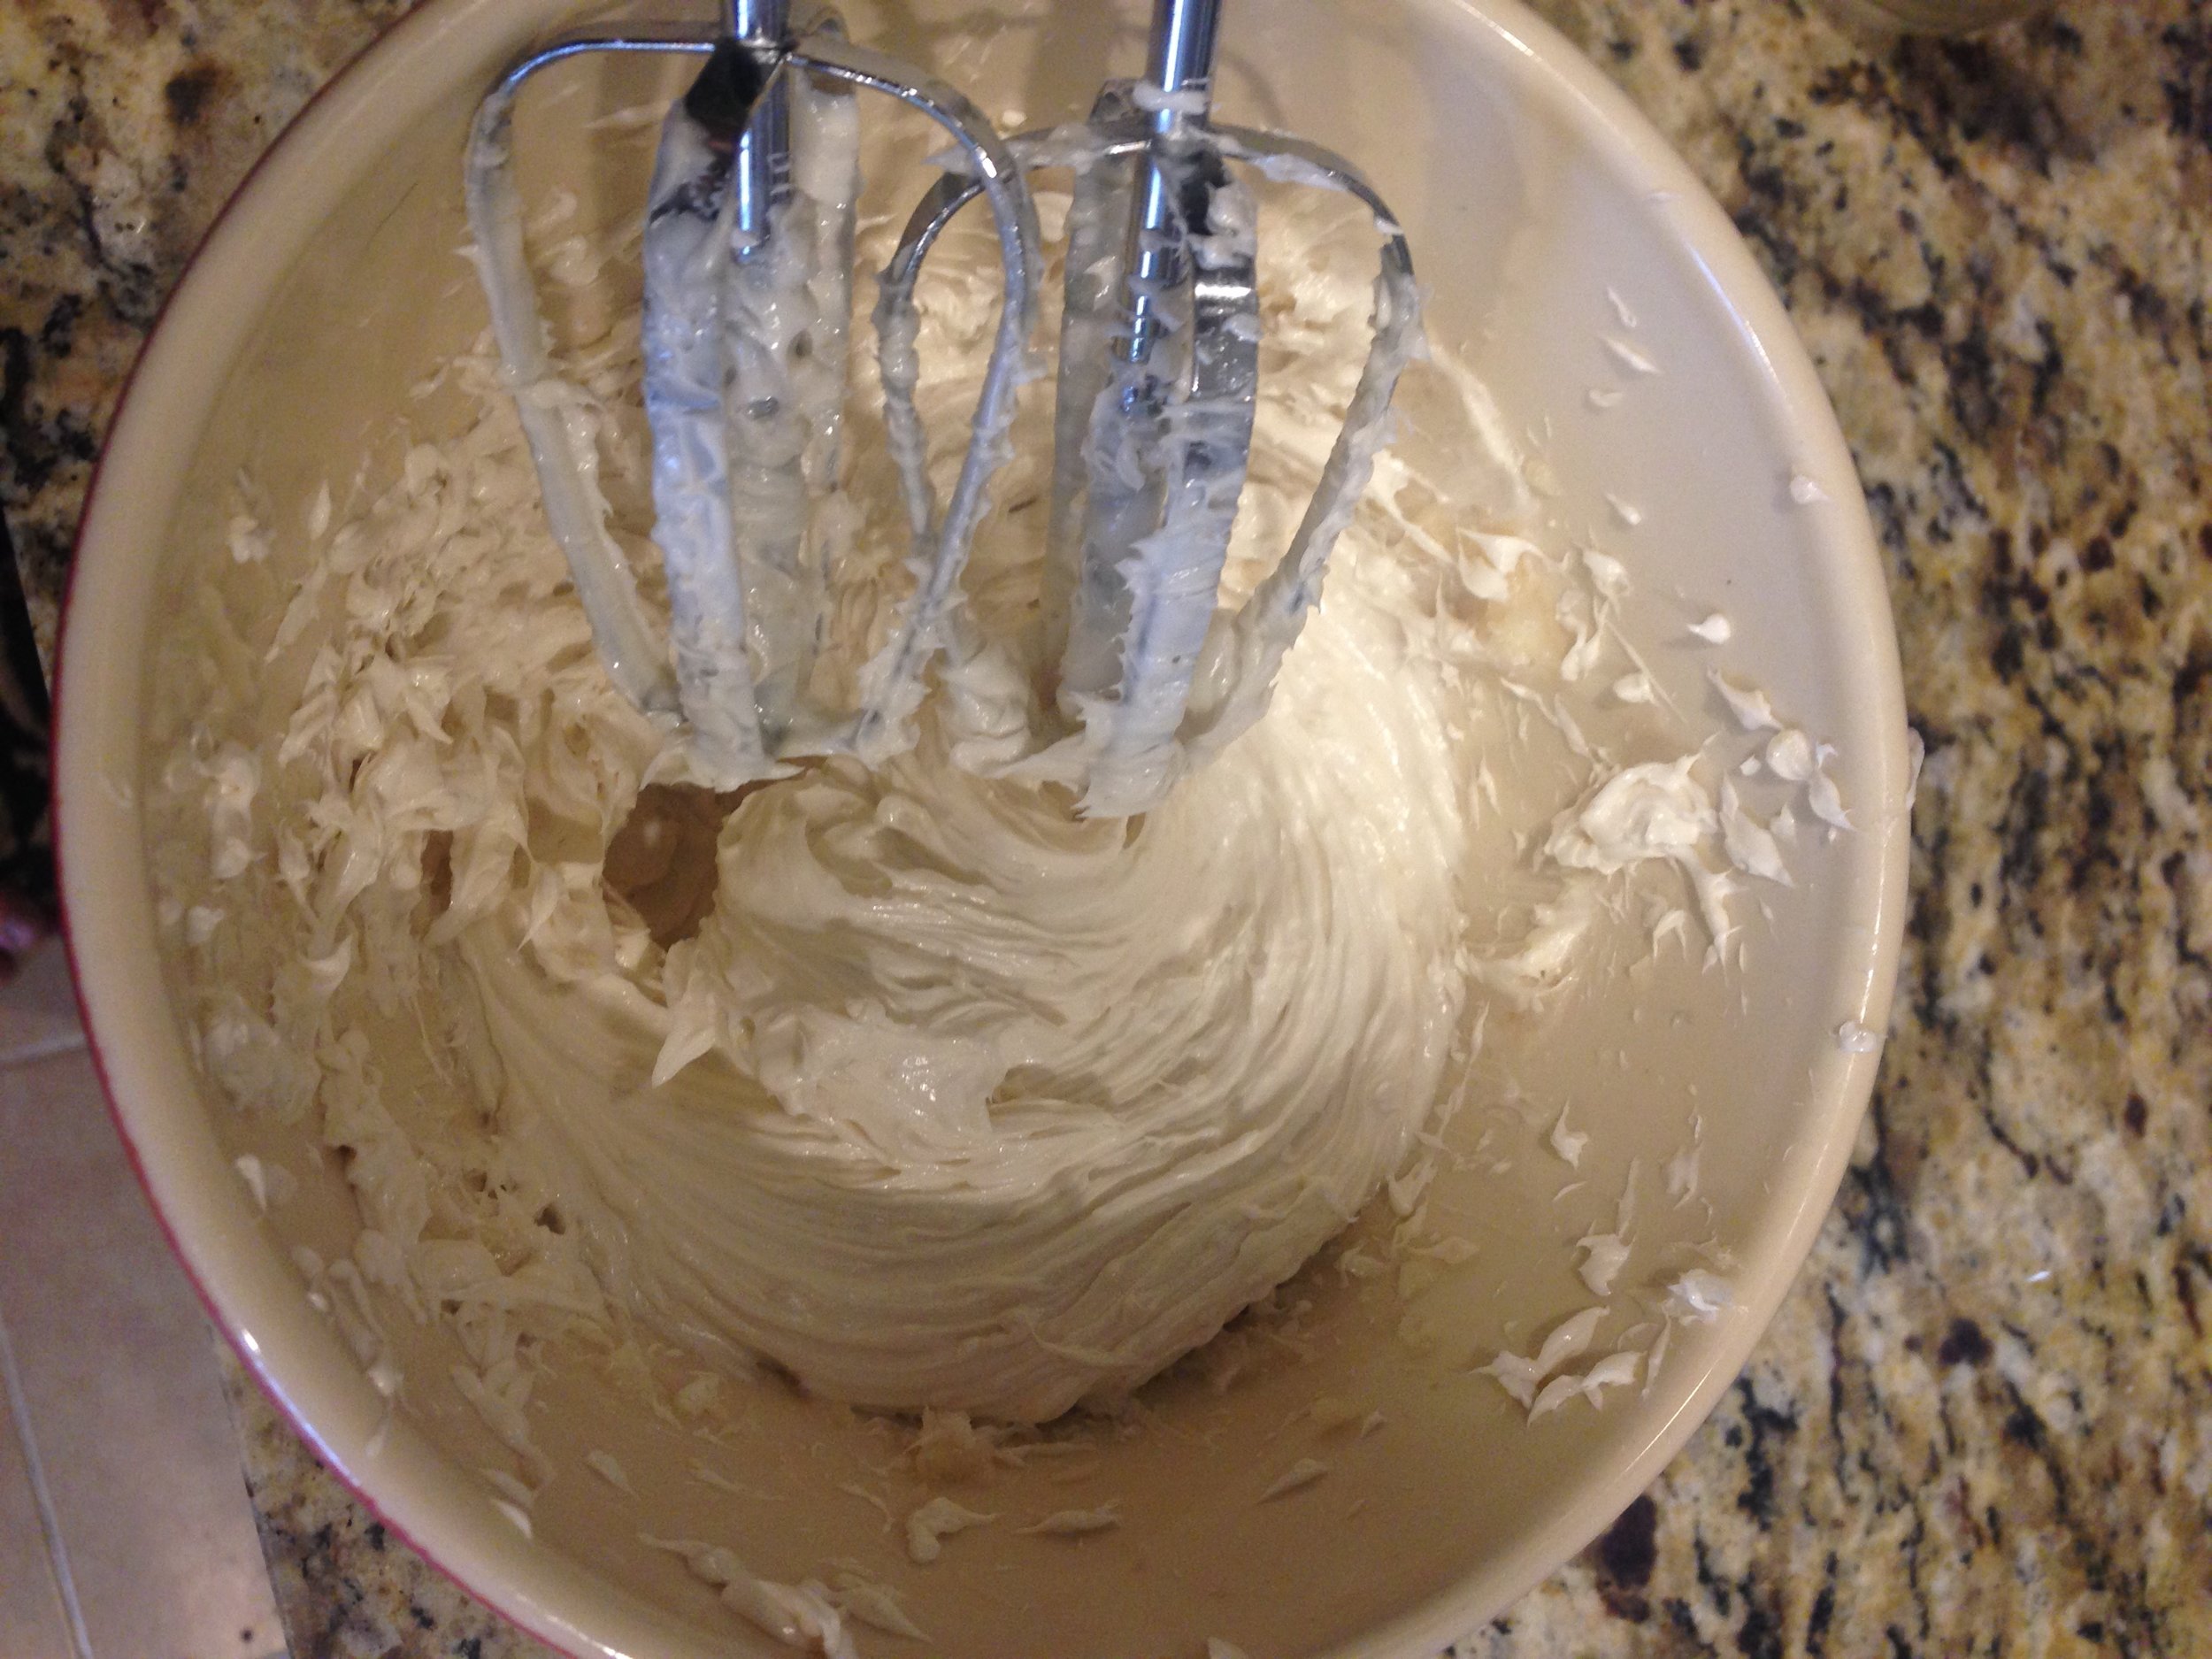
  7. Using a hand mixer to whip the mixture until smooth and fluffy; about 3–5 minutes.
    • You can use a stand mixer but I've had better luck with this portion using a hand mixer
  8. Add the castile soap and honey and mix again.
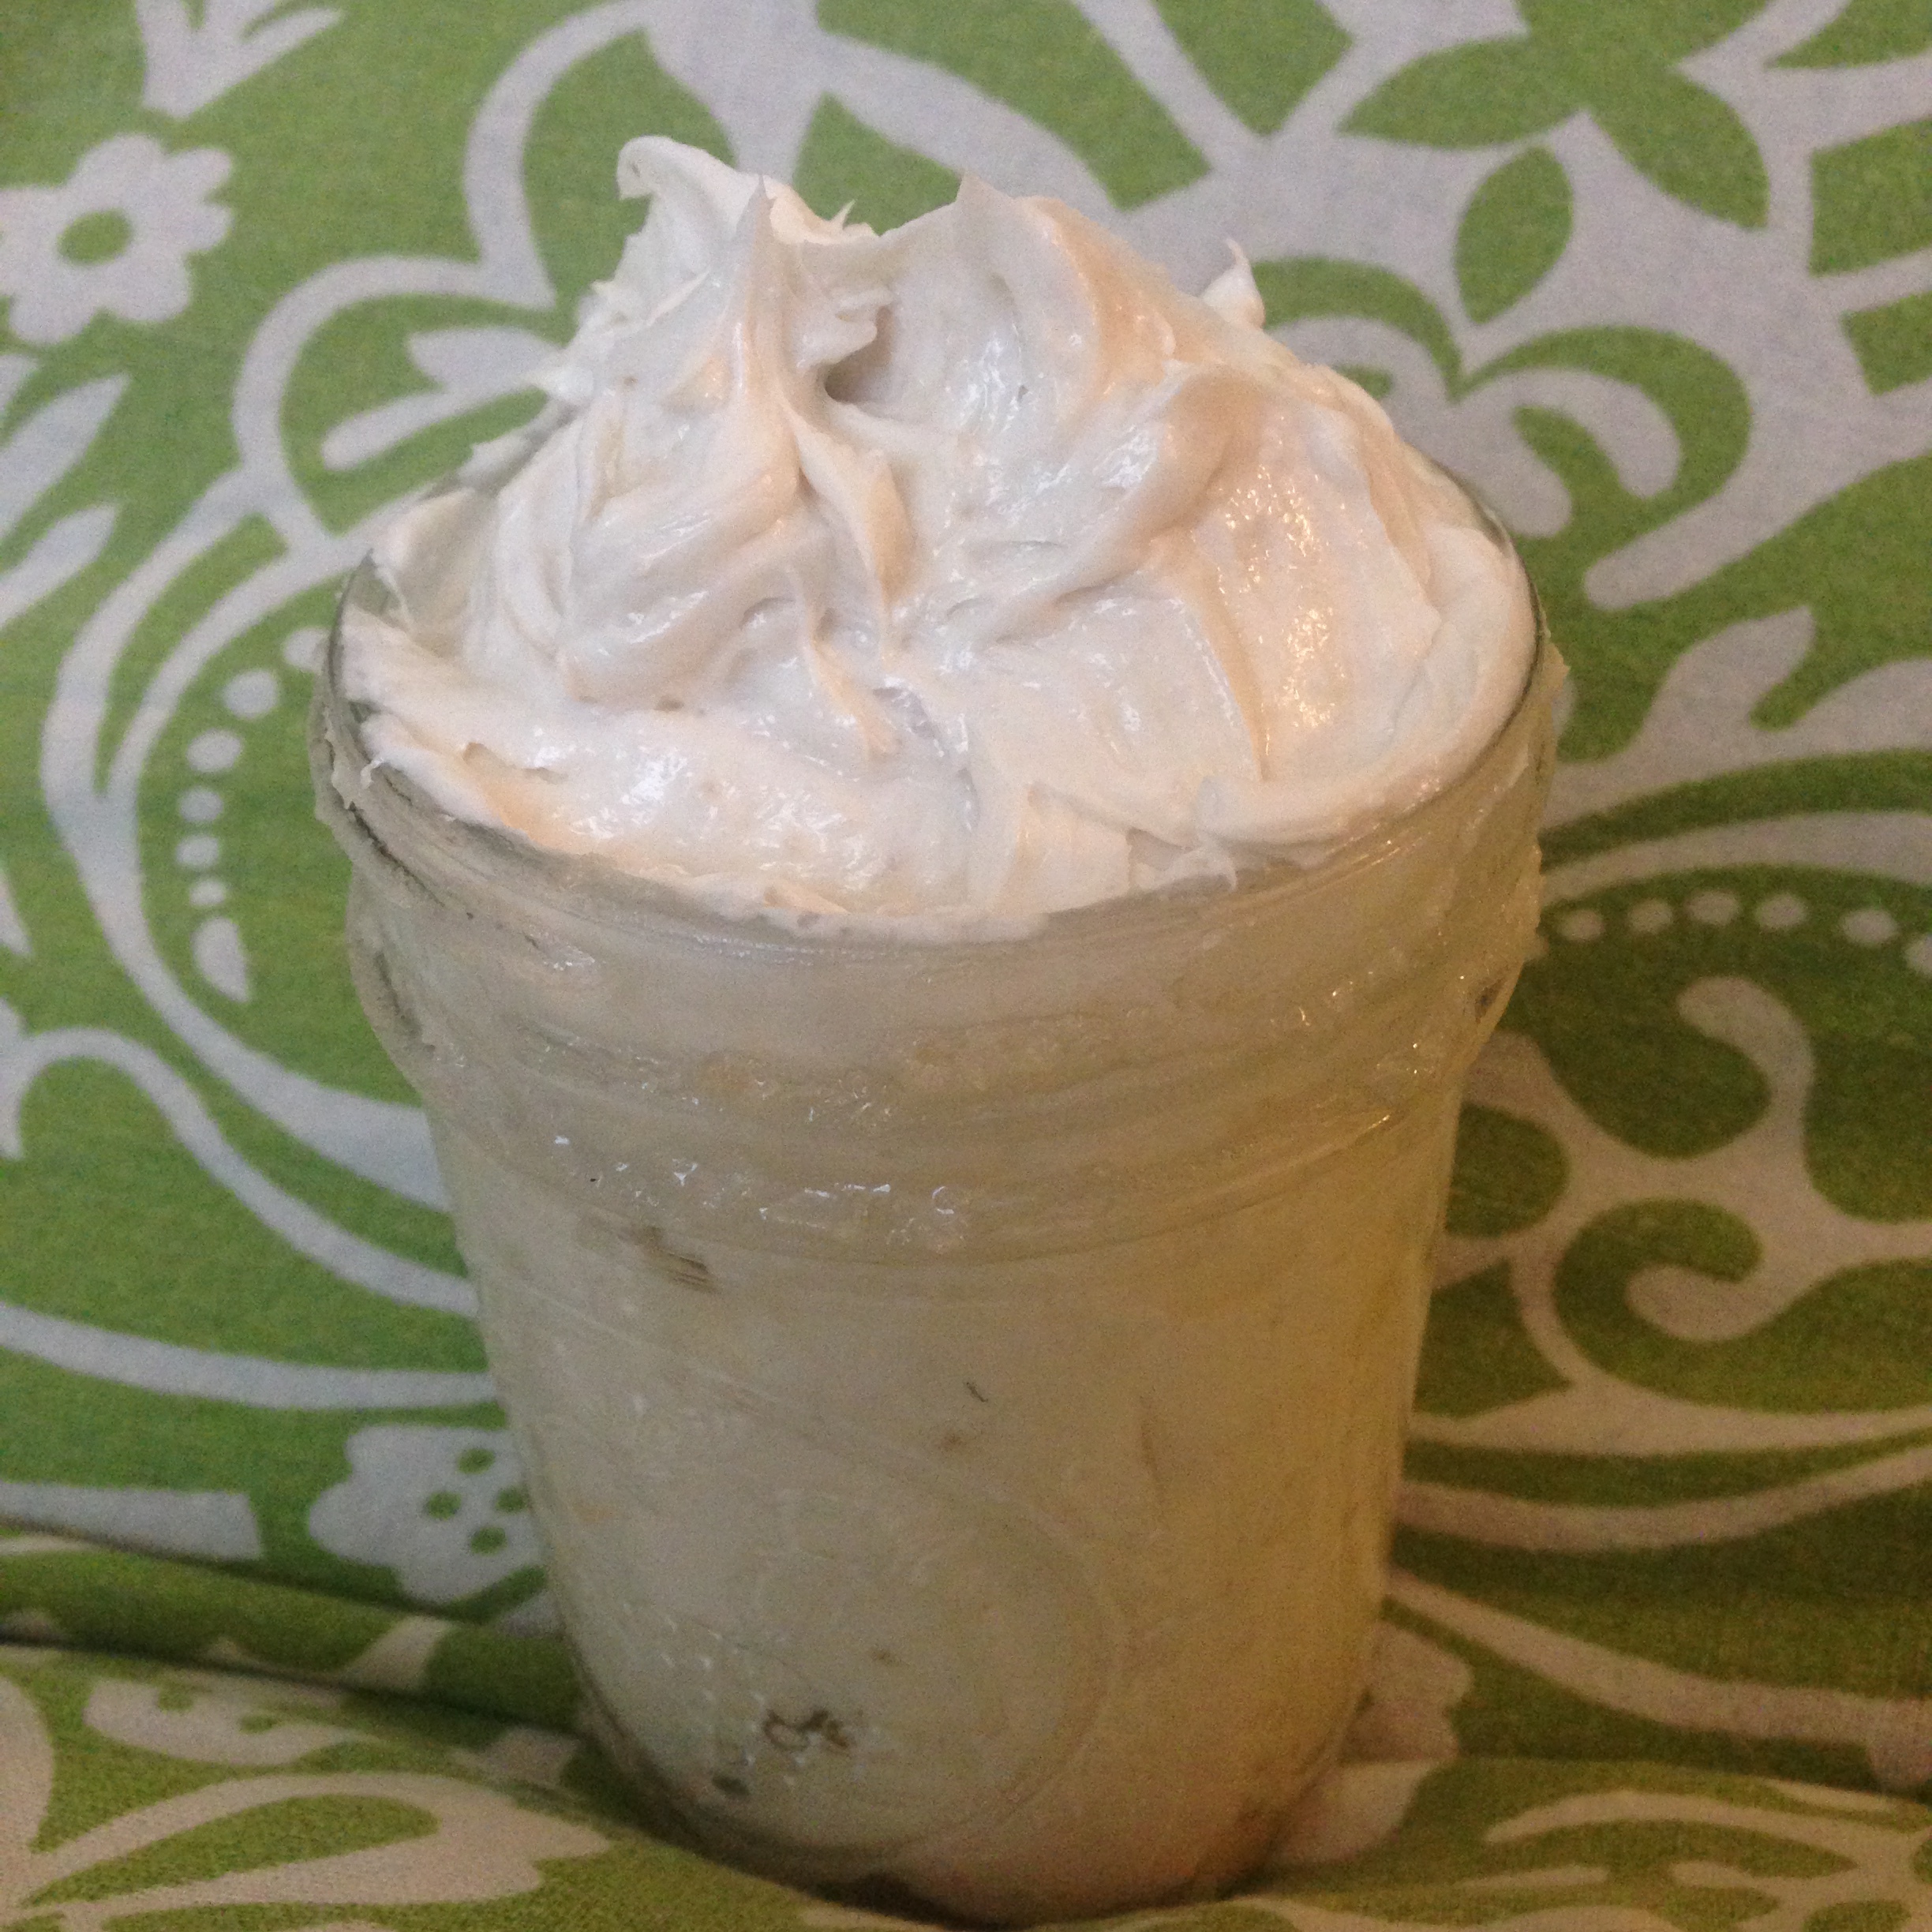
  9. Add the essential oils and whip again until well mixed and the mixture reaches the desired texture.

To Use: Use about a quarter sized dollop for each leg. Be aware that this can make your shower floor slippery and take extra caution. The texture will become oily once on your leg, as opposed to fluffy and mousse-like

A note about natural ingredients:  because these ingredients are all natural, they will inevitably spoil.  This isn't necessarily a bad thing as it is basically the microbial world telling you that its not poisonous!  None of these things should spoil too quickly, but to help make it last longer try to limit the amount of water that gets into its container. If you find this is becoming too much of a problem, just make a smaller batch by cutting the recipe in half.

ACKNOWLEDGMENTS

While my recipe is not a replication of any of these bloggers, I did use their posts for guidance and feel they should be acknowledged:

Heather of mommypotamus.com, find her shaving cream recipe here!

Katie of wellnessmama.com, find her shaving cream recipe here!

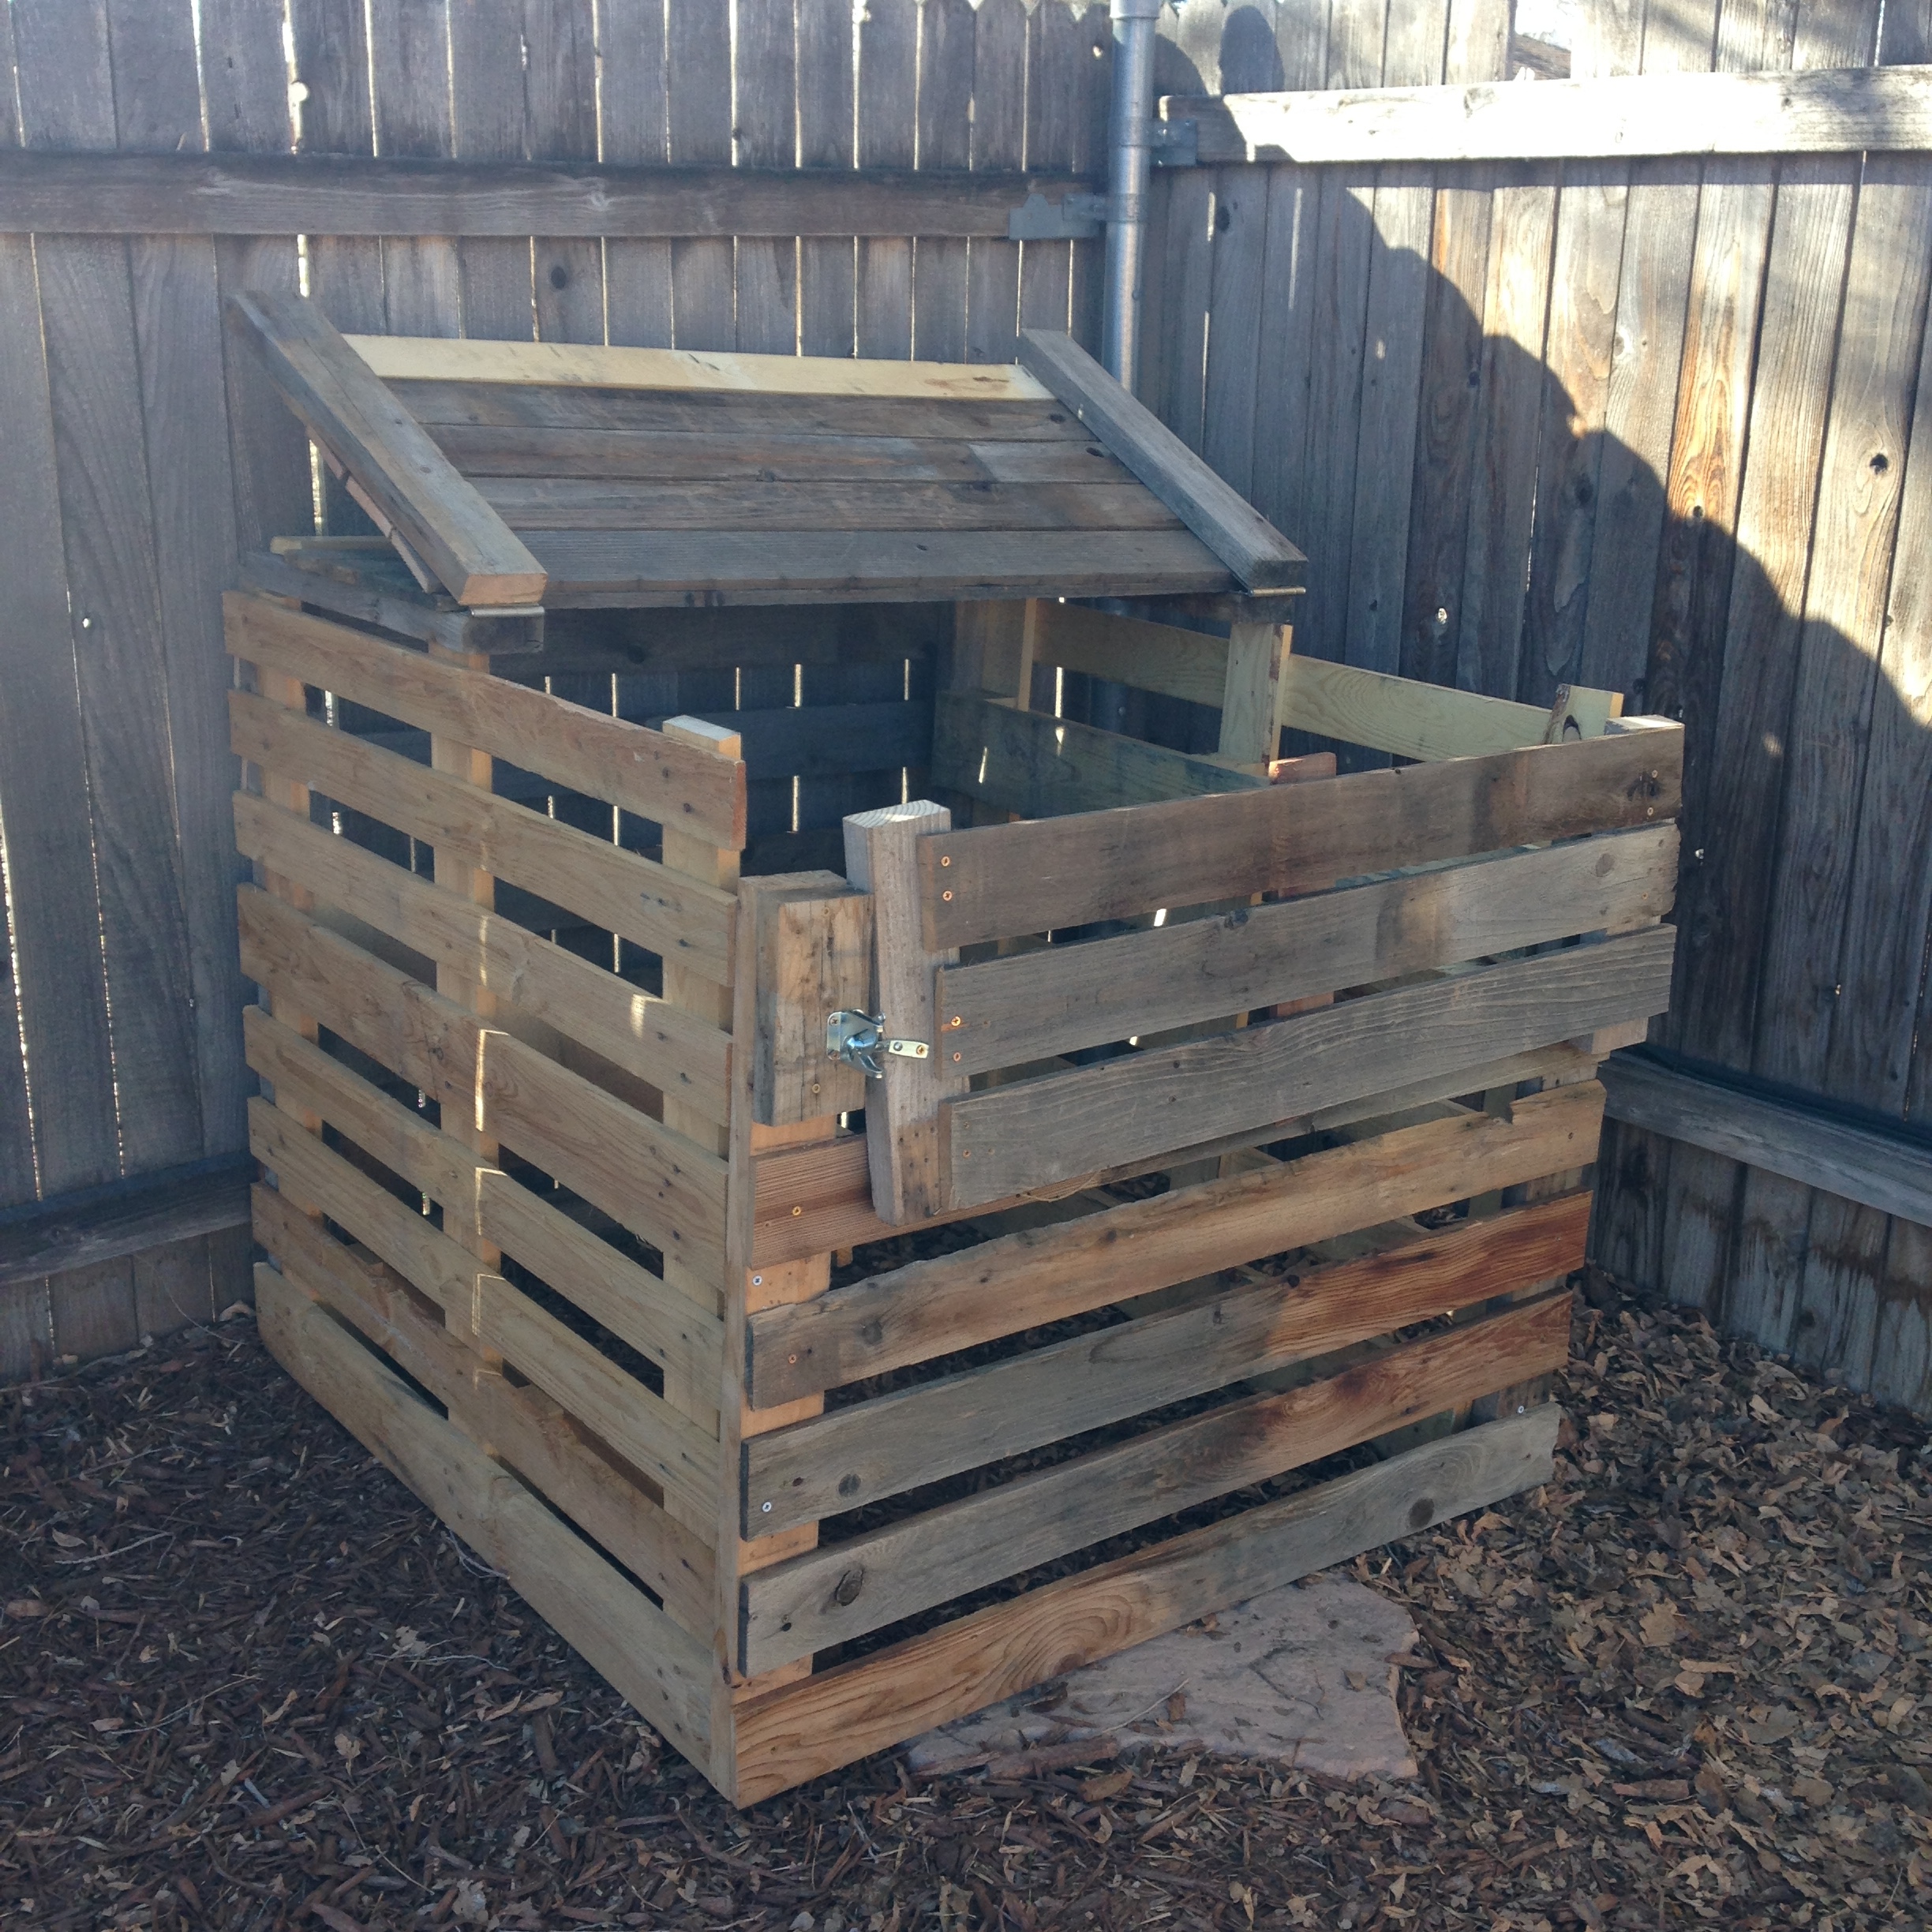
DIY Backyard Compost Bin

I am so extremely excited about this, my friends. I've been wanting to build myself a compost bin for years now!  Finally in November I moved into a house where I could feasible have one in the backyard.  But with moving and the holidays, etc. I just didn't get it done.

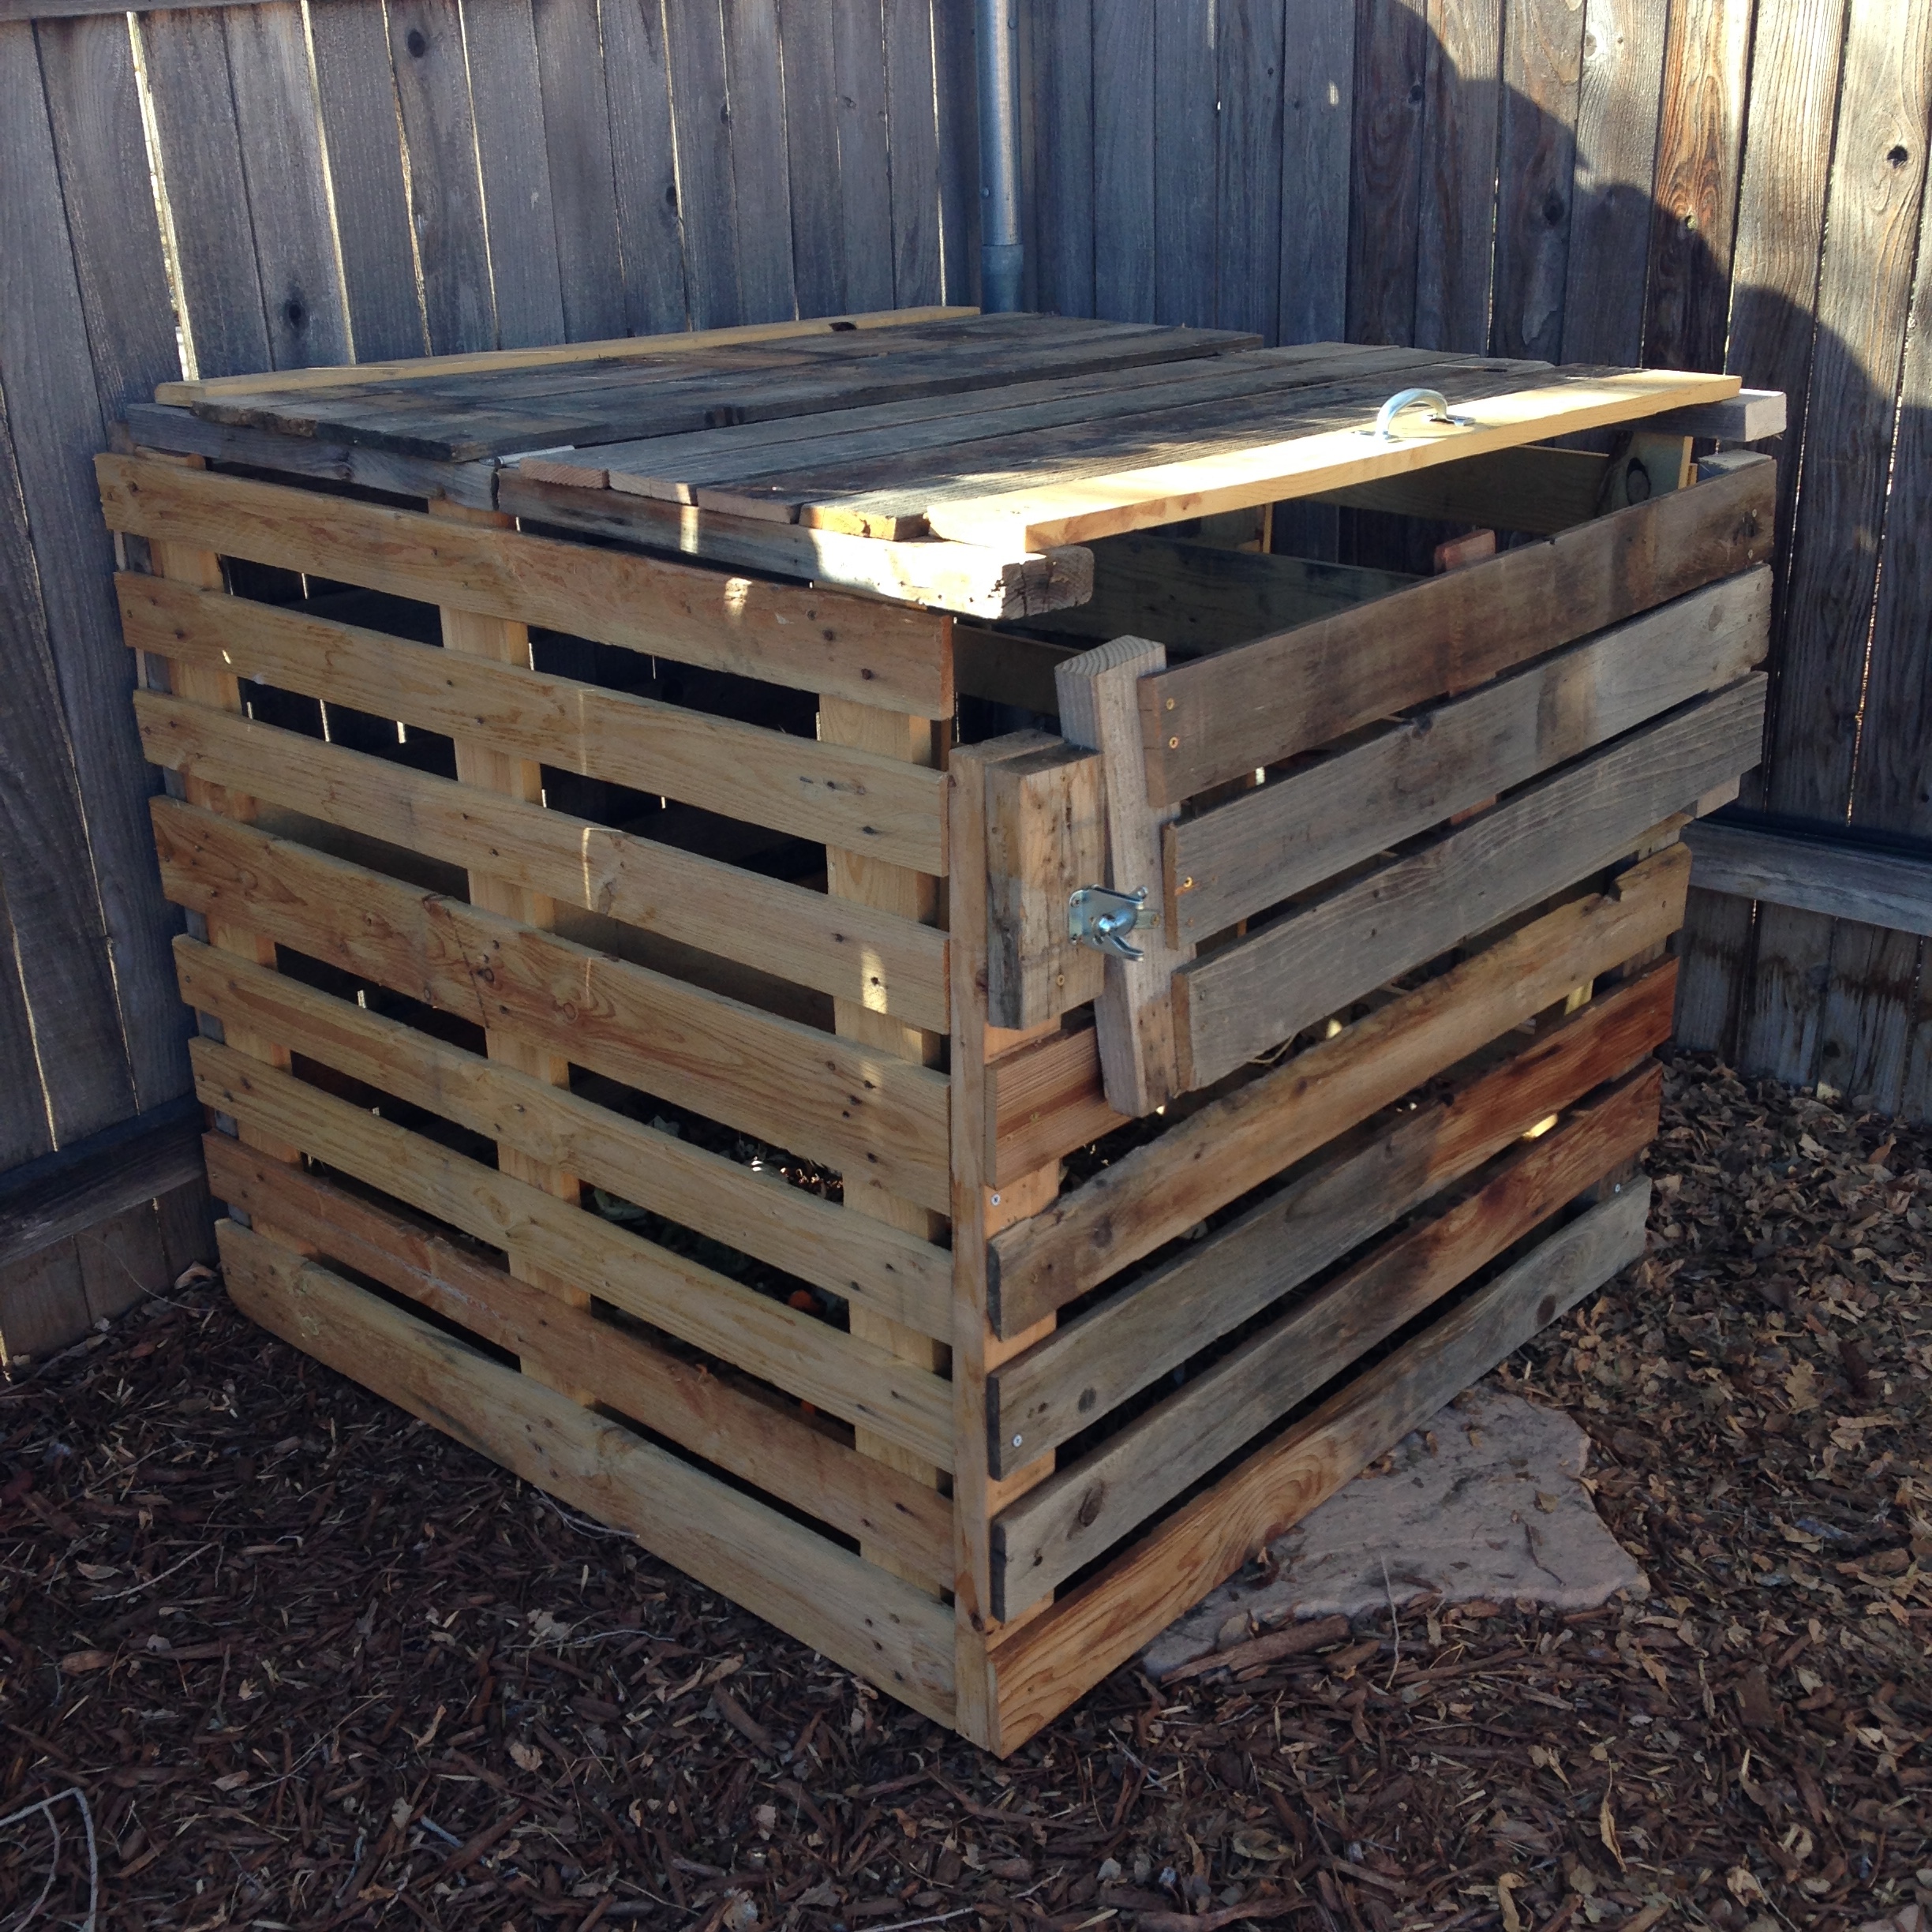
However, on Thursday I spent basically the whole day working on this, and I'm super happy with the way it came out. 

Materials

Wood: I was able to use two pallets that my roommate picked up for free from a local brewery, along with a bunch of old fence planks we had from re-doing the fence. This means that all of my wood was free!

If you don't have spare wood handy, you could definitely do this with 4-5 pallets, ideally all the same size.

Hardware

  1. 2 inch and 4 inch screws
  2. 3 Hinges
  3. 1 metal handle 
  4. 1 fence latch

Tools

  1. Hammer
  2. Drill with appropriate bits
  3. Skill saw*
  4. Miter Saw*

* You could do this project without the saws if you found pallets that were all the same size. Because I was working with many different sizes of wood, the saws were definitely needed!

Execution

I based my design off of This Old House's DIY Compost Bin, and really enjoyed it. Their design was easy to understand, had awesome diagrams, and I could adjust from it pretty simply (I used different measurements).

Instead of having a slid-in-slide-out top segment, I made mine hinged. Either way works totally fine!

1. I started out with two sturdy but different sized pallets.

2. I partially broke down and then resized the pallets so that they were both 36" high. I kept their original width of 46" and left the "inner workings"for some extra stability.  This gave me 2 out of 4 sides

3. I made one more 36"x 46" side using two vertical planks (36") and six horizontal ones (46").

4. I brought these three sides to the location where I wanted to assemble/keep the compost bin.

5. Then I attach the three side walls at two corners.

6. Making the front involved making a fixed lower segment and a hinged top segment.

7. For the fixed lower portion I made a 25"x"46" wall just like I made the sides (only shorter), by attaching 5 horizontal planks to two vertical ones. 

5. I attached this to the empty front portion of the bin.

6. Then, I measured to determine the dimensions of my hinged segment (14" tall x 41" wide)

7.  Made hinged section using three vertical planks and three horizontal.

8.  Attached hinge and latch.

9. To make the lid I needed two segments each 23"x46" so I could attach them with a hinge in the middle.

10. I attached these using two hinges, one on each side, and added a handle for easy opening and closing.

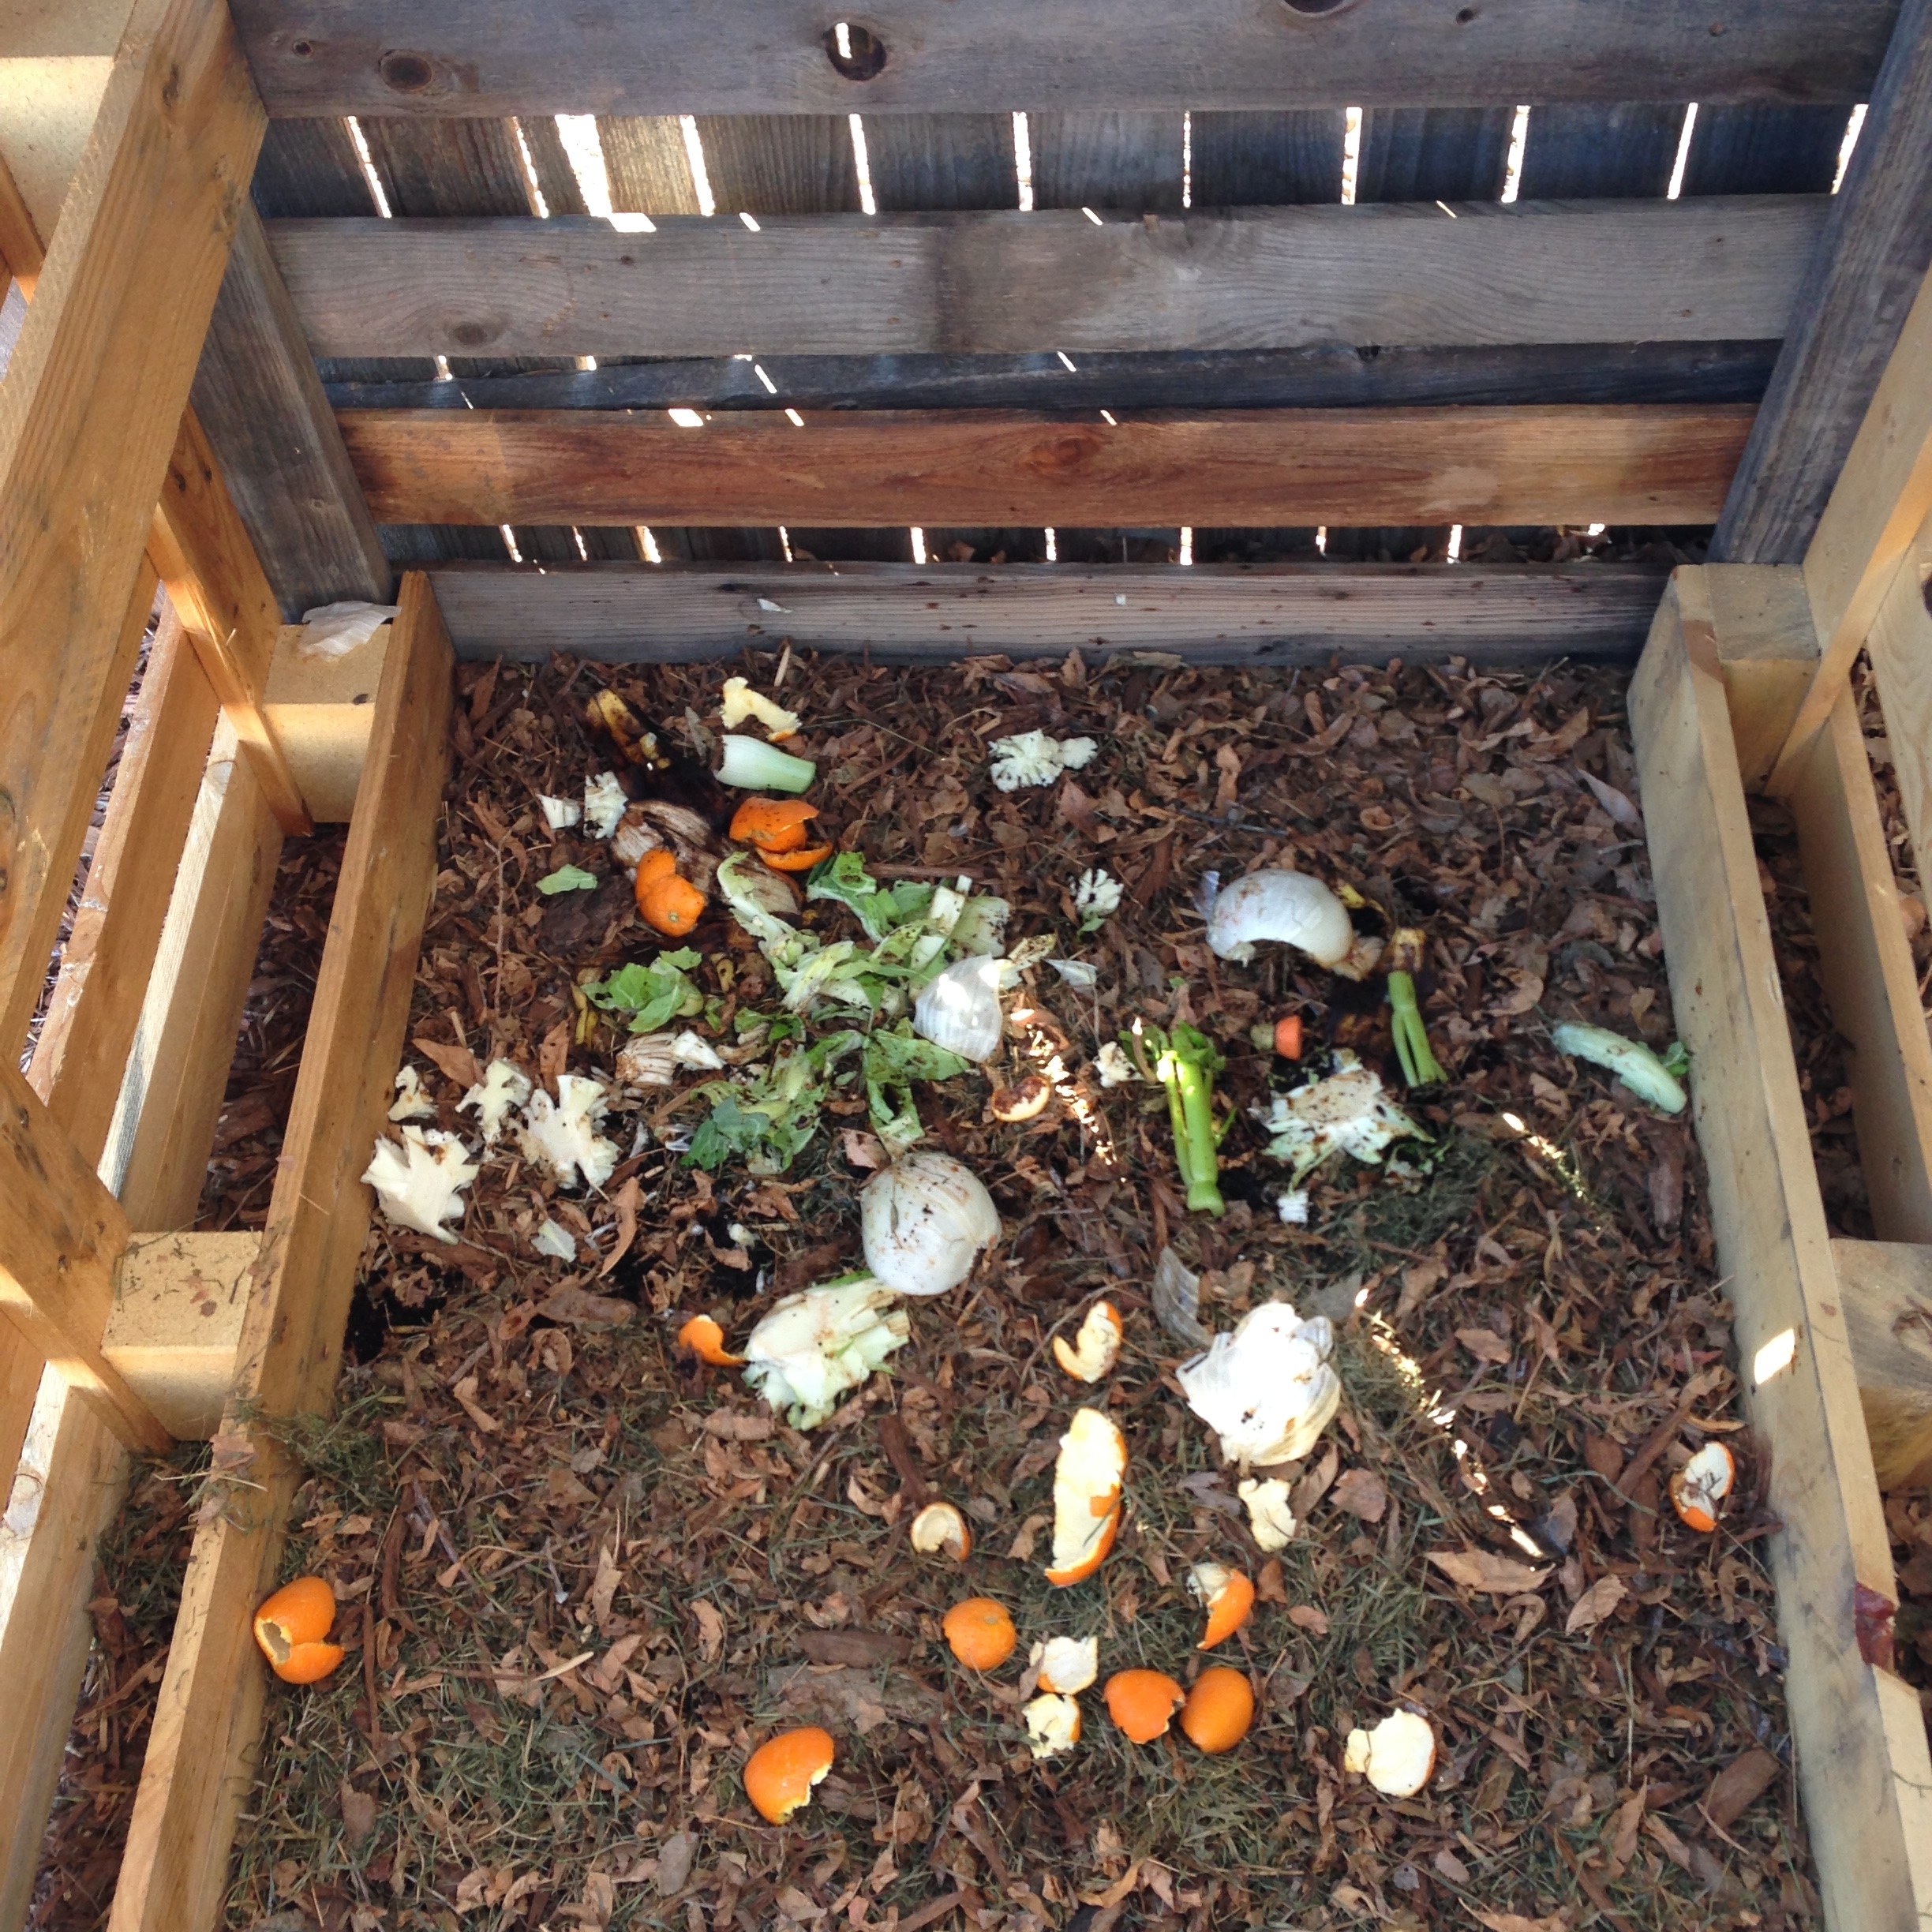
And that was it! Once I was done I threw in some dead leaves and lawn clippings we still had in a pile from fall.  Then in goes the rest of our stuff! I'll do another post in the future about how to compost correctly.

To be frank this project took me a while as I sort of fumbled my way through re-designing and re-doing several steps.  I'd say it took about 5 hours total, but if I had planned and prepped better it could have been about 3 instead.

Cost

Okay, so you're average retail compost bin will cost you between about $50.00-$150.00. A comparable bin to the one I made would be minimally $100.  

My materials and cost was:

  • Wood: $0.00
  • Screws: $10.00 (for 1 lb, I did not use them all)
  • Hinges x 3: $8.00
  • Handle x 1: $3.50 
  • Latches x 1: $4.00

Total Cost: $25.50

Alternate Options

If you are interested in building you're own compost bin and have a backyard to do so, these designs are also awesome:

  1. How to build a compost bin from pallets
  2. How to build a compost bin from cedar lattices 
  3. Easy, square, wood and wire compost bin
  4. Simple wood and wire compost bin

If you are interested in composting but do not have the backyard to do so, here are some indoor composting options:

  1. Under the sink
  2. Retail option