When I first started shaving, it became quickly apparent that I was not only sensitive to the traditional foaming shaving creams, but actually allergic to them. My legs would rash and become uncontrollably itchy. I fell asleep in school a few times from taking bennydryl to calm the reaction down. So it didn't take long for my mom to help me find some alternative options. There weren't really any health food stores near us at the time, so I started using soap and conditioner with no problems, and for years that's what I shaved with.
As some new stores came into town (Sprouts and Trader Joe's specifically), we found some different, more natural products like Dr. Bronner's Shaving Soaps and Trader Joe's Honey Mango Shave Cream. I used these on and off into and out of college, but now that I'm going zero waste, these won't cut it anymore because the packaging is not recyclable.
So after some internet research, and some experimentation with different recipes, here is my coconut shaving cream recipe! While there are quite a few more ingredients and steps than any of my previous body care products, I promise this is still easier to make than making a batch of cookies (even the kind that comes out of the box) so don't be intimidated!
INGREDIENTS:
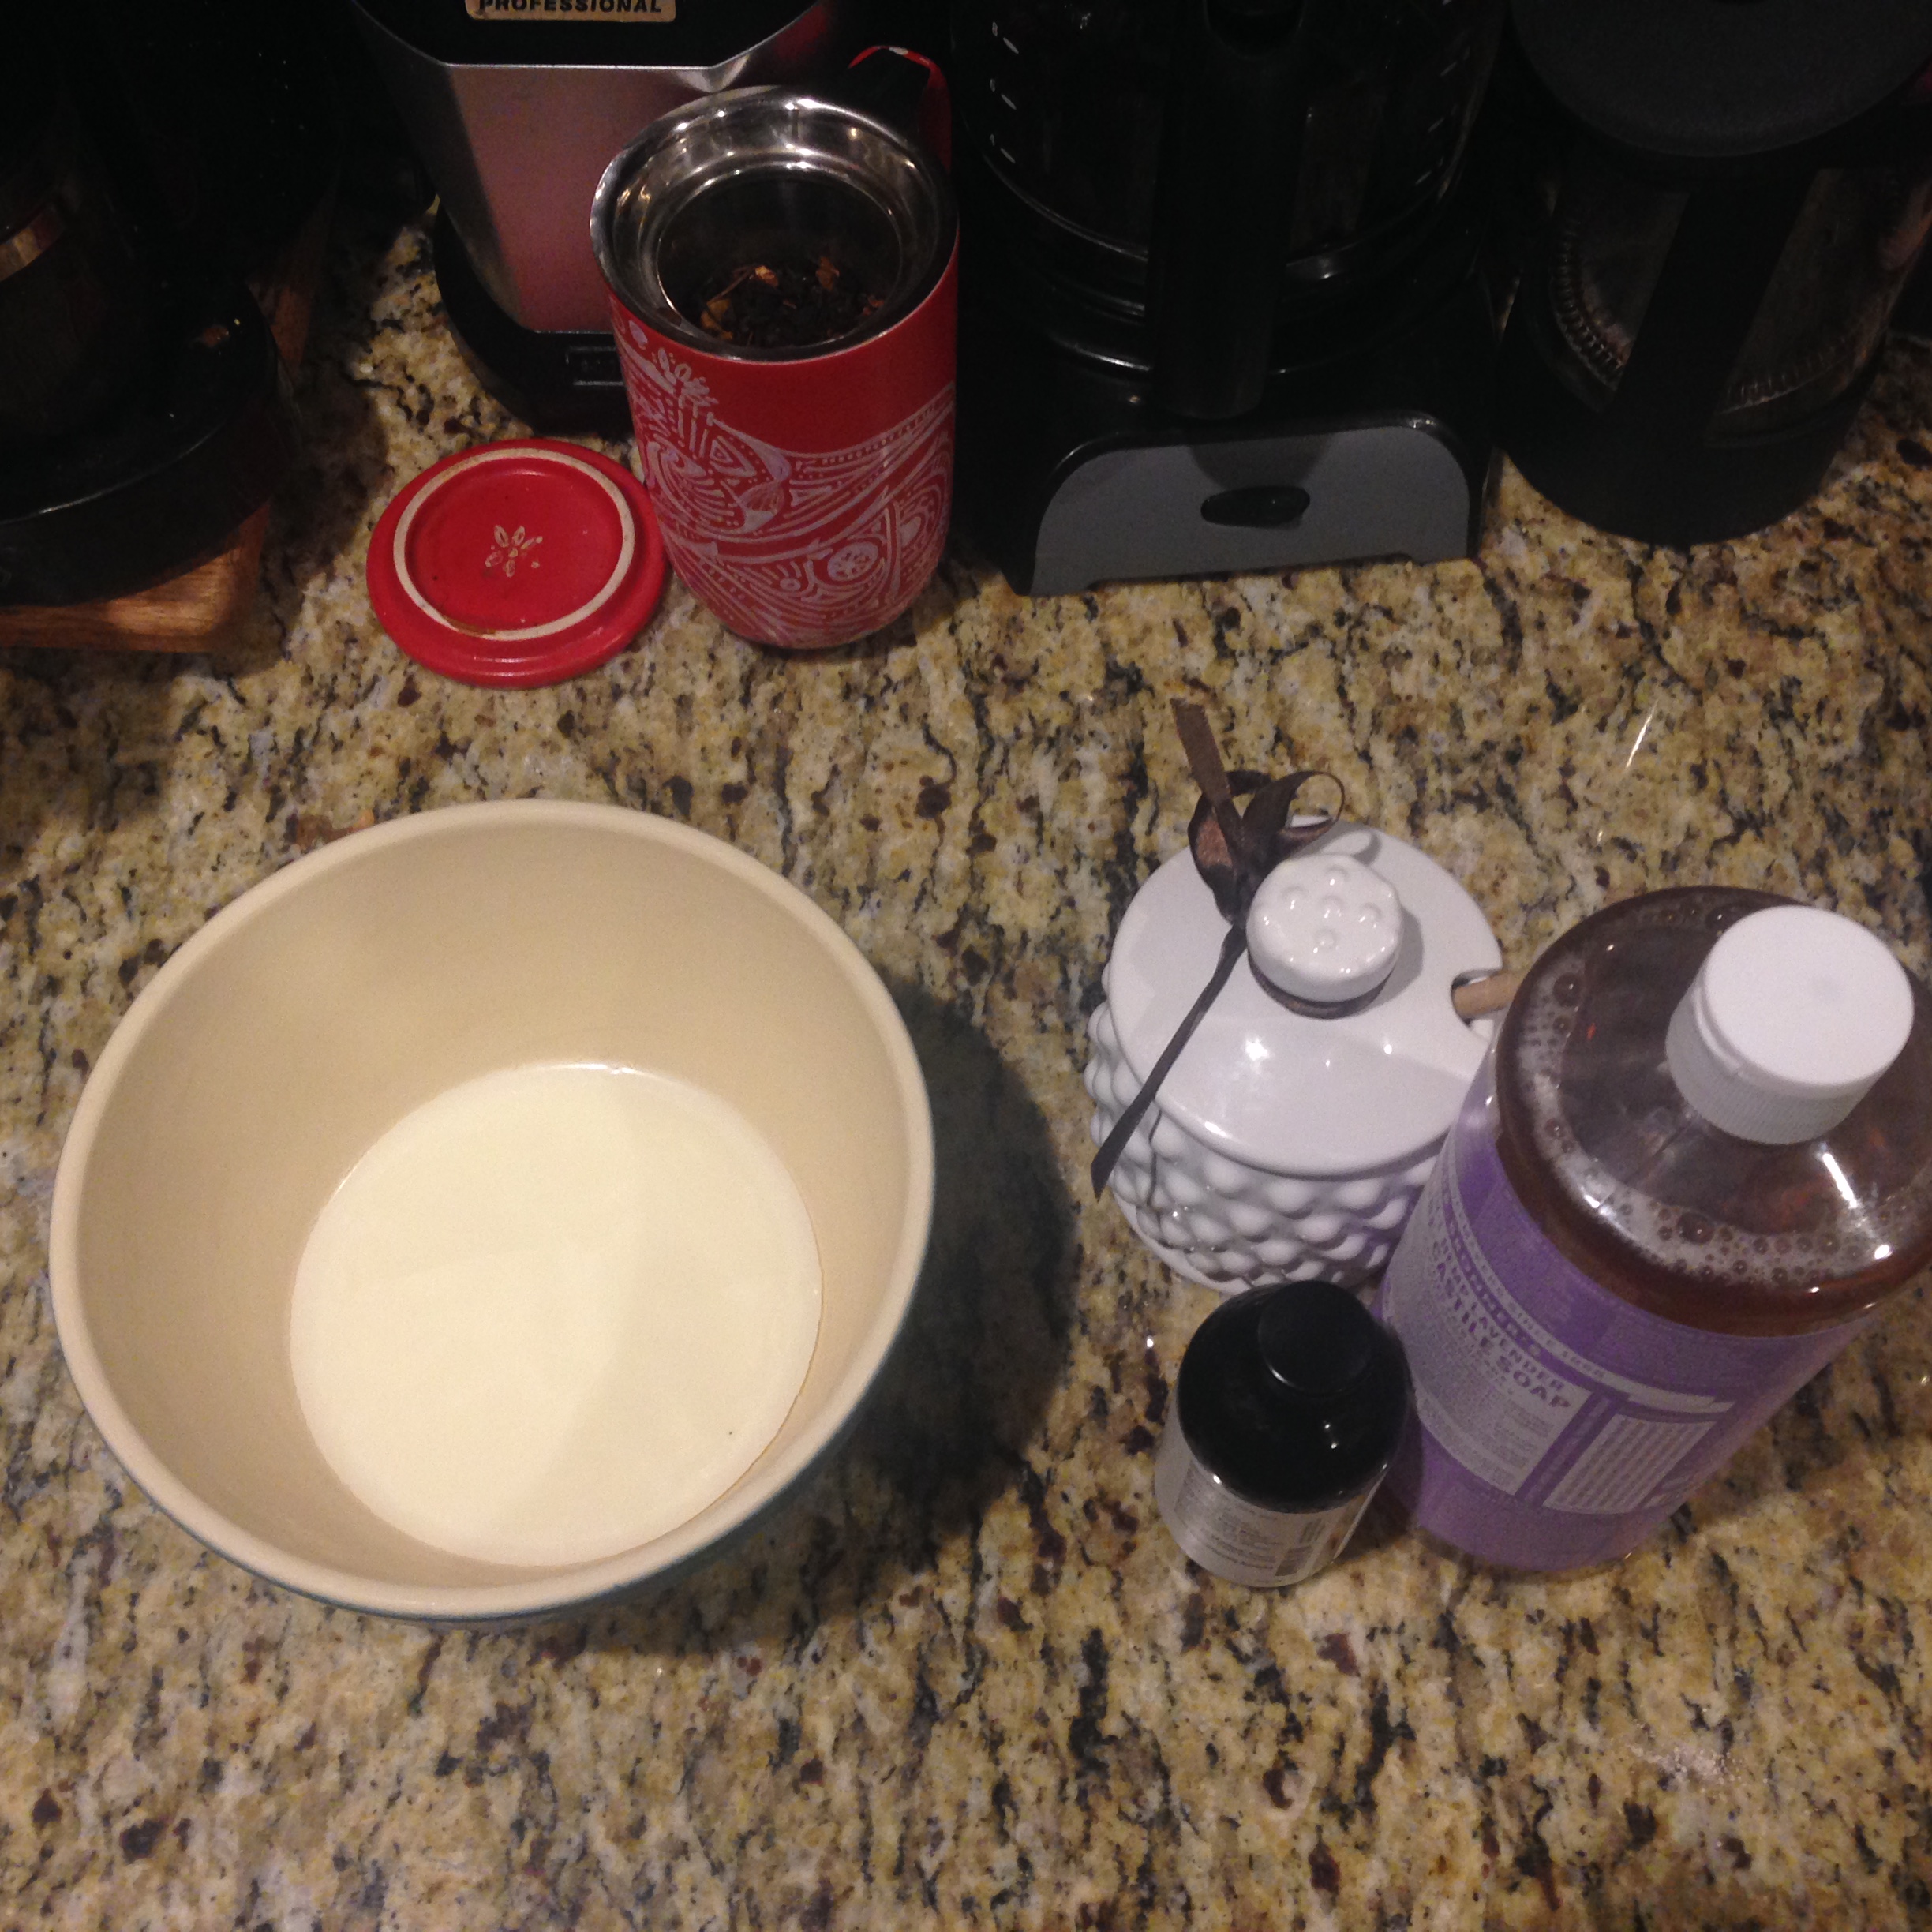
- 1/2 cup unrefined coconut oil
- 1/2 cup pure shea butter
- 2 tablespoons cocoa butter (optional)
- 2 tablespoons vitamin E, olive, or grapeseed oil
- 2 tablespoons of honey (optional)
- 3 tablespoons liquid Castile soap
- I recommend lavender, eucalyptus, or peppermint
- 10–20 drops of your essential oils of choice (optional)
- I recommend lavender, my boyfriend likes peppermint for his face
DIRECTIONS:
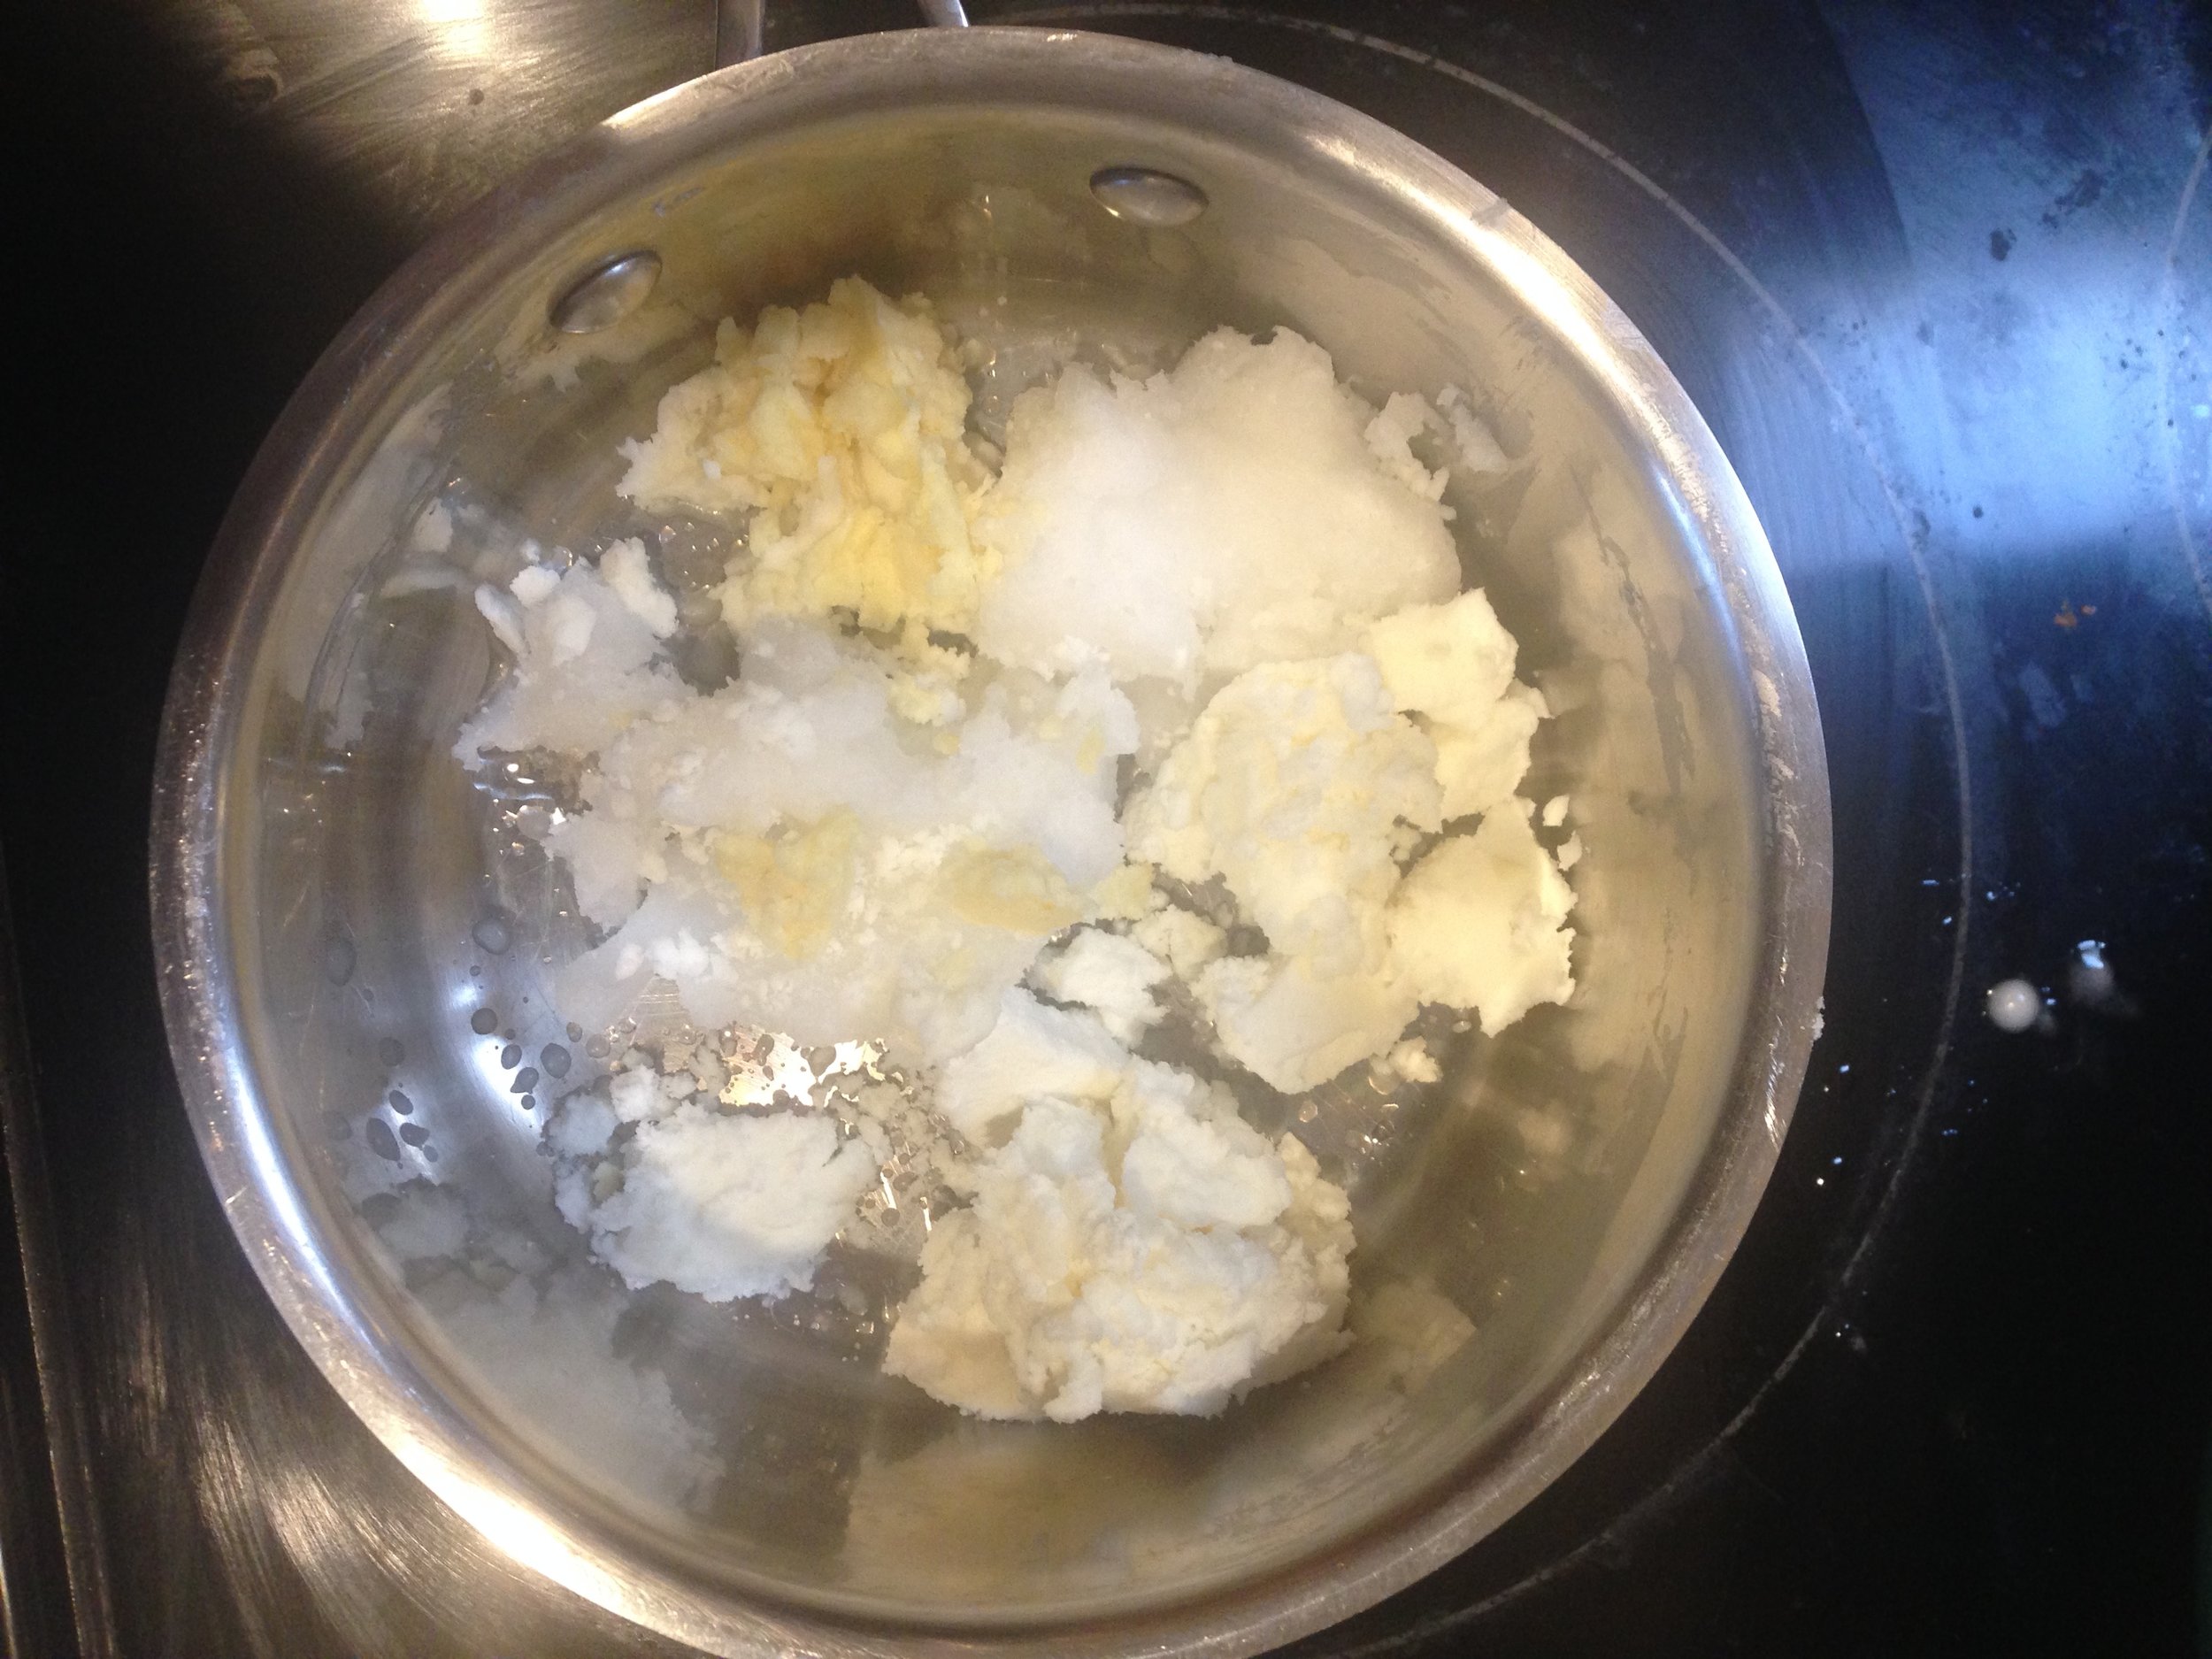
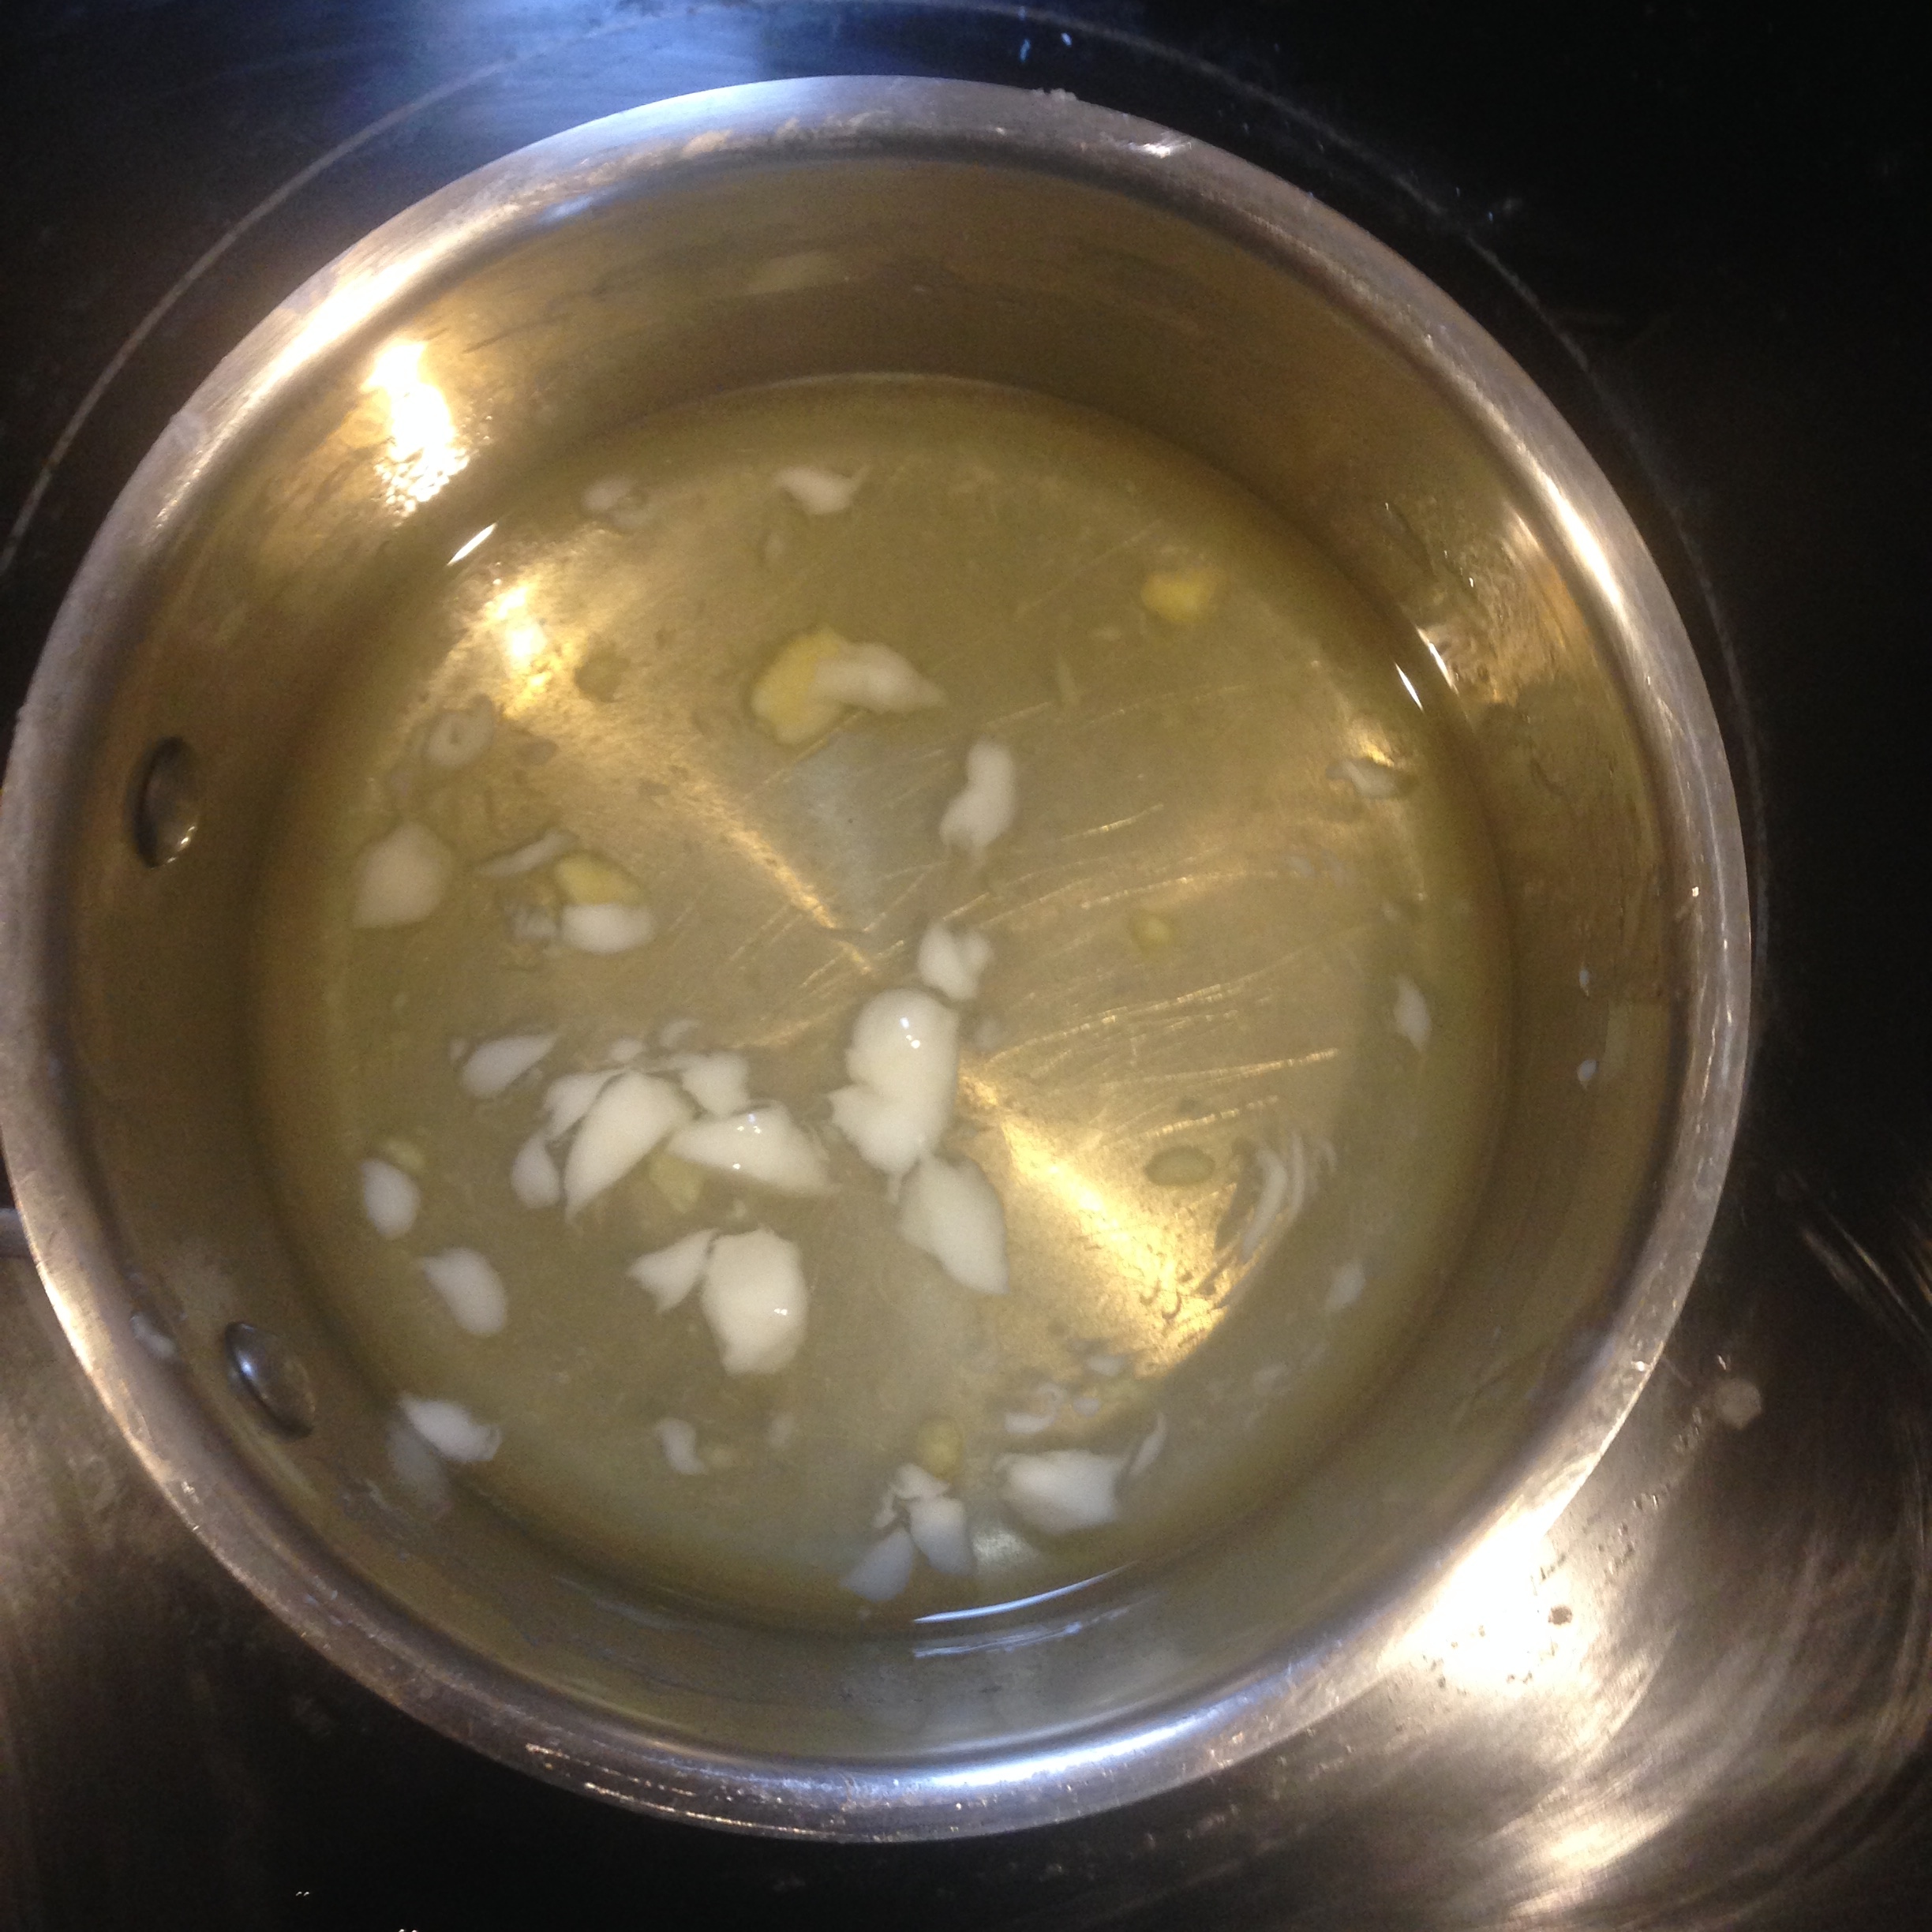
- Using a small saucepan, melt the shea butter and coconut oil (and cocoa butter if your using it) on a very low heat setting on the stove.
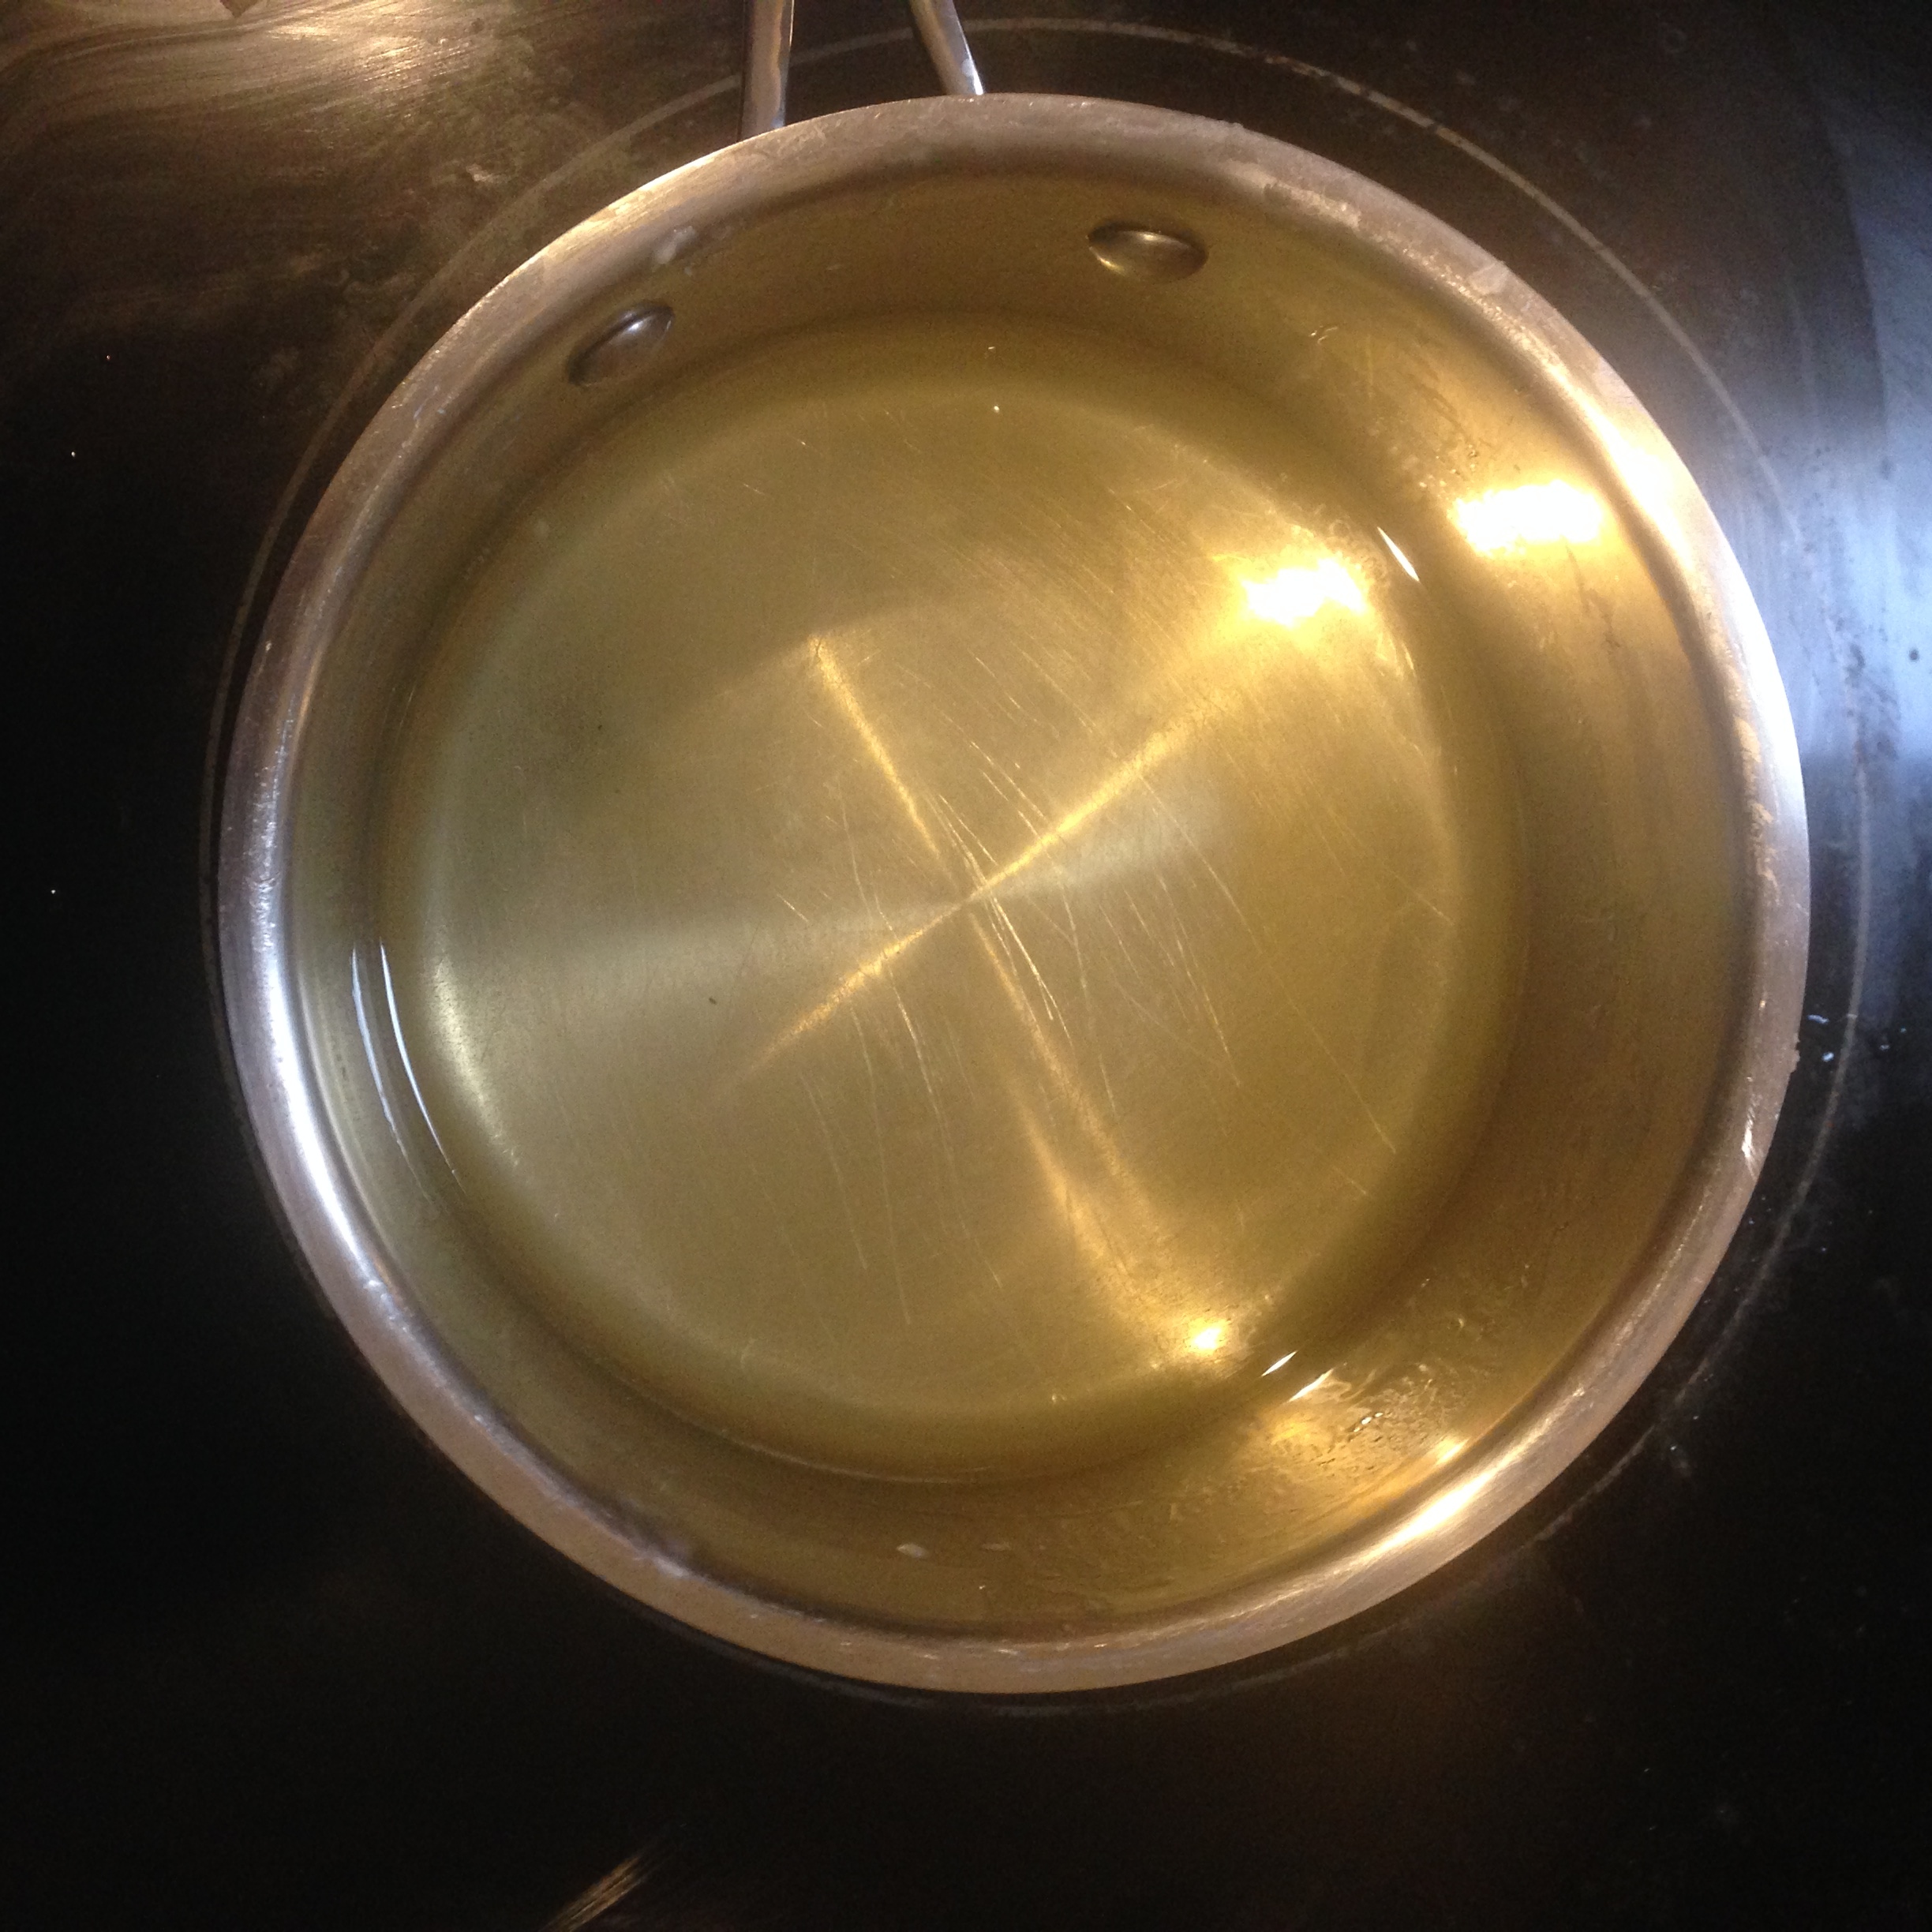
- Stir until fully melted.
- Add vitamin E/olive oil/grape-seed oil and stir until fully blended.
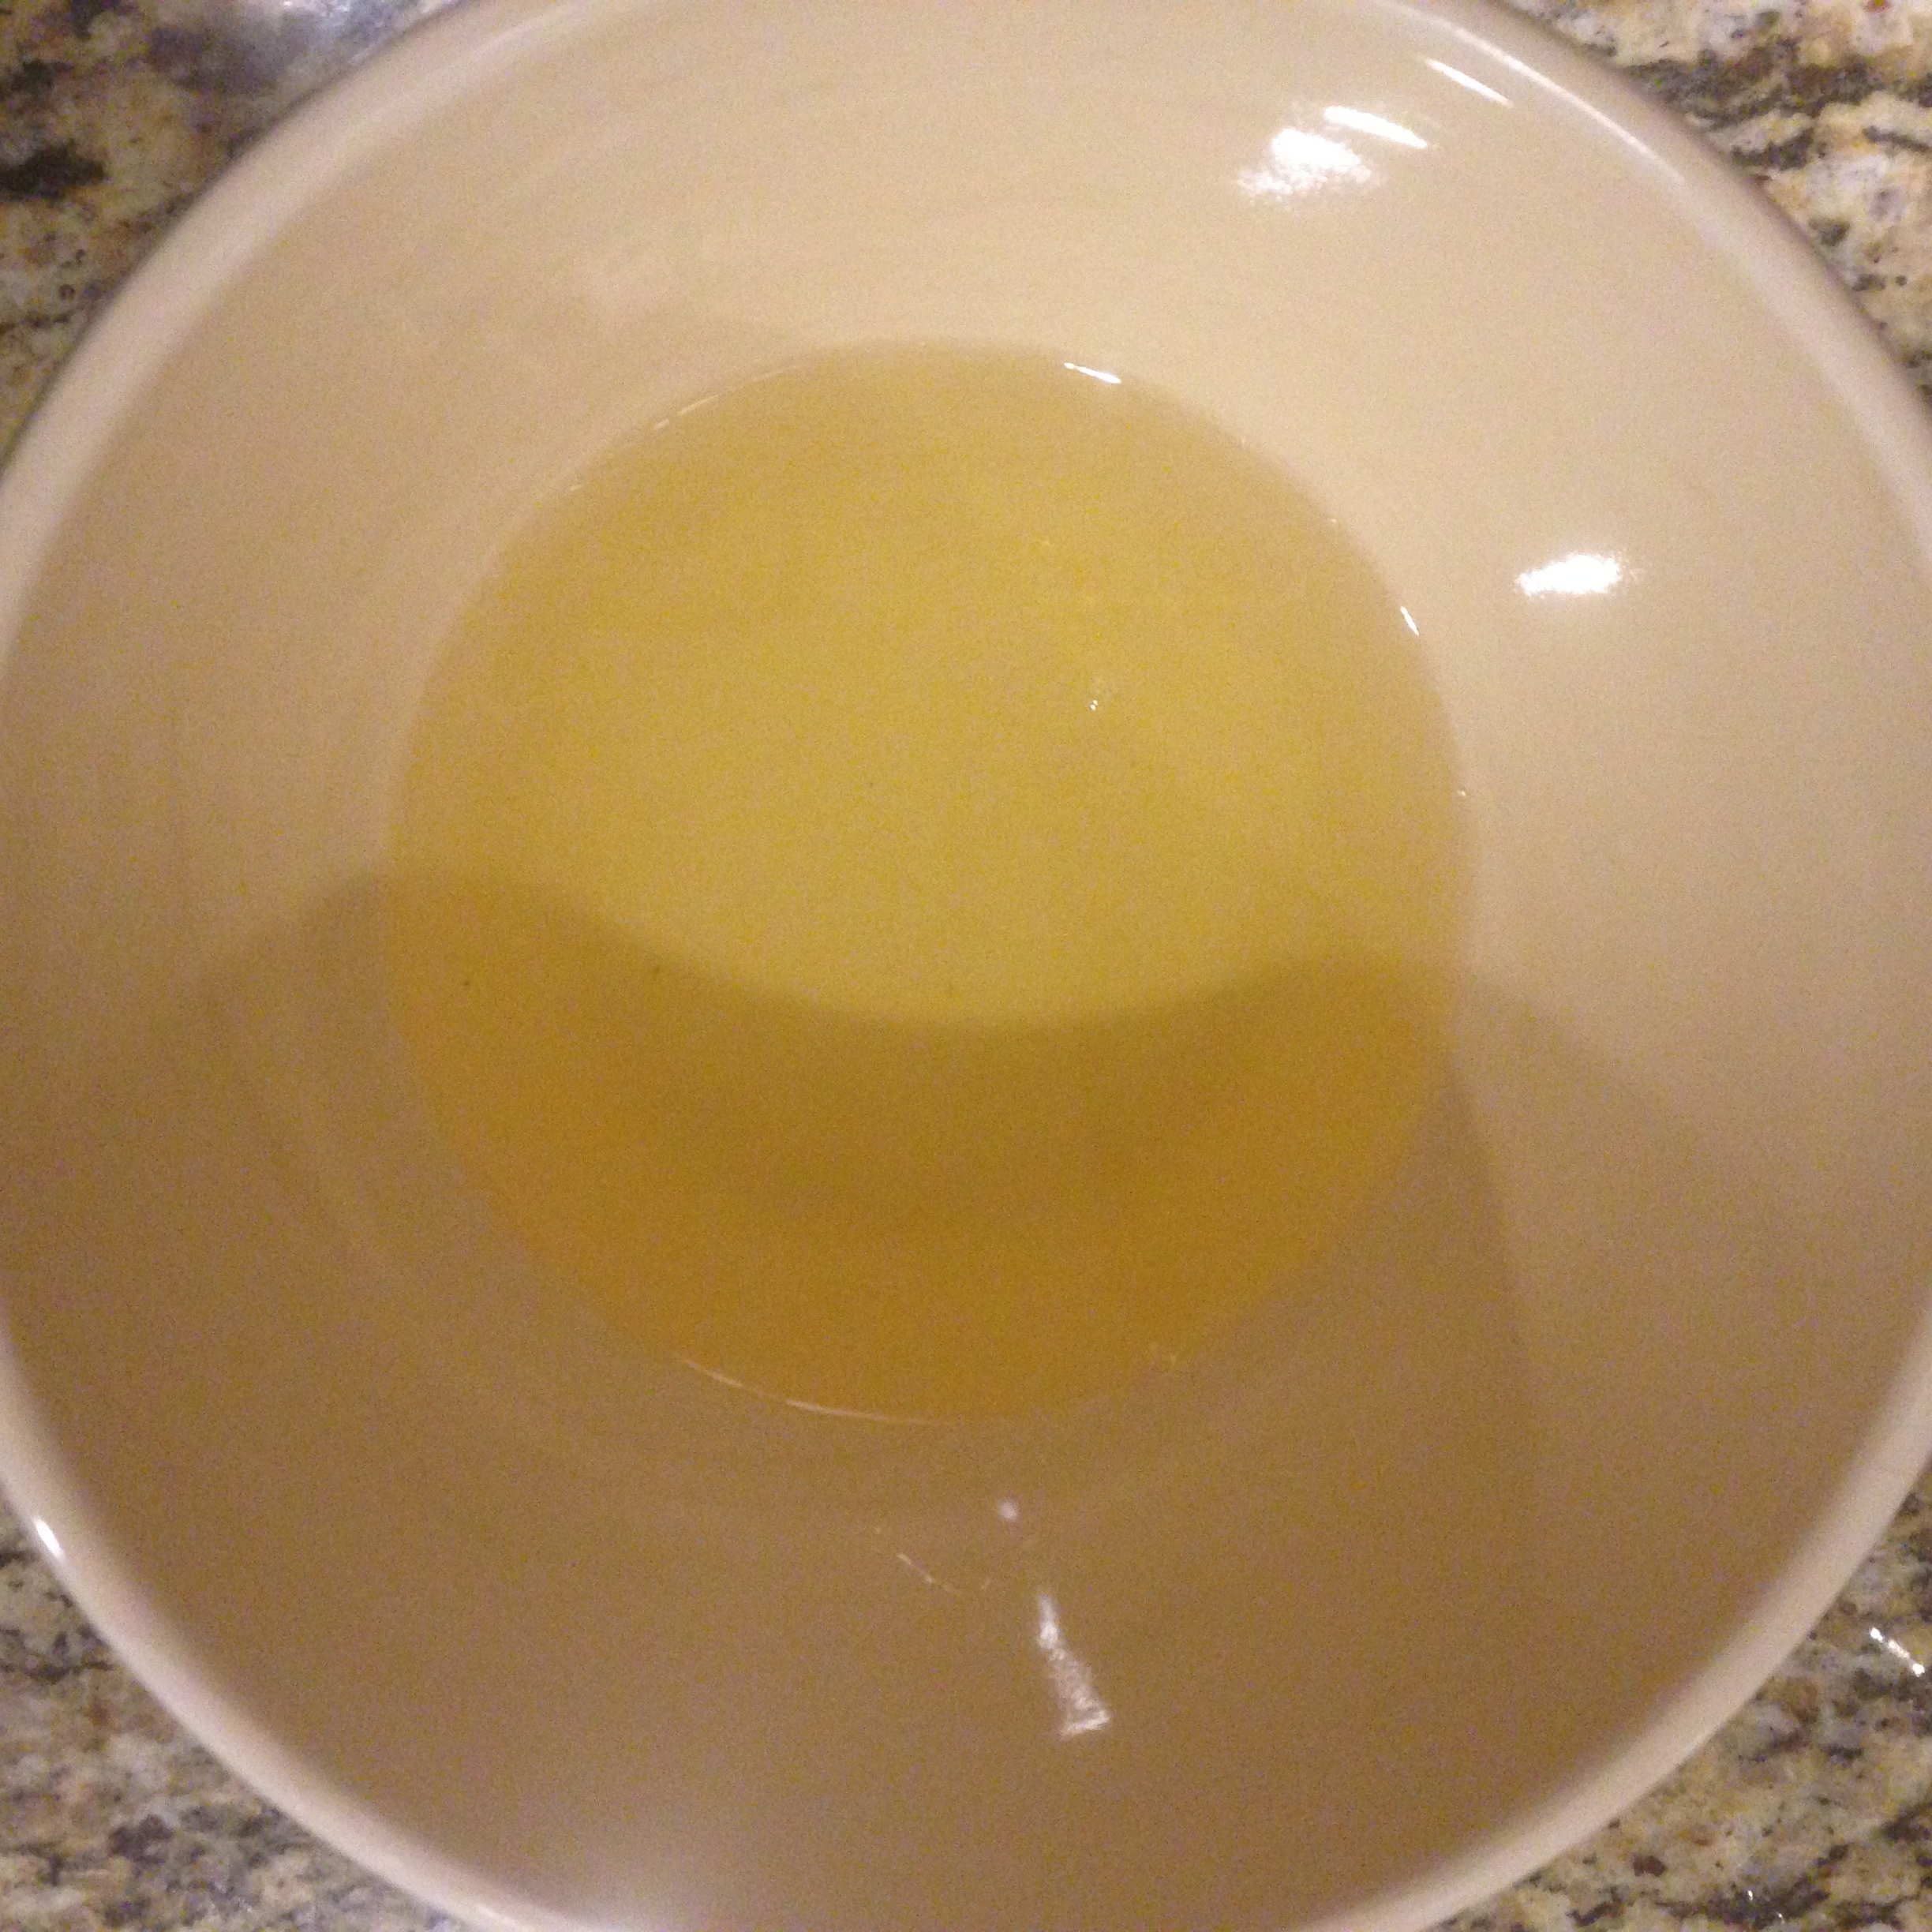
- Remove from heat.
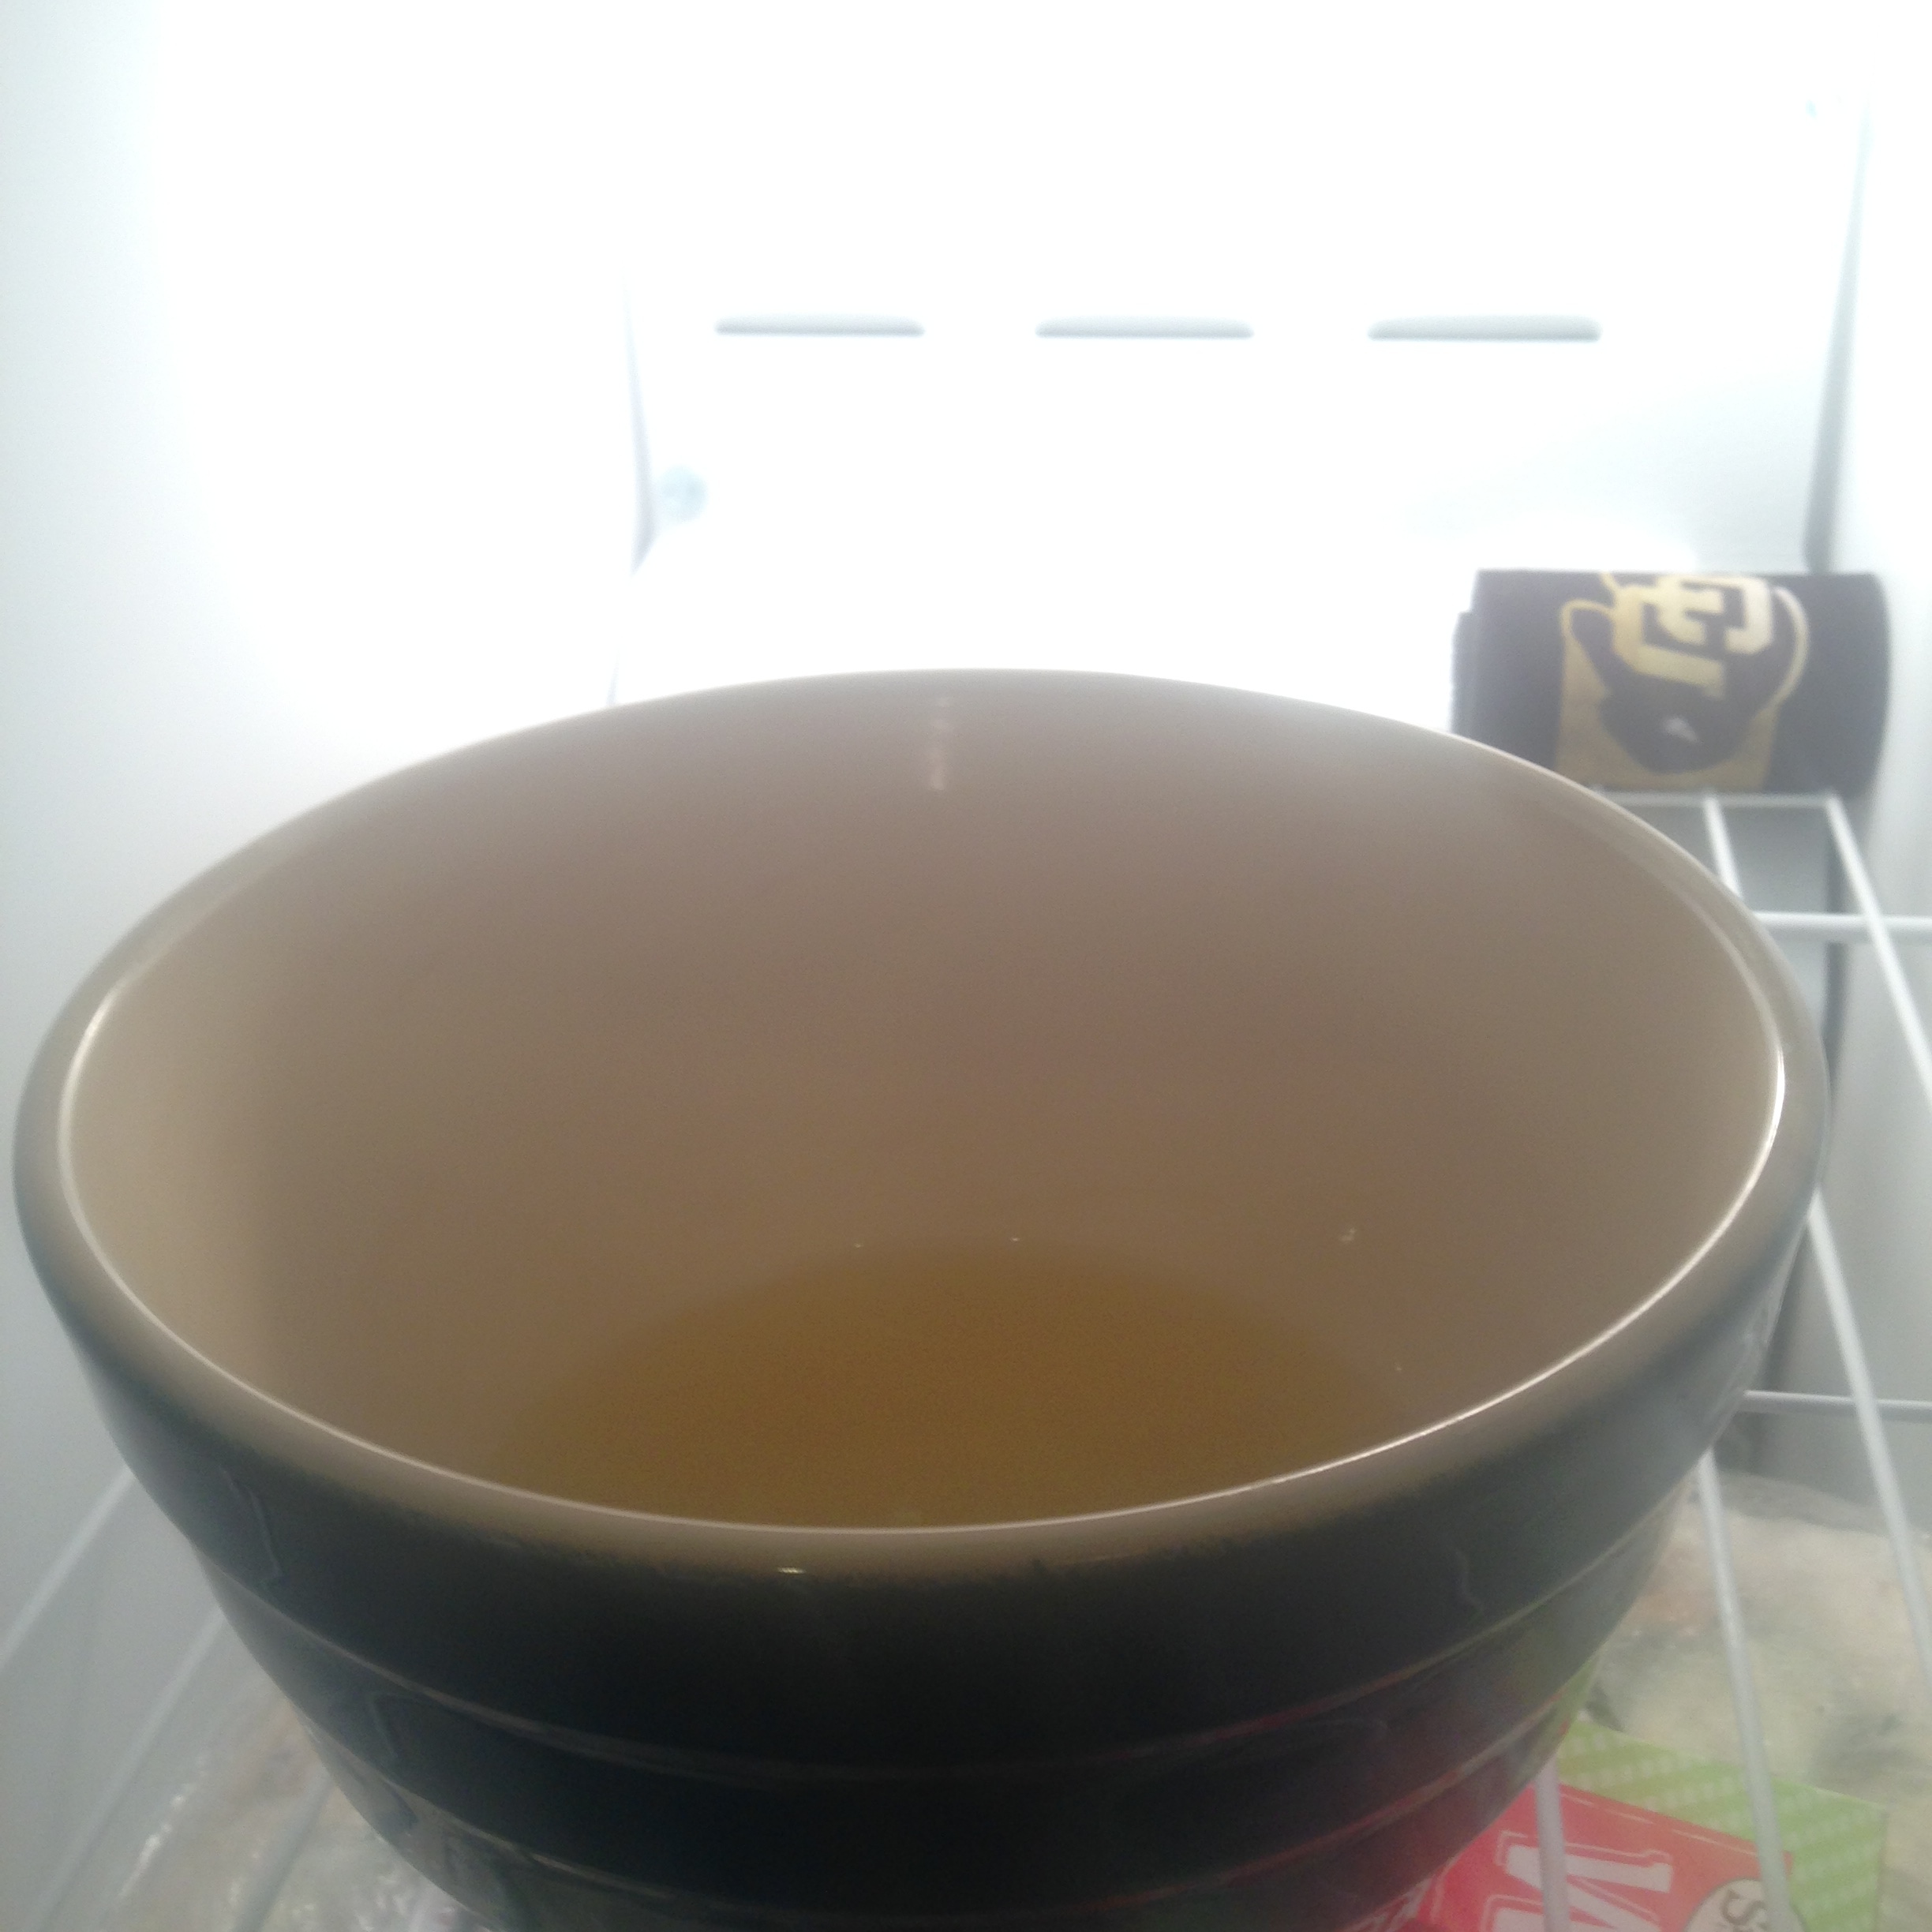
- Transfer the mixture to a medium-sized bowl and place in the fridge or freezer until it becomes solid, about 15-30 min.
- Make sure the oil hardens but doesn't freeze, you will find whipping it difficult if it does.
- Remove the mixture from fridge/freezer.
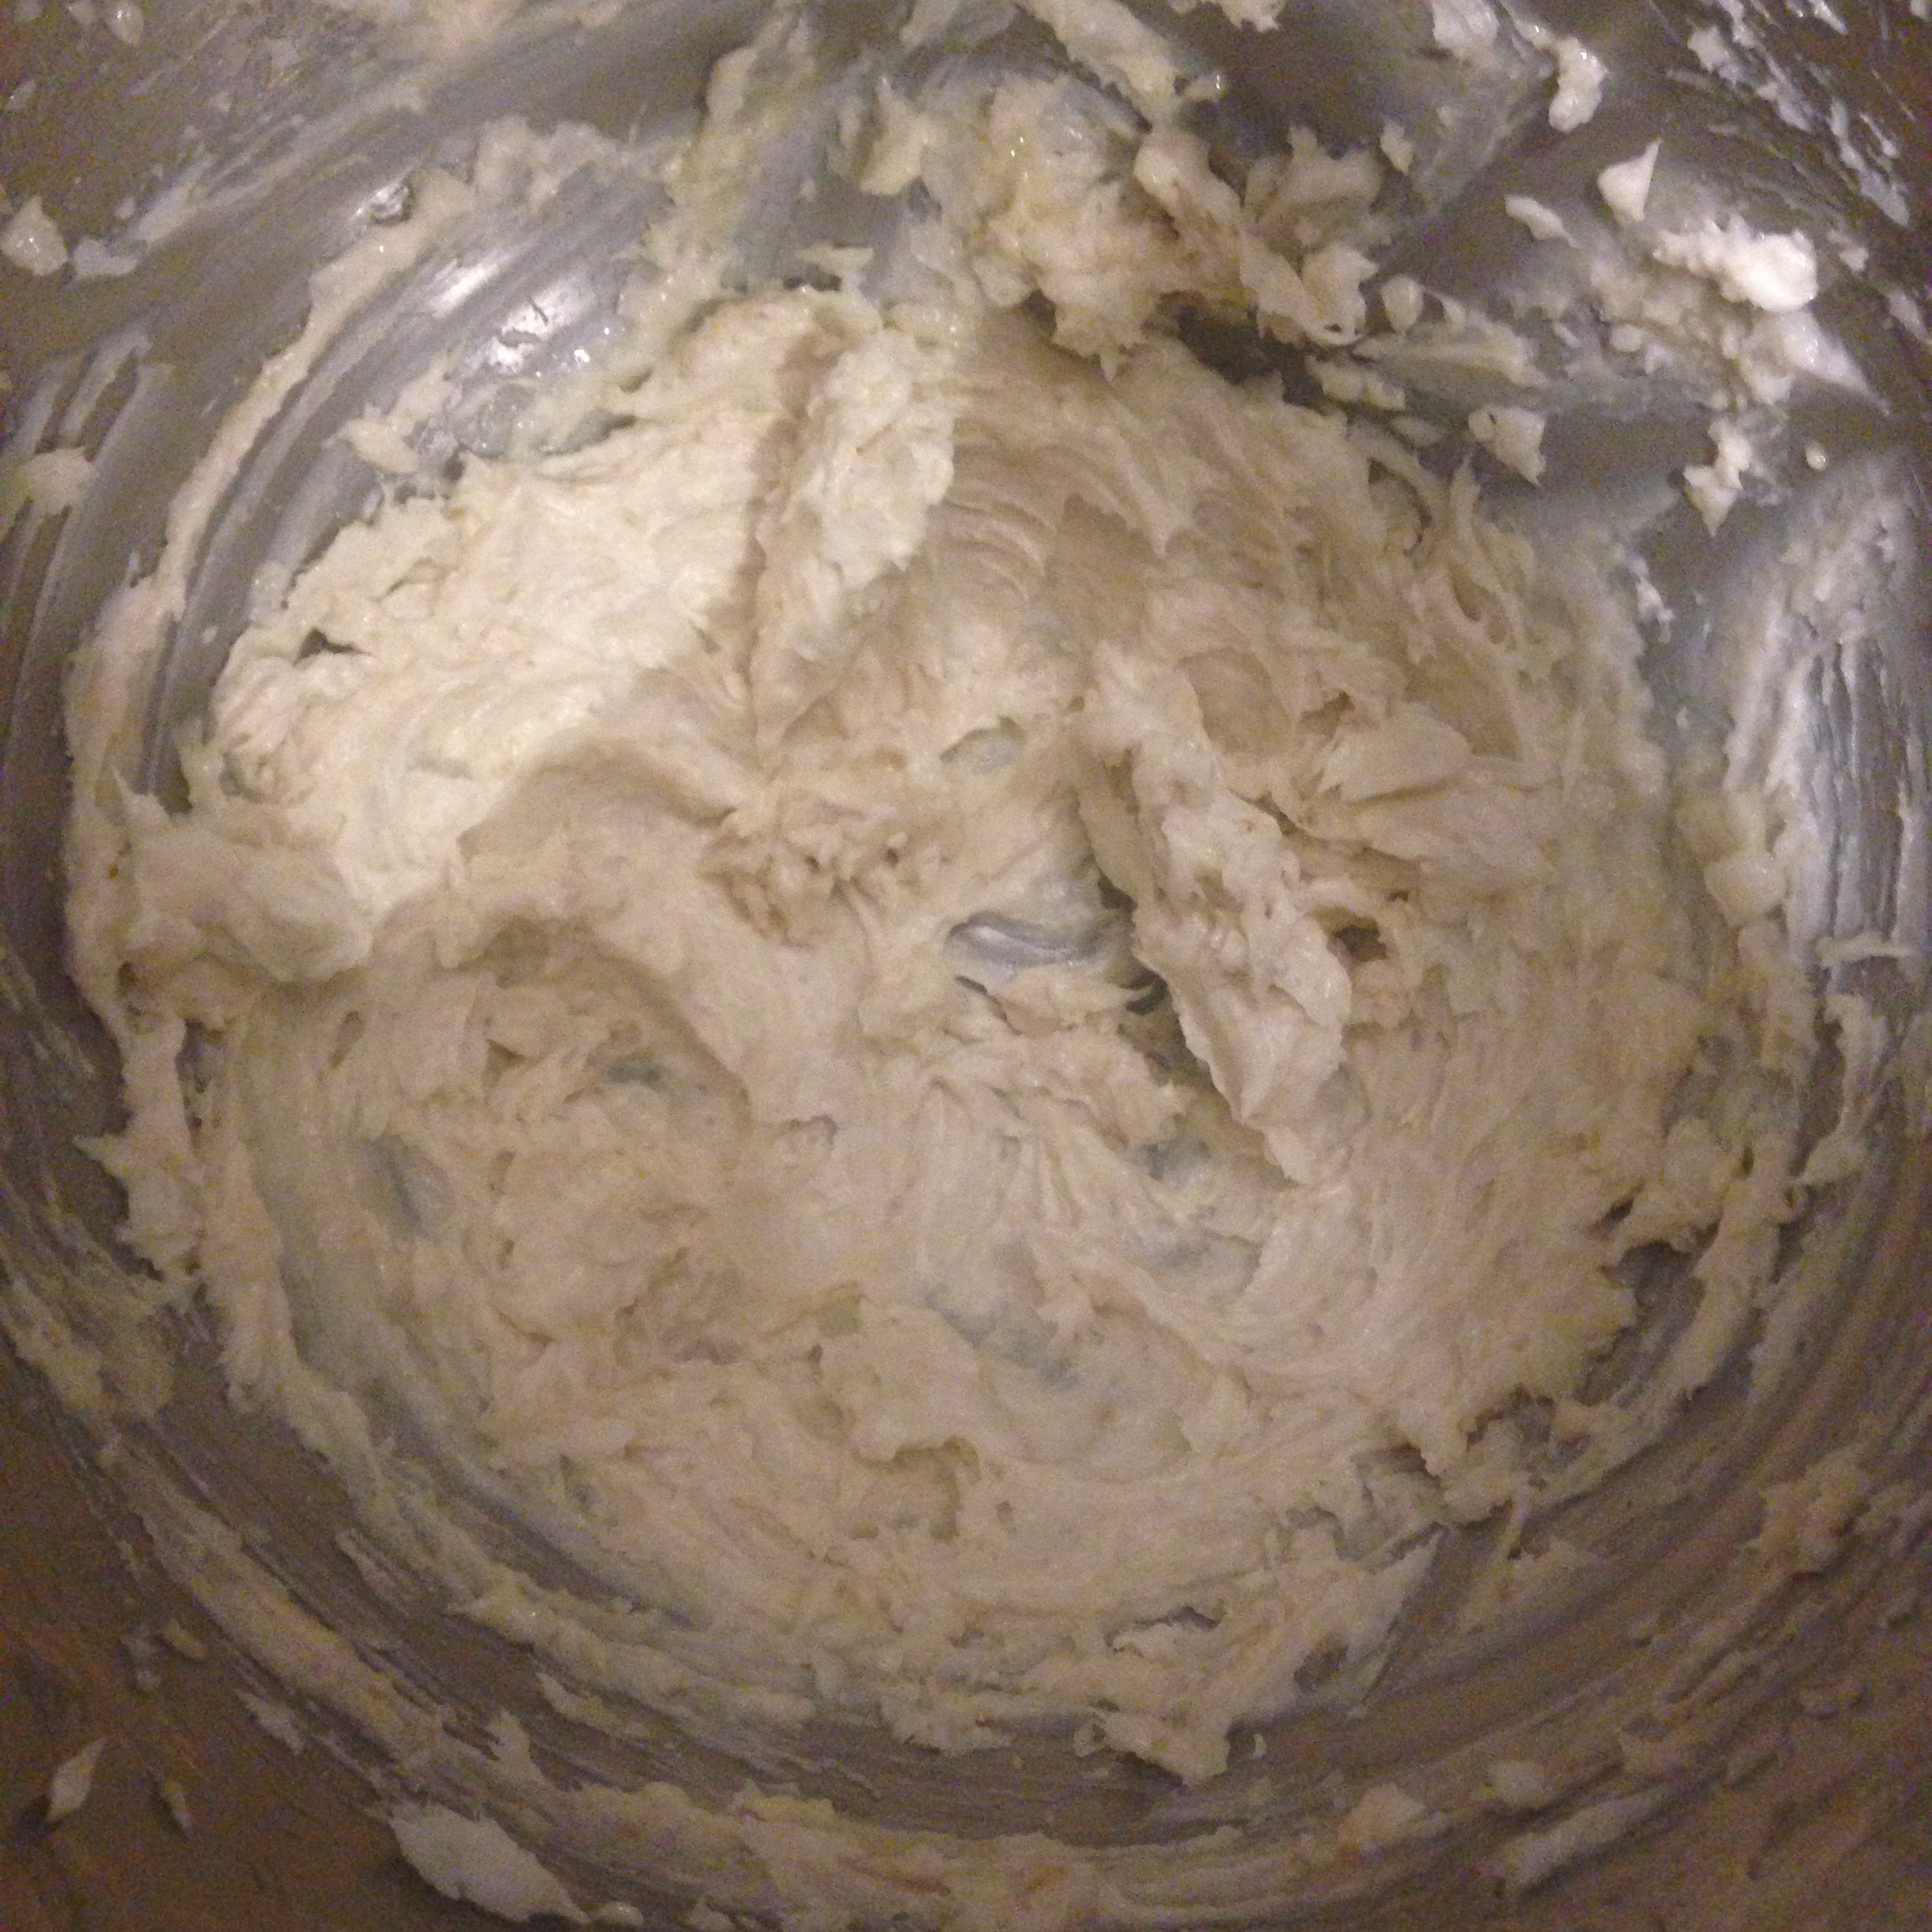
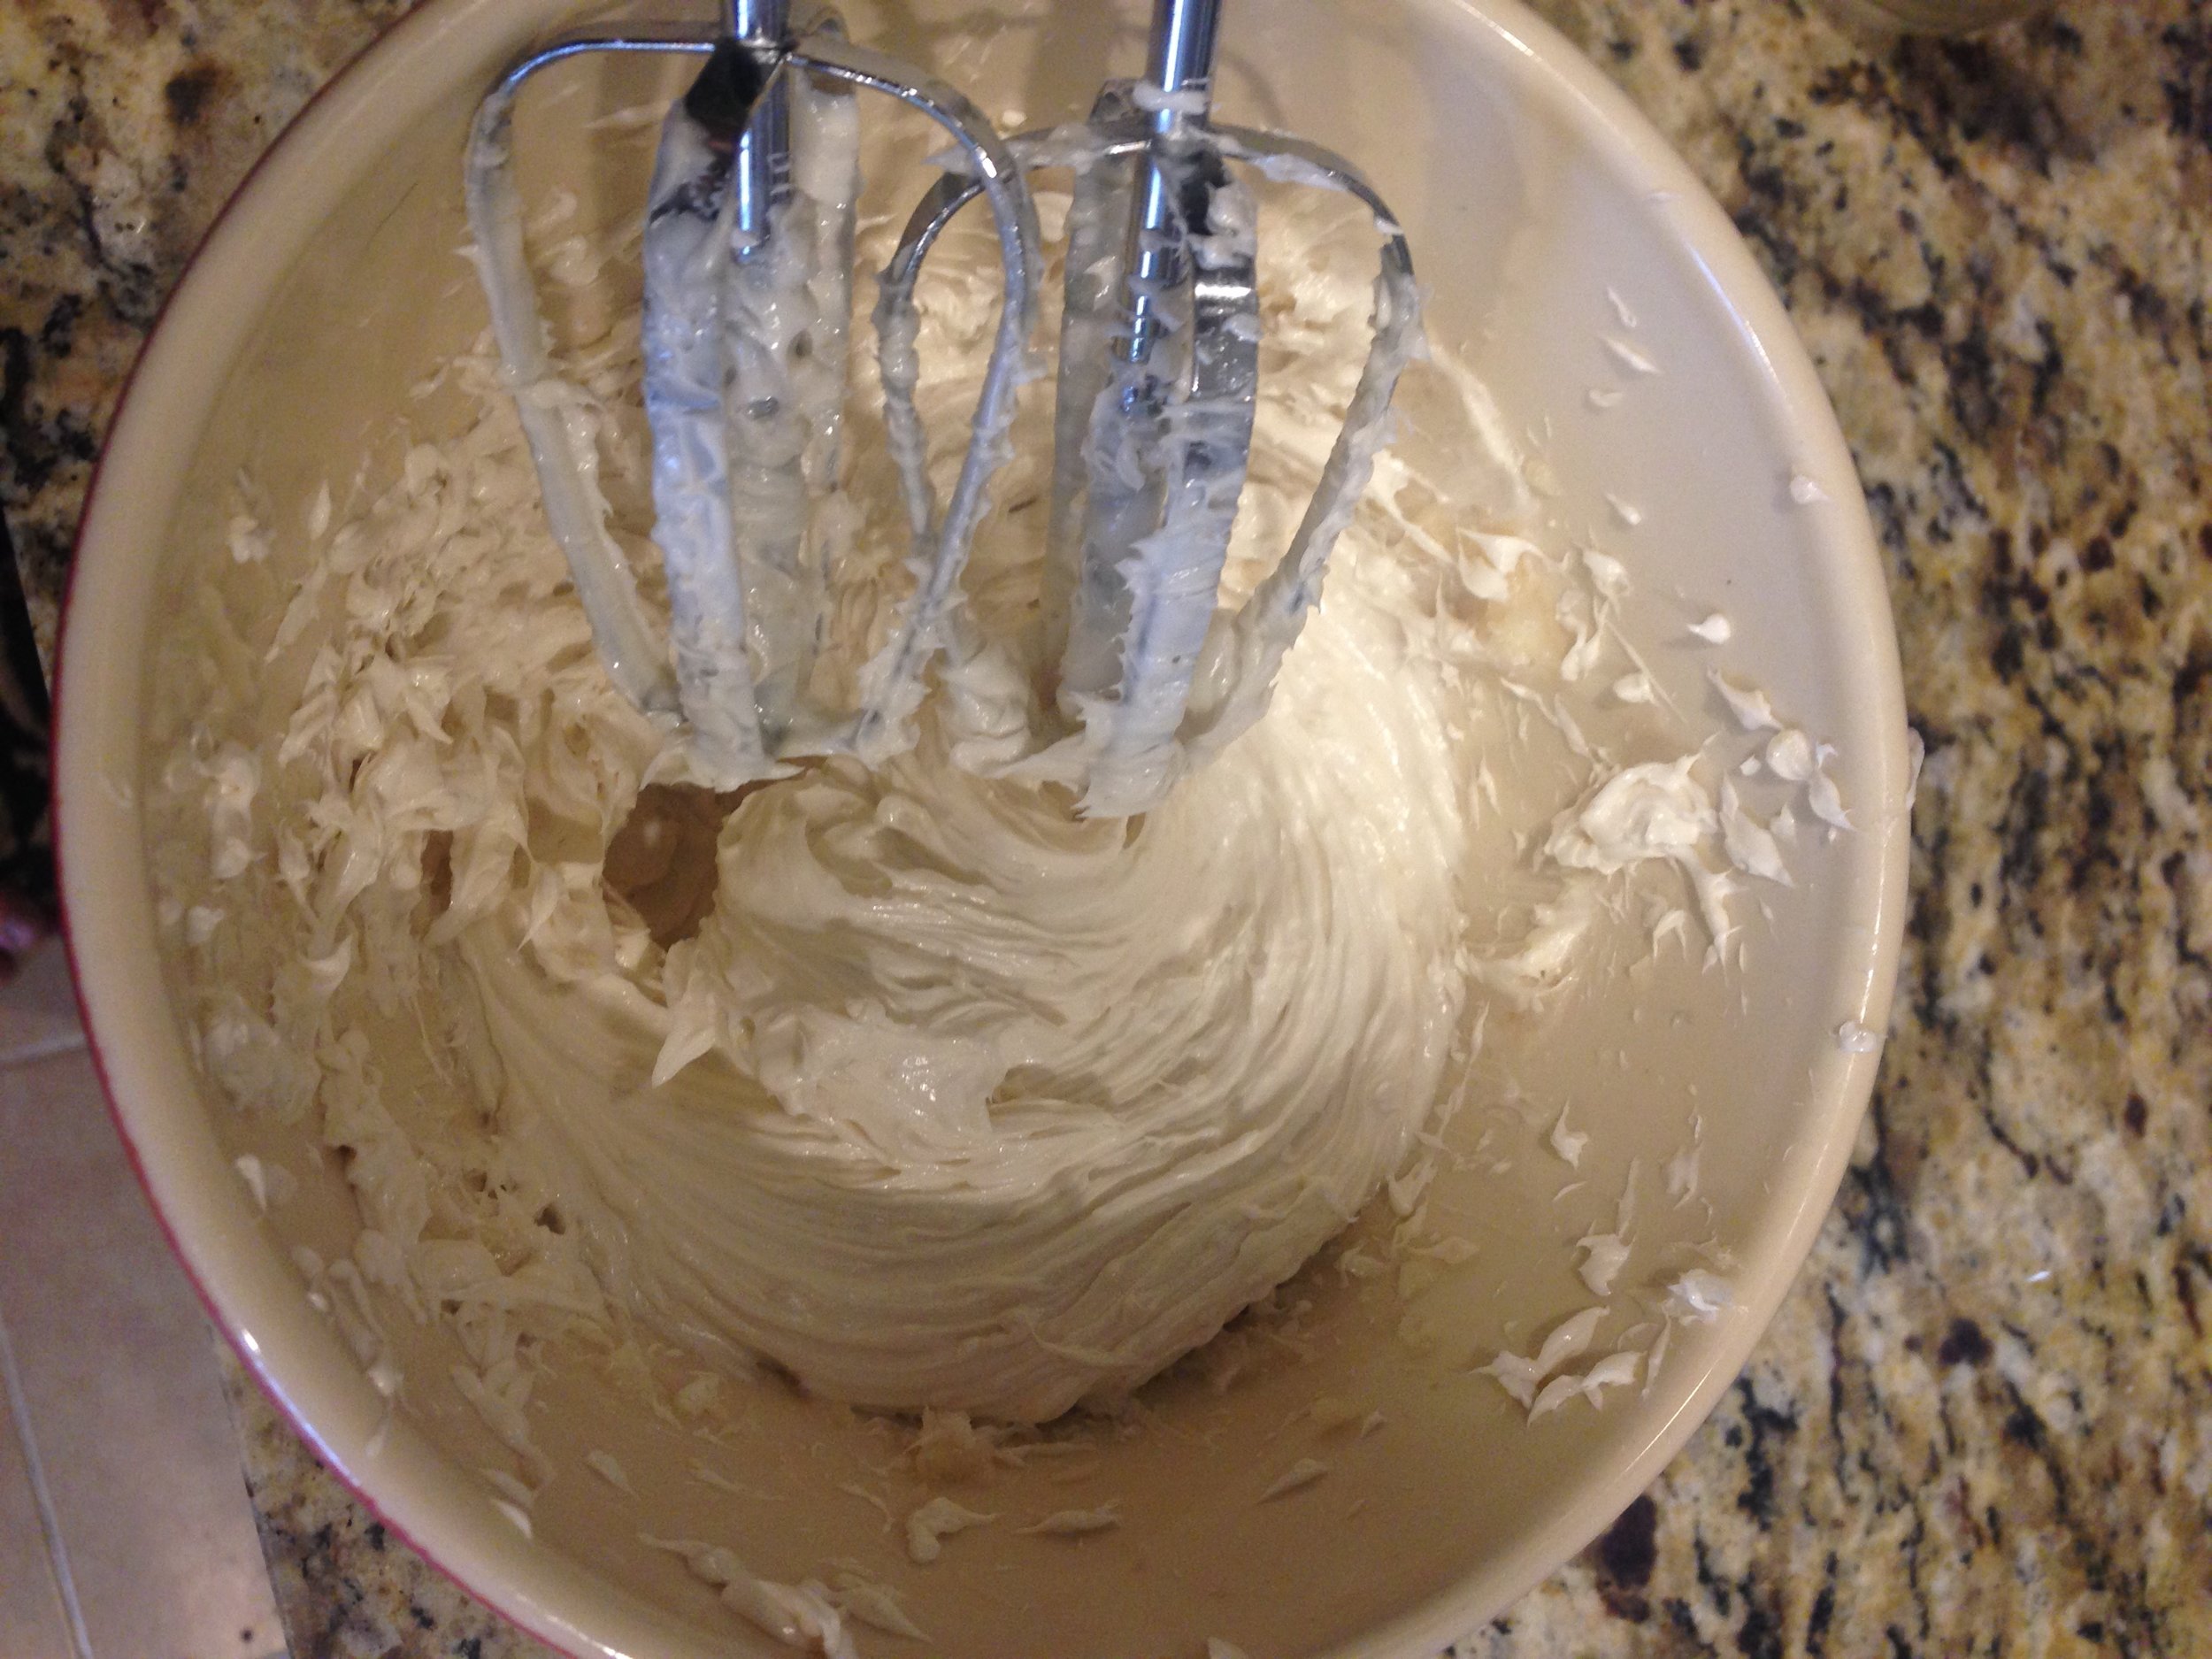
- Using a hand mixer to whip the mixture until smooth and fluffy; about 3–5 minutes.
- You can use a stand mixer but I've had better luck with this portion using a hand mixer
- Add the castile soap and honey and mix again.
- Add the essential oils and whip again until well mixed and the mixture reaches the desired texture.
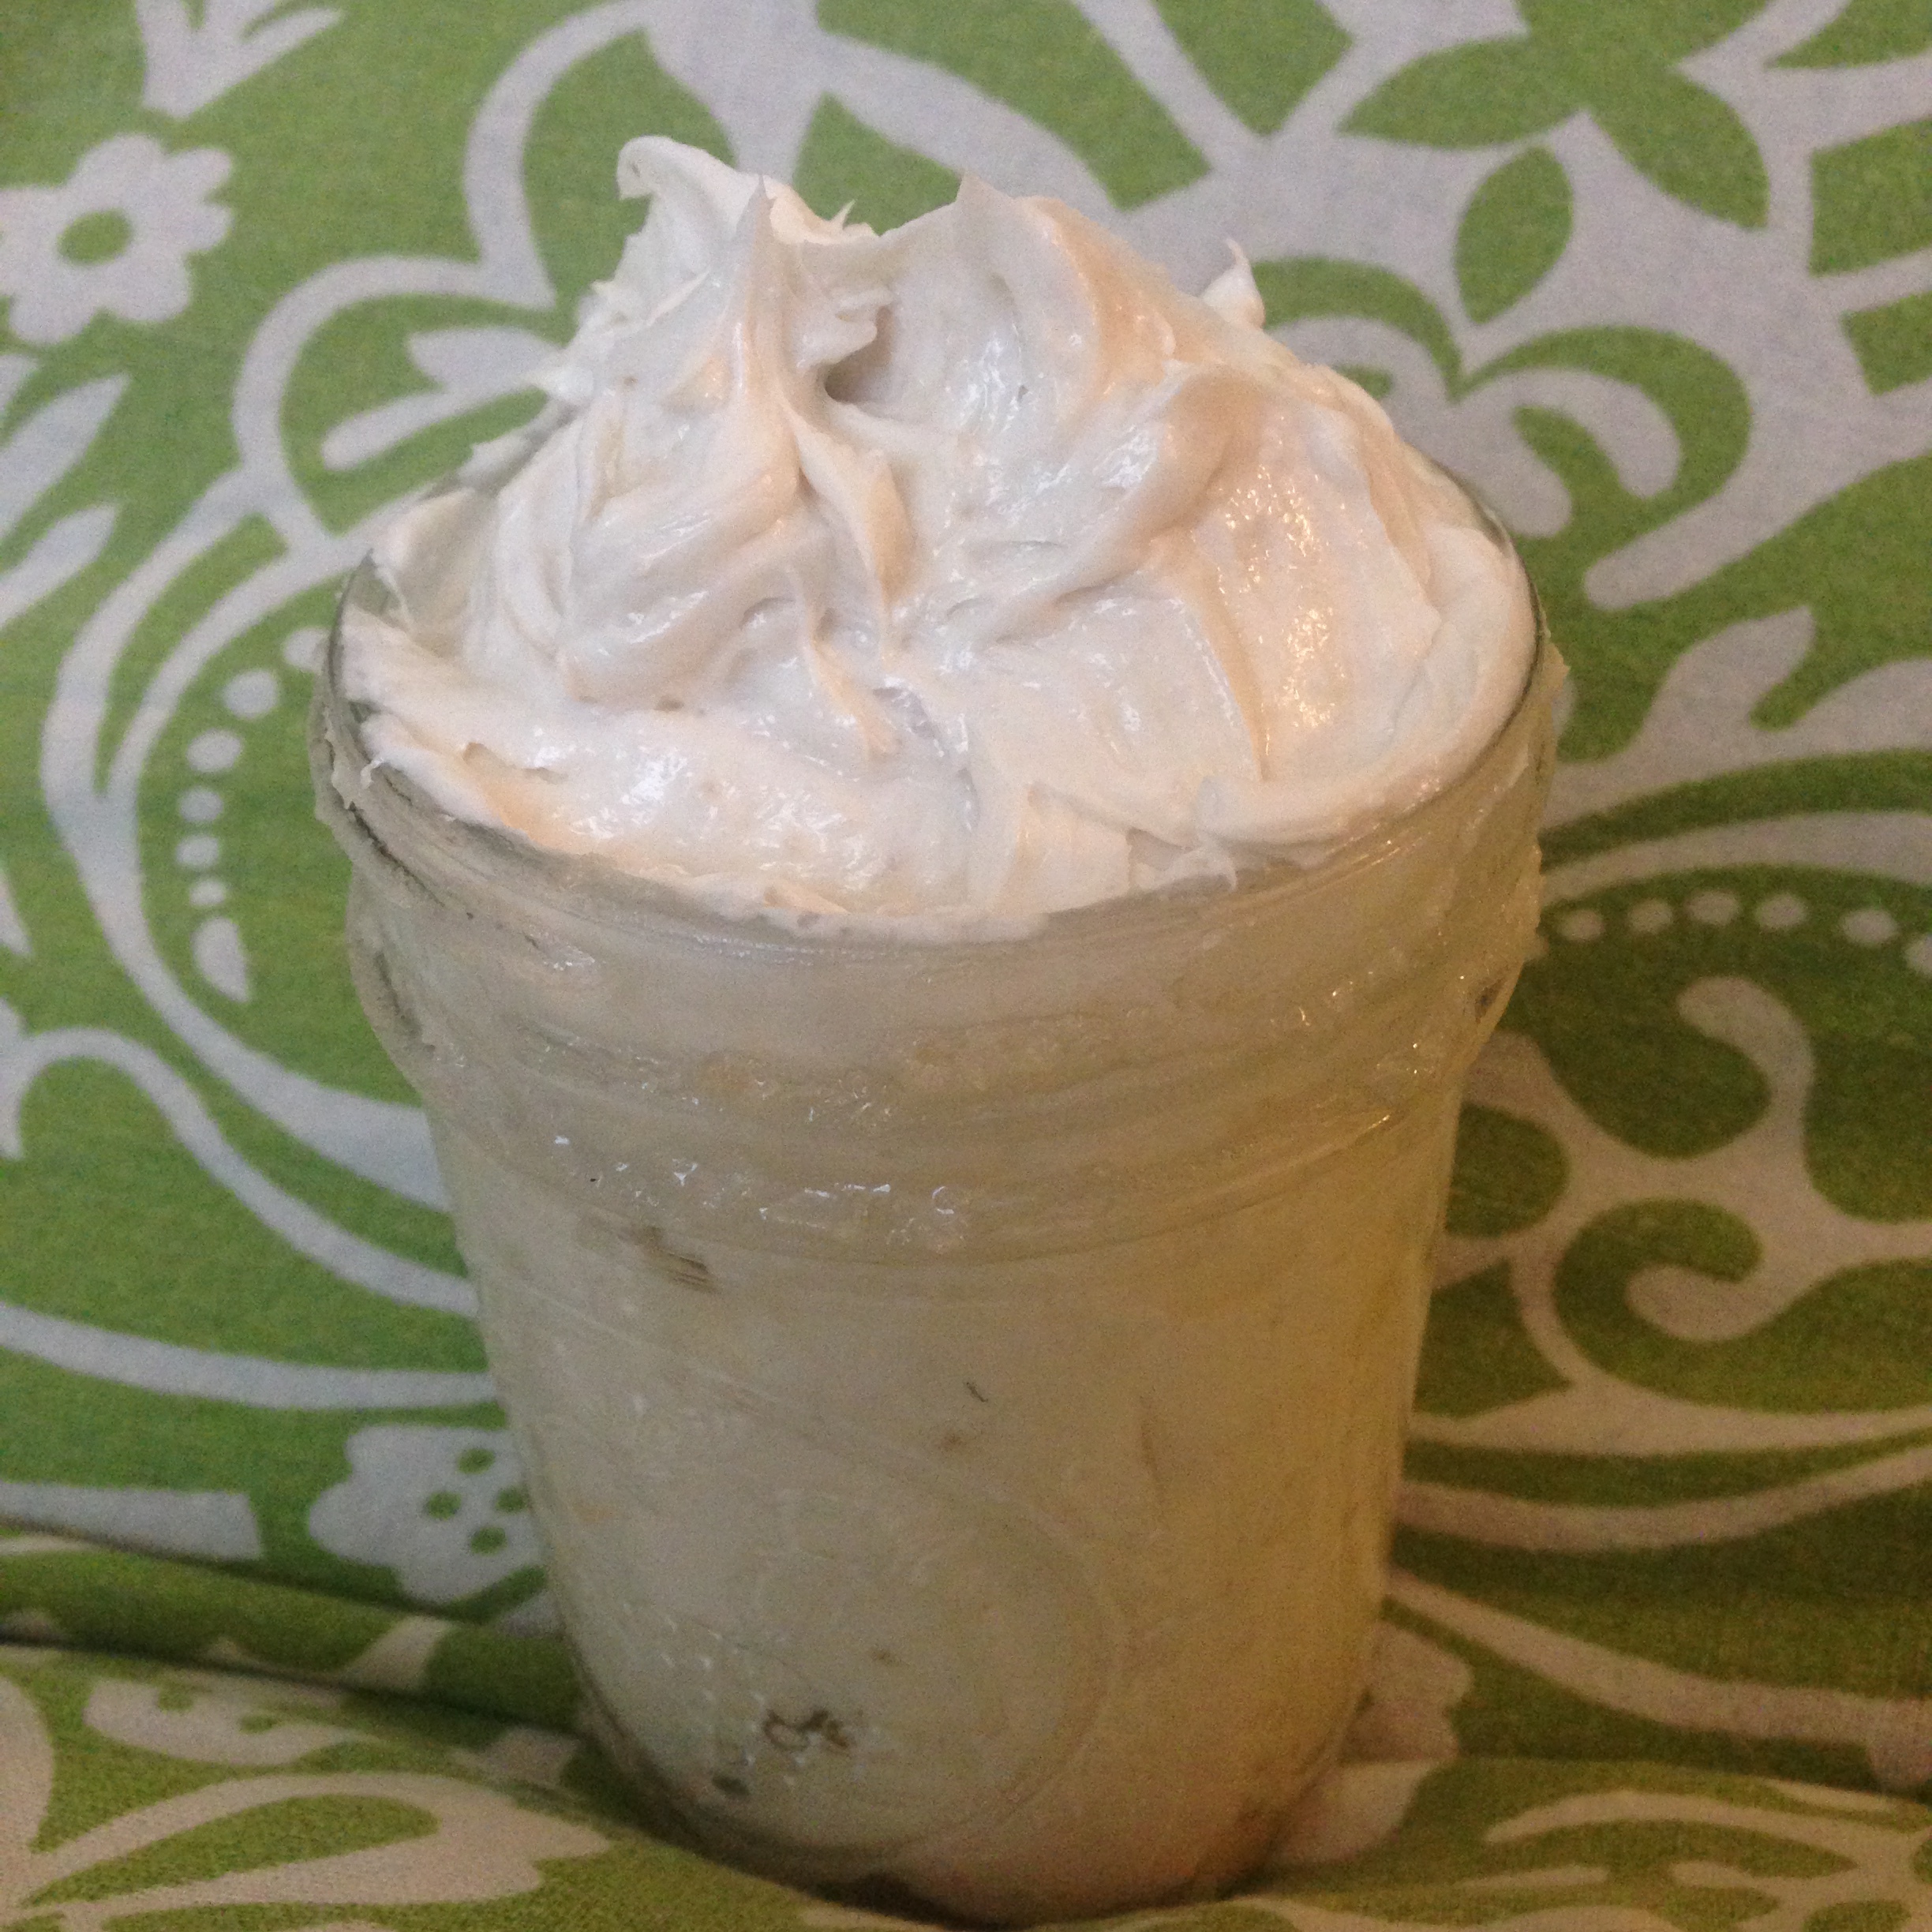
To Use: Use about a quarter sized dollop for each leg. Be aware that this can make your shower floor slippery and take extra caution. The texture will become oily once on your leg, as opposed to fluffy and mousse-like
A note about natural ingredients: because these ingredients are all natural, they will inevitably spoil. This isn't necessarily a bad thing as it is basically the microbial world telling you that its not poisonous! None of these things should spoil too quickly, but to help make it last longer try to limit the amount of water that gets into its container. If you find this is becoming too much of a problem, just make a smaller batch by cutting the recipe in half.
ACKNOWLEDGMENTS
While my recipe is not a replication of any of these bloggers, I did use their posts for guidance and feel they should be acknowledged:
Heather of mommypotamus.com, find her shaving cream recipe here!
Katie of wellnessmama.com, find her shaving cream recipe here!

