Bathroom

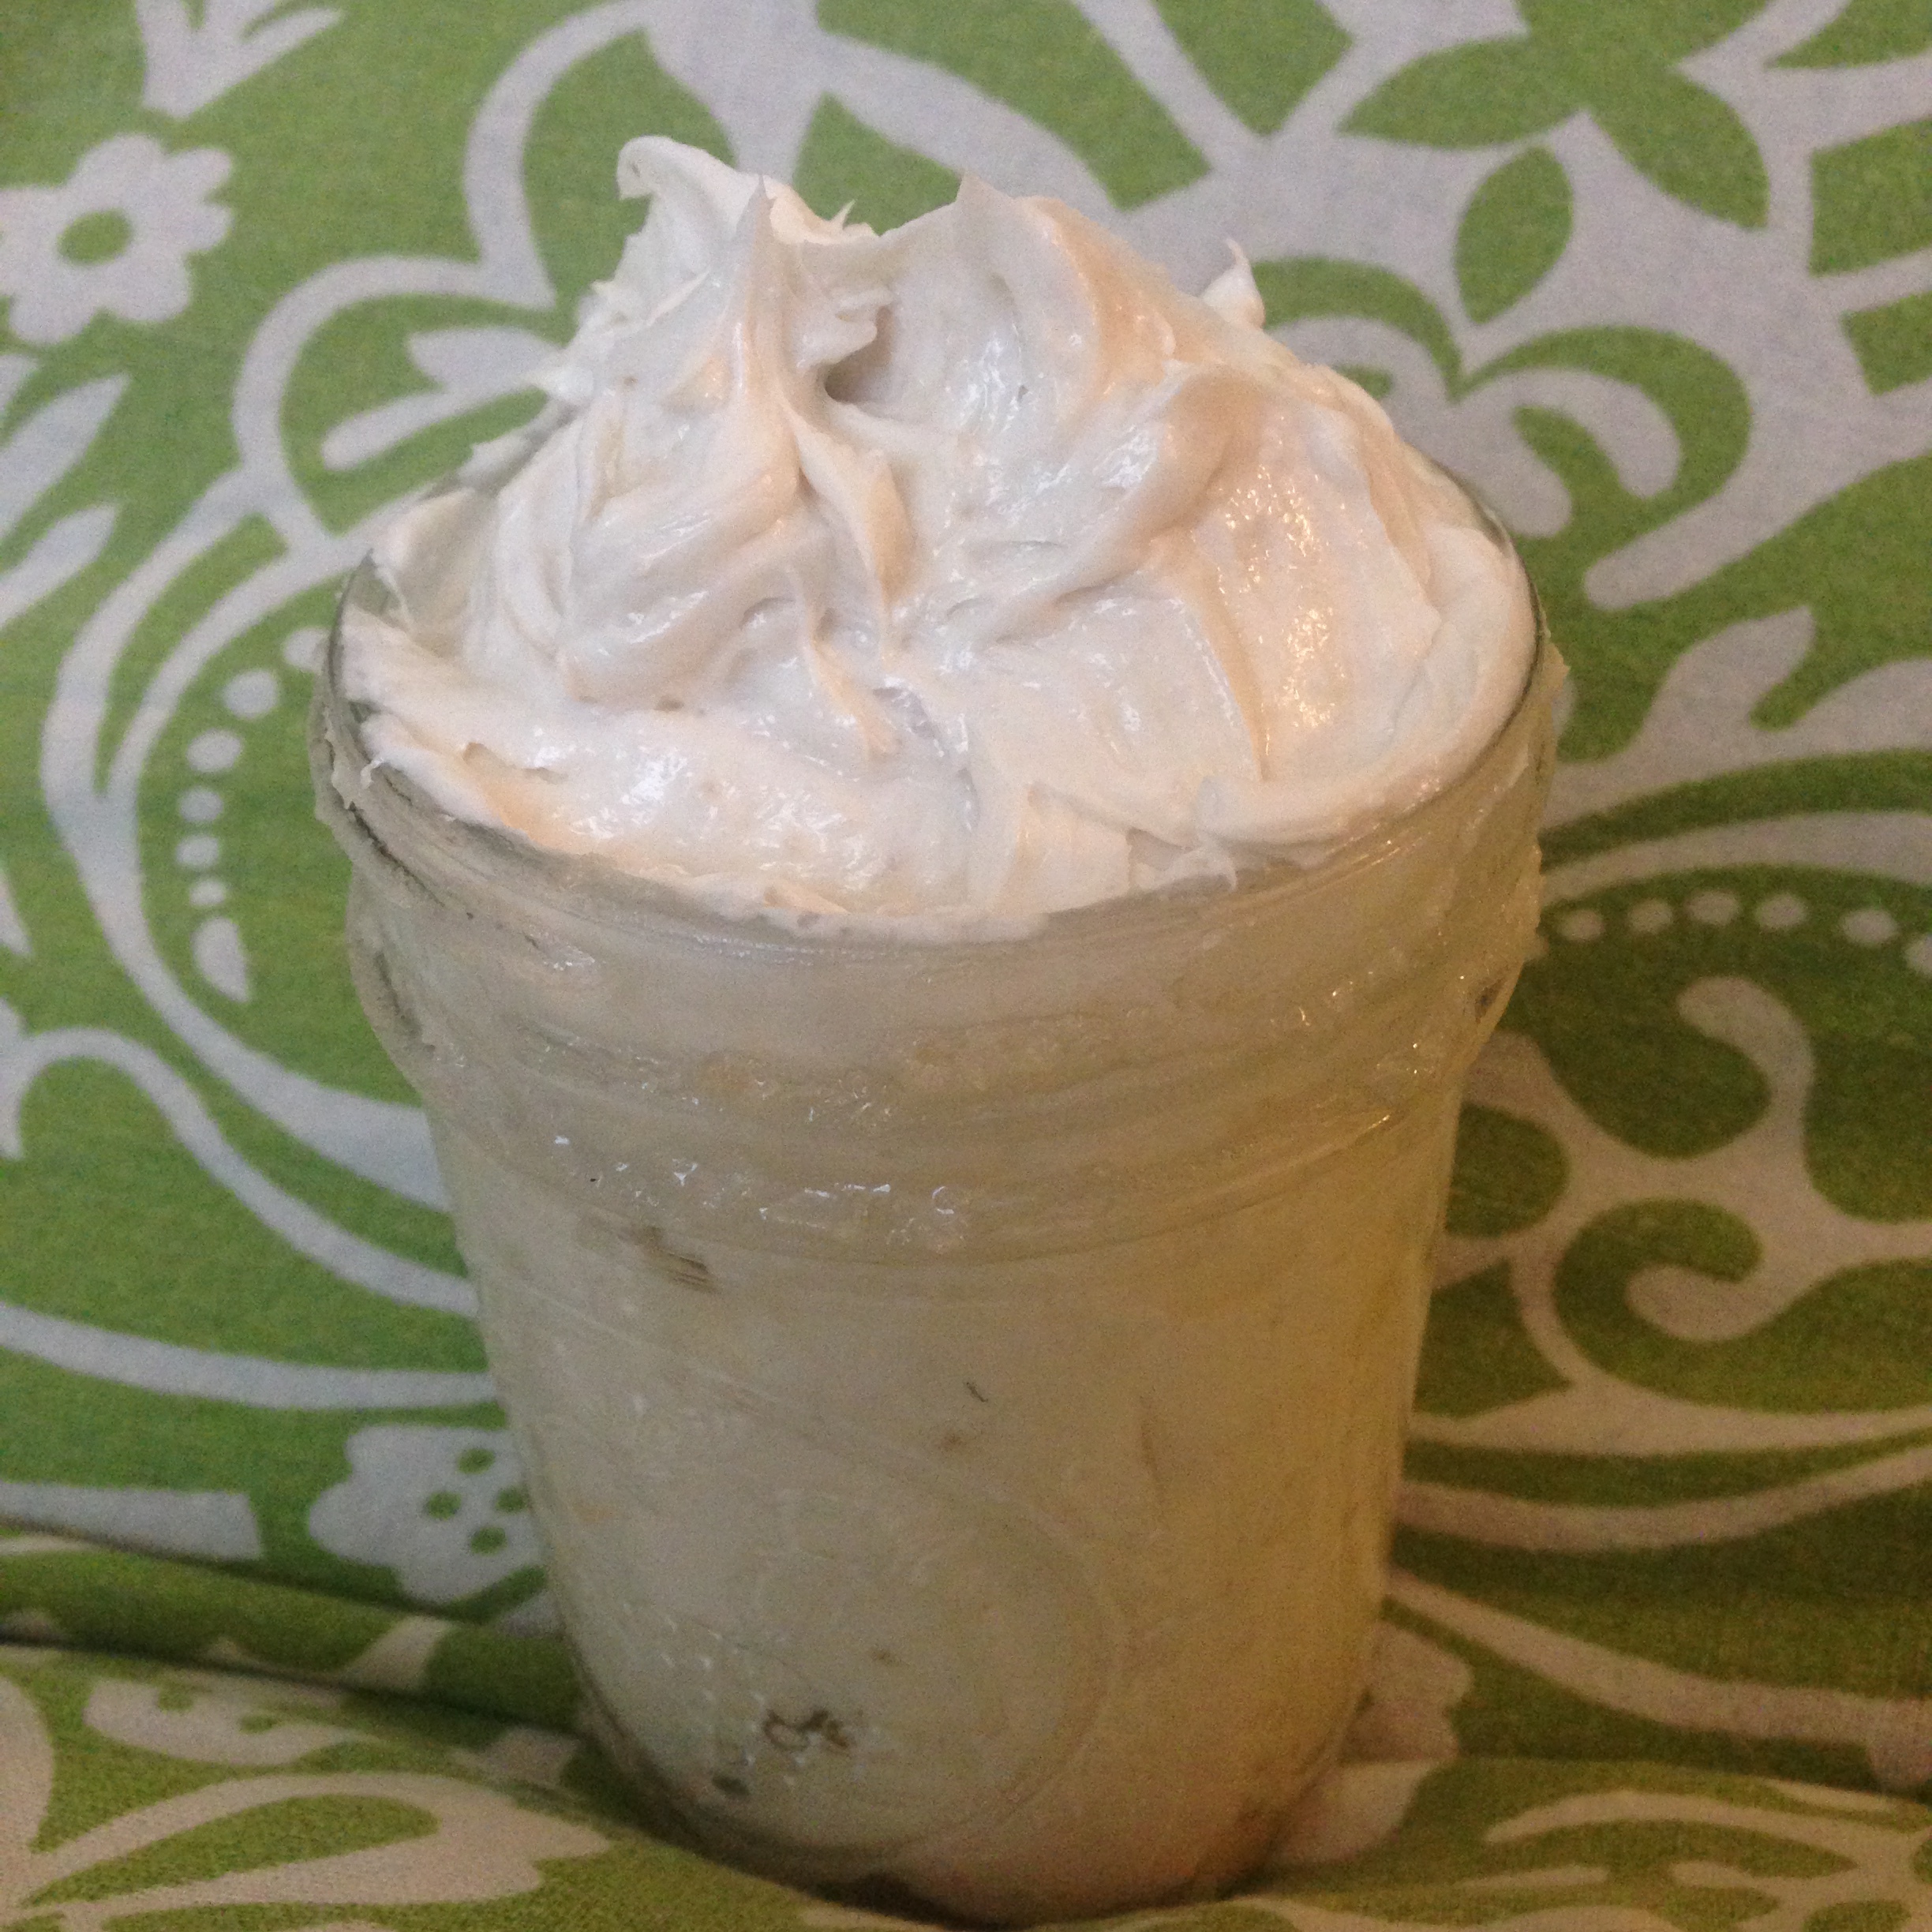
Homemade Coconut Oil Shaving Cream

When I first started shaving, it became quickly apparent that I was not only sensitive to the traditional foaming shaving creams, but actually allergic to them.  My legs would rash and become uncontrollably itchy. I fell asleep in school a few times from taking bennydryl to calm the reaction down.  So it didn't take long for my mom to help me find some alternative options. There weren't really any health food stores near us at the time, so I started using soap and conditioner with no problems, and for years that's what I shaved with.

 As some new stores came into town (Sprouts and Trader Joe's specifically), we found some different, more natural products like Dr. Bronner's Shaving Soaps and Trader Joe's Honey Mango Shave Cream.  I used these on and off into and out of college, but now that I'm going zero waste, these won't cut it anymore because the packaging is not recyclable.

So after some internet research, and some experimentation with different recipes, here is my coconut shaving cream recipe! While there are quite a few more ingredients and steps than any of my previous body care products, I promise this is still easier to make than making a batch of cookies (even the kind that comes out of the box) so don't be intimidated!

INGREDIENTS:

  • 1/2 cup unrefined coconut oil
  • 1/2 cup pure shea butter
  • 2 tablespoons cocoa butter (optional)
  • 2 tablespoons vitamin E, olive, or grapeseed oil
  • 2 tablespoons of honey (optional)
  • 3 tablespoons liquid Castile soap
    • I recommend lavender, eucalyptus, or peppermint
  • 10–20 drops of your essential oils of choice (optional)
    • I recommend lavender, my boyfriend likes peppermint for his face

DIRECTIONS:

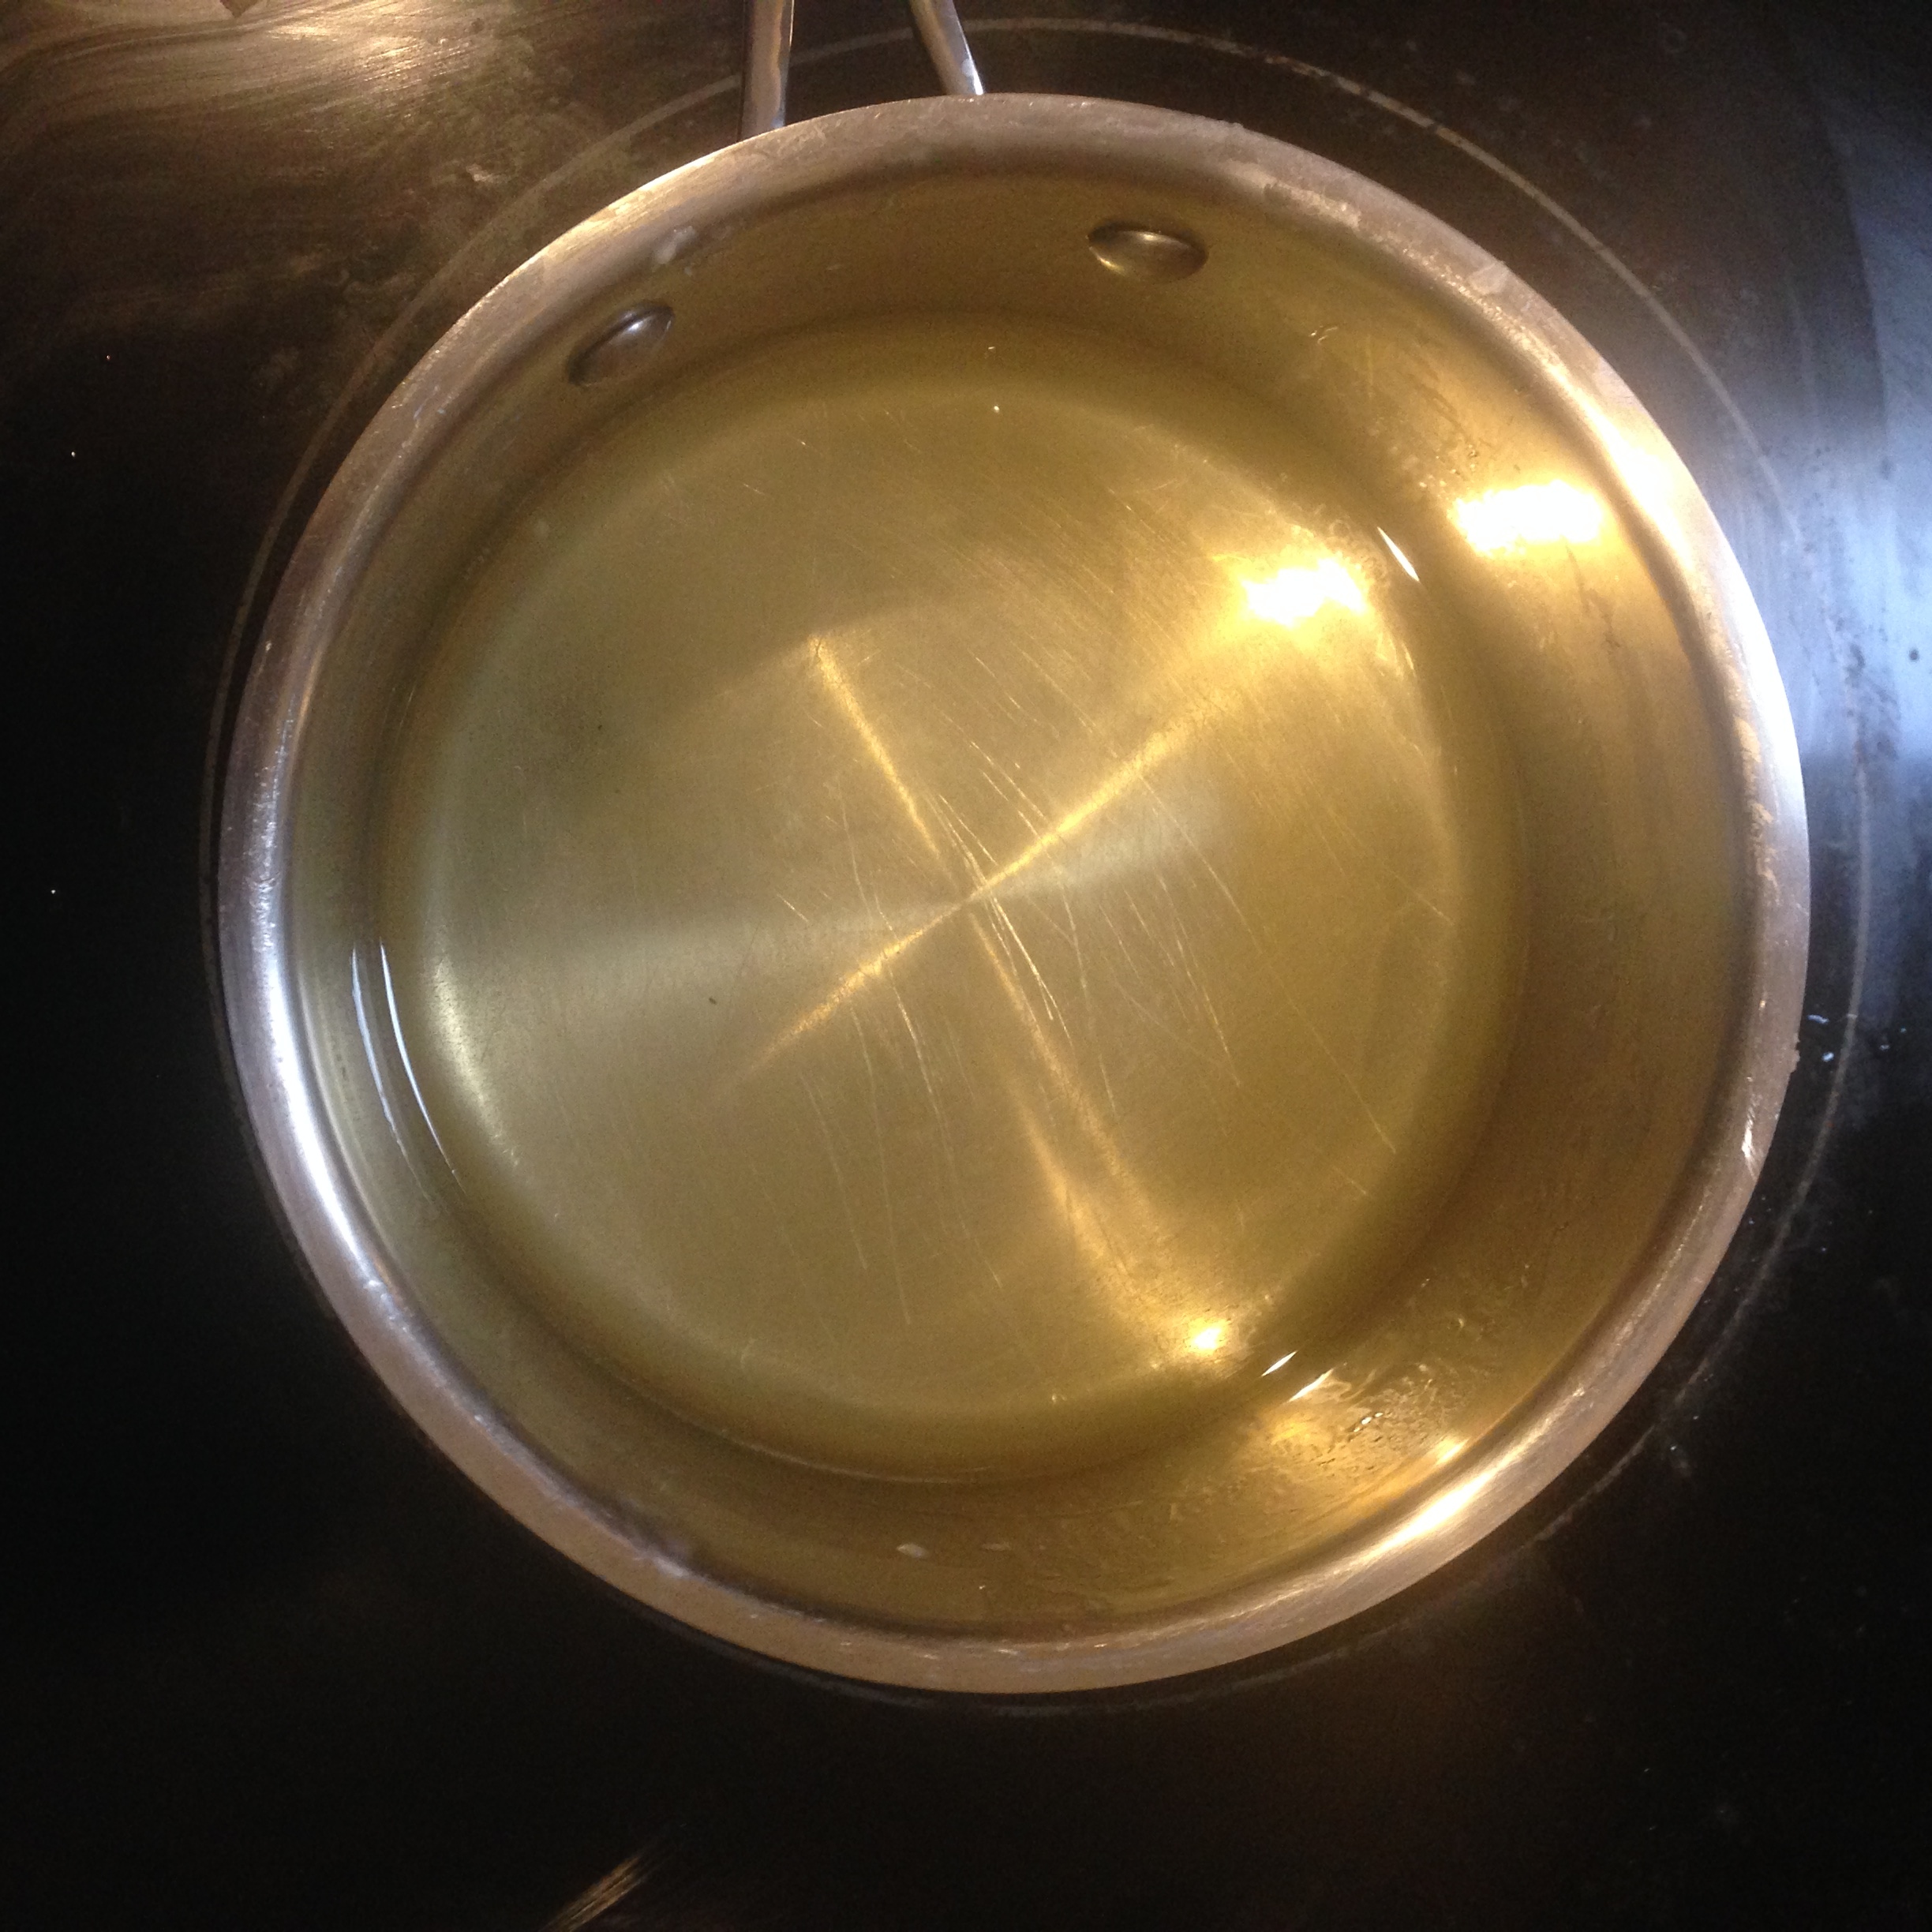
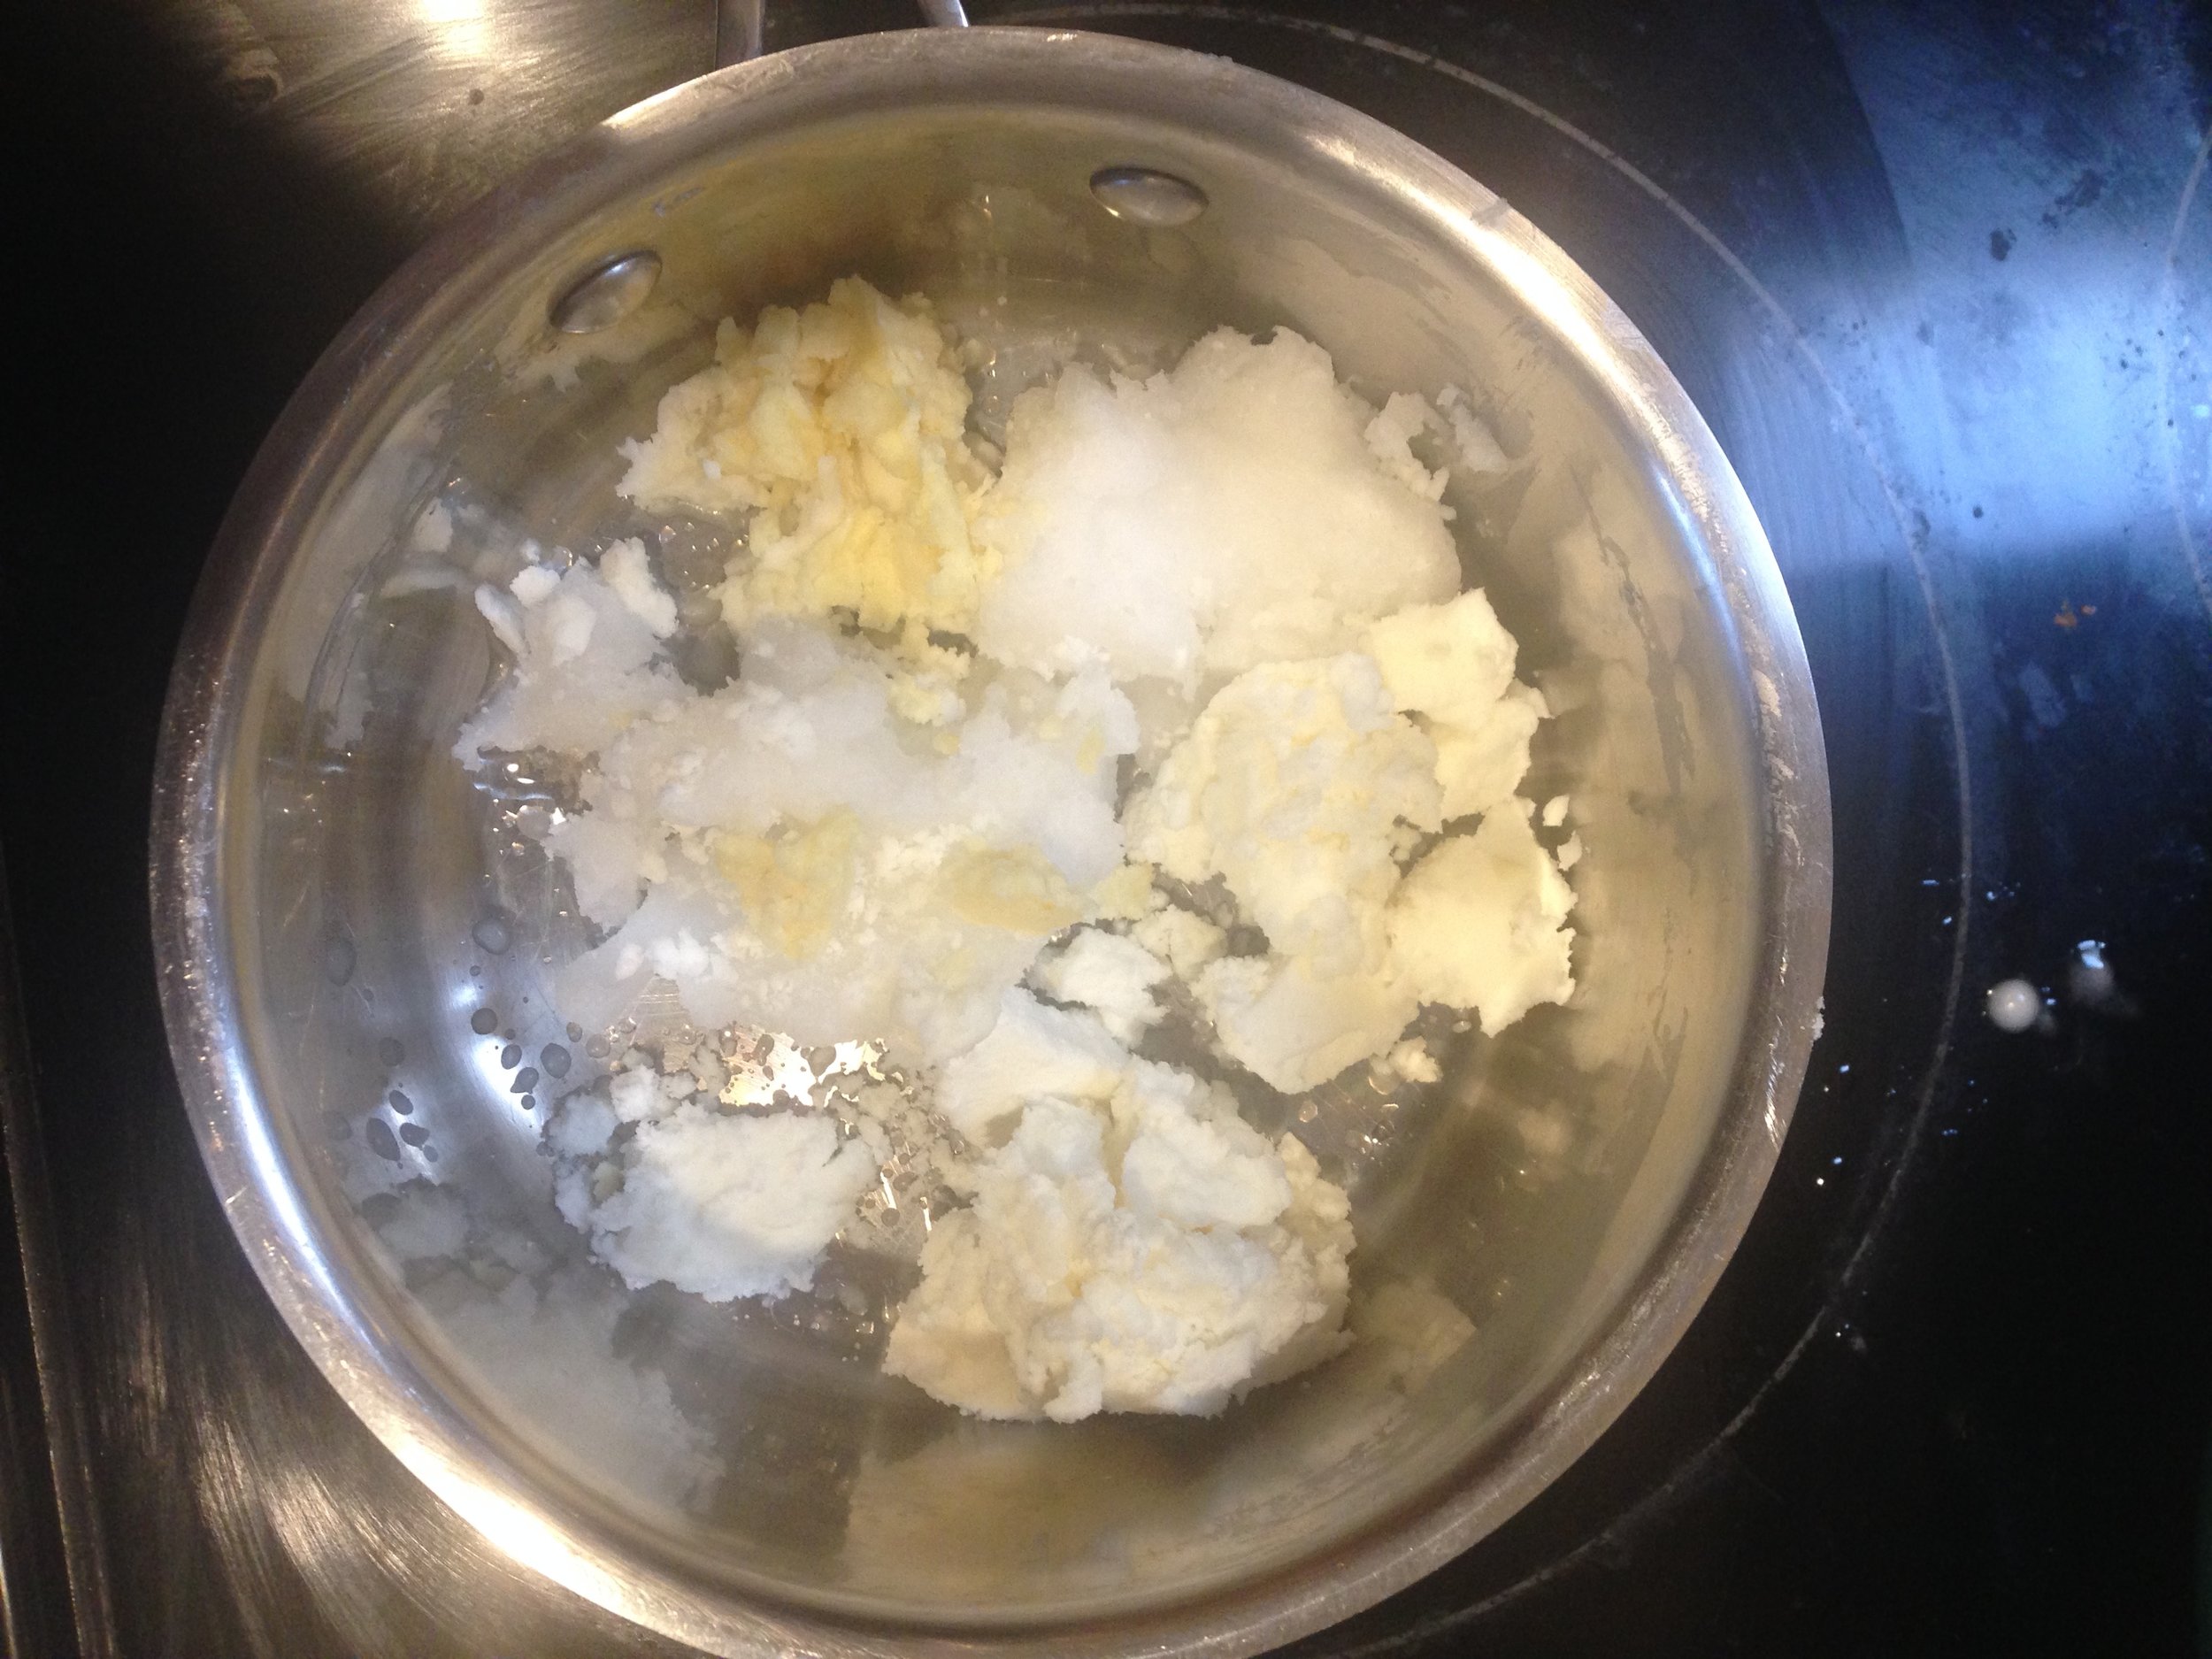
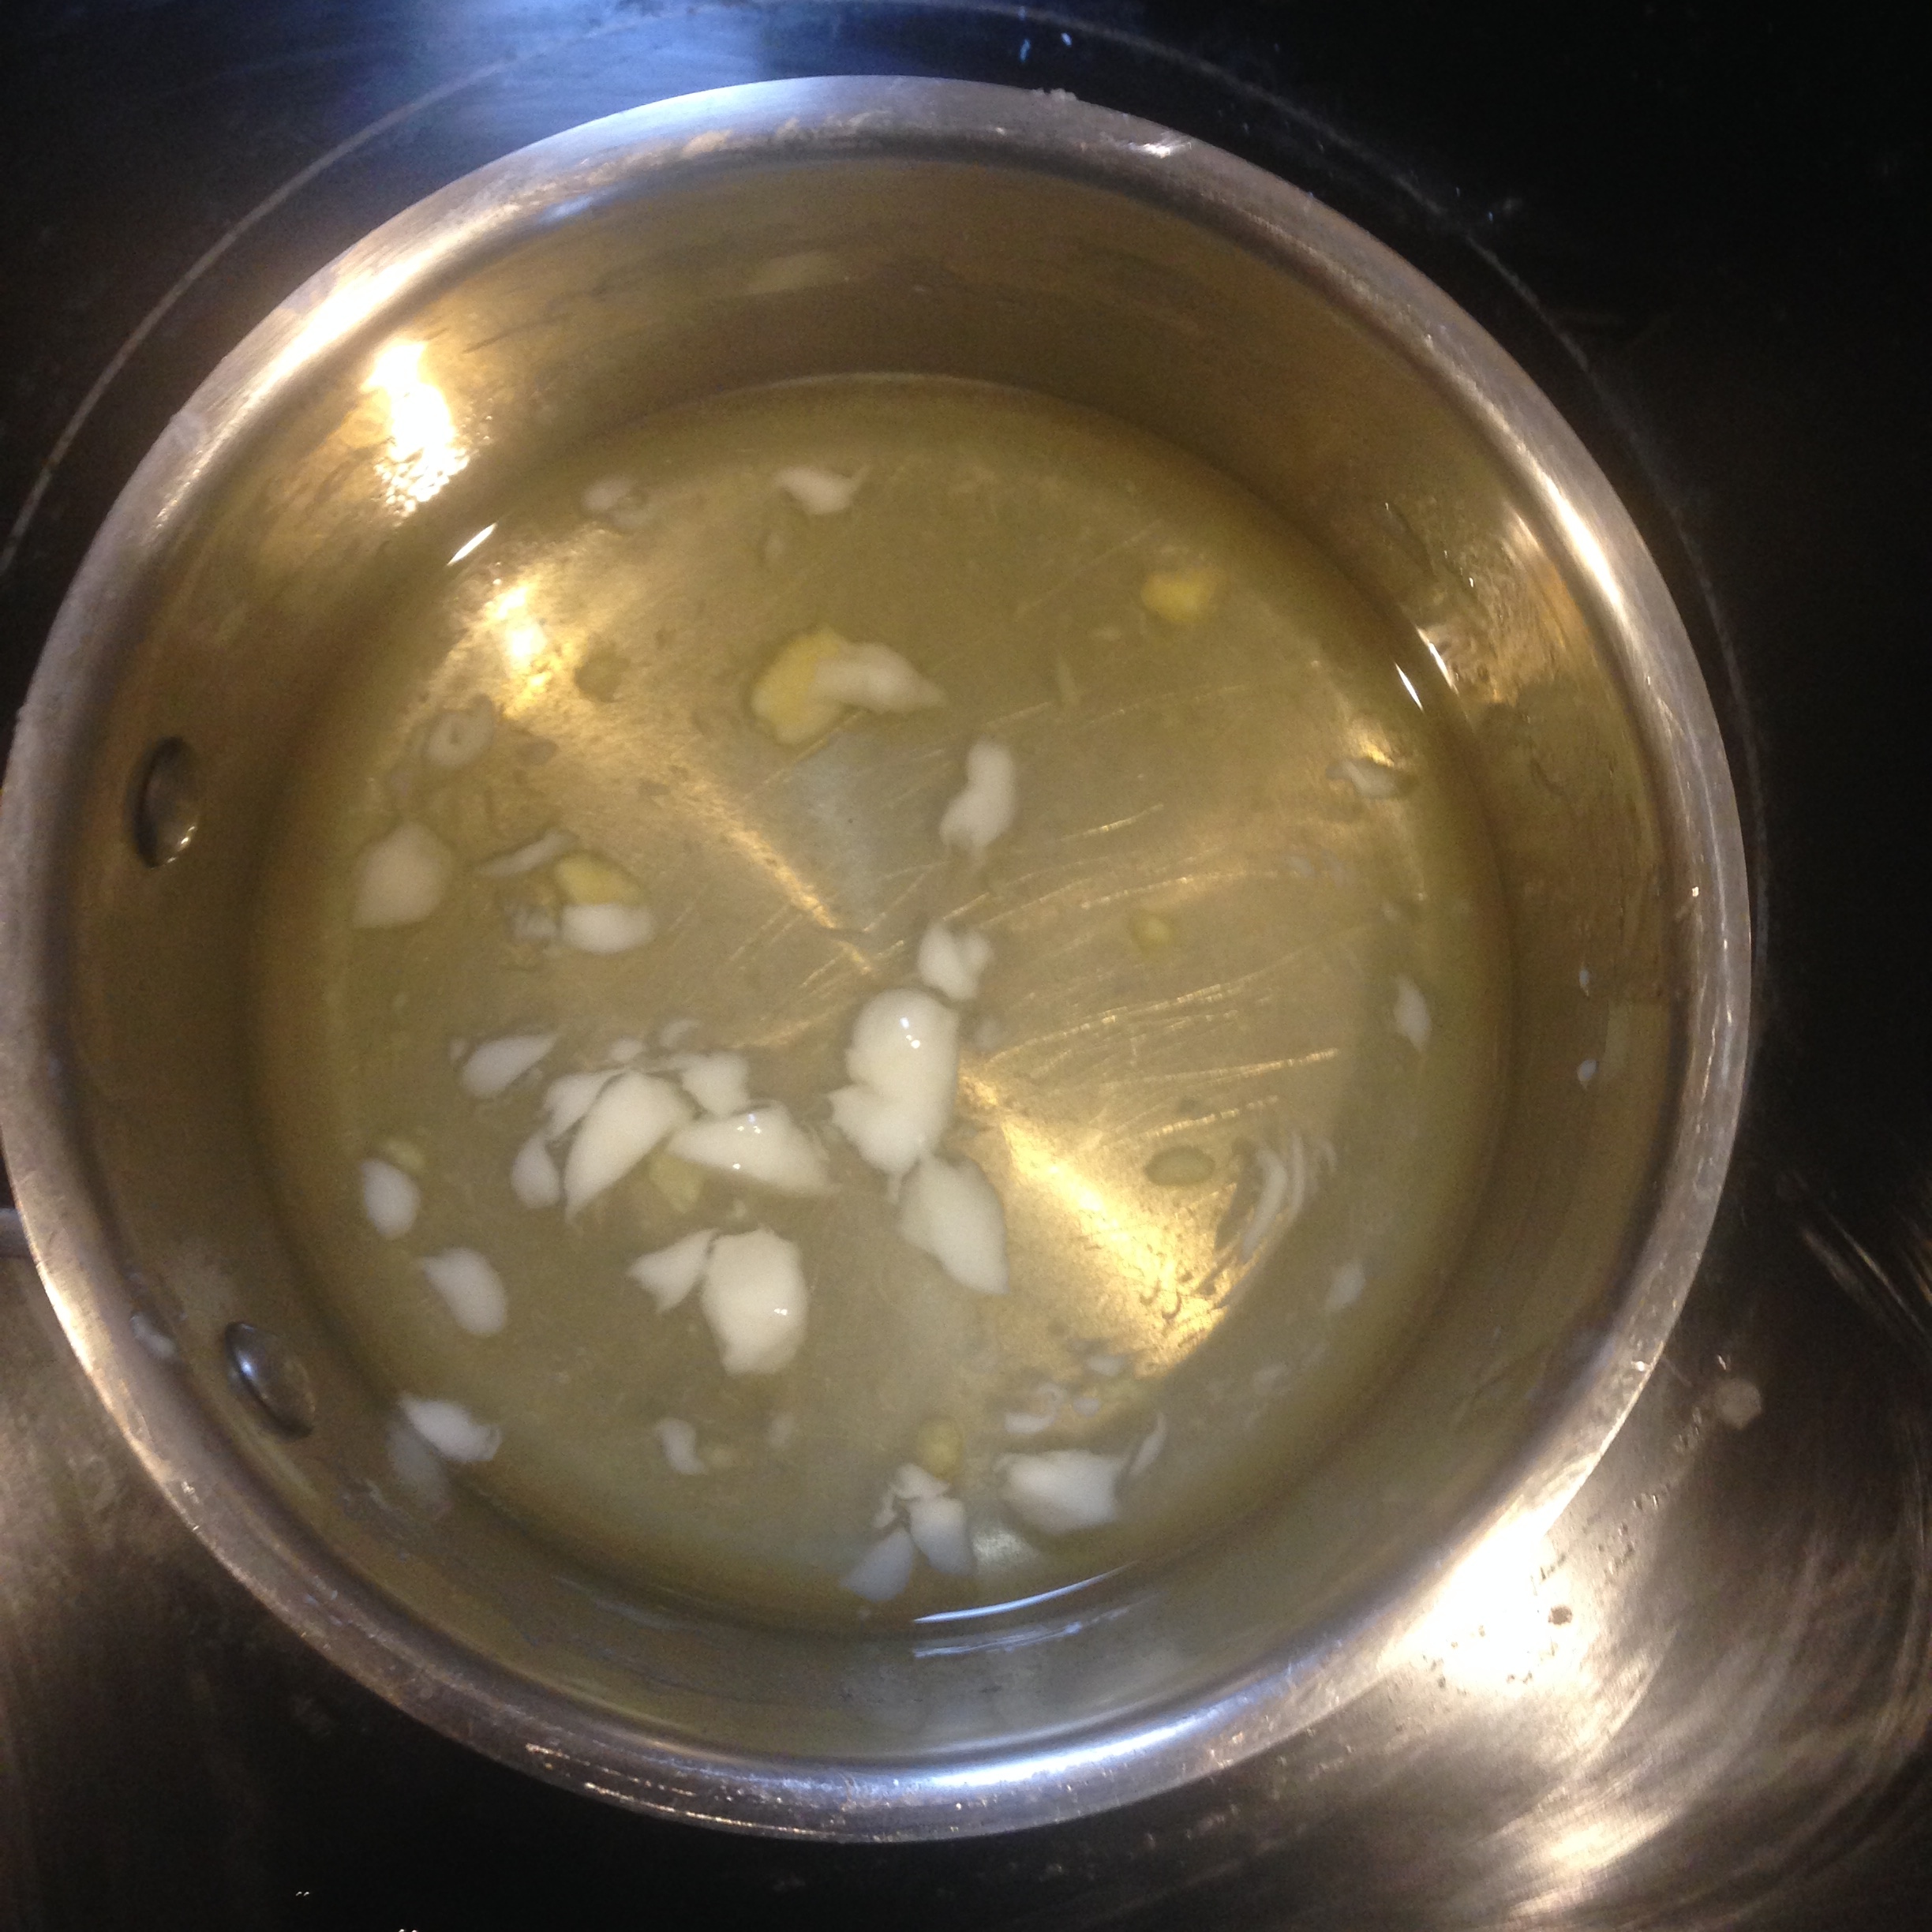
  1. Using a small saucepan, melt the shea butter and coconut oil (and cocoa butter if your using it) on a very low heat setting on the stove.
  2. Stir until fully melted.
  3. Add vitamin E/olive oil/grape-seed oil and stir until fully blended.
  4. Remove from heat.
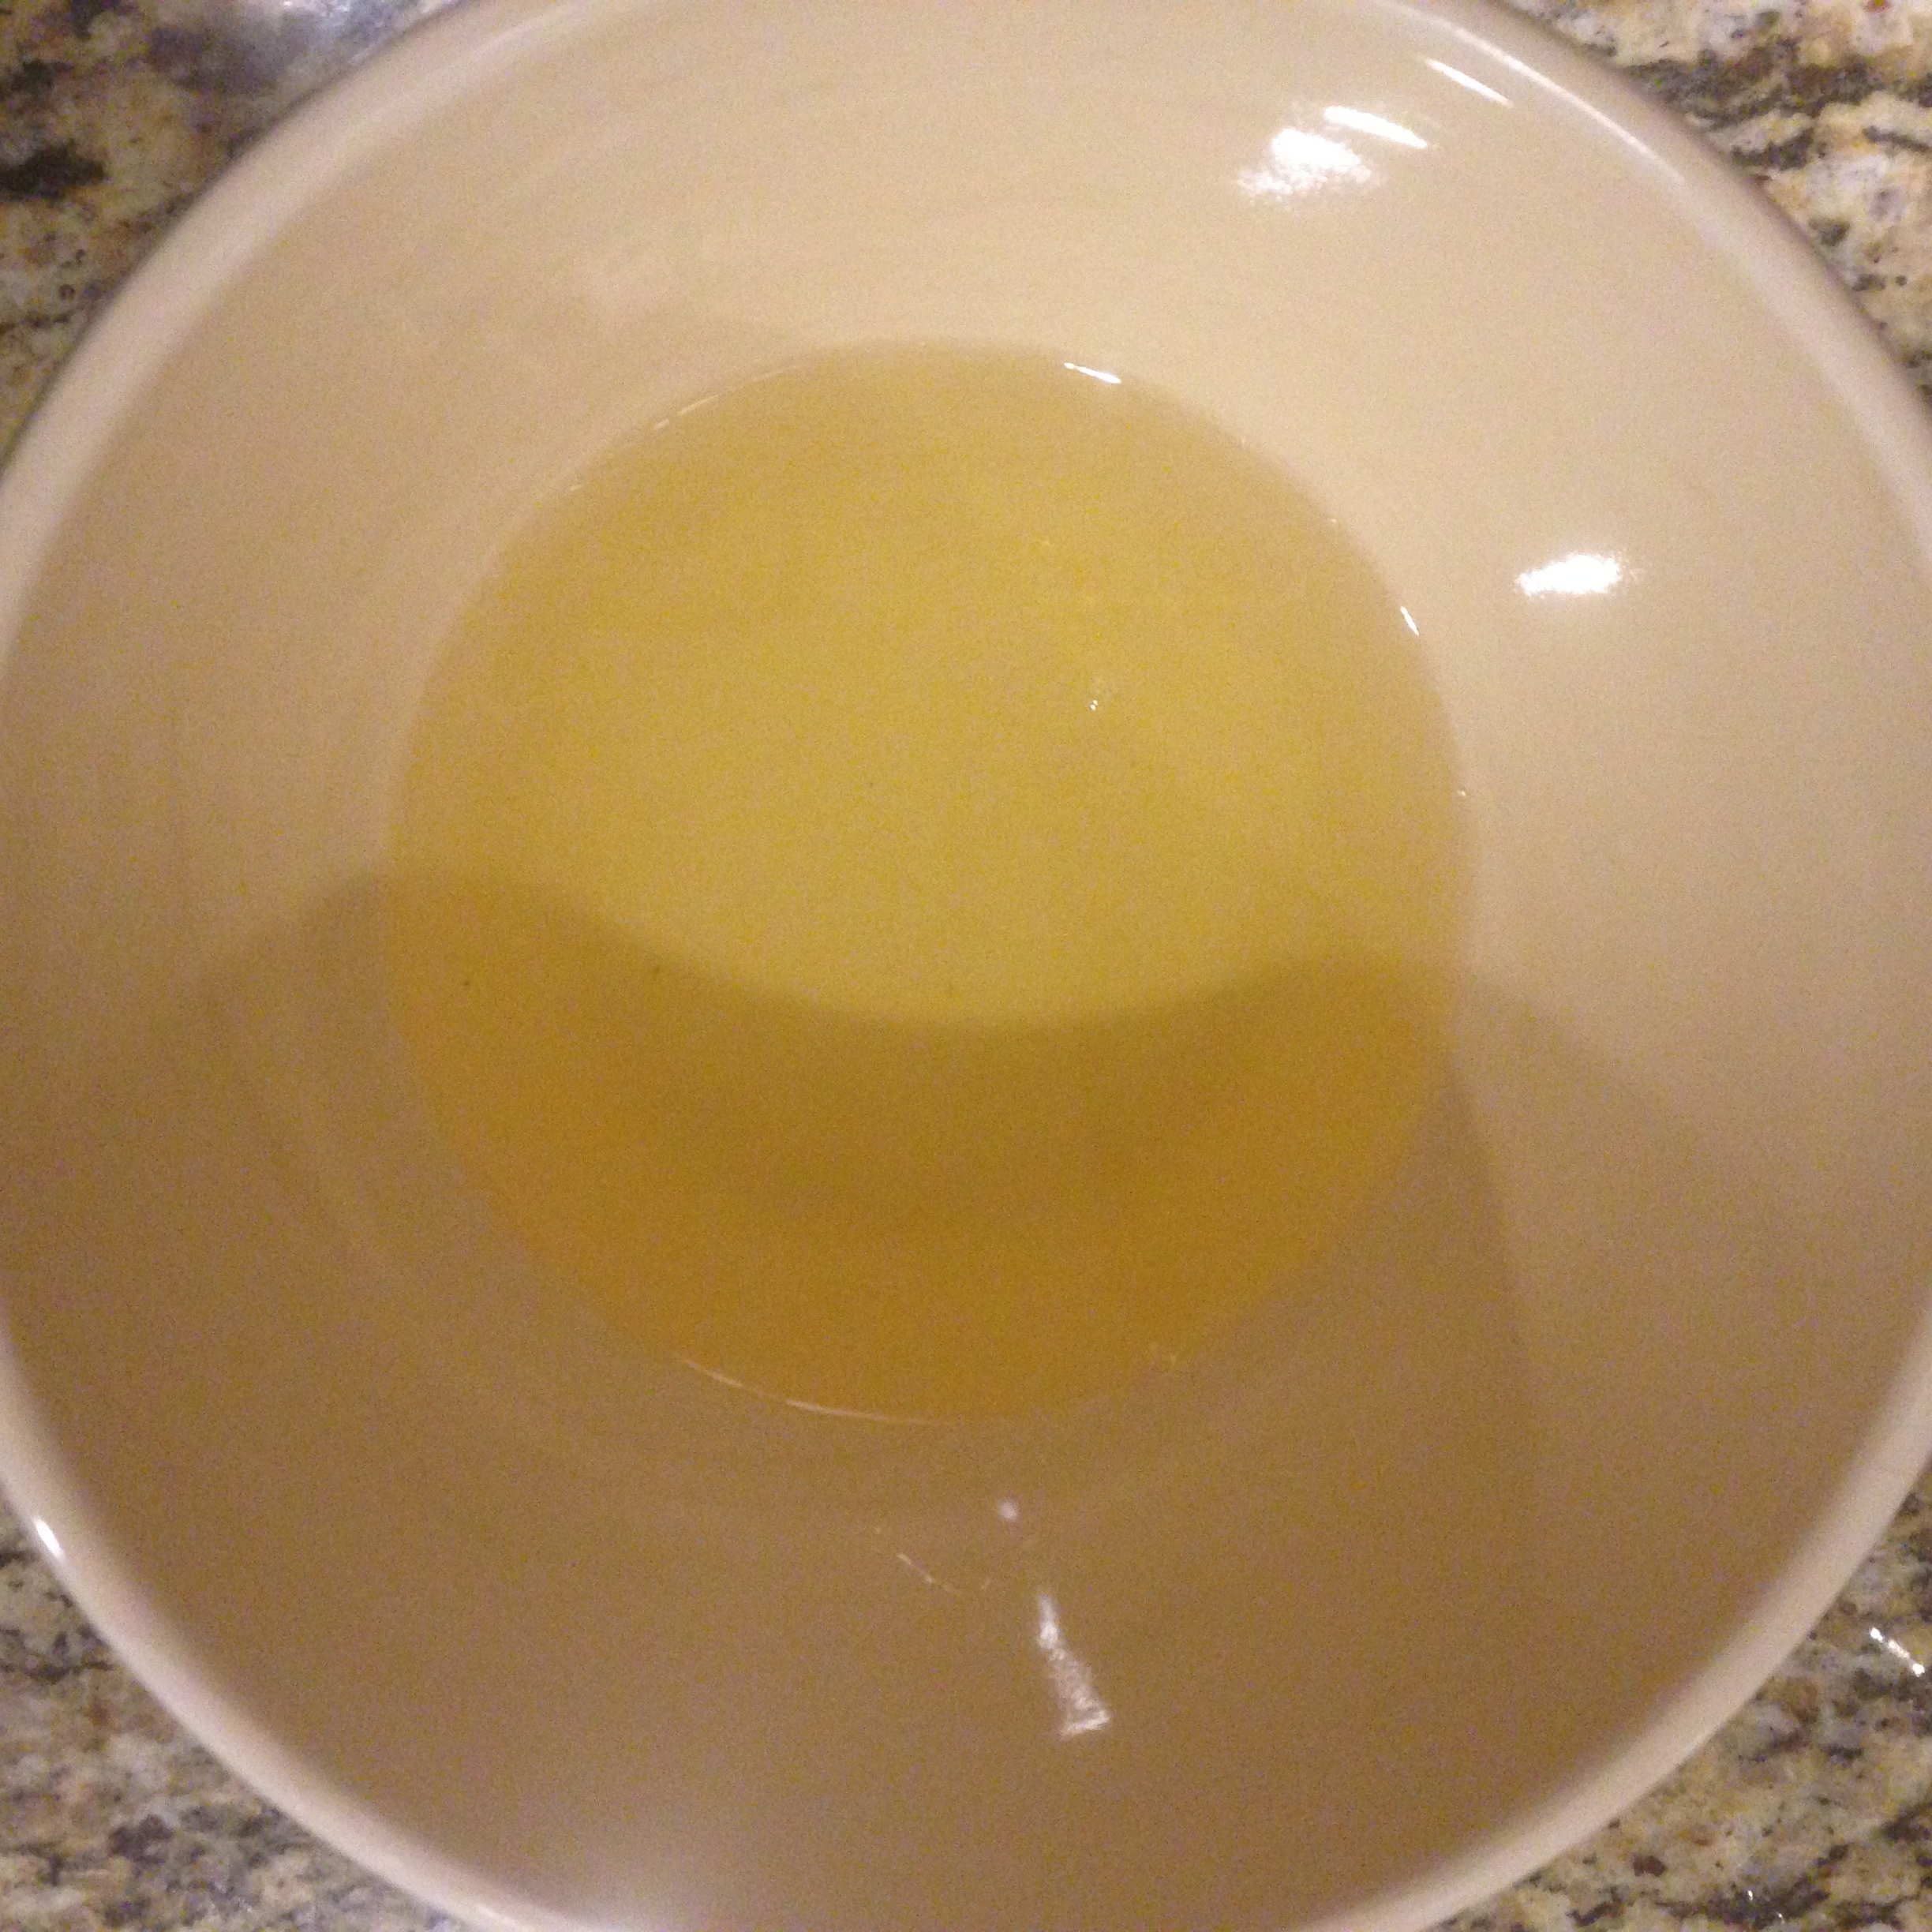
  5. Transfer the mixture to a medium-sized bowl and place in the fridge or freezer until it becomes solid, about 15-30 min.
    • Make sure the oil hardens but doesn't freeze, you will find whipping it difficult if it does.
  6. Remove the mixture from fridge/freezer.
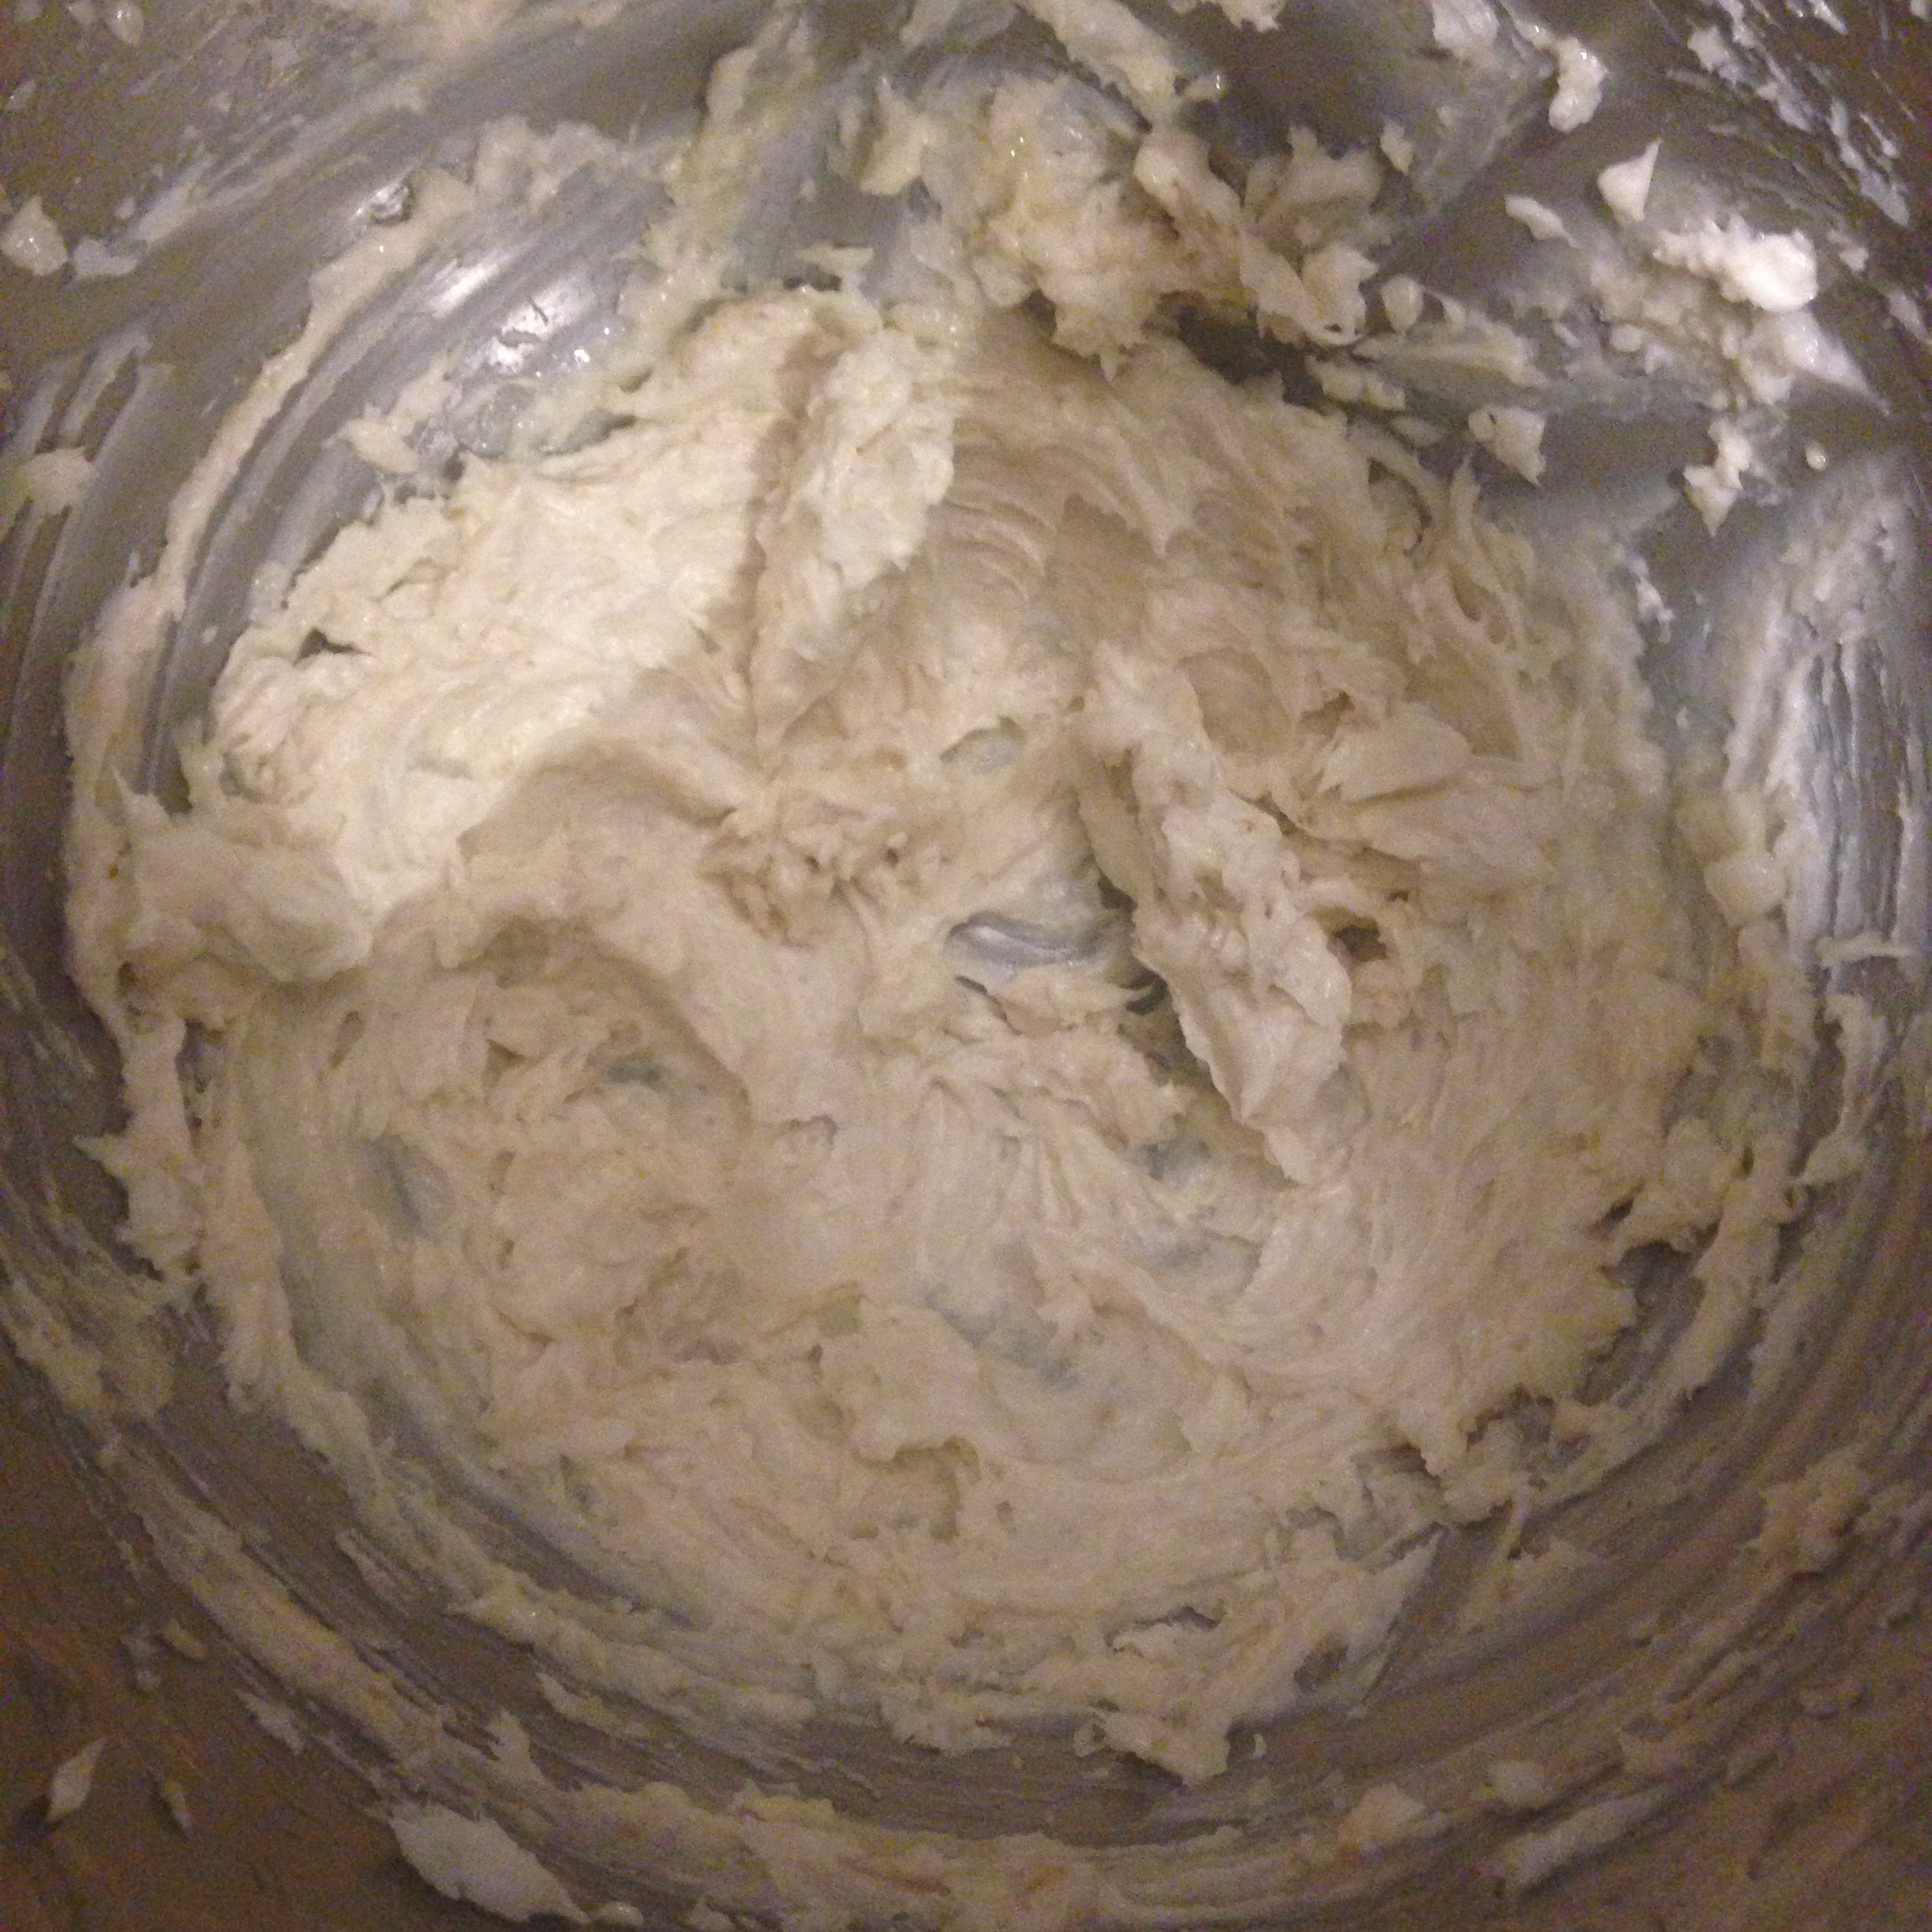
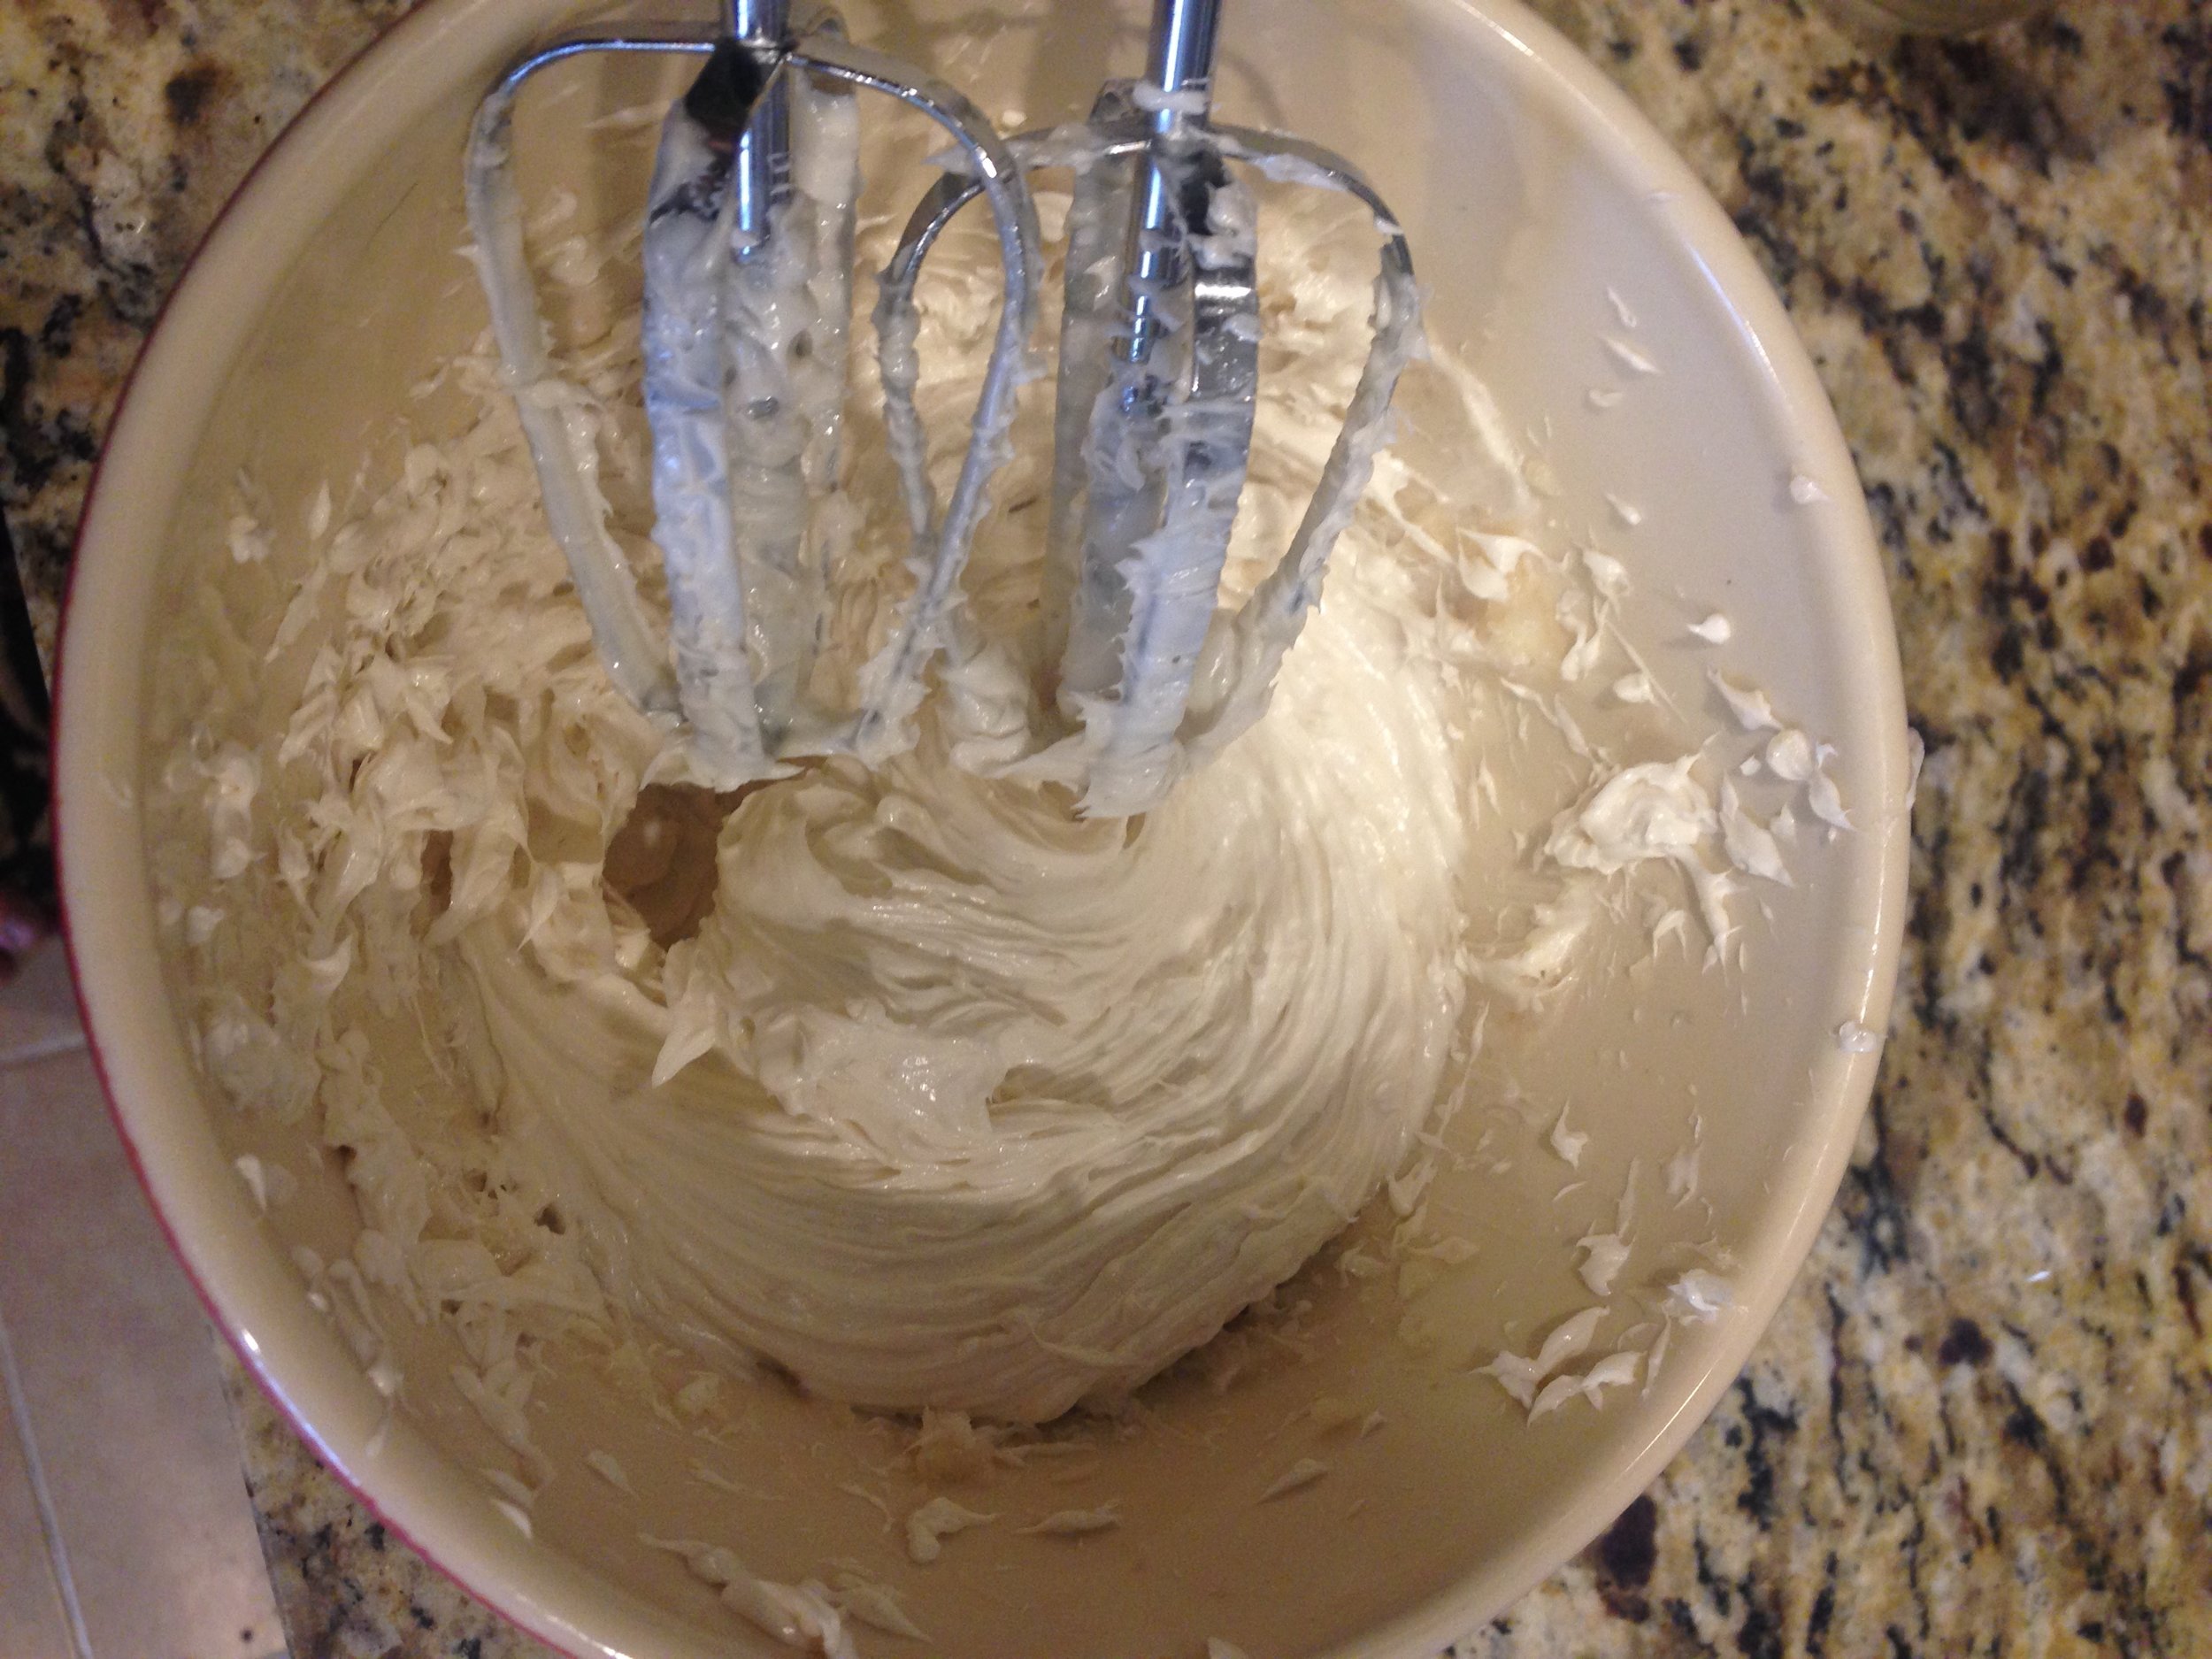
  7. Using a hand mixer to whip the mixture until smooth and fluffy; about 3–5 minutes.
    • You can use a stand mixer but I've had better luck with this portion using a hand mixer
  8. Add the castile soap and honey and mix again.
  9. Add the essential oils and whip again until well mixed and the mixture reaches the desired texture.
To Use: Use about a quarter sized dollop for each leg. Be aware that this can make your shower floor slippery and take extra caution. The texture will become oily once on your leg, as opposed to fluffy and mousse-like

A note about natural ingredients:  because these ingredients are all natural, they will inevitably spoil.  This isn't necessarily a bad thing as it is basically the microbial world telling you that its not poisonous!  None of these things should spoil too quickly, but to help make it last longer try to limit the amount of water that gets into its container. If you find this is becoming too much of a problem, just make a smaller batch by cutting the recipe in half.

ACKNOWLEDGMENTS

While my recipe is not a replication of any of these bloggers, I did use their posts for guidance and feel they should be acknowledged:

Heather of mommypotamus.com, find her shaving cream recipe here!

Katie of wellnessmama.com, find her shaving cream recipe here!

Zero Waste Shaving

DSC_0063.JPG

I have been using a variety of razors and razor blades since I started shaving, I think I was 12.

Over the course of the past 13 years I have switched between reusable razors with replaceable blades, disposable razors, recyclable razors, waxing, and I even went the "I don't need to shave" route for a bit (by a bit I mean 3 weeks and then I caved).

I've jumped around for all different reasons. I switched from shaving to waxing because I wanted my hair to be thinner, but I got over that and went back to shaving. Then I changed from the reusable razors because the replacement blades became so expensive that I felt I had to go to disposable ones.  I felt terrible throwing away the entire plastic disposable razor, so I found an eco-friendly recyclable one from Preserve. But when I decided to go completely zero waste, I realized I would have to find an alternative because only Preserve's razor handle is recyclable, not the blades.

Luckily, the issue of hair removal has been solved for a long time within the zero waste community, and it's actually a money saver!

Introducing: The Safety Razor

The safety razor was introduced and patented in 1880, so they've been around longer than you or I (most likely, I'm assuming you're not over 100).  It was really the first move away from traditional straight razors (think Sweeny Todd) which were more challenging and dangerous to use. Technically modern razor blades, with 2-5 blades, are a type of safety razor.

However, it is the double-edge (DE) safety razor that is commonly used in the zero-waste community today and is definitely a staple of a zero waste bathroom.  They are actually most commonly used because of the cost savings compared to disposables and razors with replaceable cartridges. I, personally, went with a mid-range DE razor from Merkur

I vary with what cream/soap I shave with. When I'm feeling crafty I make a homemade coconut oil shaving cream, but I also love bar shaving soaps. Figure out what works best for you. Keep in mind that you need to frequently rinse a safety razor no matter what you shave with!

How to

Safety razors are a little different from disposable or cartridge razors. 

The Set Up

  1. Get your safety razor and the double edge razor blade.
  2. Take your razor apart into its three pieces: top, middle, and bottom 
  3. Place your DE blade on the prongs of the top segment of the razor
  4. Place the middle segment on the prongs, over the blade.
  5. Screw the handle into the middle prong. 


The Shave


Common Questions

  1. Will a safety razor irritate my skin?
    • If your normal razor irritates your skin, then you may also have irritation with a safety razor. However, less blades should equal less irritation.  I haven't been able to track down any solid science to back this up either way, but you should certainly not experience more irritation. 
    • There are also claims of safety razors reducing the number of ingrown hairs, again no science to back it up so you'll need to find out for yourself!
    • Additional Note: I borrowed one of my friends traditional razors for my legs after using a safety razor for about 8 months and I found it to be VERY irritating. I'll totally backup this claim with personal experience.
  2. Will I cut myself more with a safety razor?
    • No more than with a cartridge razor. Obviously if you slice it sideways it will cut you. The most important thing to remember is not to apply too much downward force while you shave. This will increase the likelihood of the blade cutting you. 
  3. How many shaves will a DE razor last?
    • It depends how often you shave and how course your hair is, but a typical DE blade will last about 5-7 shaves.
    • Your actual safety razor could last anywhere from 10-50 years depending on the quality!

DIY Shampoo and Conditioner

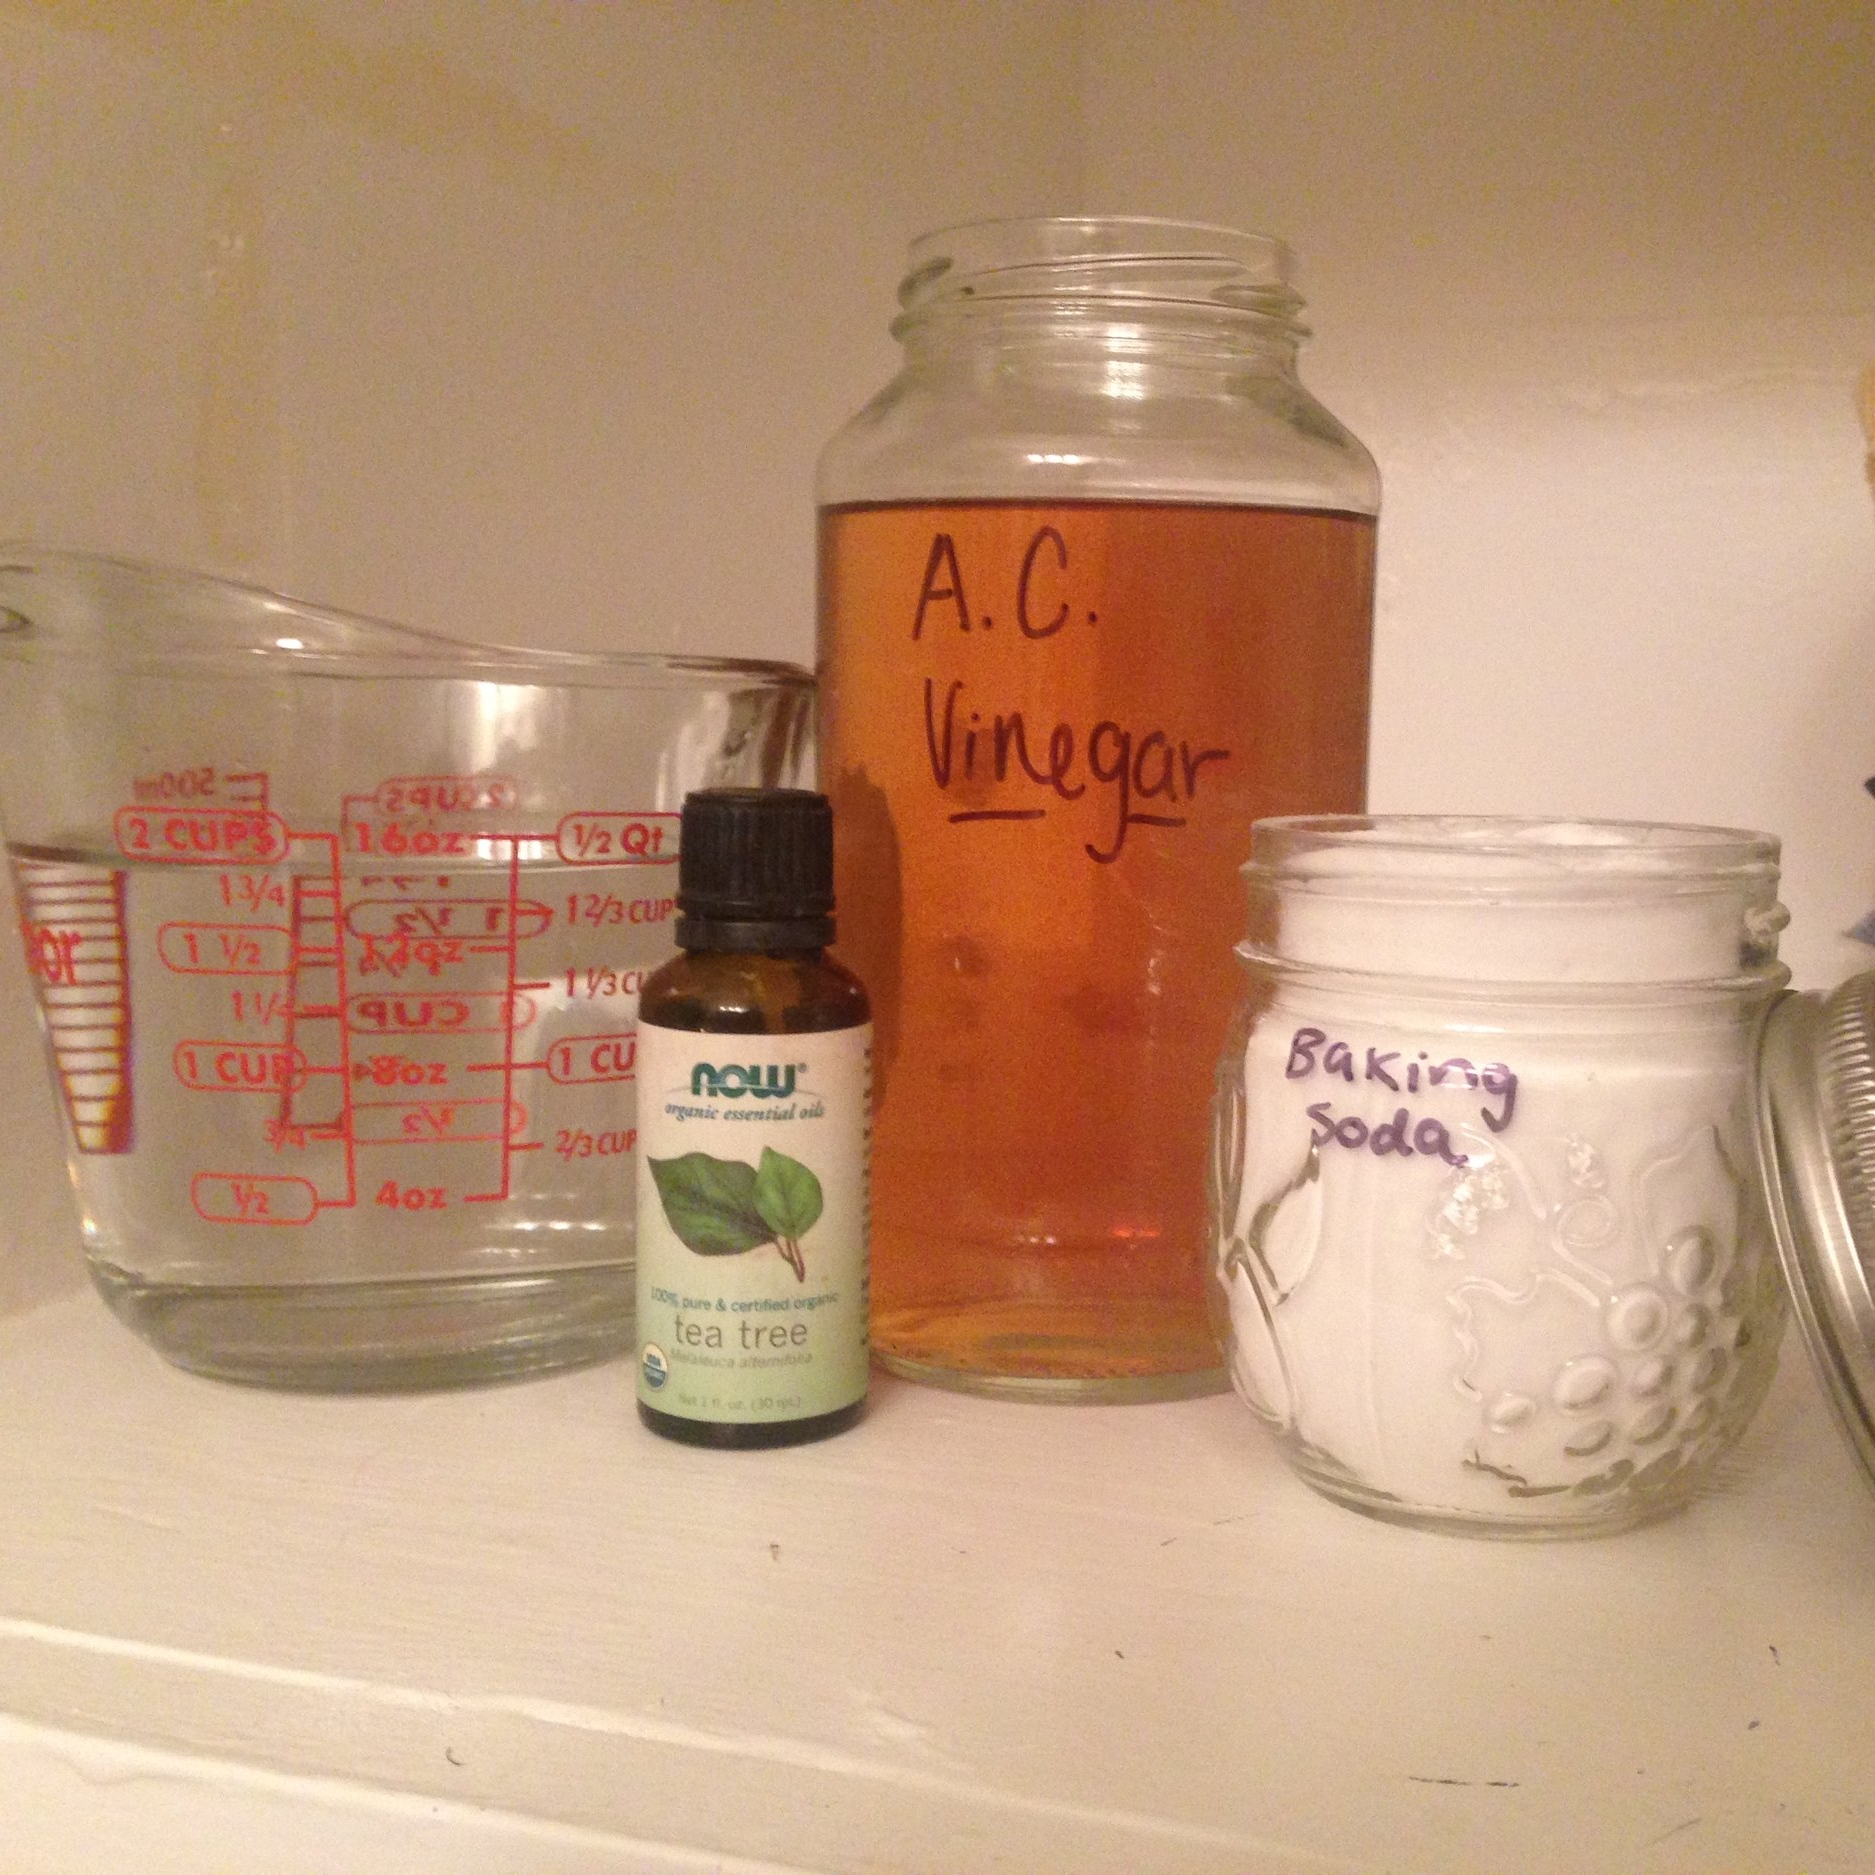
You only need 3 ingredients for this DIY

  1. Baking soda
  2. Apple cider vinegar
  3. Water
  4. Essential oils (optional) 

I have flip flopped for about the past five years between making my own shampoo and trying different natural ones. I am now committing to my homemade solutions, which I actually got the idea for from my grandma!

Grammy knows that I swing pretty natural and when I told her that I wanted to stop using traditional shampoo and conditioner she told me that back in in the 30's and 40's she and her sister used a baking soda rinse for shampoo and a vinegar rinse as conditioner.

This led to some experimenting, some of which turned my hair greasy, some of which made me have small flecks of baking soda in my hair all the time, and finally one combination that worked super well for me!  

When I first transitioned I went cold turkey into new unexplored territory, but I would recommend transitioning into this regime by starting 1 day a week, then 2-3, etc.  You may need to alter the proportions slightly depending on your hair type, but this is a great guideline to follow! I also find with this routine I rarely need to wash my hair more than 2-3 times a week, unless I am doing strenuous workouts every day (which is honestly, not all that often). 

Not only are these recipes non-toxic and zero waste, but they are also SO much cheaper than buying the traditional stuff!

Baking Soda Shampoo

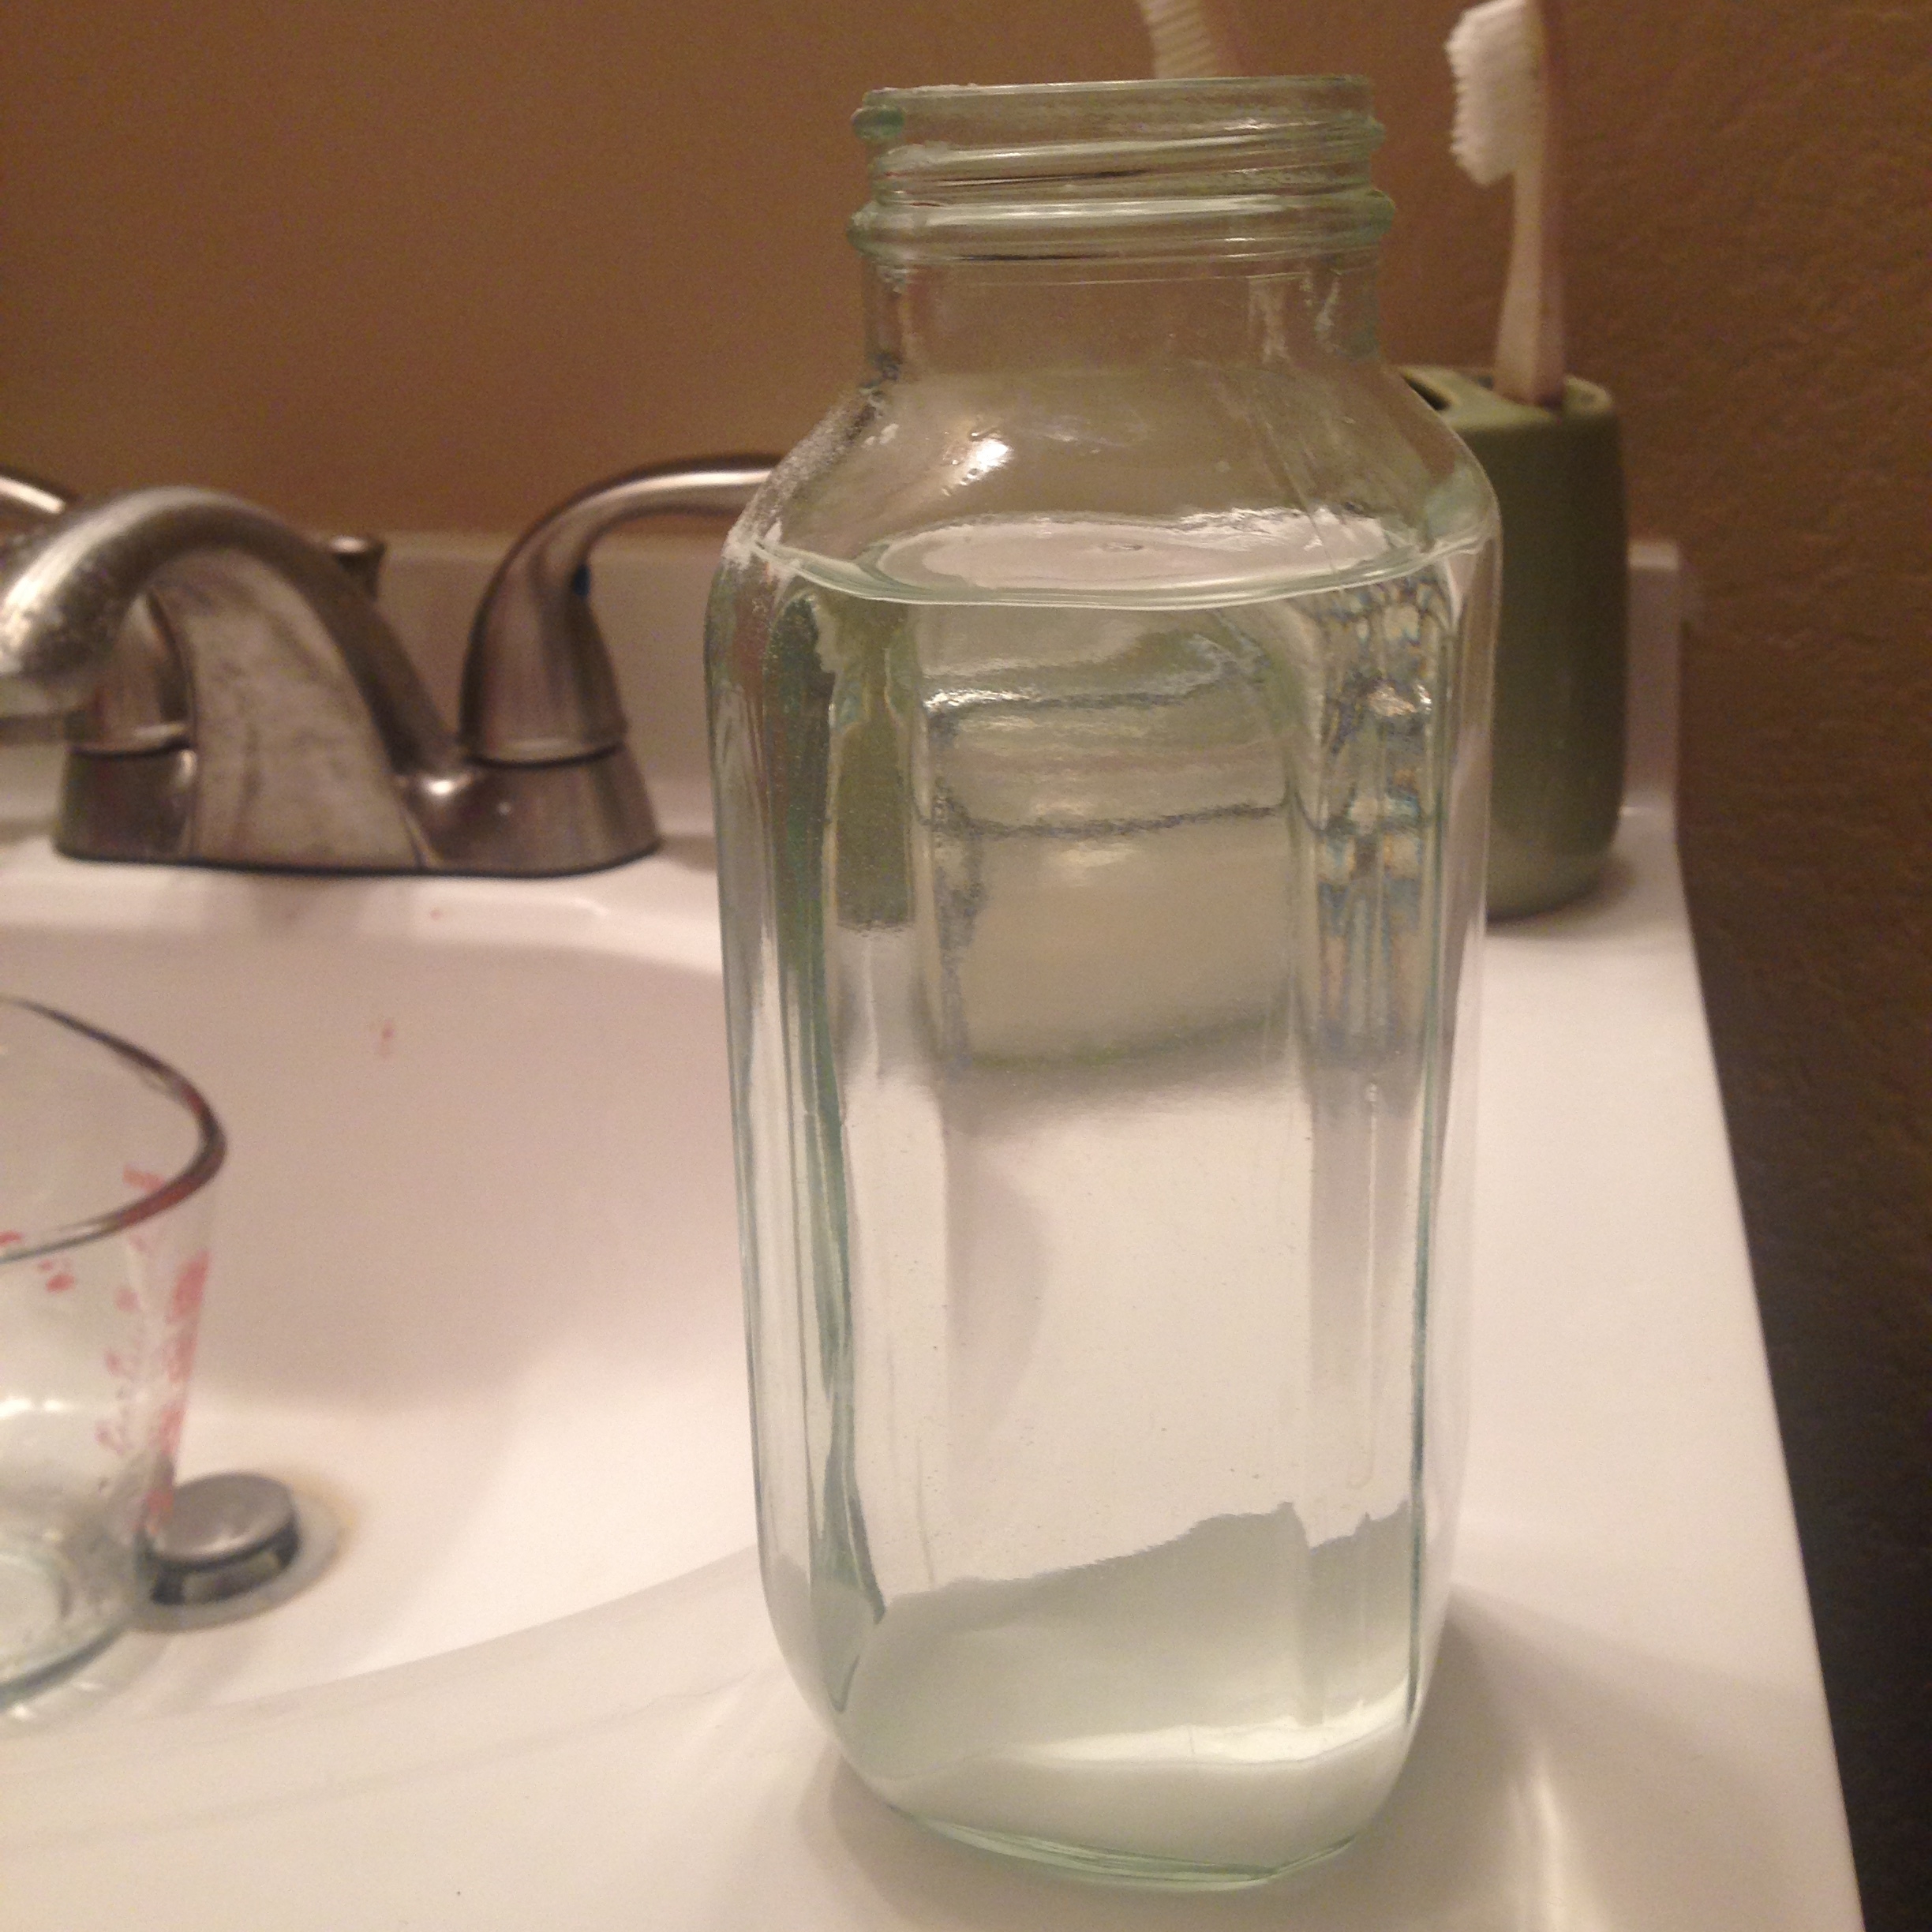
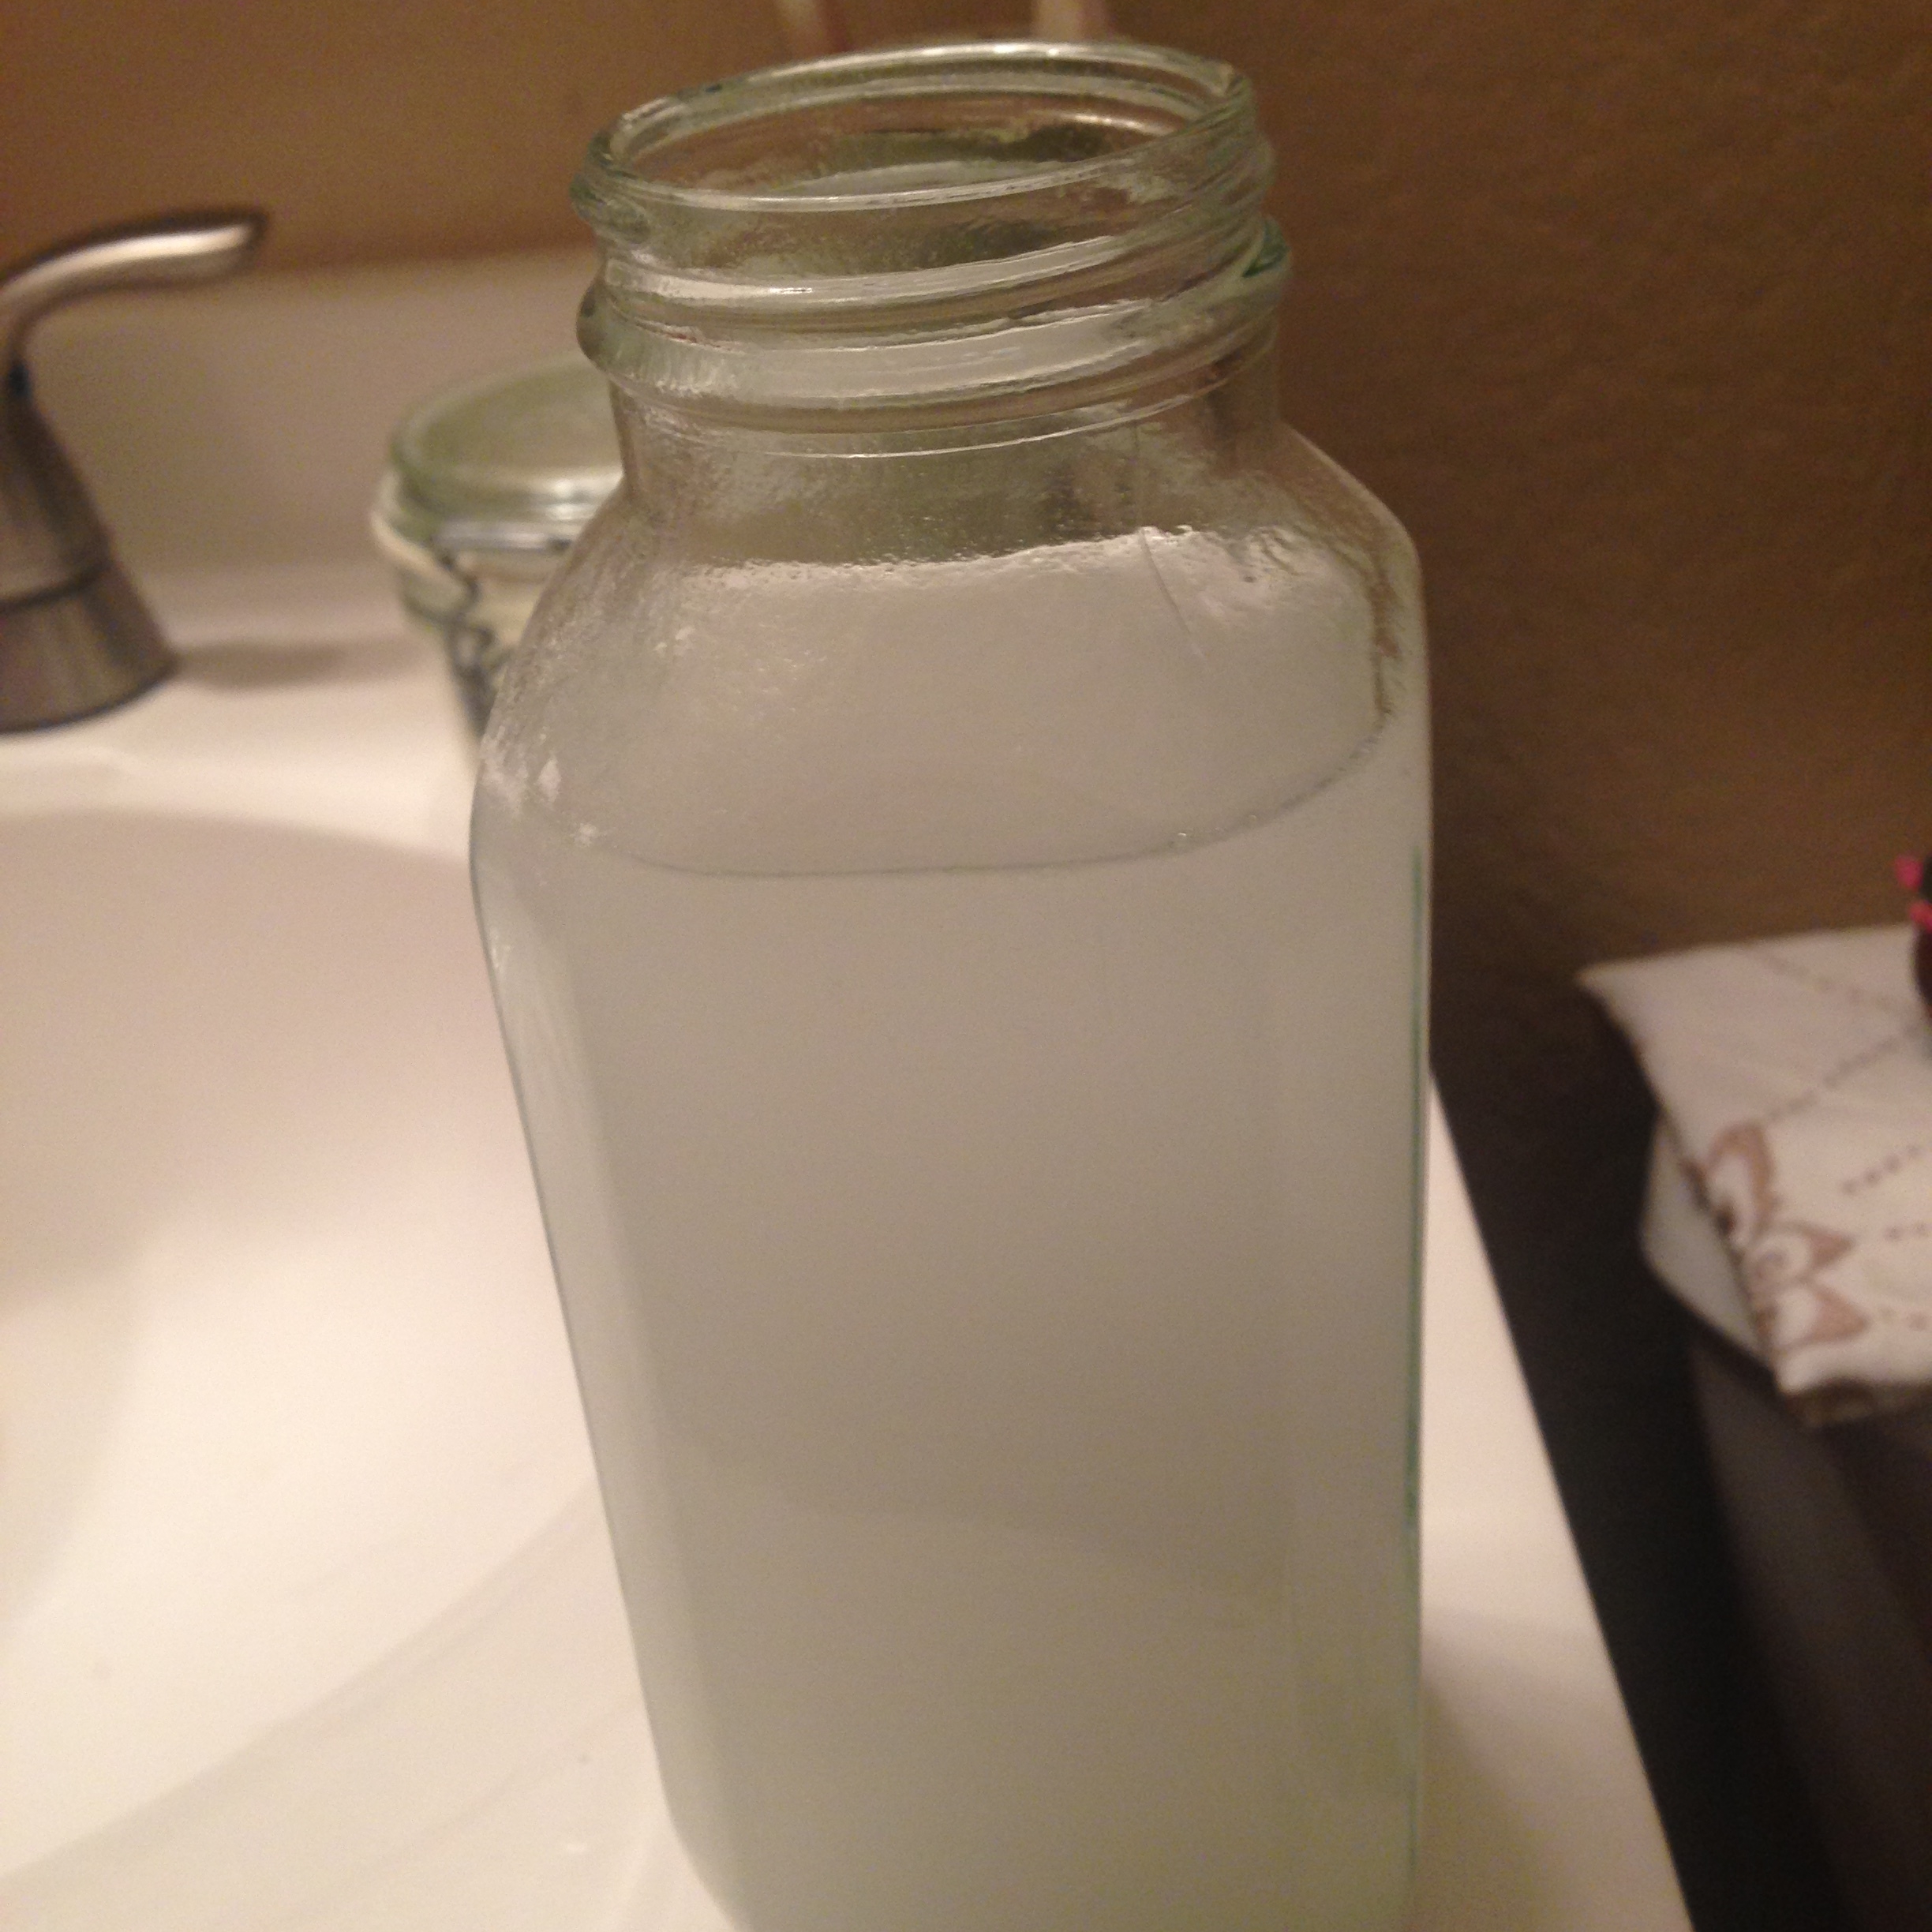
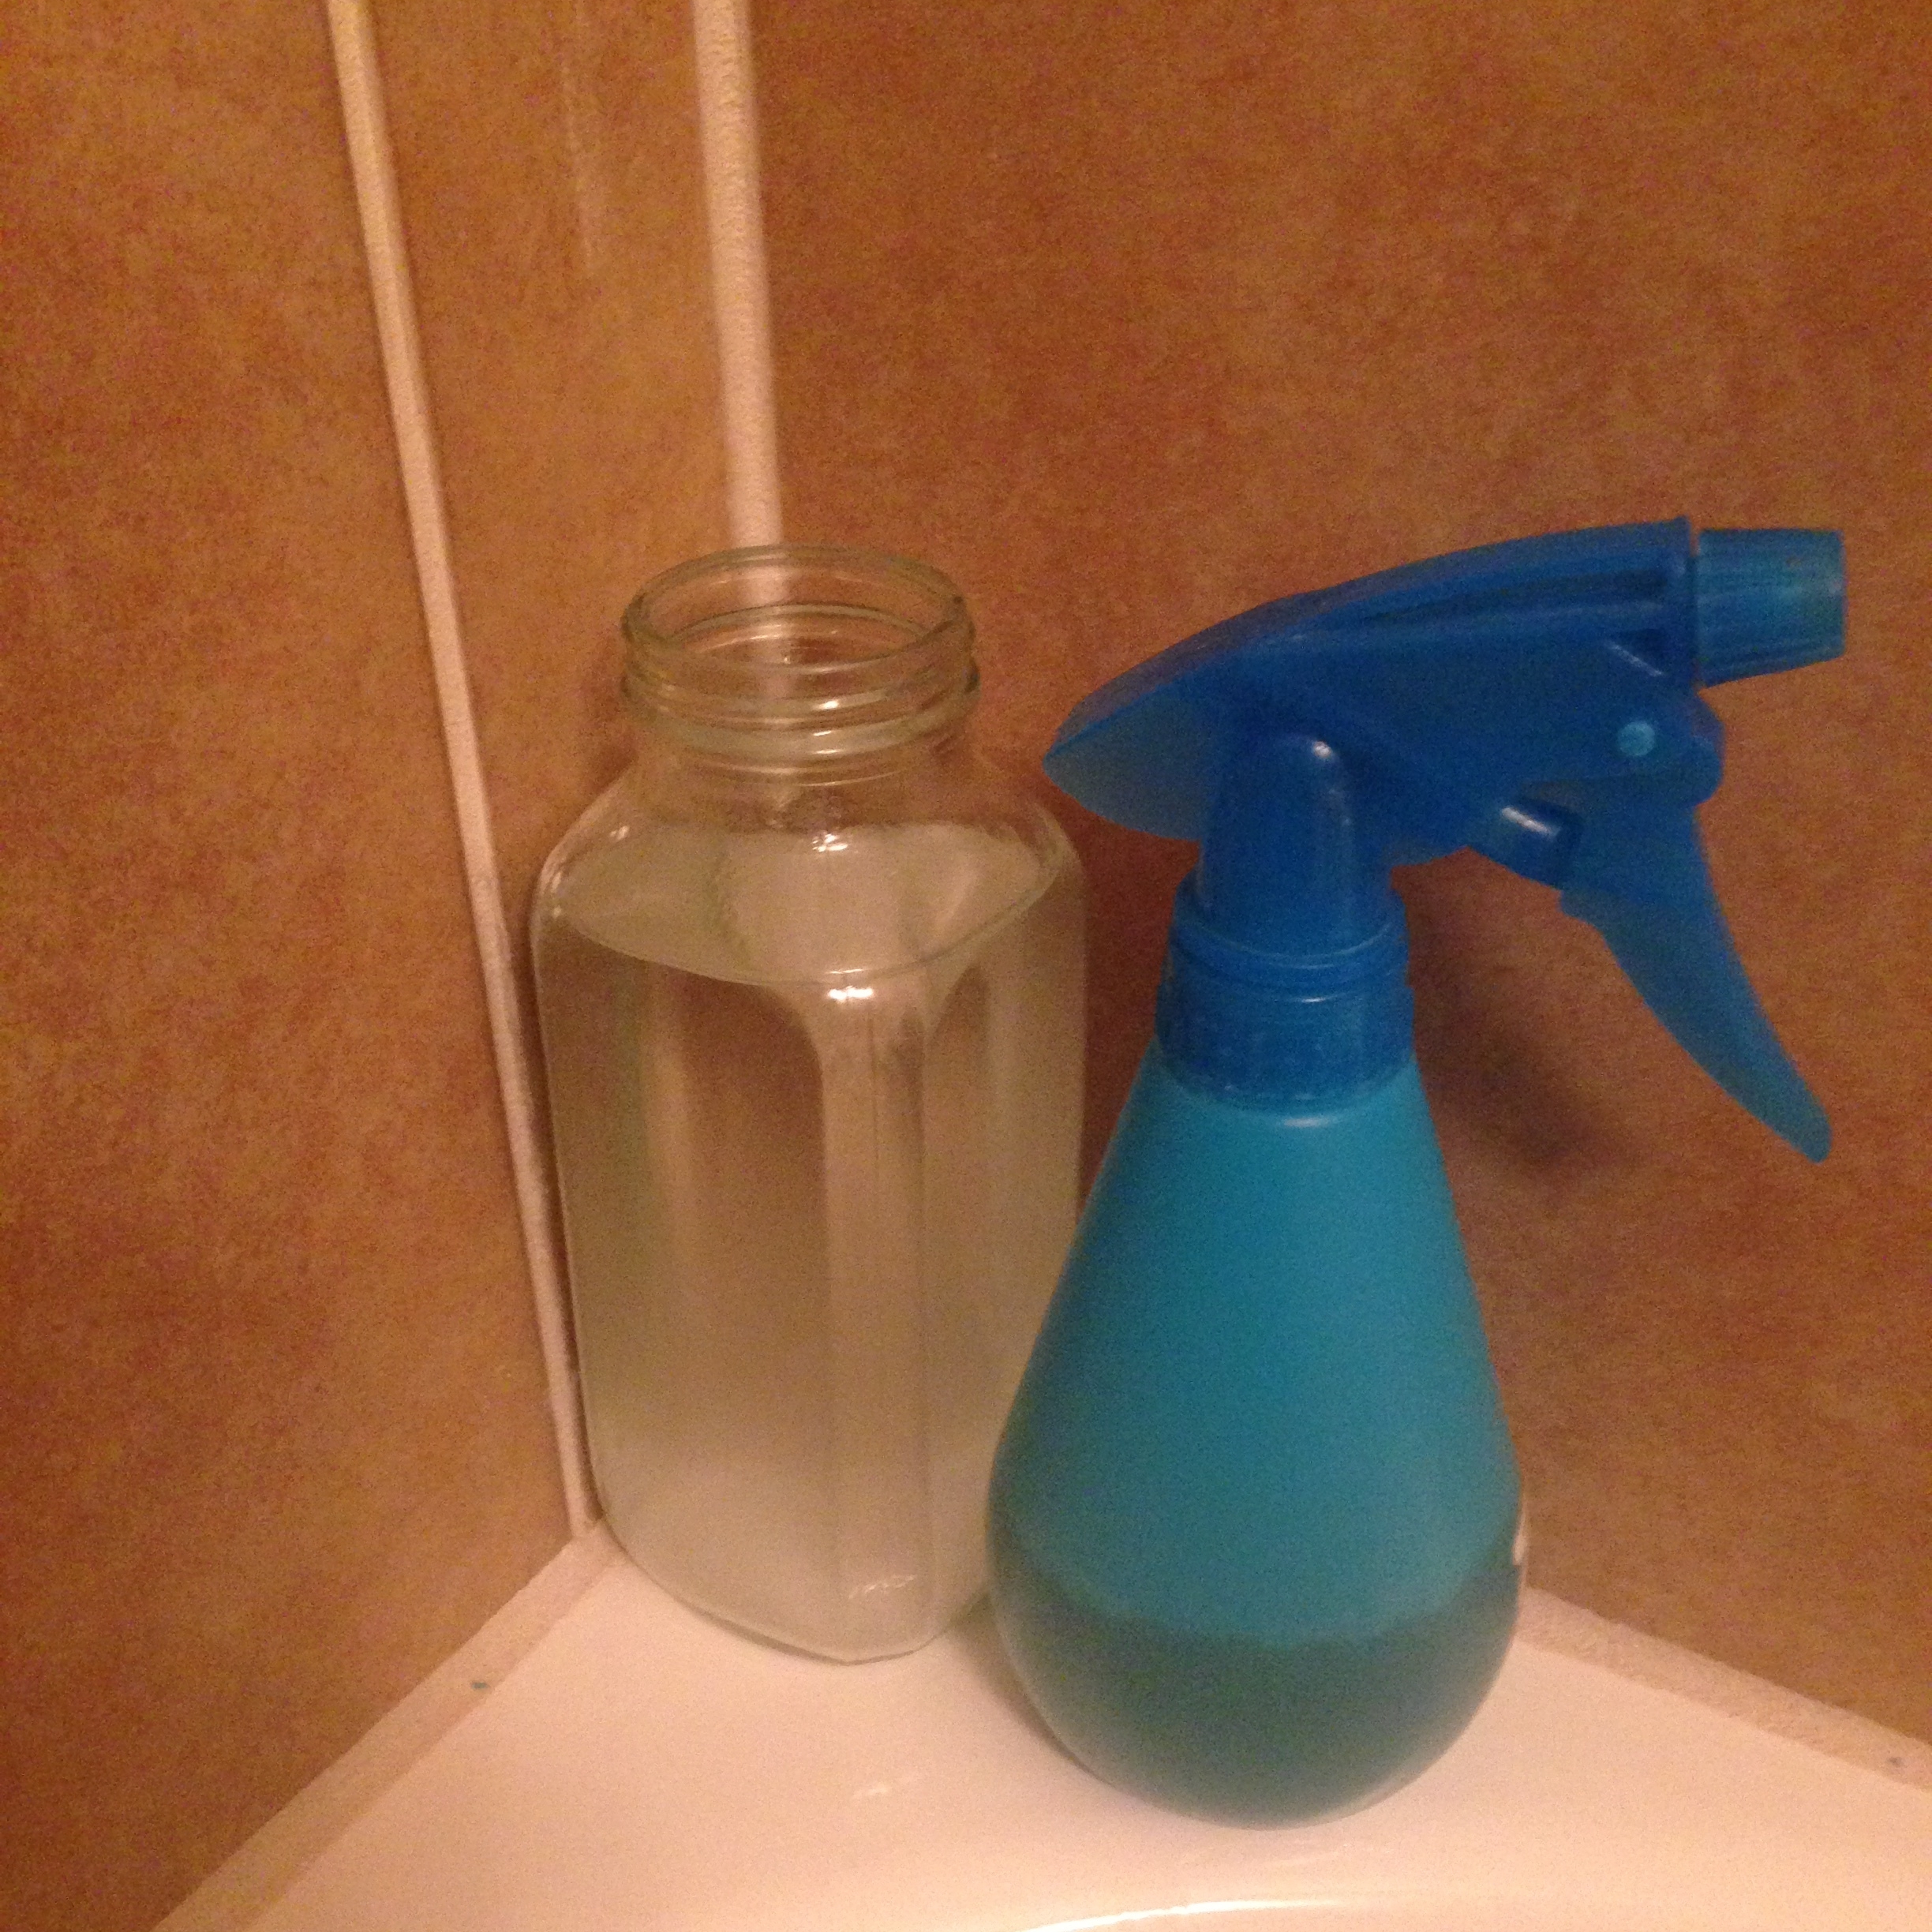
To Make: Mix about 3 Tbsp. of baking soda with 16 oz. of water.  Add 10-15 drops of your preferred essential oils.

To Use: Shake up until water is foggy and all of the baking soda is mixed into the solution. Pour over hair in 1-3 rounds. Make sure you get it over most of your scalp, as this is where oil originates.

Vinegar Conditioner

To Make: Mix about 5 parts water to 1 part apple cider vinegar. Add 10-20 drops of your preferred essential oils. 

To Use: Put solution in a small spray bottle.  Shake before use. After your baking soda rinse, spray the vinegar solution onto the lower half of your hair, I pay special attention to my tips. Let sit for a few minutes and then rinse with water. No vinegar smell should cling to your hair.

 Variations

These proportions work well for my hair which is combination to oily, very thick, and very long. If you have really oily hair you may want to increase the amount of baking soda. If you have very dry hair you may want to increase the proportion of vinegar, or spray the vinegar solution more liberally around all of your hair. I've read some suggestions to leave the vinegar in your hair, but I generally don't do this unless I'm doing some sort of treatment on it.

Good luck!