Razor Price Breakdowns

DSC_0063.JPG

Whether you're trying to go zero waste, trying to reduce your waste impact, or just a thrifty shopper: it's important to budget what you're spending on going green.

When I started looking into using safety razors, I made this spreadsheet (taking after my Grandpy a bit) to try and figure out if it was actually less expensive per year, as many bloggers were claiming. I was shocked, and stoked, by the discrepancy!  I found that safety razors are much less expensive than anything else on the market per year.  They require a larger initial investment (mid-ranged safety razors are about $20), but in the long term they're definitely worth it!

To clarify, the following table and graph are not set in stone. I used industry examples to get these prices and run a very simple analysis.  Also, the price per year will vary depending on how often you shave, how many times you use your razor, etc. I tried to be relatively conservative and consistent with each type of razor.

Yearly Shaving Cost if You Shave 5x per Week

As you can see, the expensive disposable razor is by far the most expensive, and both the expensive and mid-ranged safety razor are the most cost effective. This graph is based on the chart below.

So part of the reason for the large price gap is I calculated the safety razor handles as lasting 10 years, although they could potentially last up to 50! I had the reusable cartridge handles lasting 2 years. 

Inexpensive cartridges like the Dorco Pace 6 or Dollar Shave club are the best cartridges on the market, as far as price for quality goes, but still can't beat a mid-range safety razor, which I used as the "cheap" option. 

While these inexpensive cartridge razors are comparable to safety razors in price, they don't hold a candle to them in waste production, since essentially all cartridge razors are non-recyclable. I could not fine a single one on the market that was (let me know if you know of any!).

The graph was based on this cost analysis.

The graph was based on this cost analysis.

How to Hand Wash a Backpack - For Backpacking or Baby!

DSC_0197.JPG

You may want to wash your backpack for several reasons. Maybe it's been well used and just needs a little TLC after too many days on the trail. Or, like my current situation, maybe you got it second hand and you just want it to seem a little more new. Whatever the reason, washing your pack can be done with ease! 

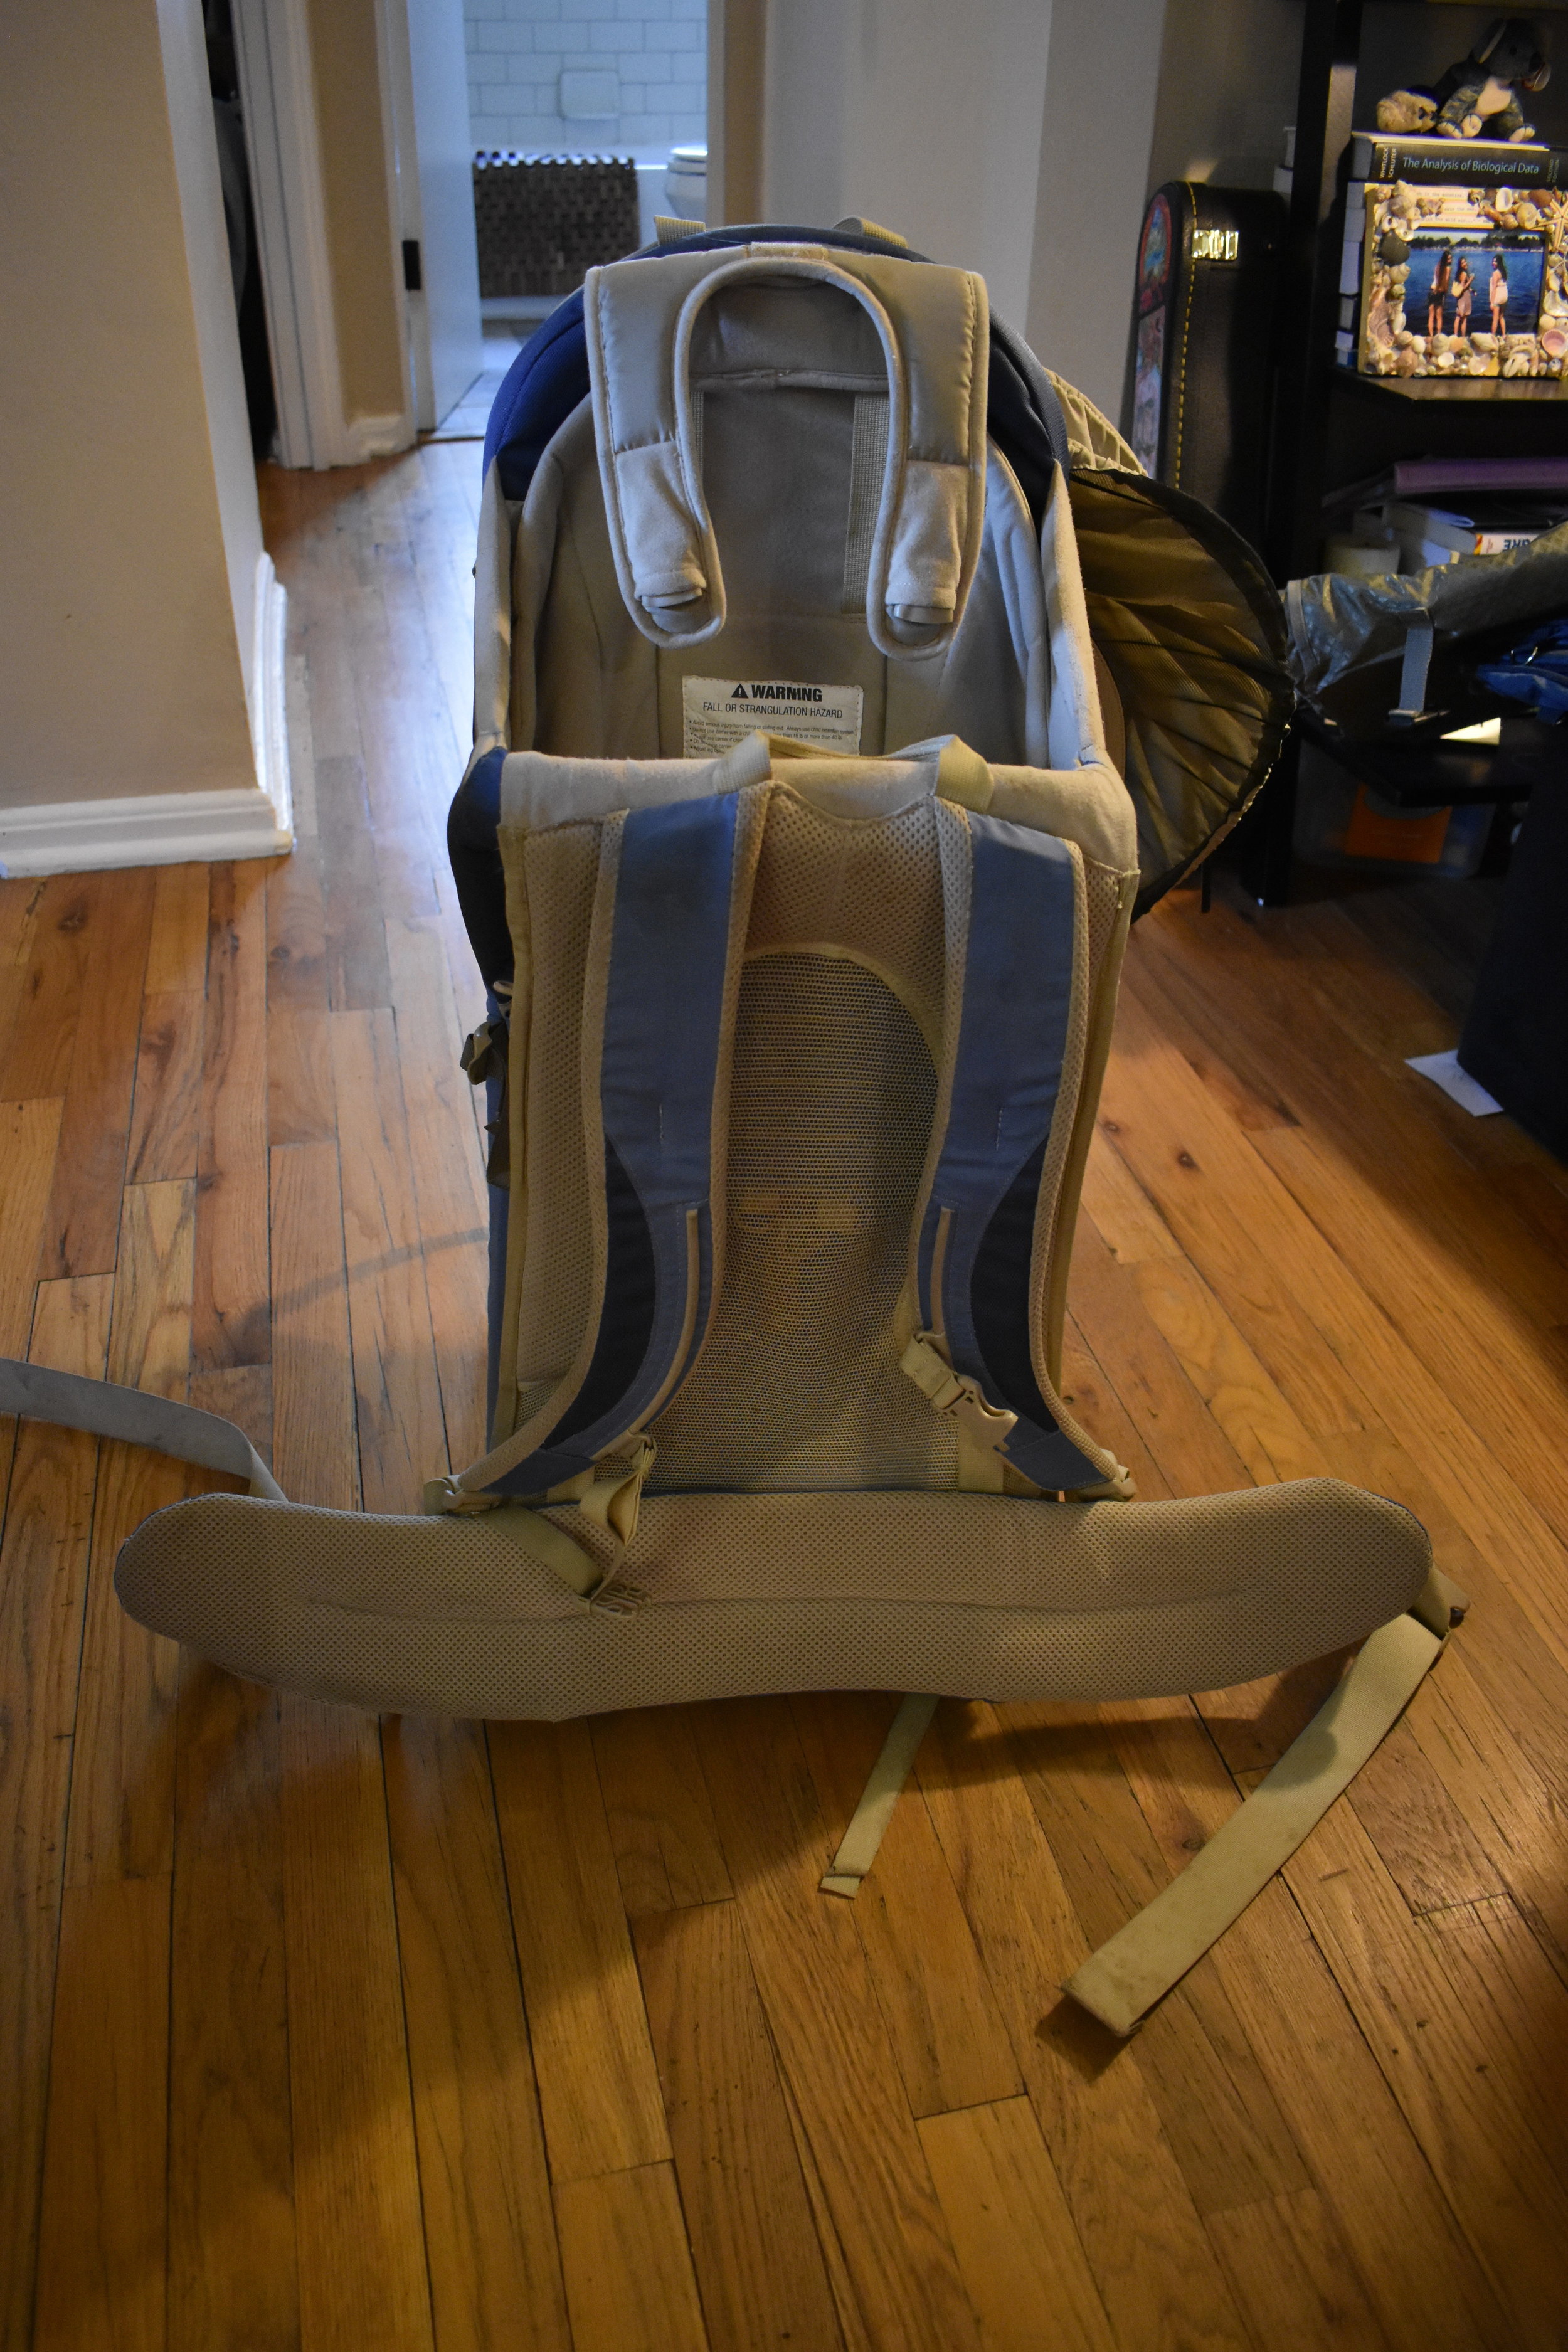
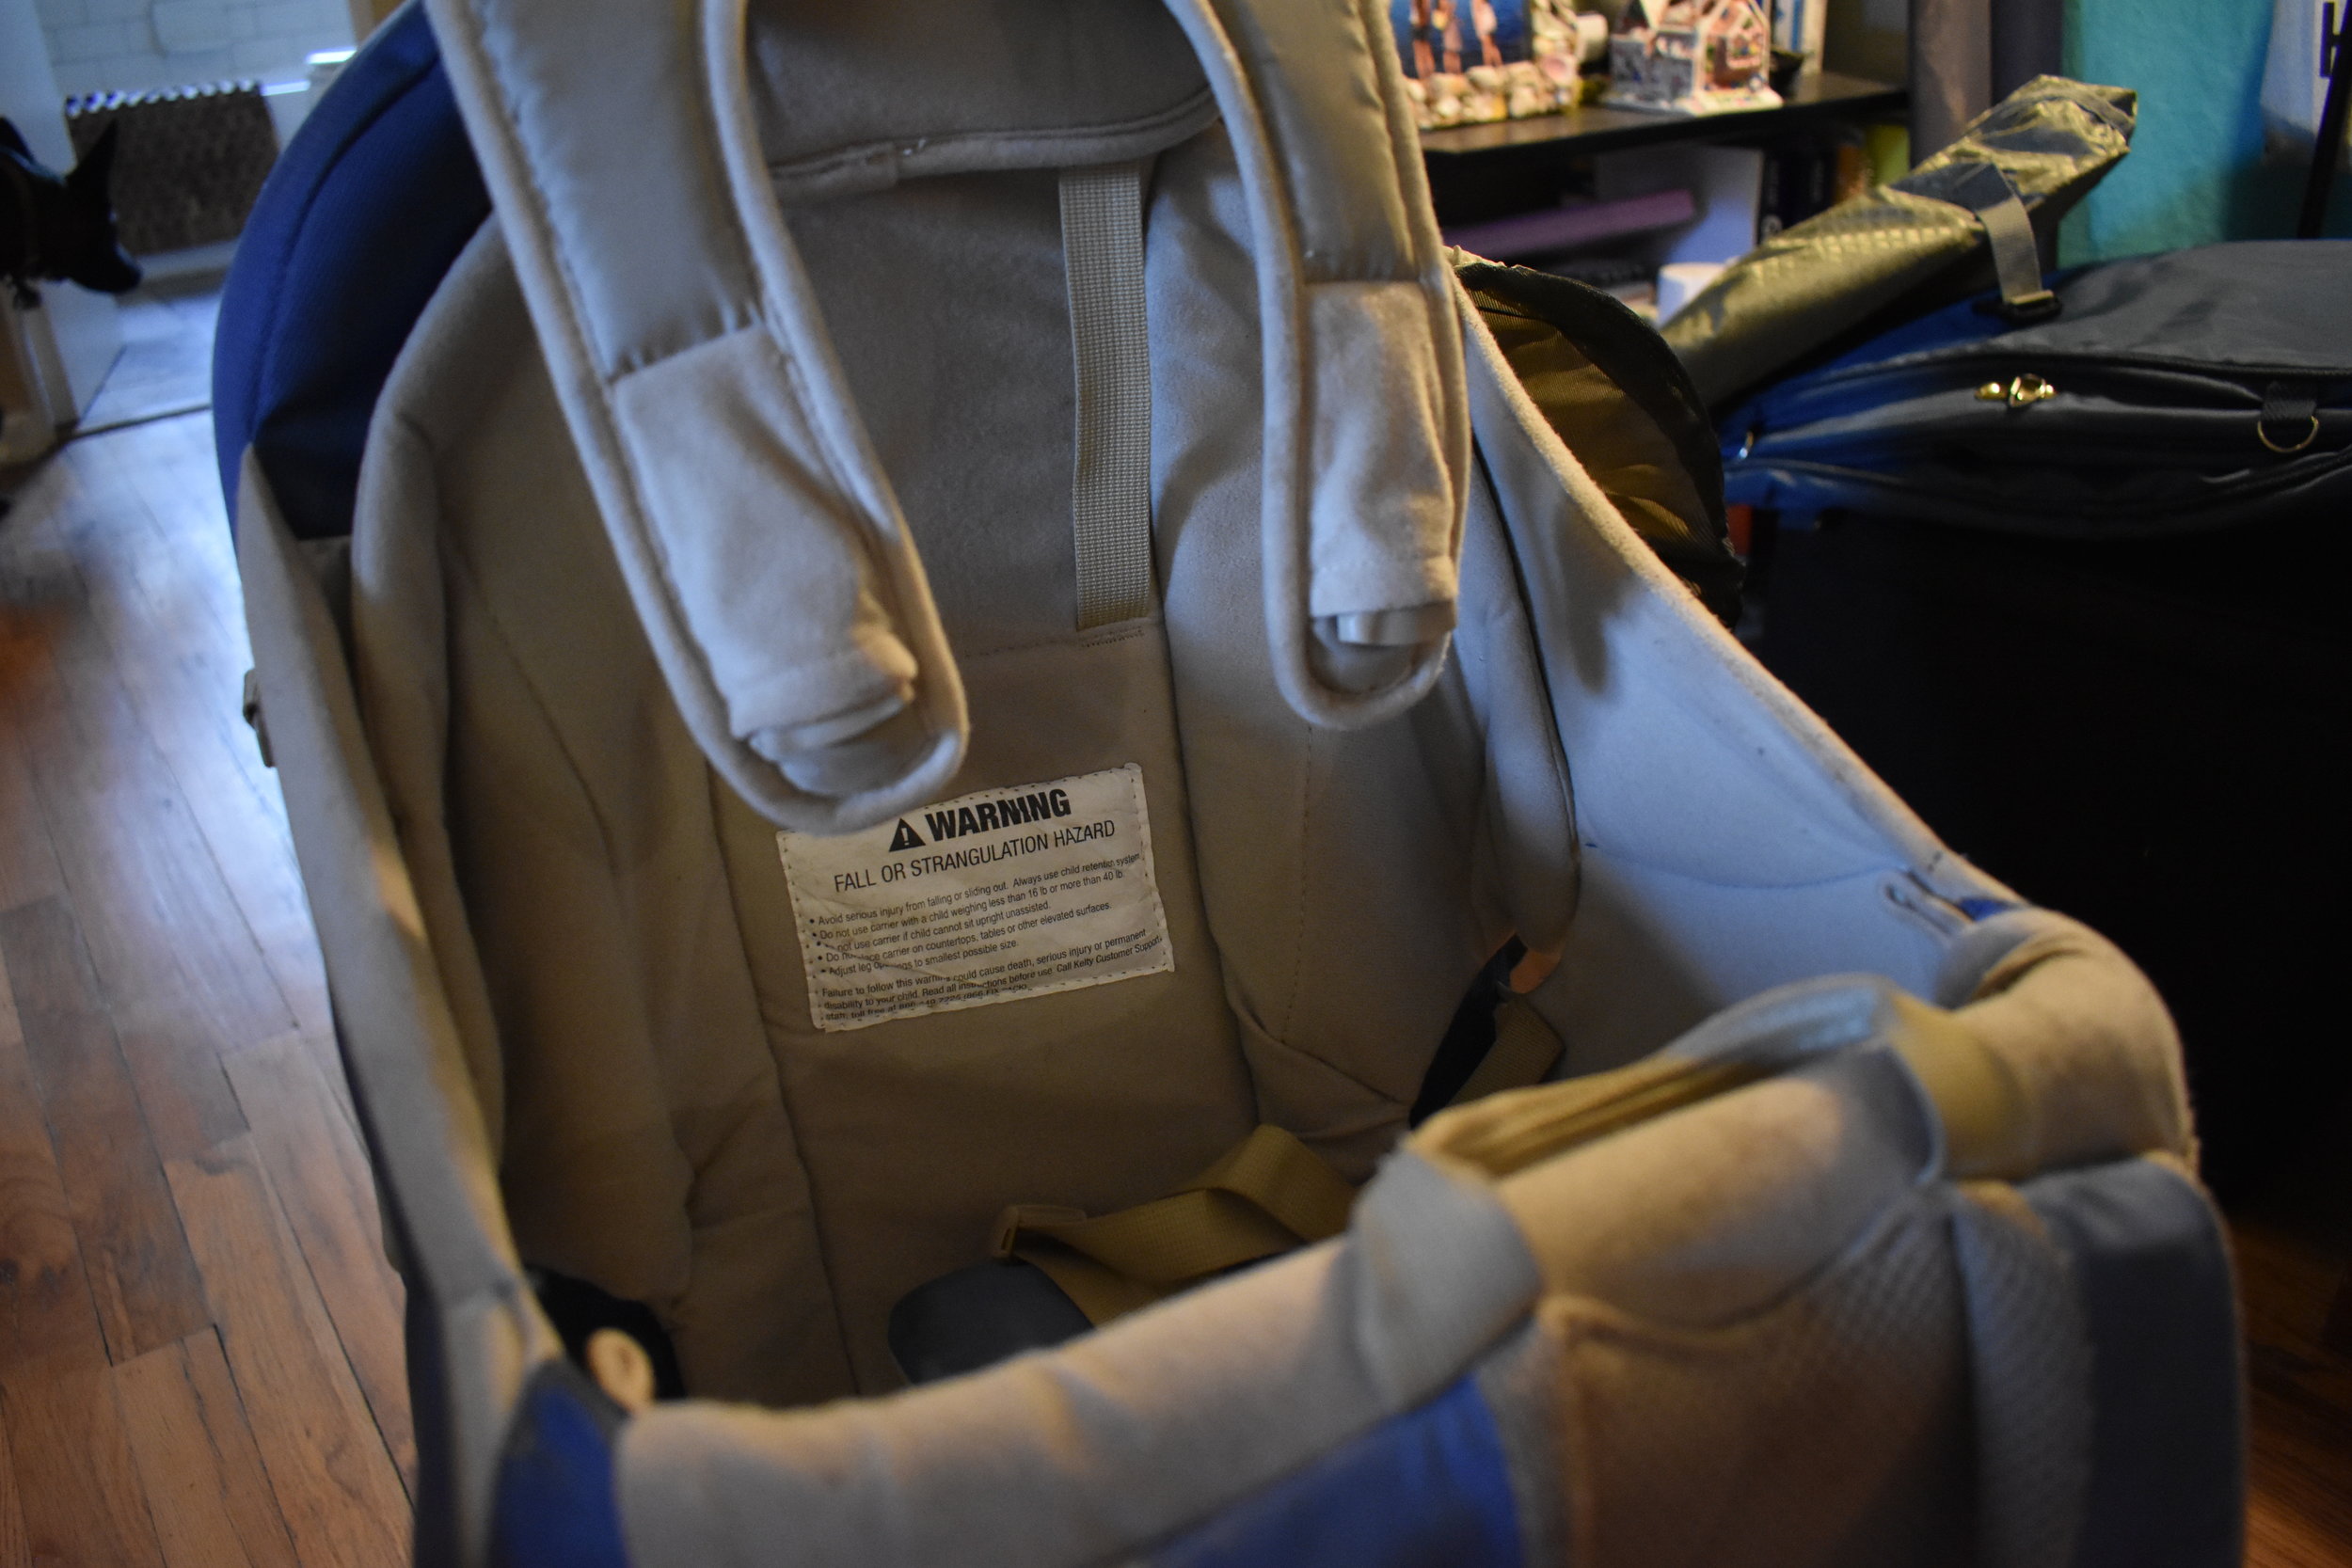
I got this awesome, used, Kelty baby carrier backpack for my brother and his fiancé, who are expecting.

So firstly, I have to say that before getting any baby stuff used, make sure this is ok with the parents! I got approval from the fiancé to buy used baby equipment, and found out exactly what sorts of items were OK. She said that as long as it was washable and in good condition she was totally fine with it, and a baby-backpack was one of the things she rattled off! 

I found a used Kelty Tour, which normally retails for $190, for $50 on Nextdoor.  I scooped it up, and it's in great condition! It was definitely well loved, though, and I want to give it to them fully cleaned!

The Deep Clean

You should look up the care instructions for your specific make of pack. This is a combination of suggestions from Kelty and REI on how to deep clean packs.

  1. Empty your pack
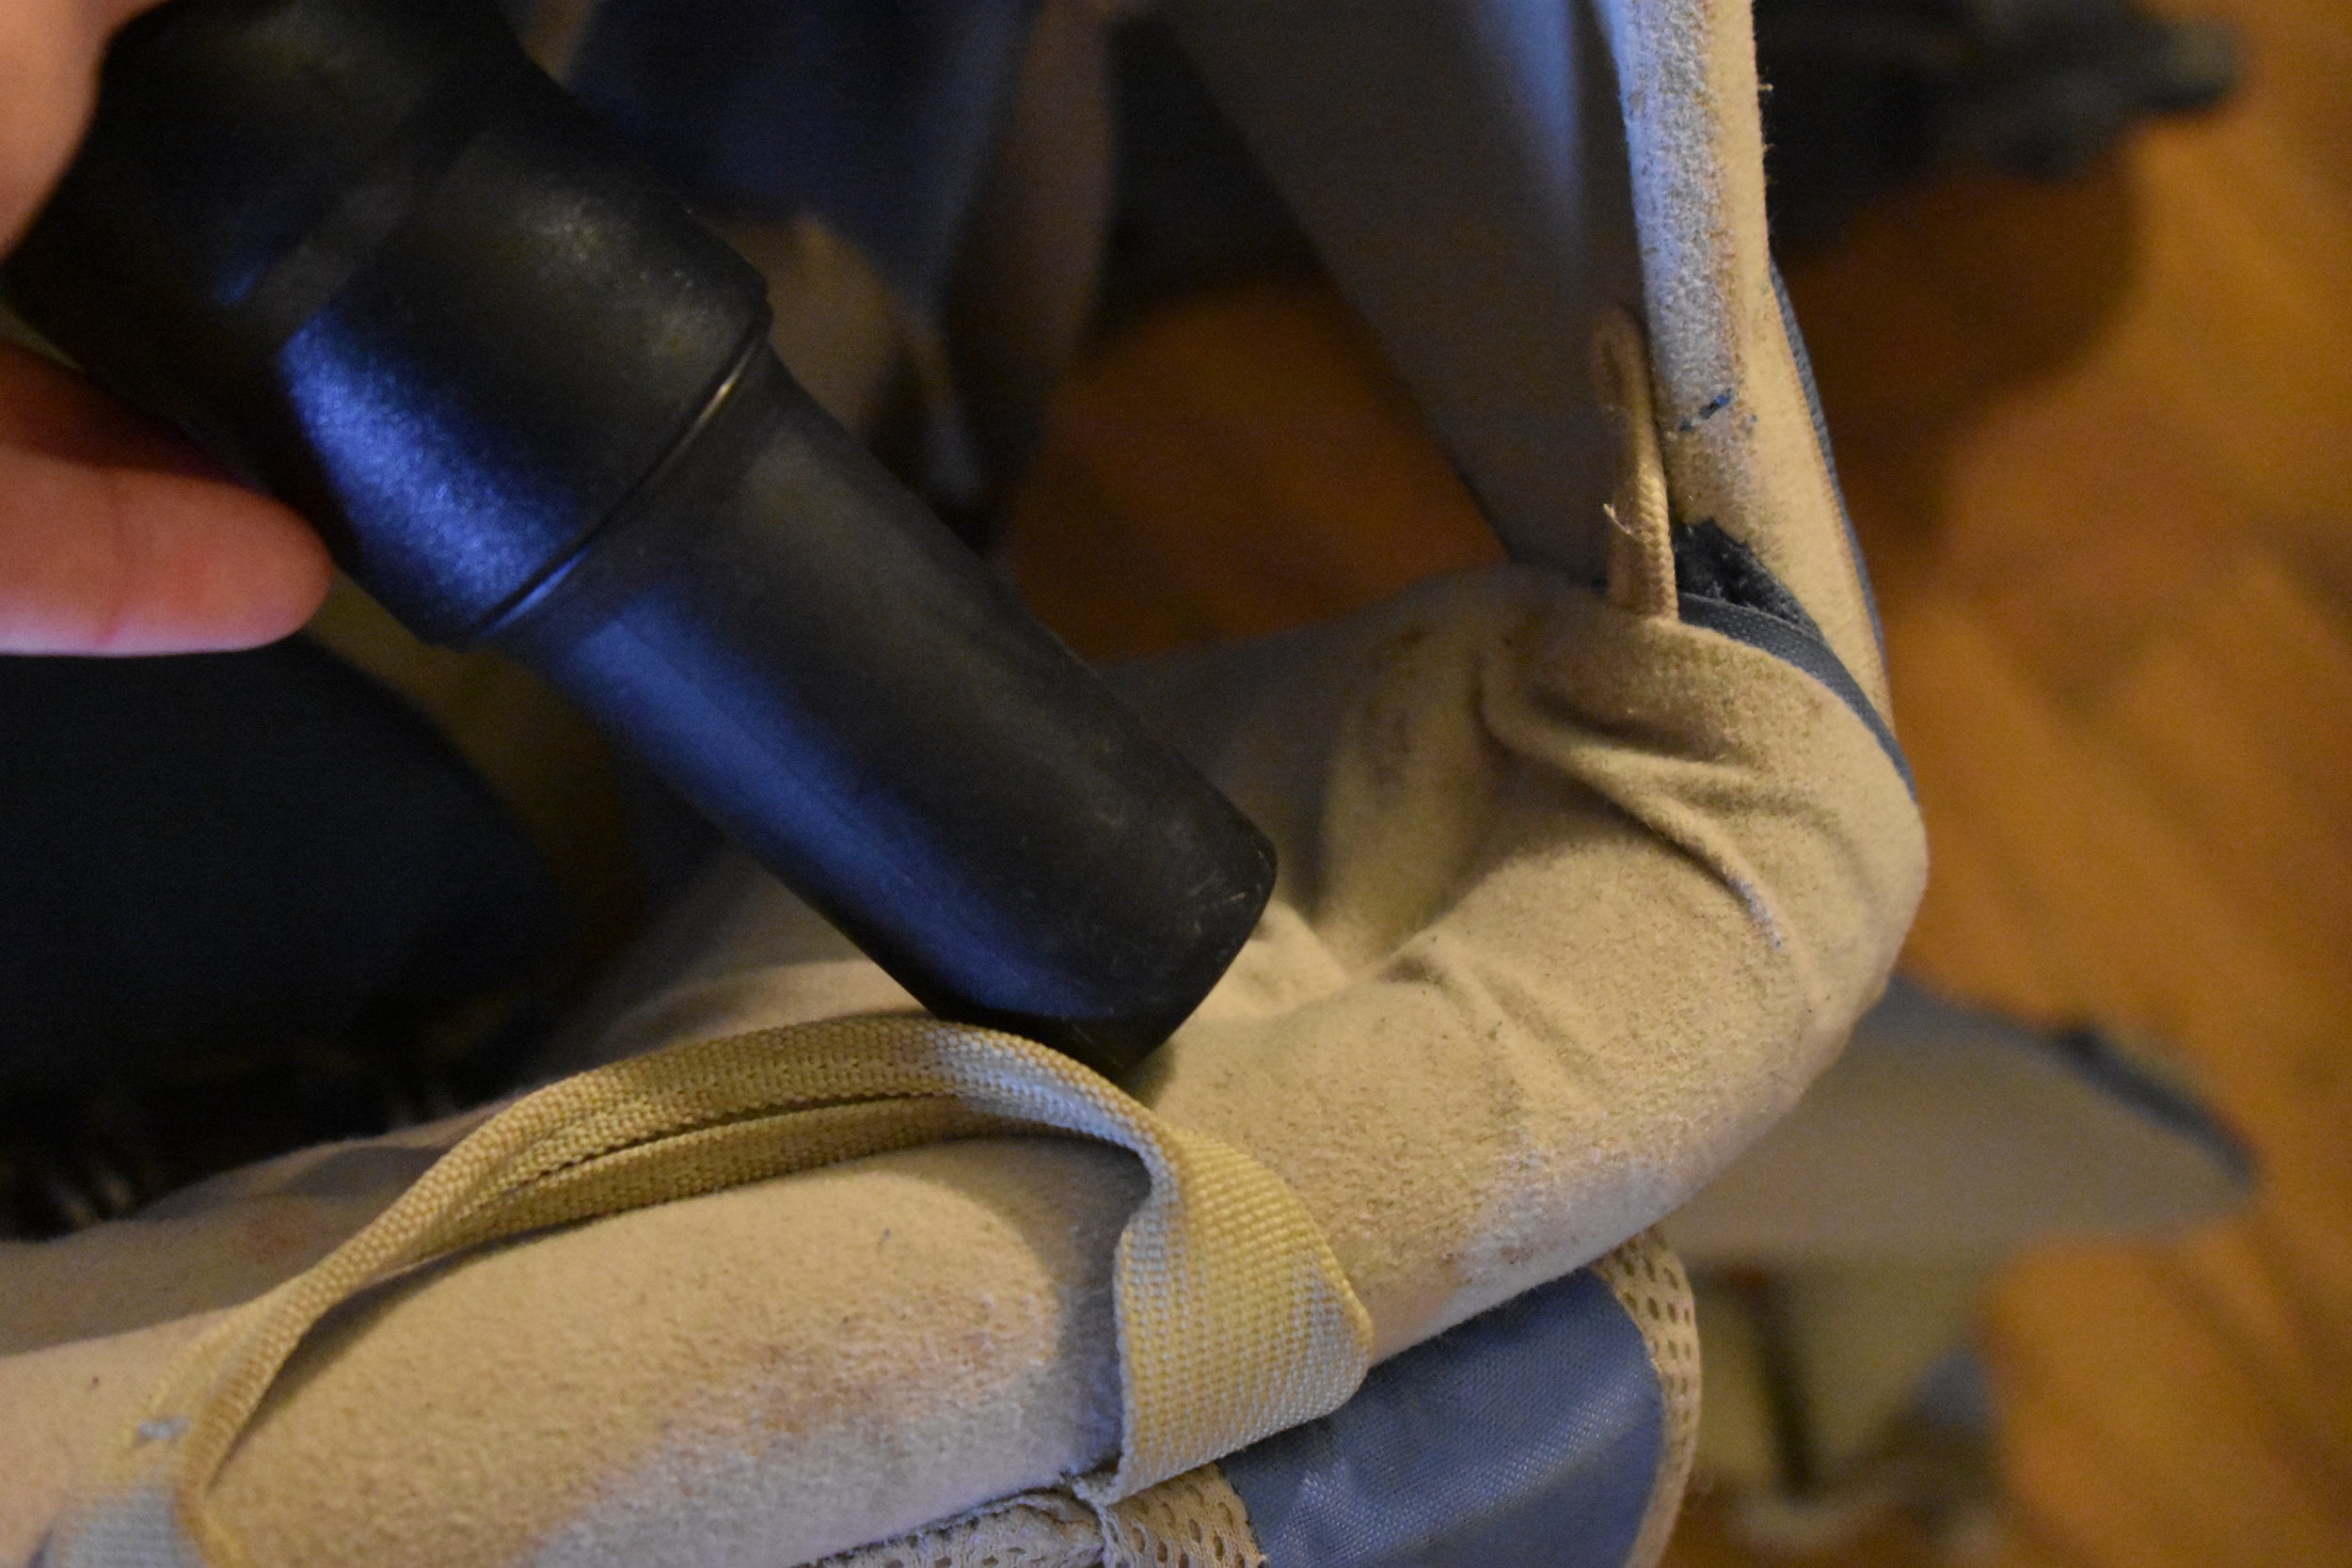
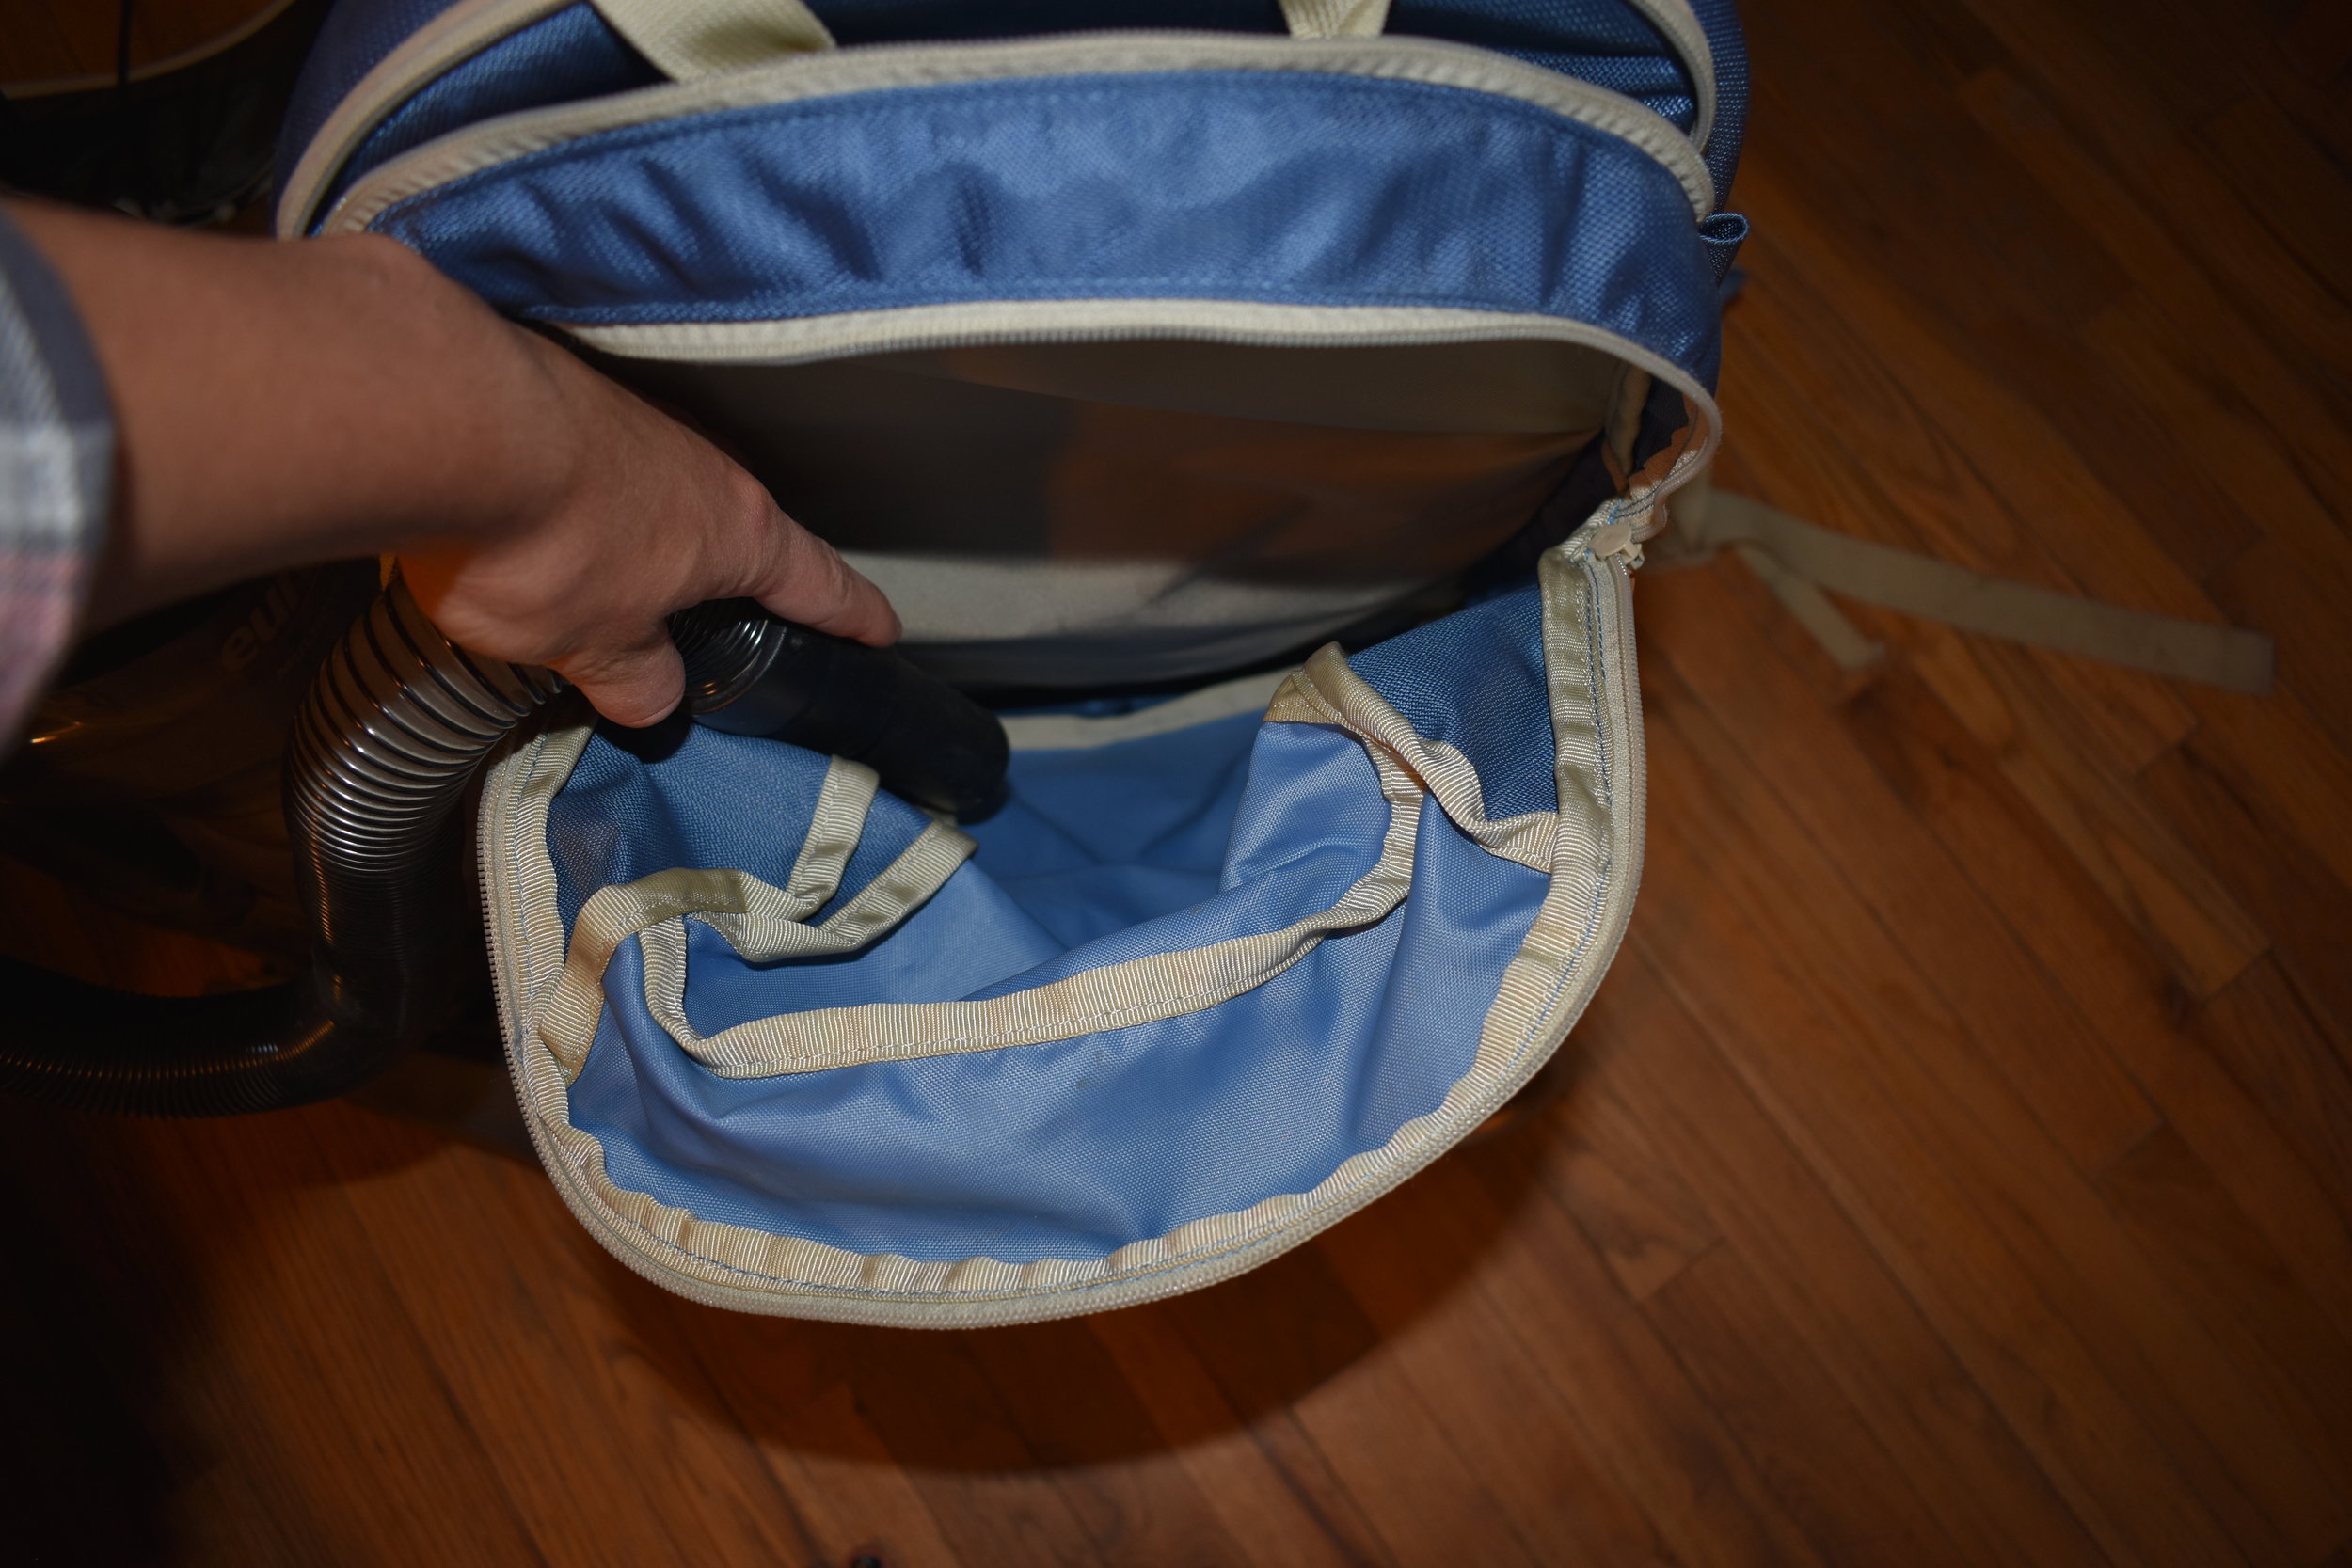
  2. Gently vacuum pockets, seams, crevices, and way down inside the main body of the pack to remove any crumbs, sand or loose dirt
  3. If your pack allows, you should remove the hip-belt and shoulder straps and wash them separately with a sponge and gentle soap. Rinse well under running water.
  4. If your pack has a removable metal frame, take that out and set aside.
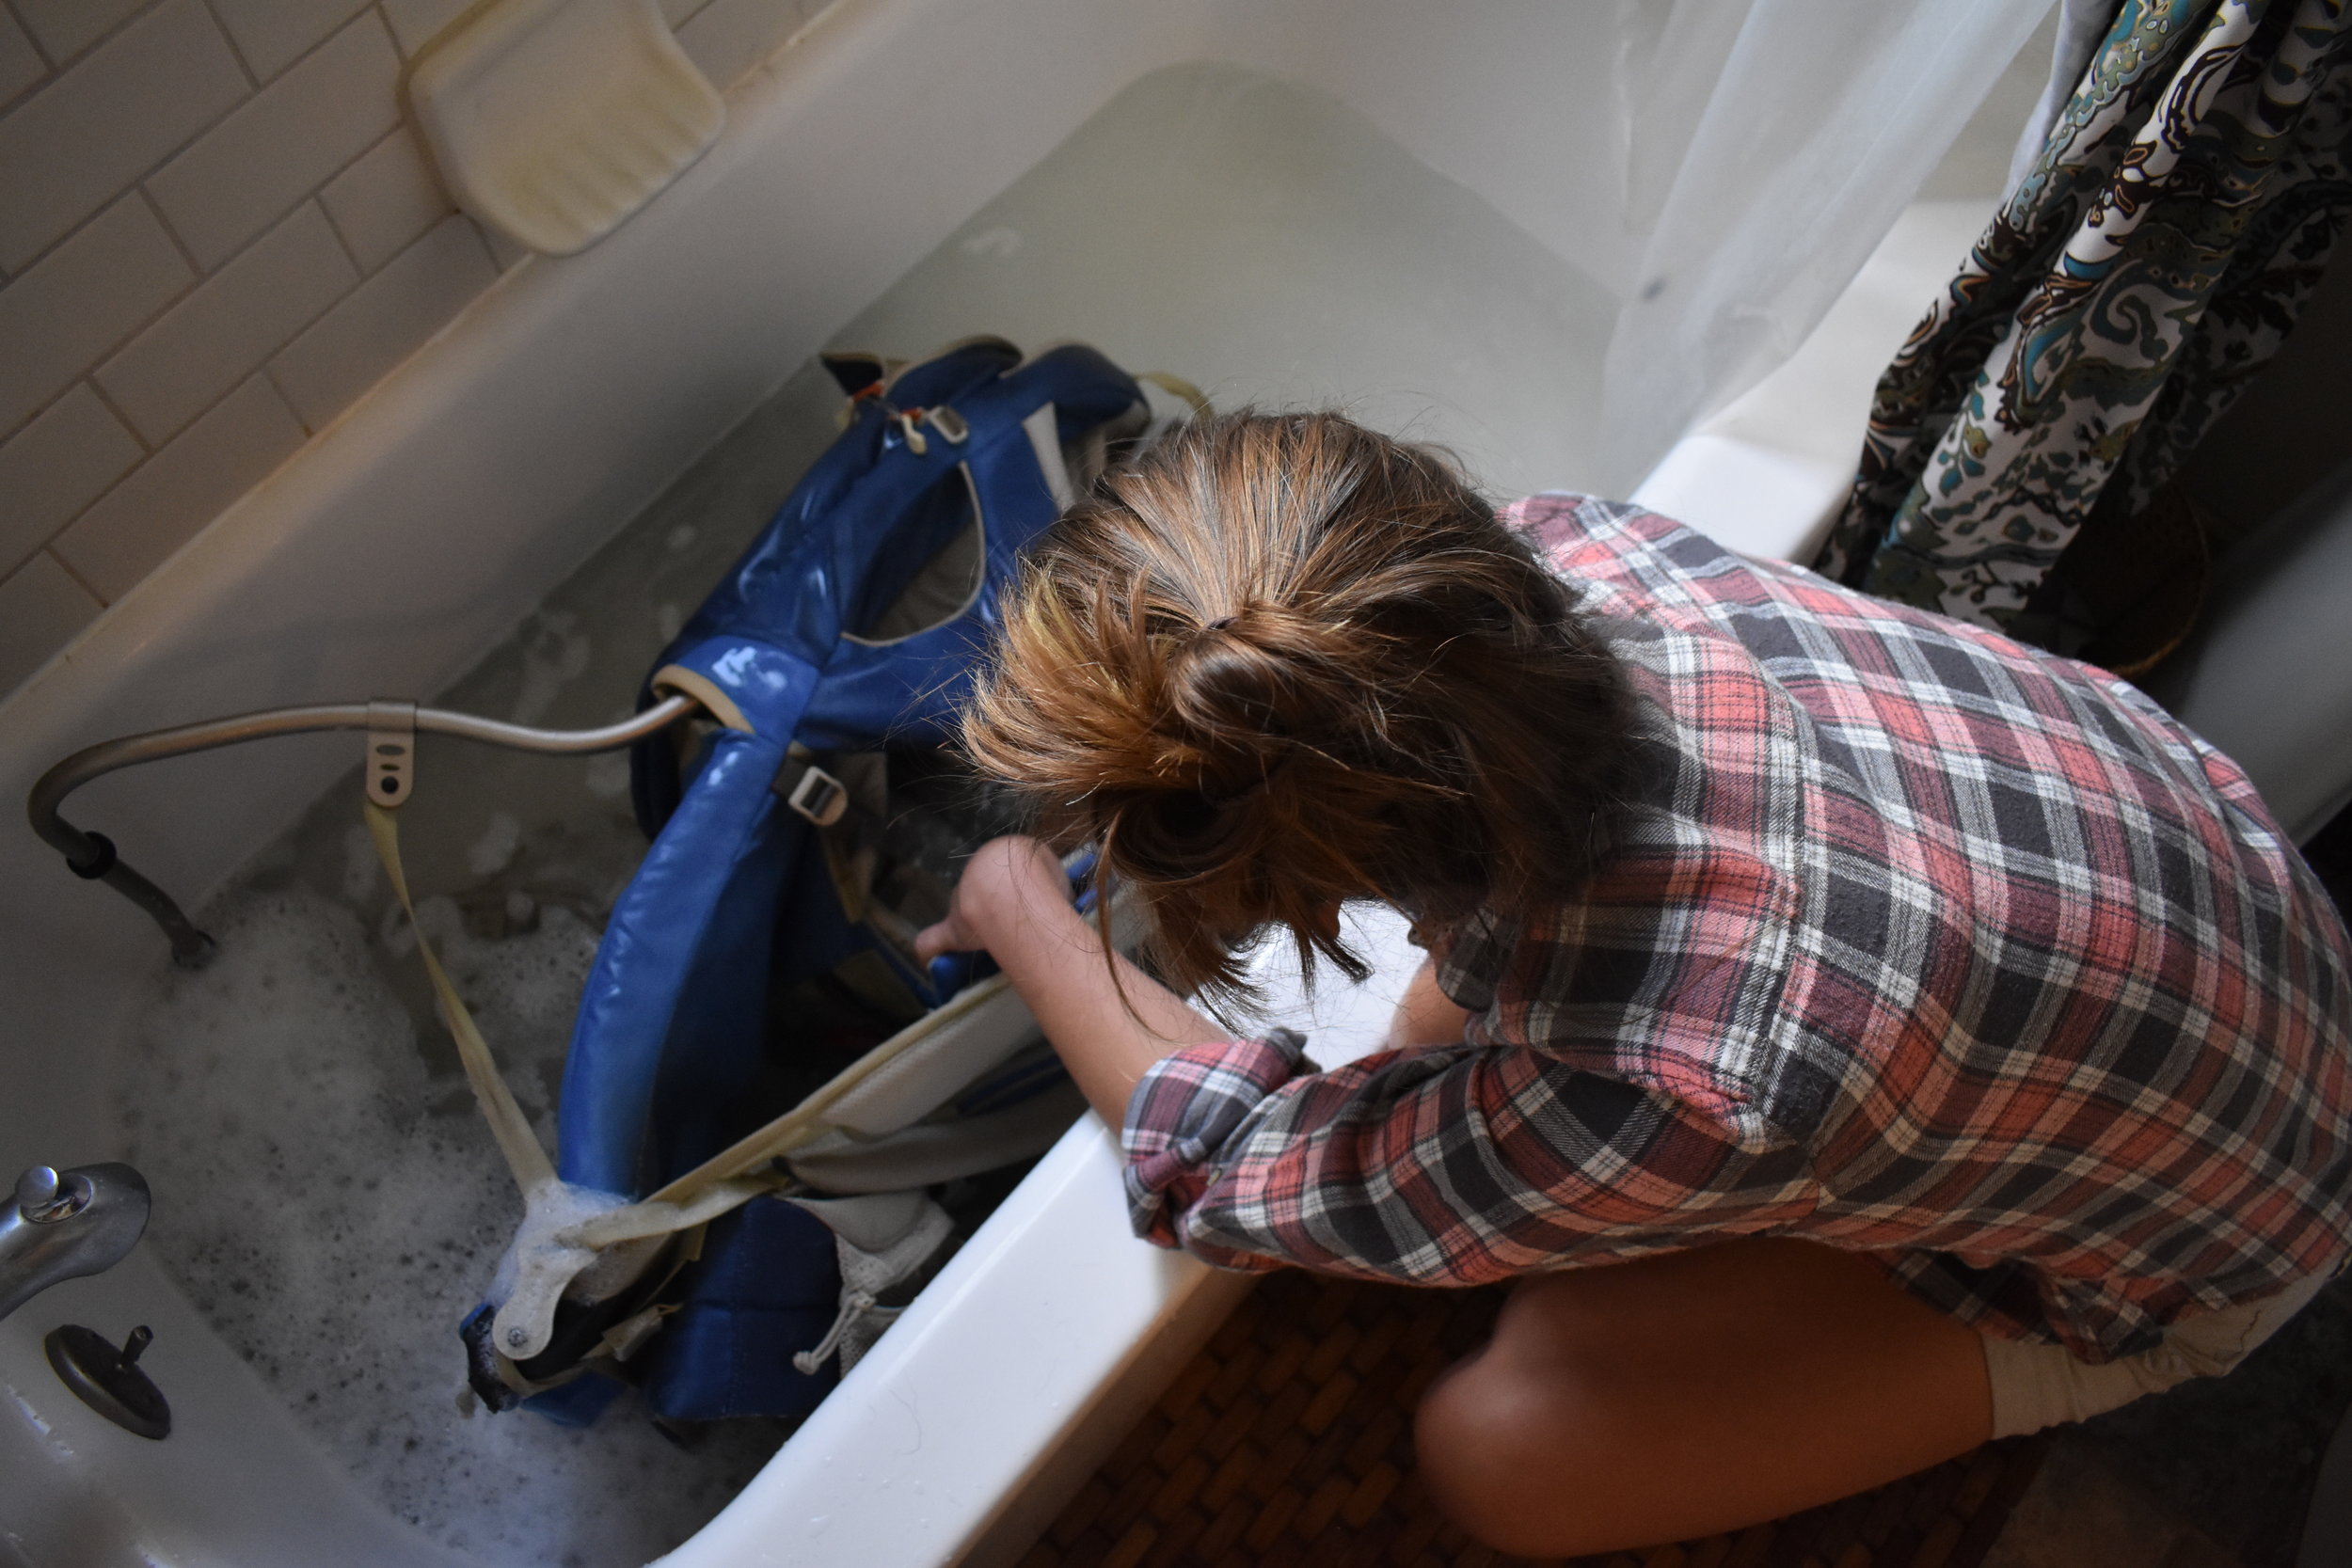
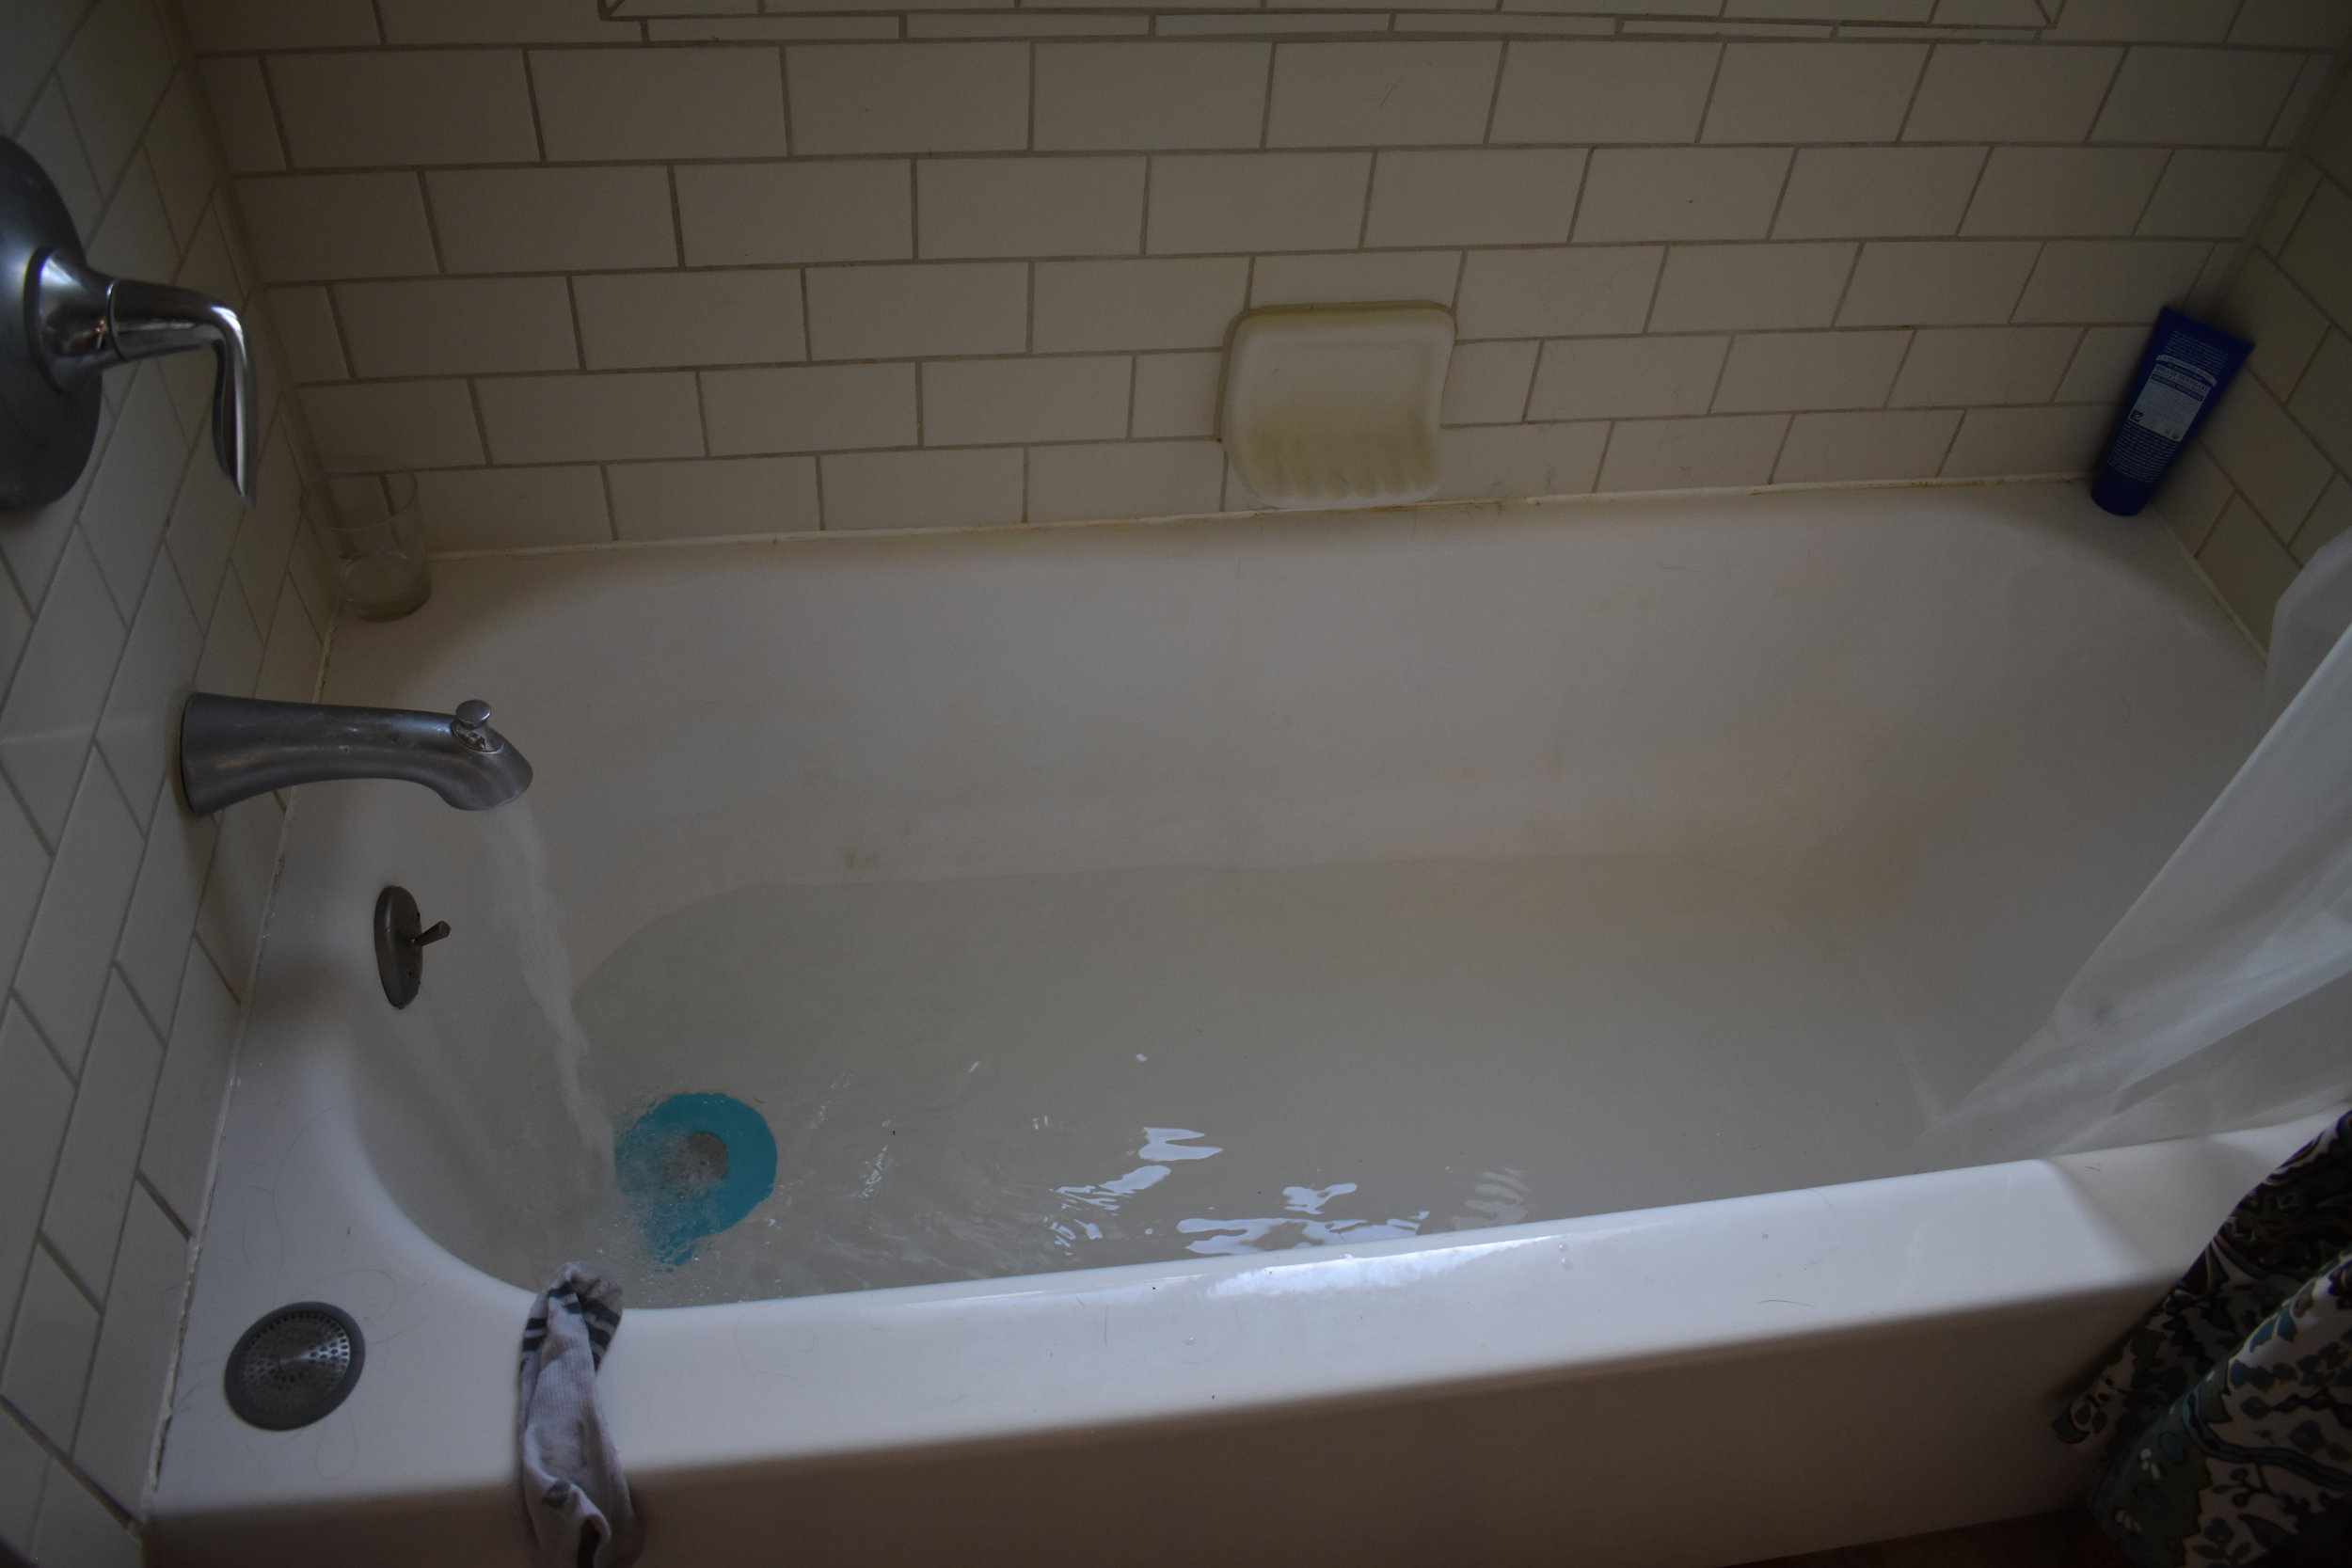
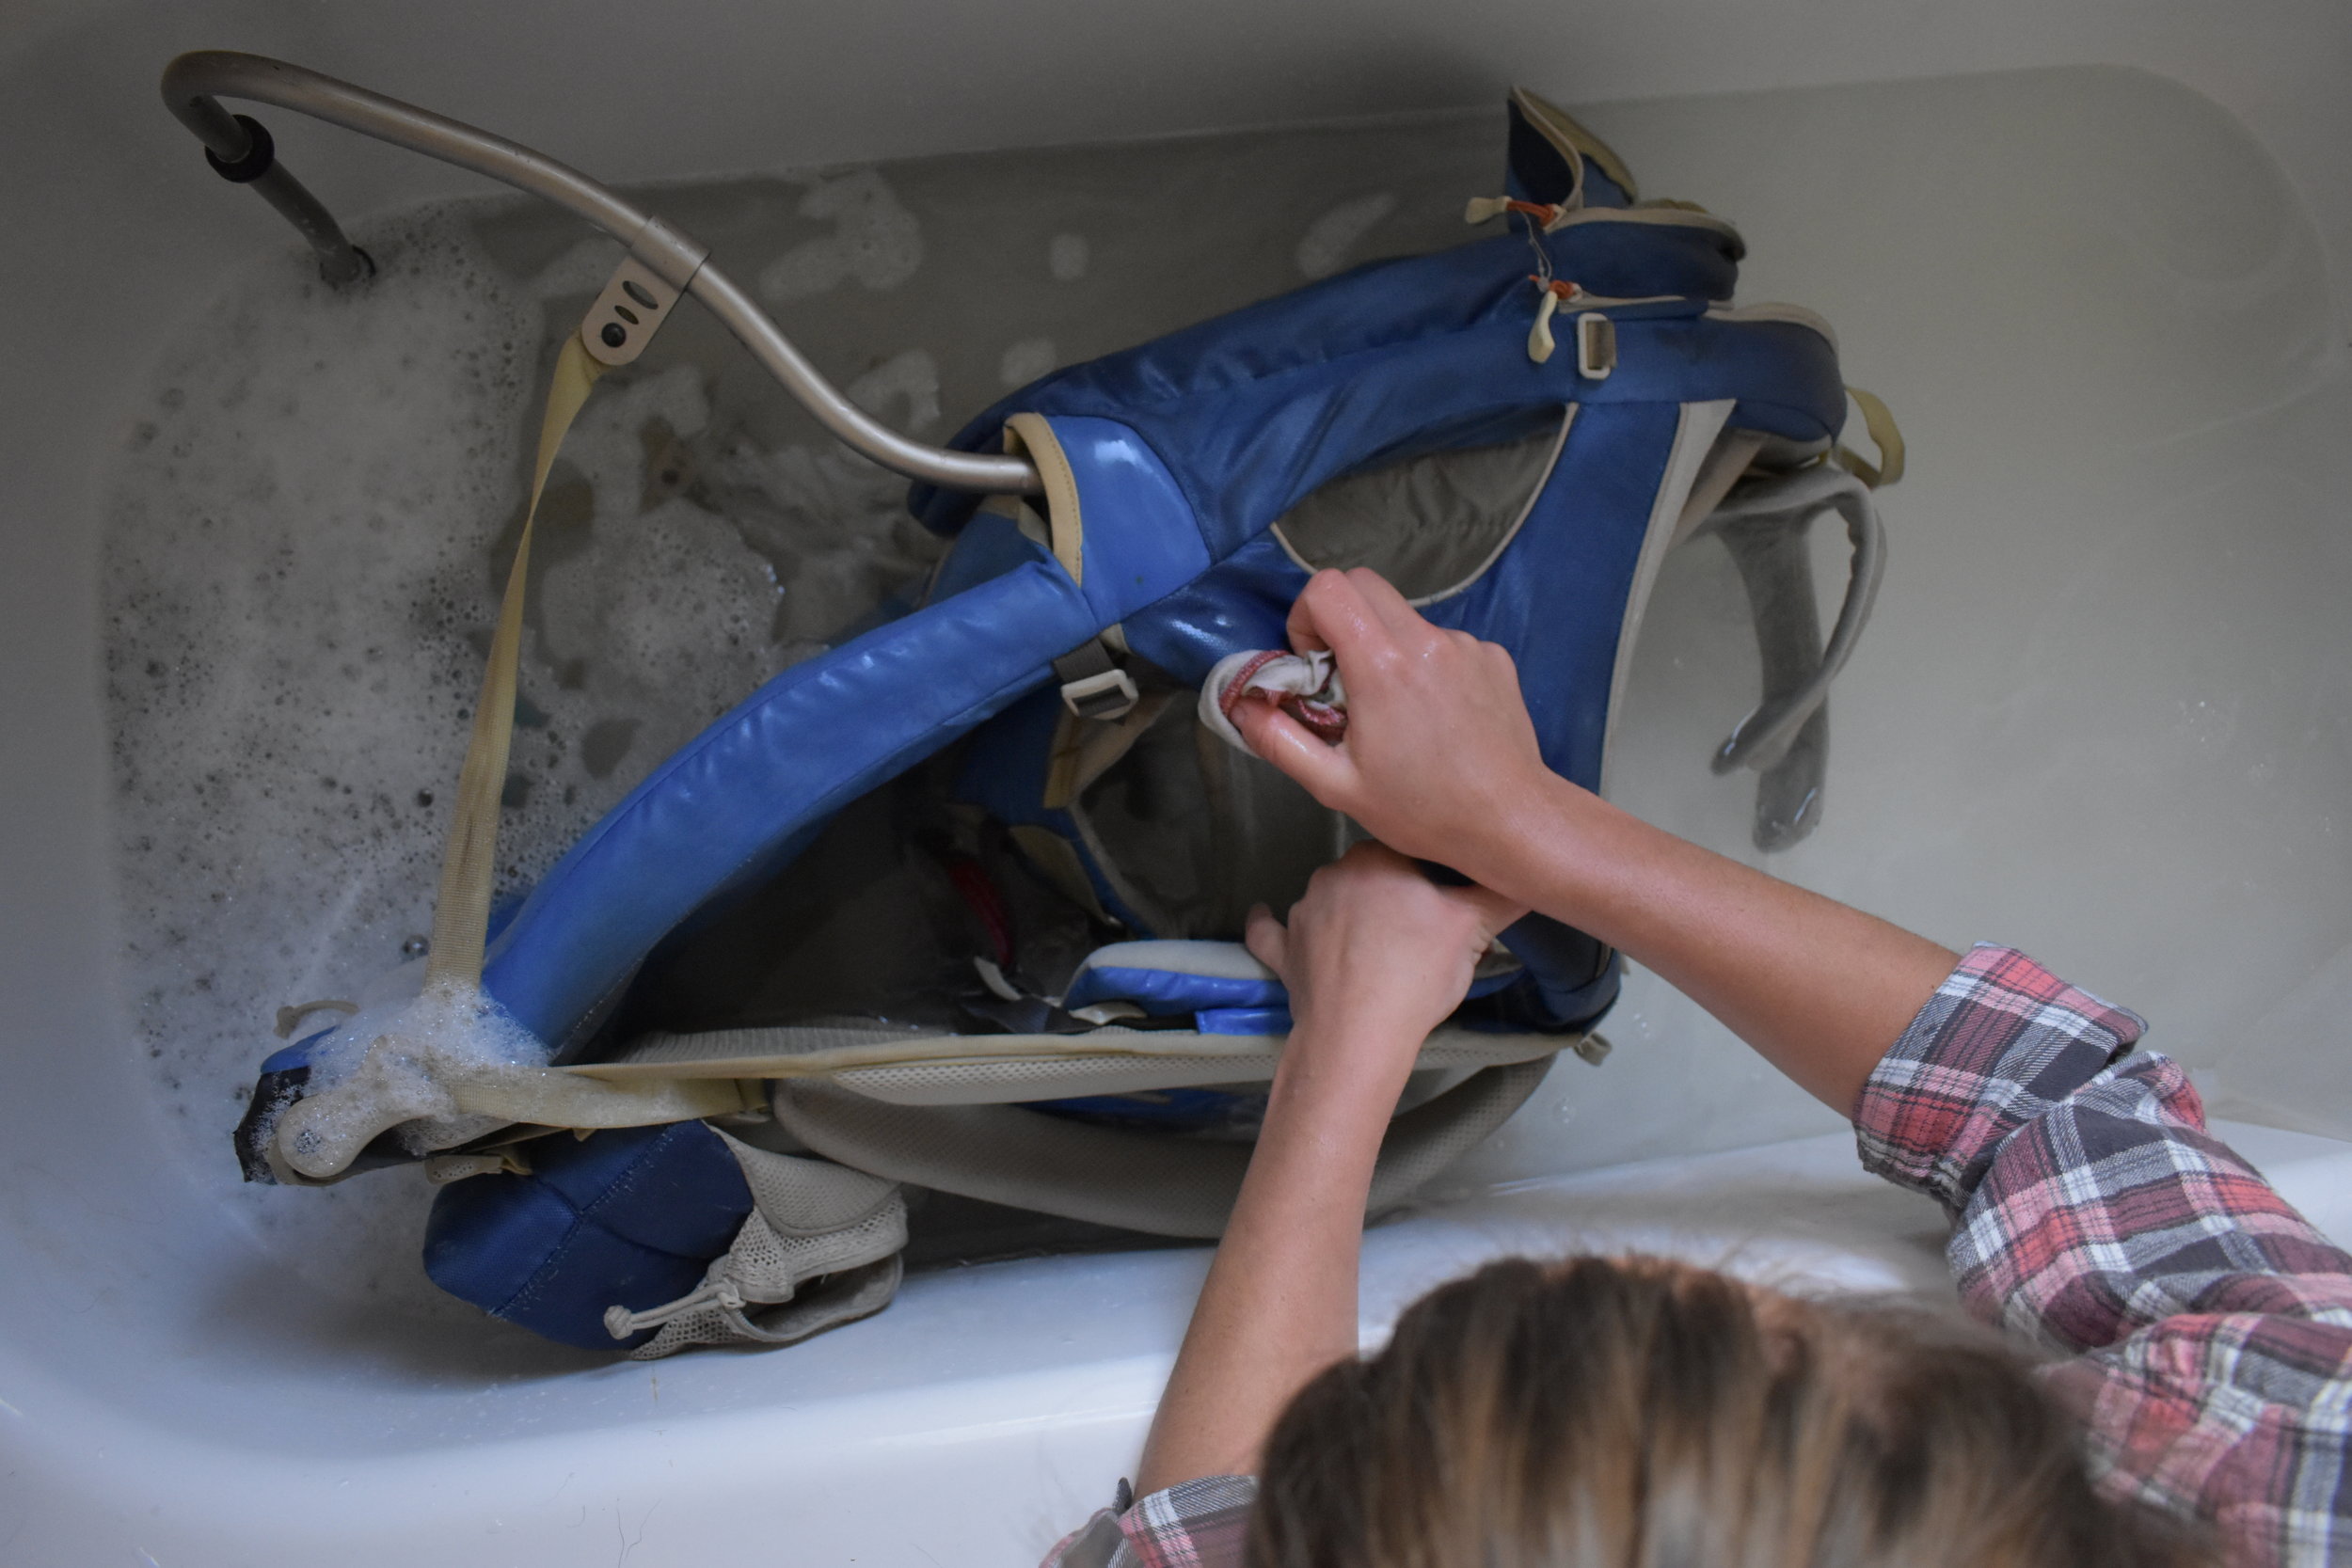
  5. Fill a bathtub or large sink with about 6 inches of cold - lukewarm water and gentle, non-detergent soap. I used Dr. Bronner's Sal Suds Biodegradable Cleaner. Submerge and swish your pack in the water, use a rag to gently scrub the interior and exterior. Pay attention to any places that come in contact with skin like straps. Be gentle with mesh pockets.
  6. Drain. Fill with 6 inches of clean cool water, rinse well. Rinse twice if necessary to remove all soap residue. I also let a cool shower run over mine for a few minutes.
  7. Allow to dry overnight. I just left mine in the tub since we didn't need to shower that night, and the following morning it was dry, and so clean! I was incredibly happy with how the pack turned out. You almost wouldn't know it got it used!

Zero Waste Backpacking, Round 2

Just got back from another awesome hut trip in the Rocky Mountains. There wasn't quite as much snow as we were hoping for, but we still had an absolute blast!

PHOTO CREDIT: @alectrocution

PHOTO CREDIT: @alectrocution

WHERE

This weekend we hiked 5 miles through the White River National Forest to the Fowler Hillard Hut, one of the 10th Mountain Division Huts.

These are amazing woodsy getaways, complete with wood burning stove, wood burning oven, rain water pump, and outhouse. We make our own water (using the wood burning stove to melt snow), and sleep in bunk rooms fitted with comfortable pads and pillows (or at least they feel comfortable after a day of touring).

Because of these amenities, there's no need to carry sleeping pads, tents, or kitchen gear on this trip.  The weight of these are replaced with avalanche gear (shovel, probe, and beacon), skis, and some extra booze.  

PHOTO CREDIT: @alectrocution

PHOTO CREDIT: @alectrocution

PACKING

As you can see above, I have my clothes (to pack and to wear while hiking/skiing), sleeping bag, food, and booze. The challenge of zero waste backpacking is bringing your food in containers. Many backpackers use ziplock baggies and/or dehydrated foods like Mountain House meals. While these are light weight and convenient, they produce quite a bit of plastic waste which, ironically, could eventually pollute the beautiful natural places which we are packing into. 

DSC_0144.jpg

Clothes Packing List

  • Clothes on my back: leggings/shorts, tank top, pant and jacket shells.
  • Down Jacket
  • 1 extra pair of leggings
  • 1 long sleeved under layer
  • 2 pair ski socks
  • 1 pair regular socks
  • PJs - T-shirt and Shorts
  • Underwear x 4 and Bra x 2
  • Avy Equipment: Beacon, Shovel, Probe
  • Skis
  • Lightweight winter boots
  • Double Sleeping Bag and pillowcase

Giving up the convenience of dehydrated meals does mean slightly more weight, and some heavier containers. I kept my containers from the last time I went zero waste backpacking, and used them again this time!  These totaled: 2 plastic coconut oil containers and 1 to-go soup containers. The rest were storage containers or bags I already had.

MEAL PLAN:

  • Day 1 (hiking in):
    • Lunch: trail mix
    • Dinner: Pizza Bagels
    • Snacks: 1 orange, trail mix, chocolate
  • Day 2:
    • Breakfast: Bulk Farina Cereal (Cream of Wheat)
    • Lunch: Cheese, Apple, Dried Fruit
    • Dinner: Quesadillas
    • Snacks: apple with cheese, trail mix, chocolate
  • Day 3 (hiking out):
    • Breakfast: Apple
    • Snacks: Trail mix, chocolate
  • I also packed in 1 water bottle full of whisky and 4 beers

I didn't weigh my pack, but I'm guessing it was about 32-35 lbs once I added a full 3 L CamelBak and my Nikon camera, which is pretty light! 

I ended up getting altitude sickness when I was up there and experienced a loss of appetite. While my friends got me to eat, I definitely packed way more food out than I expected!

WASTE

DSC_0100.JPG

This is the 8 grams worth of trash that I produced on this four day trip, that's less than 0.01 lb! While it's more than my first venture, I'm still perfectly happy with it!

My waste included:

  1. Plastic wrap from my cheeses
  2. 4 fruit stickers
  3. 1 teabag wrapping
  4. 2 blister bandage wrappings

The big mistake I knowingly made was buying cheese wrapped in plastic. I had much less time to prepare for this trip than my last as I had been out of town the previous two weekends and working long days prior.  This meant that I ended up cutting a few corners. One was the cheeses. The second was the tortillas for quesadillas. The plastic was recyclable, but I definitely could have avoided that if I'd planned better.

WHY

The mission of the 10th Mountain Division Huts is, among other things, to "promote understanding and appreciation of the natural environment."

There's few better ways to appreciate the people in your life and the natural environment then to adventure to a secluded, winter wonderland together, void of internet and cell service.  

What drives me on my zero waste journey is my love and care for special places like these. Reducing your plastic footprint is just one of many ways to help preserve these beautiful places.

So if you are someone who cherishes the outdoors and who values our natural world, take some small steps to reduce your waste footprint, especially while you are out enjoying what nature has to offer!

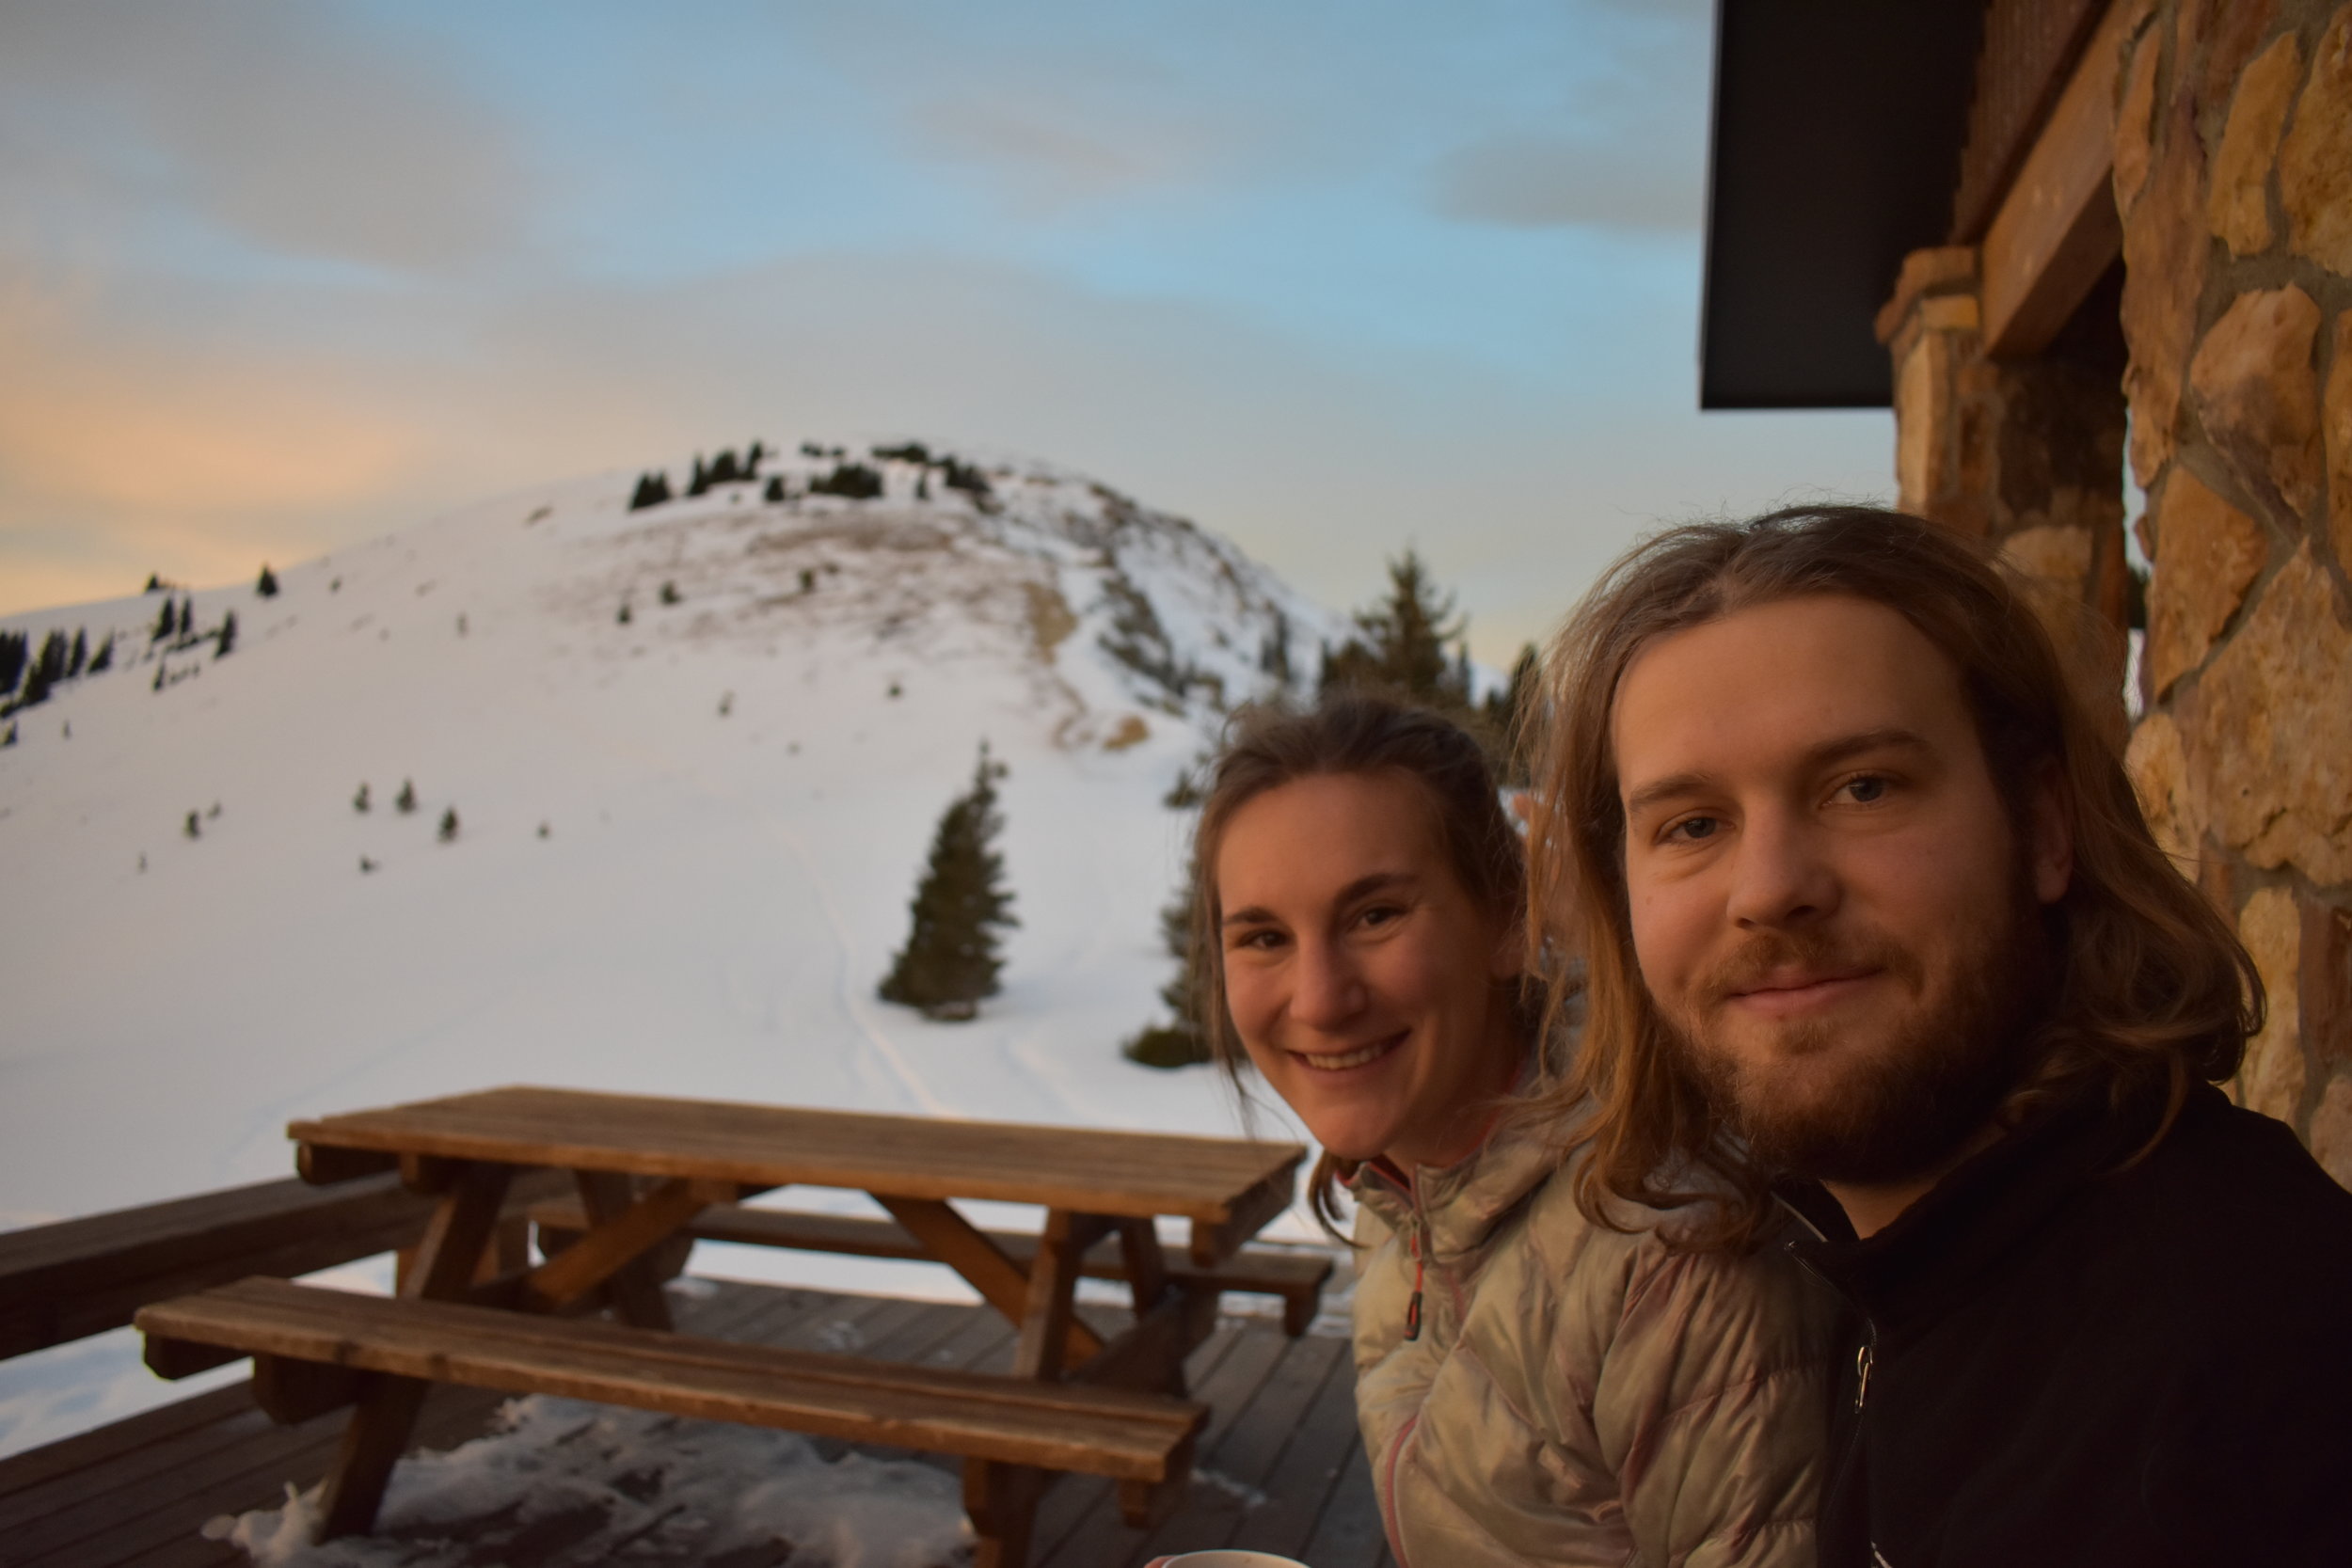
Peter and I, tired bags under our eyes, enjoying the sunrise.

Peter and I, tired bags under our eyes, enjoying the sunrise.