6 Reasons to Buy Secondhand

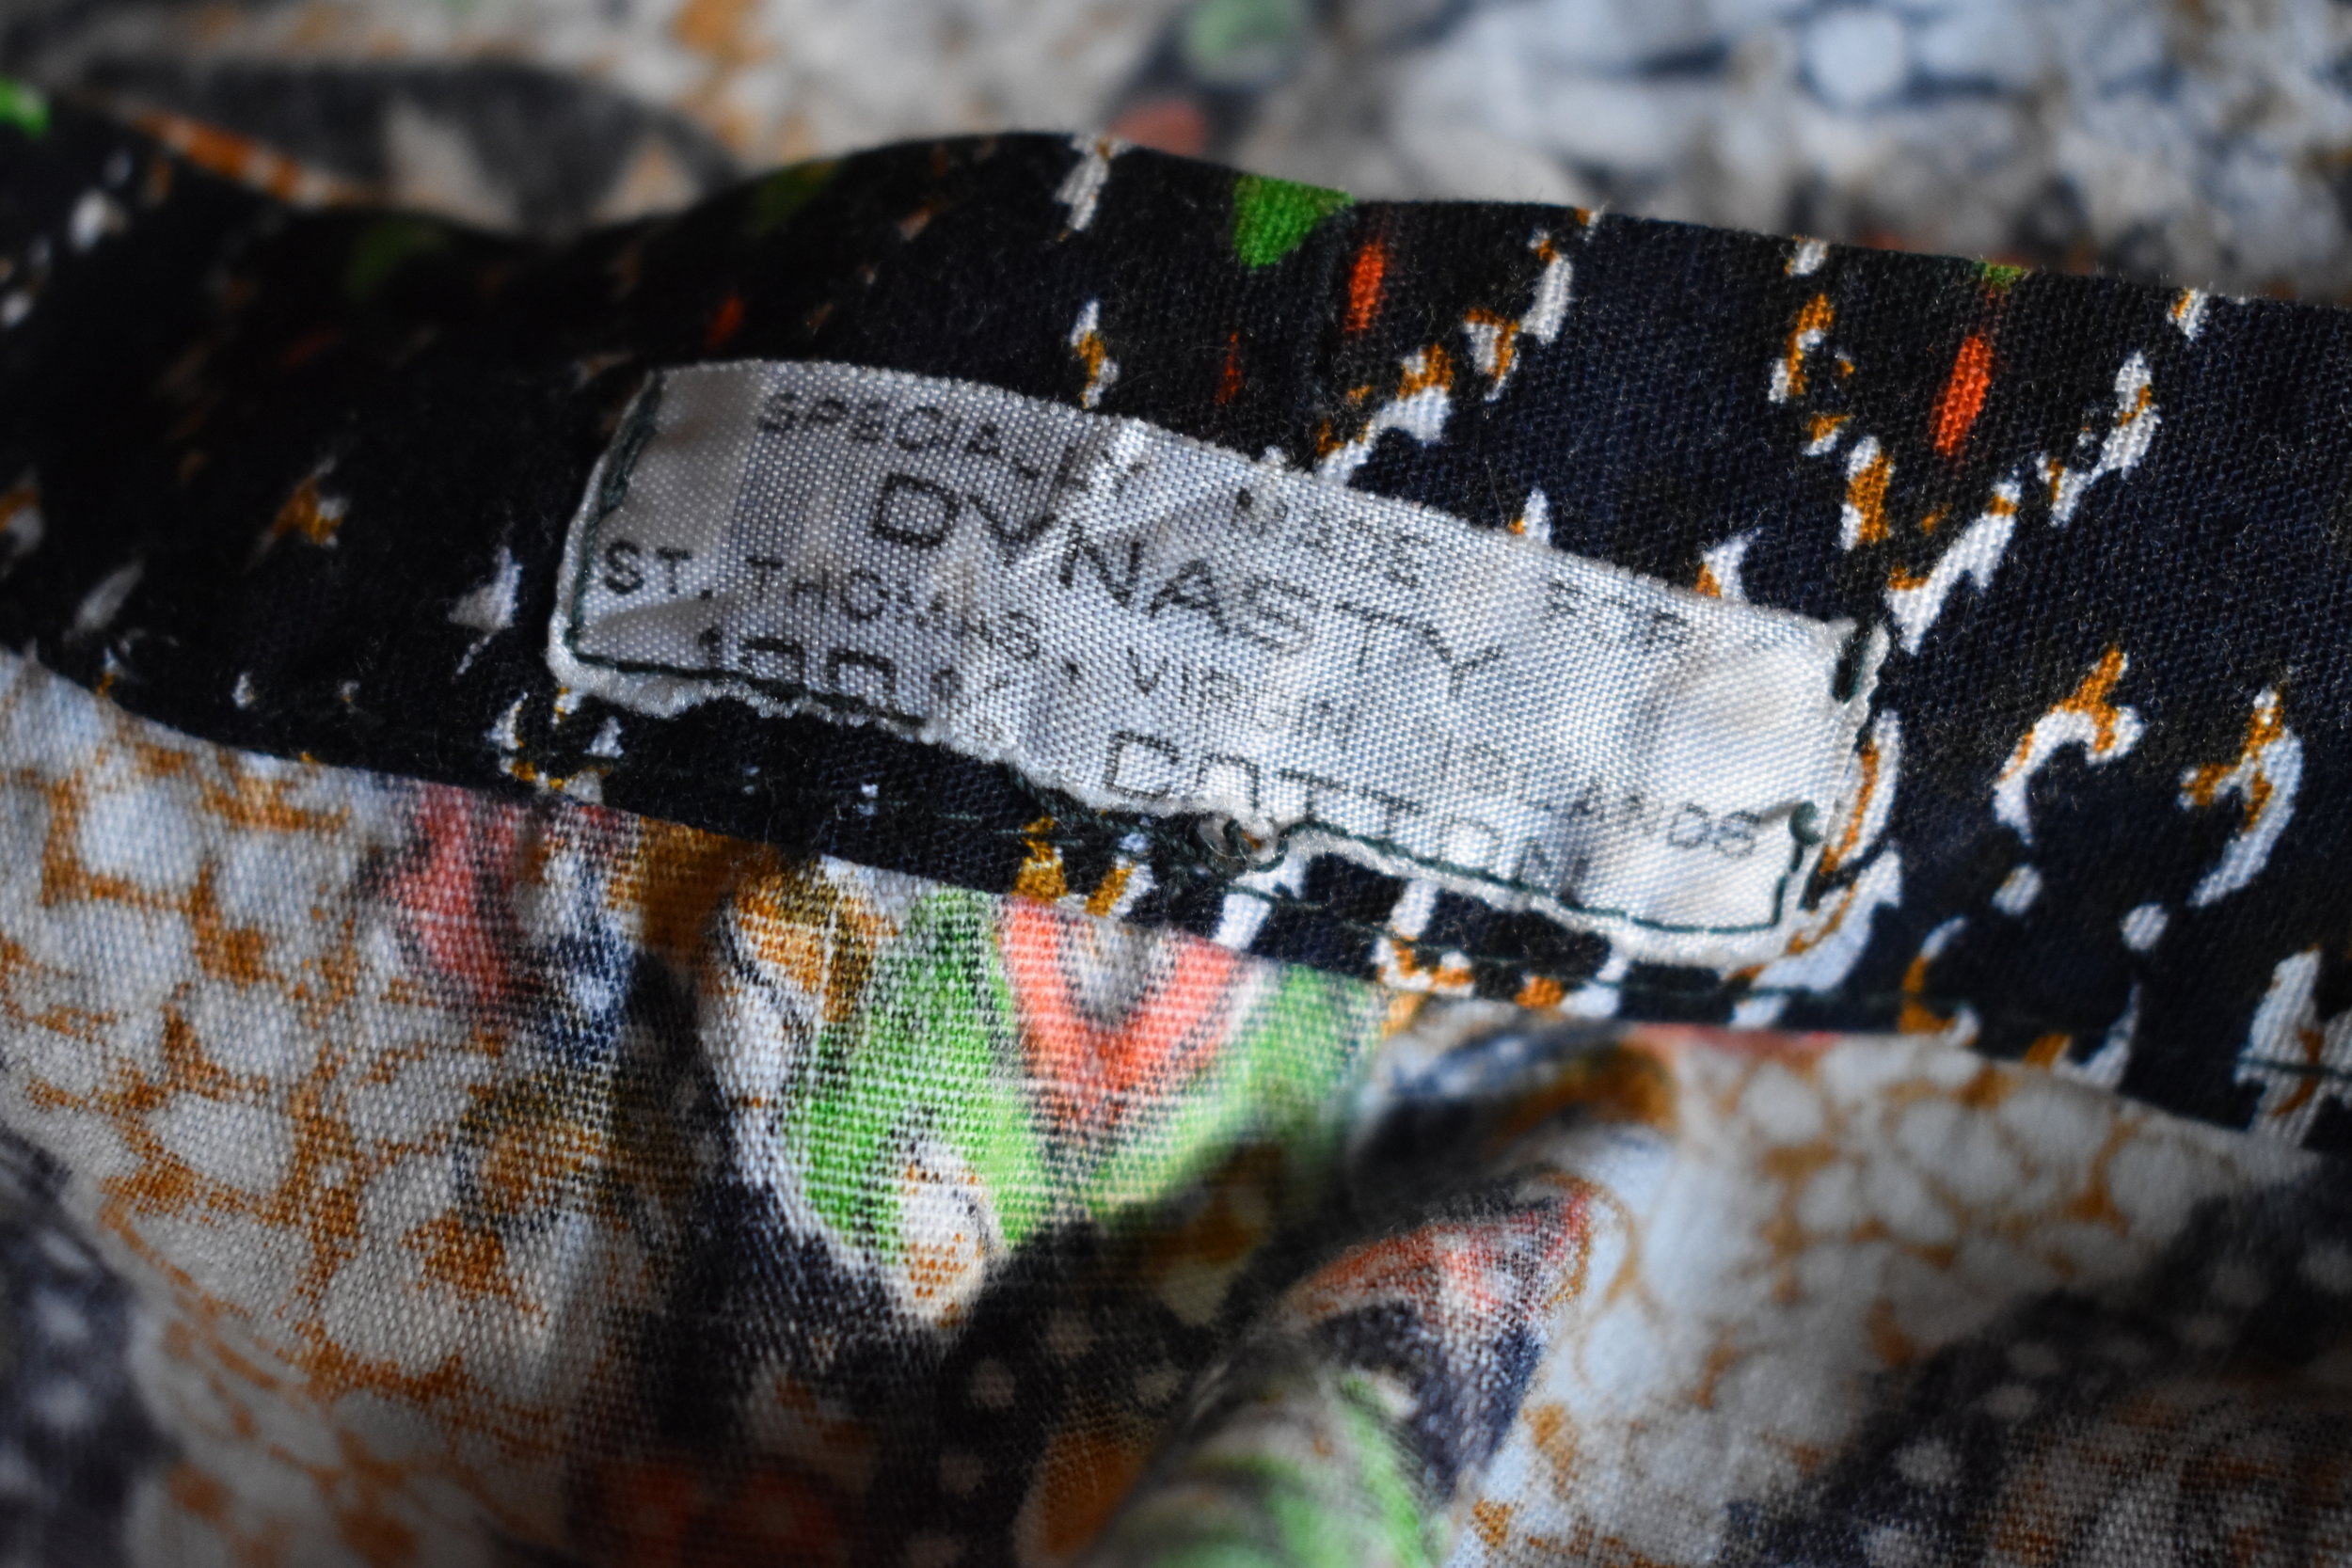
DSC_0220.jpg


1. There's Already Enough Stuff

There is so much stuff already in this world. Like waaaaaay too much stuff. That's why so much of it ends up in landfills and our oceans. Even though manufacturing is continuing at an alarming rate, we don't need to continue to consume new products all the time!

If you really want something new I'd recommend going through sites like Blinq where returned and barely used items are sold. I recently bought a multicooker from Blinq because I wasn't able to find one of the quality I wanted second hand locally.

2. New Life

You have the awesome (and fun!) opportunity to take something that's a little worn, and turn it into something beautiful! I'm currently working on updating a set of 4 chairs that I bought on craigslist. They were a wee bit ugly, but I saw the potential. And a little new paint and upholstery will make them usable for much longer!

3. It's Uniquely Yours

I really don't want someone to be able to walk into my home and know exactly where I bought everything from. Buying second hand often gives you beautiful pieces that aren't the latest season (or decade), so they feel more uniquely yours.

One of my favorite things that I've gotten secondhand is my earthenware dish set. I got it for $100 on craigslist and it came with 8 large plates 6 small plates, 3 serving plates, 8 bowls, 8 mugs, and 2 dutch ovens. Not only was that a freaking STEAL, but I feel like they are irreplaceable!

4. Longevity

I personally feel like many items made decades ago were meant to stand the test of time, that's why they end up in thrift shops 30-70 years later still usable, and yet that IKEA dresser that's 2 years old is completely falling apart. I have baskets, chests, bowls, pots, pans, etc. that are all at least 20 years old. And they can be repaired when they break (unlike that freaking IKEA dresser)

5. Waste Reduction / Diversion

Through donating your used goods (instead of tossing them) and buying second hand, you're diverting waste from landfills. Just because you, or someone else is done with an item, doesn't mean it's lost all it's usefulness. 

6. Money, Honey.

The pure, unadulterated thrill of walking away with an item worth $100 for $8 never gets old! Whether your finding stuff at a thrift store, or through sites like craigslist and nextdoor, it always feels great. Most of my favorite material things are second hand items, and it's probably partially because I didn't have to spend a fortune on them! 


Random Stuff I've gotten second hand: 

Easy Baked Spaghetti Squash

DSC_0086.jpg

So honestly, you can cook pretty much any squash this way, but it's my favorite (and absolutely the easiest) way to cook spaghetti squash! 

Despite the name, I don't use spaghetti squash as a replacement for pasta. I just use it as either a main or side dish in whatever I'm cooking. 

INGREDIENTS:
1 medium sized spaghetti squash

2-5 Tbsps olive oil

Salt n' pepper

DIRECTIONS:

  1. Preheat oven to 375 degrees F.
  2. Oil a baking sheet 
  3. Cut the squash in half, lengthwise (the long way)
  4. Scrape out the seeds and other squashy stuff.
    • you can also bake the seeds for a yummy snack! You can toss them in butter or oil and bake for about 20-25 min in your 350 F oven. Check every ten min while cooking b/c once they burn they burn fast!
  5. Drizzle your squash halves with olive oil and season with salt and pepper as your heart desires. I prefer to go heavy on the pepper. 
    • For an extra kick you can use some cayenne pepper too!
  6. Place your squash, cut-side down, onto the oiled baking pan.
  7. Place into oven and roast 35-45 min, or until tender
    • you should be able to spear the squash with a fork or butter knife and meet no resistance once through the skin
  8. Remove from oven and let rest for 10-15 min, or until cool enough to handle
  9. Scrape the squash flesh out using a fork to create longish strands

New England Apple Pie (and crust)

DSC_0212.jpg

Ingredients

Crust

  • 2/3 c. + 1 Tbsp. oil, I prefer safflower or sunflower oils (olive has too strong a taste)
  • 2 1/2 cups flour
  • 1 1/2 teaspoon salt
  • 1/4 cup cold water

Pie

  • 6-8 Tart Apples
  • 1 cup sugar (or 1/2 c. white 1/2 c. brown)
  • 1 Tbsp. flour
  • 1 Tbsp. Cornstartch 
  • 1/8 tsp. salt
  • 1/2 tsp cinnamon
  • 1/4 tsp nutmeg
  • 1/4 tsp. allspice
  • 1 Tbsp. grated lemon rind*
  • 2 Tbsp. butter
  • 2 Tbsp. heavy cream

*Optional

Instructions

Crust

  1. Mix oil, flour, and salt, leaving a few lumps the size of a pea in order to make the crust flaky
  2. Pour water over mixture gradually, working it with a fork.
  3. With hand shape mixture into a ball.
  4. Divide into two parts for upper and lower crust
  5. Press lower crust into pie plate using hands

Pie

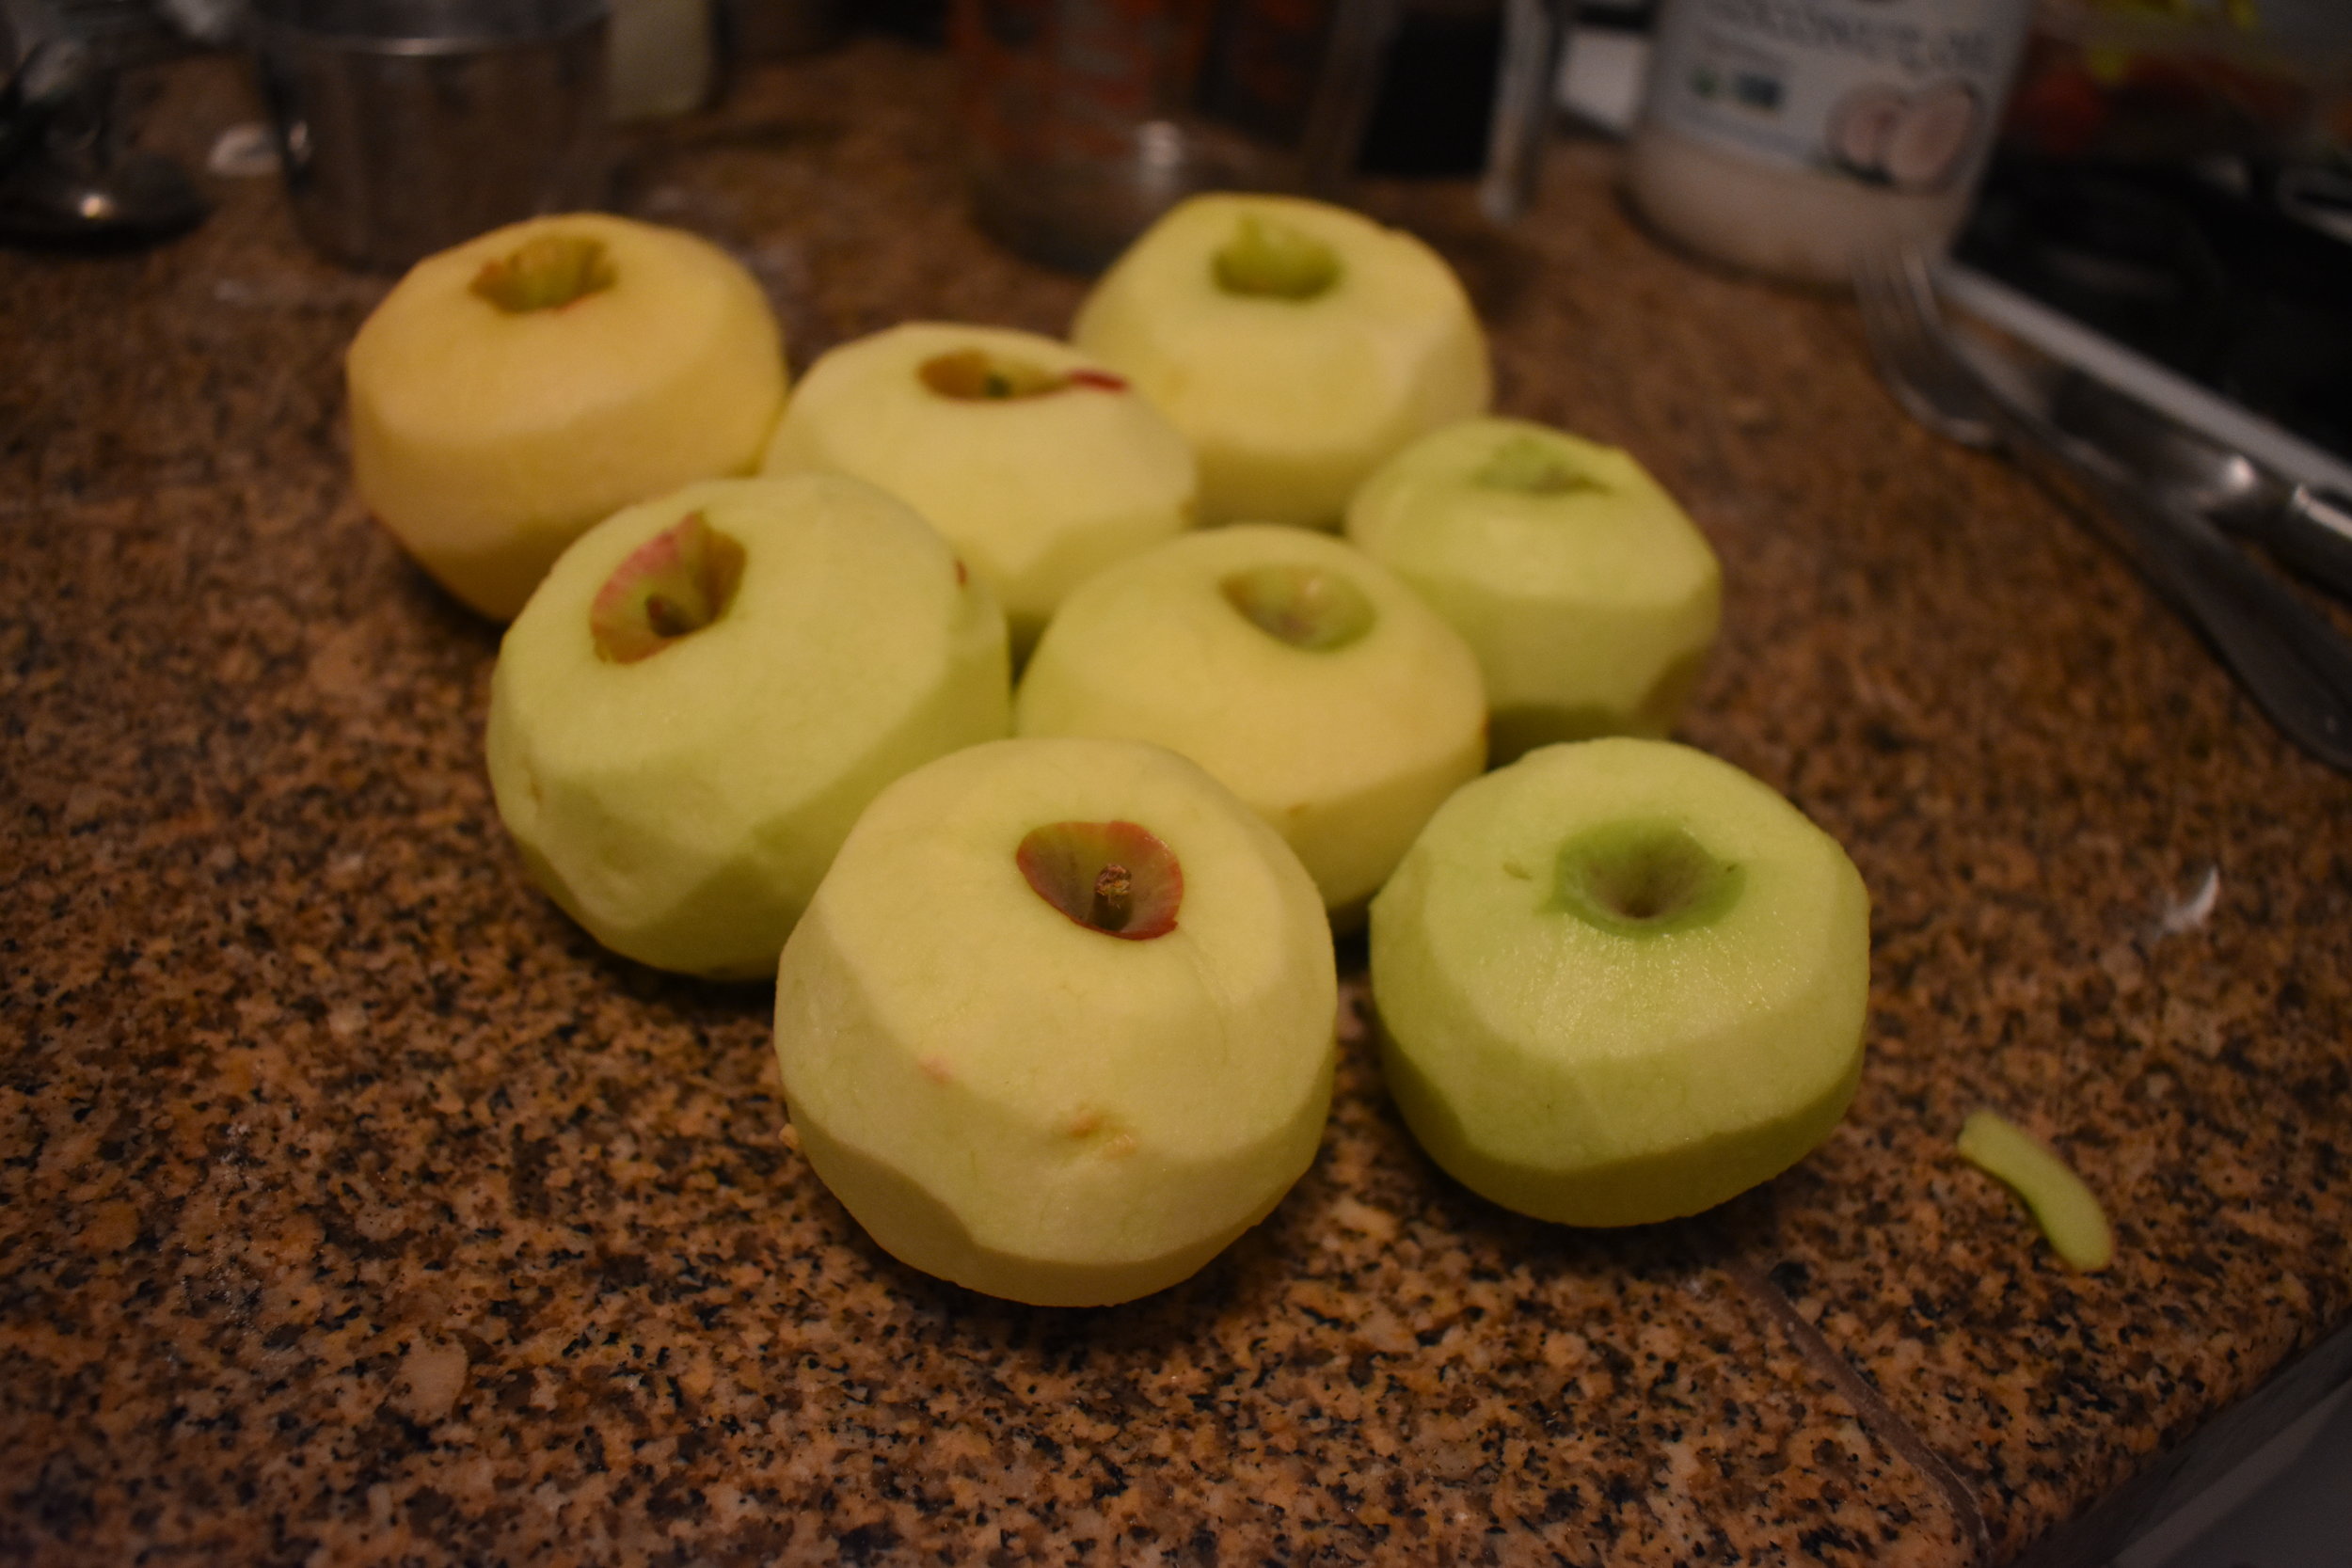
  1. Peel, core and thinly slice apples
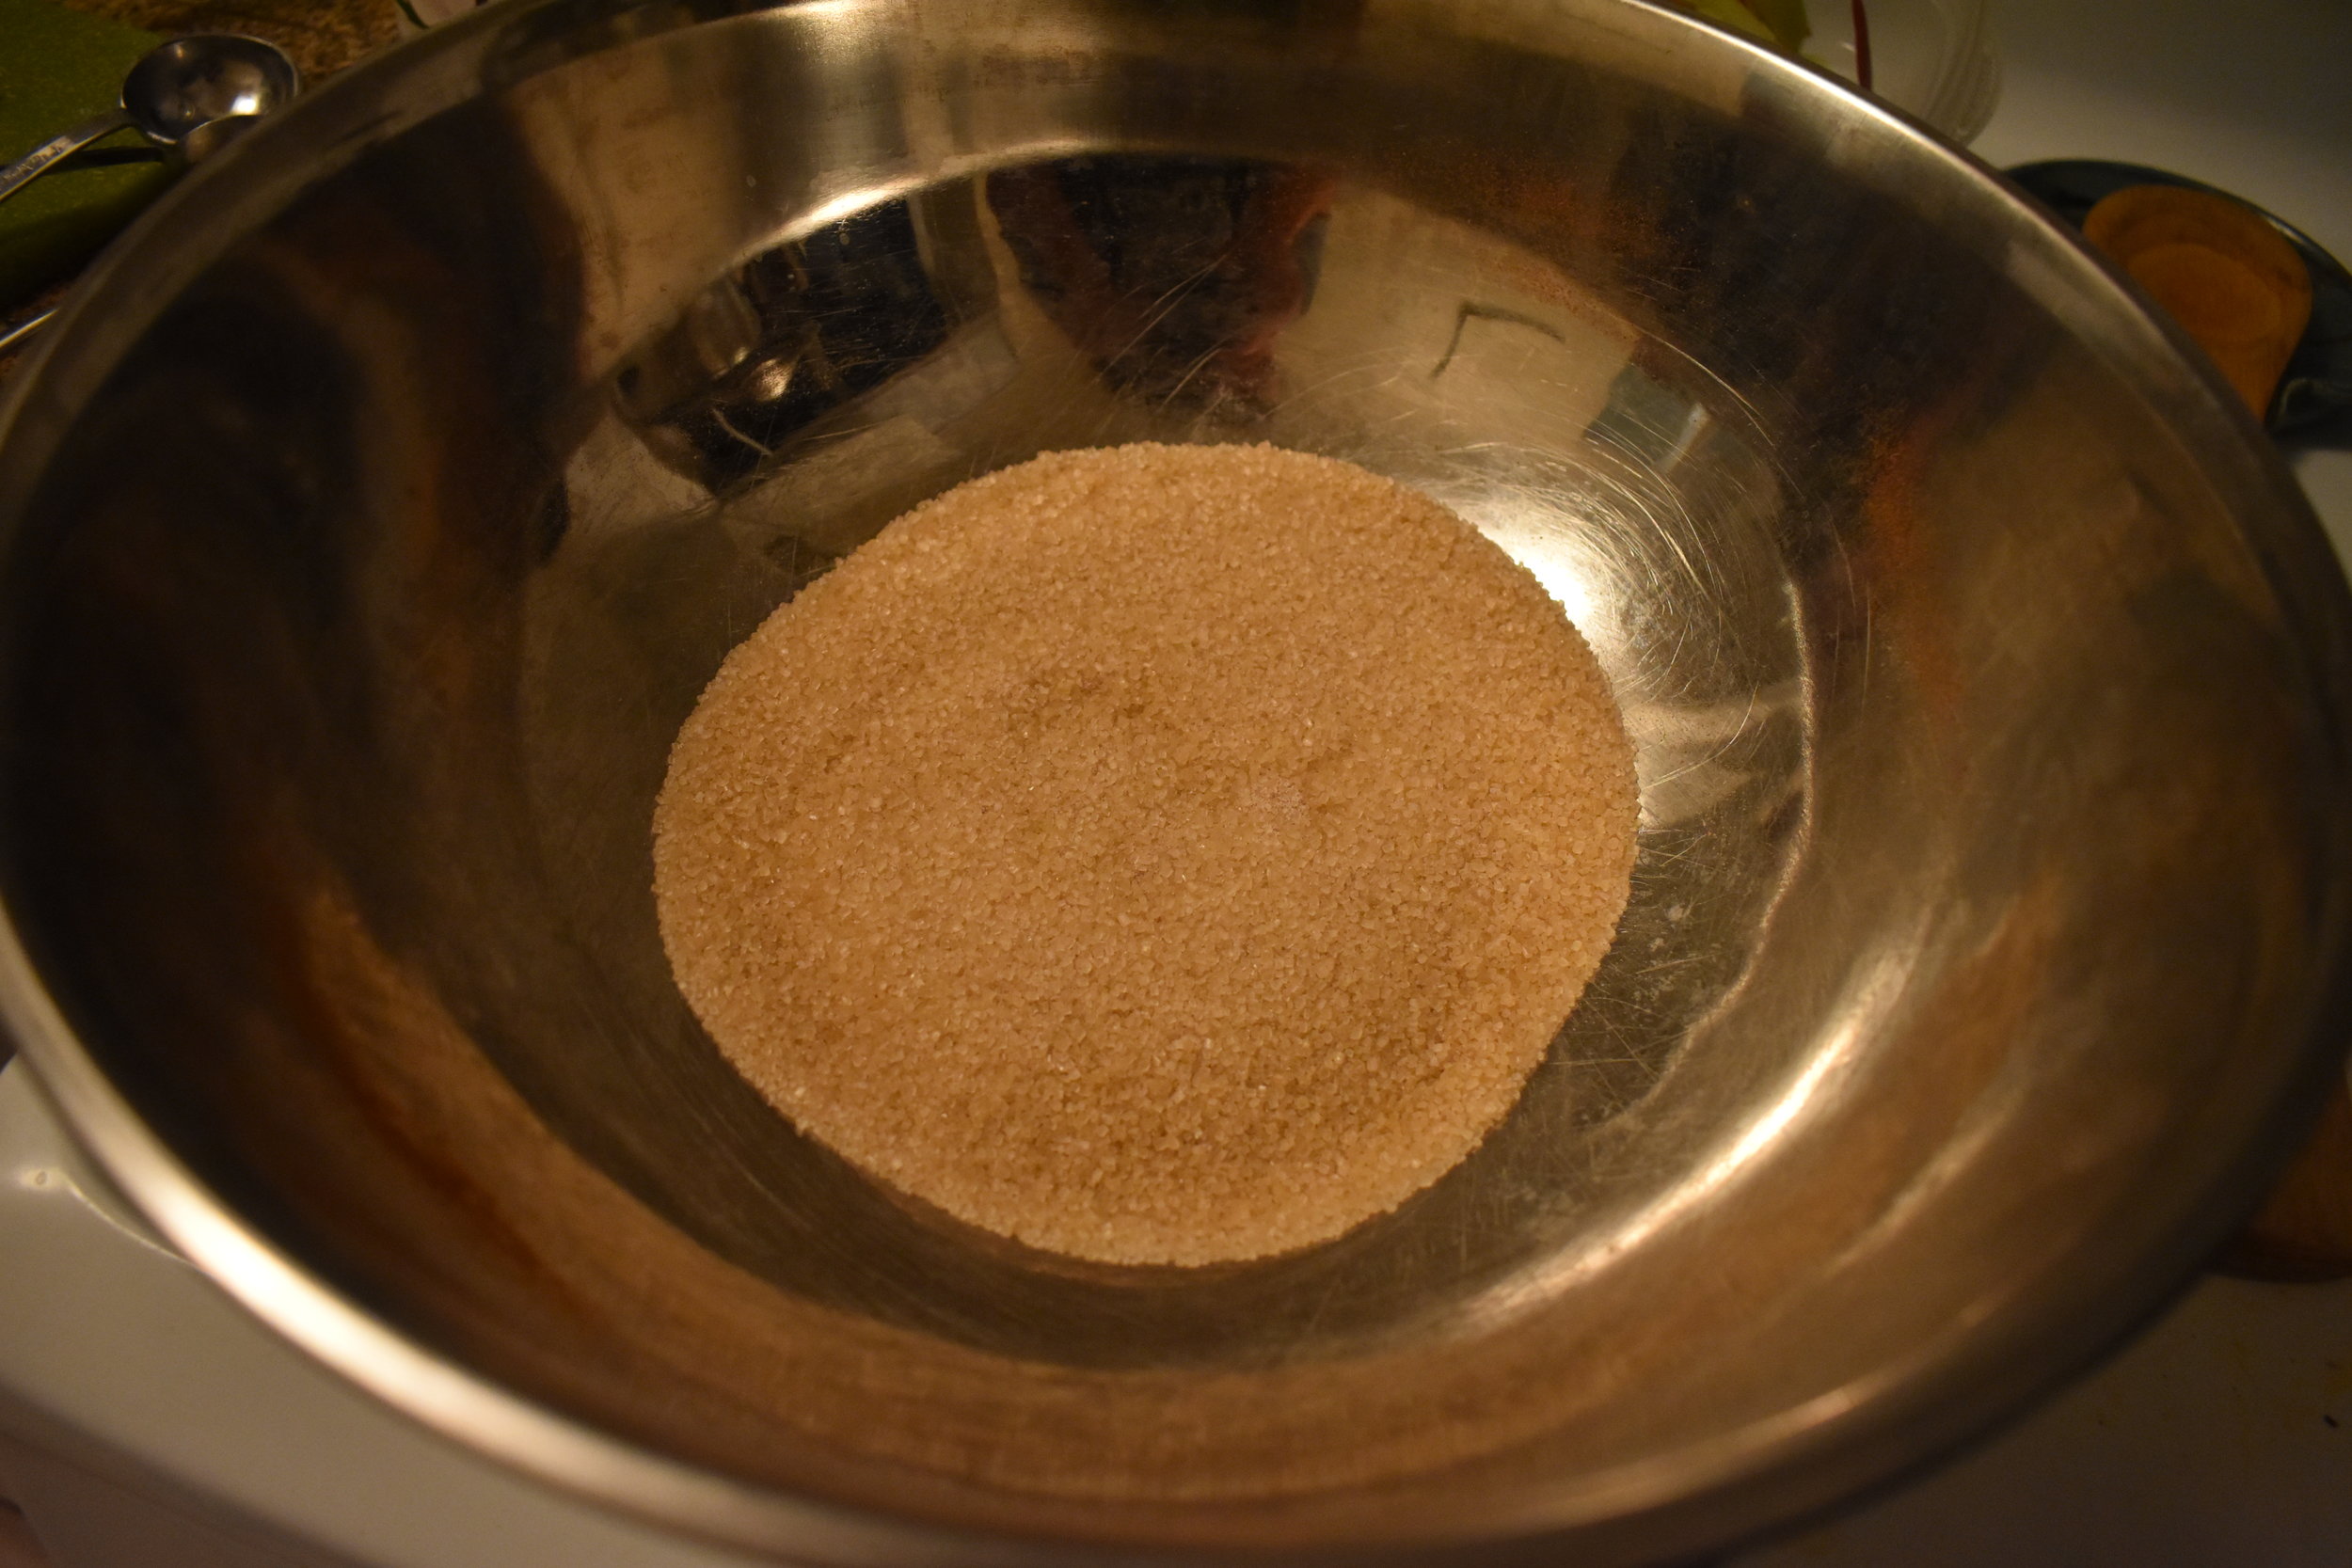
  2. In a mixing bowl combine sugars, 1 Tbsp. flour, salt, spices, and rind
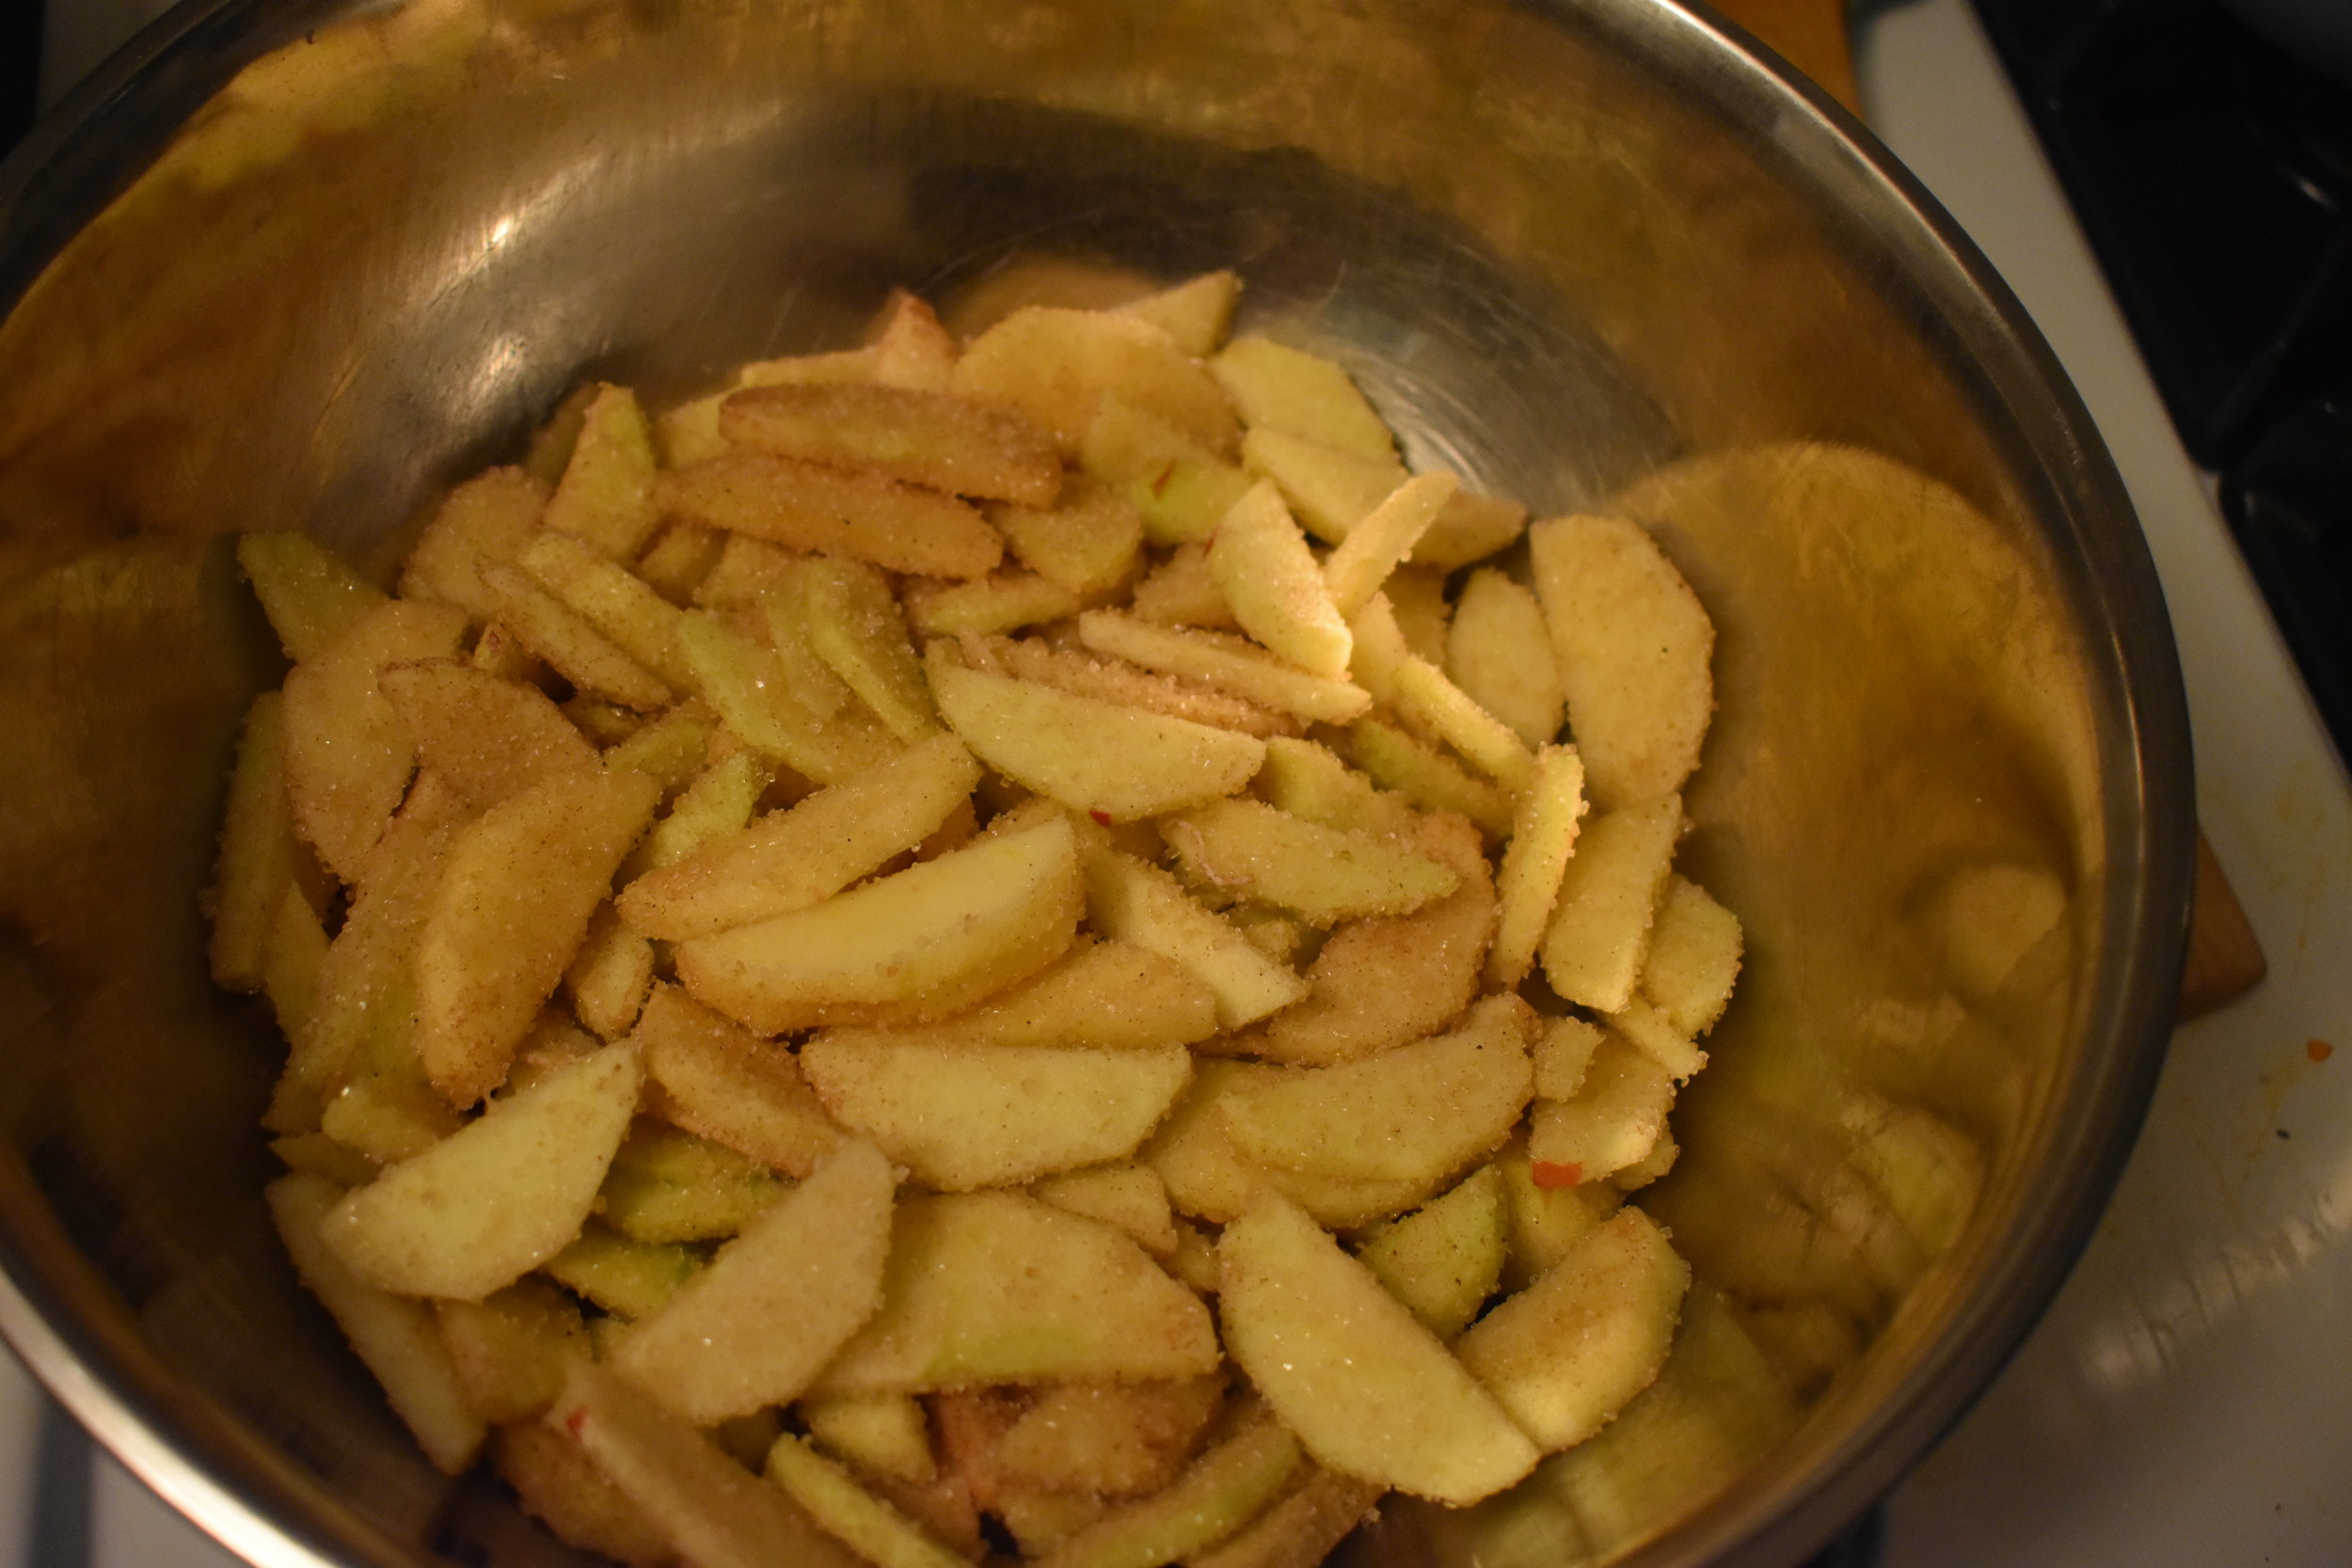
  3. Pour sliced apples into sugar mixture, toss lightly to coat, and allow to sit for 15-20 min
    1. This starts to break down the apples, making them fit better in the pie plate
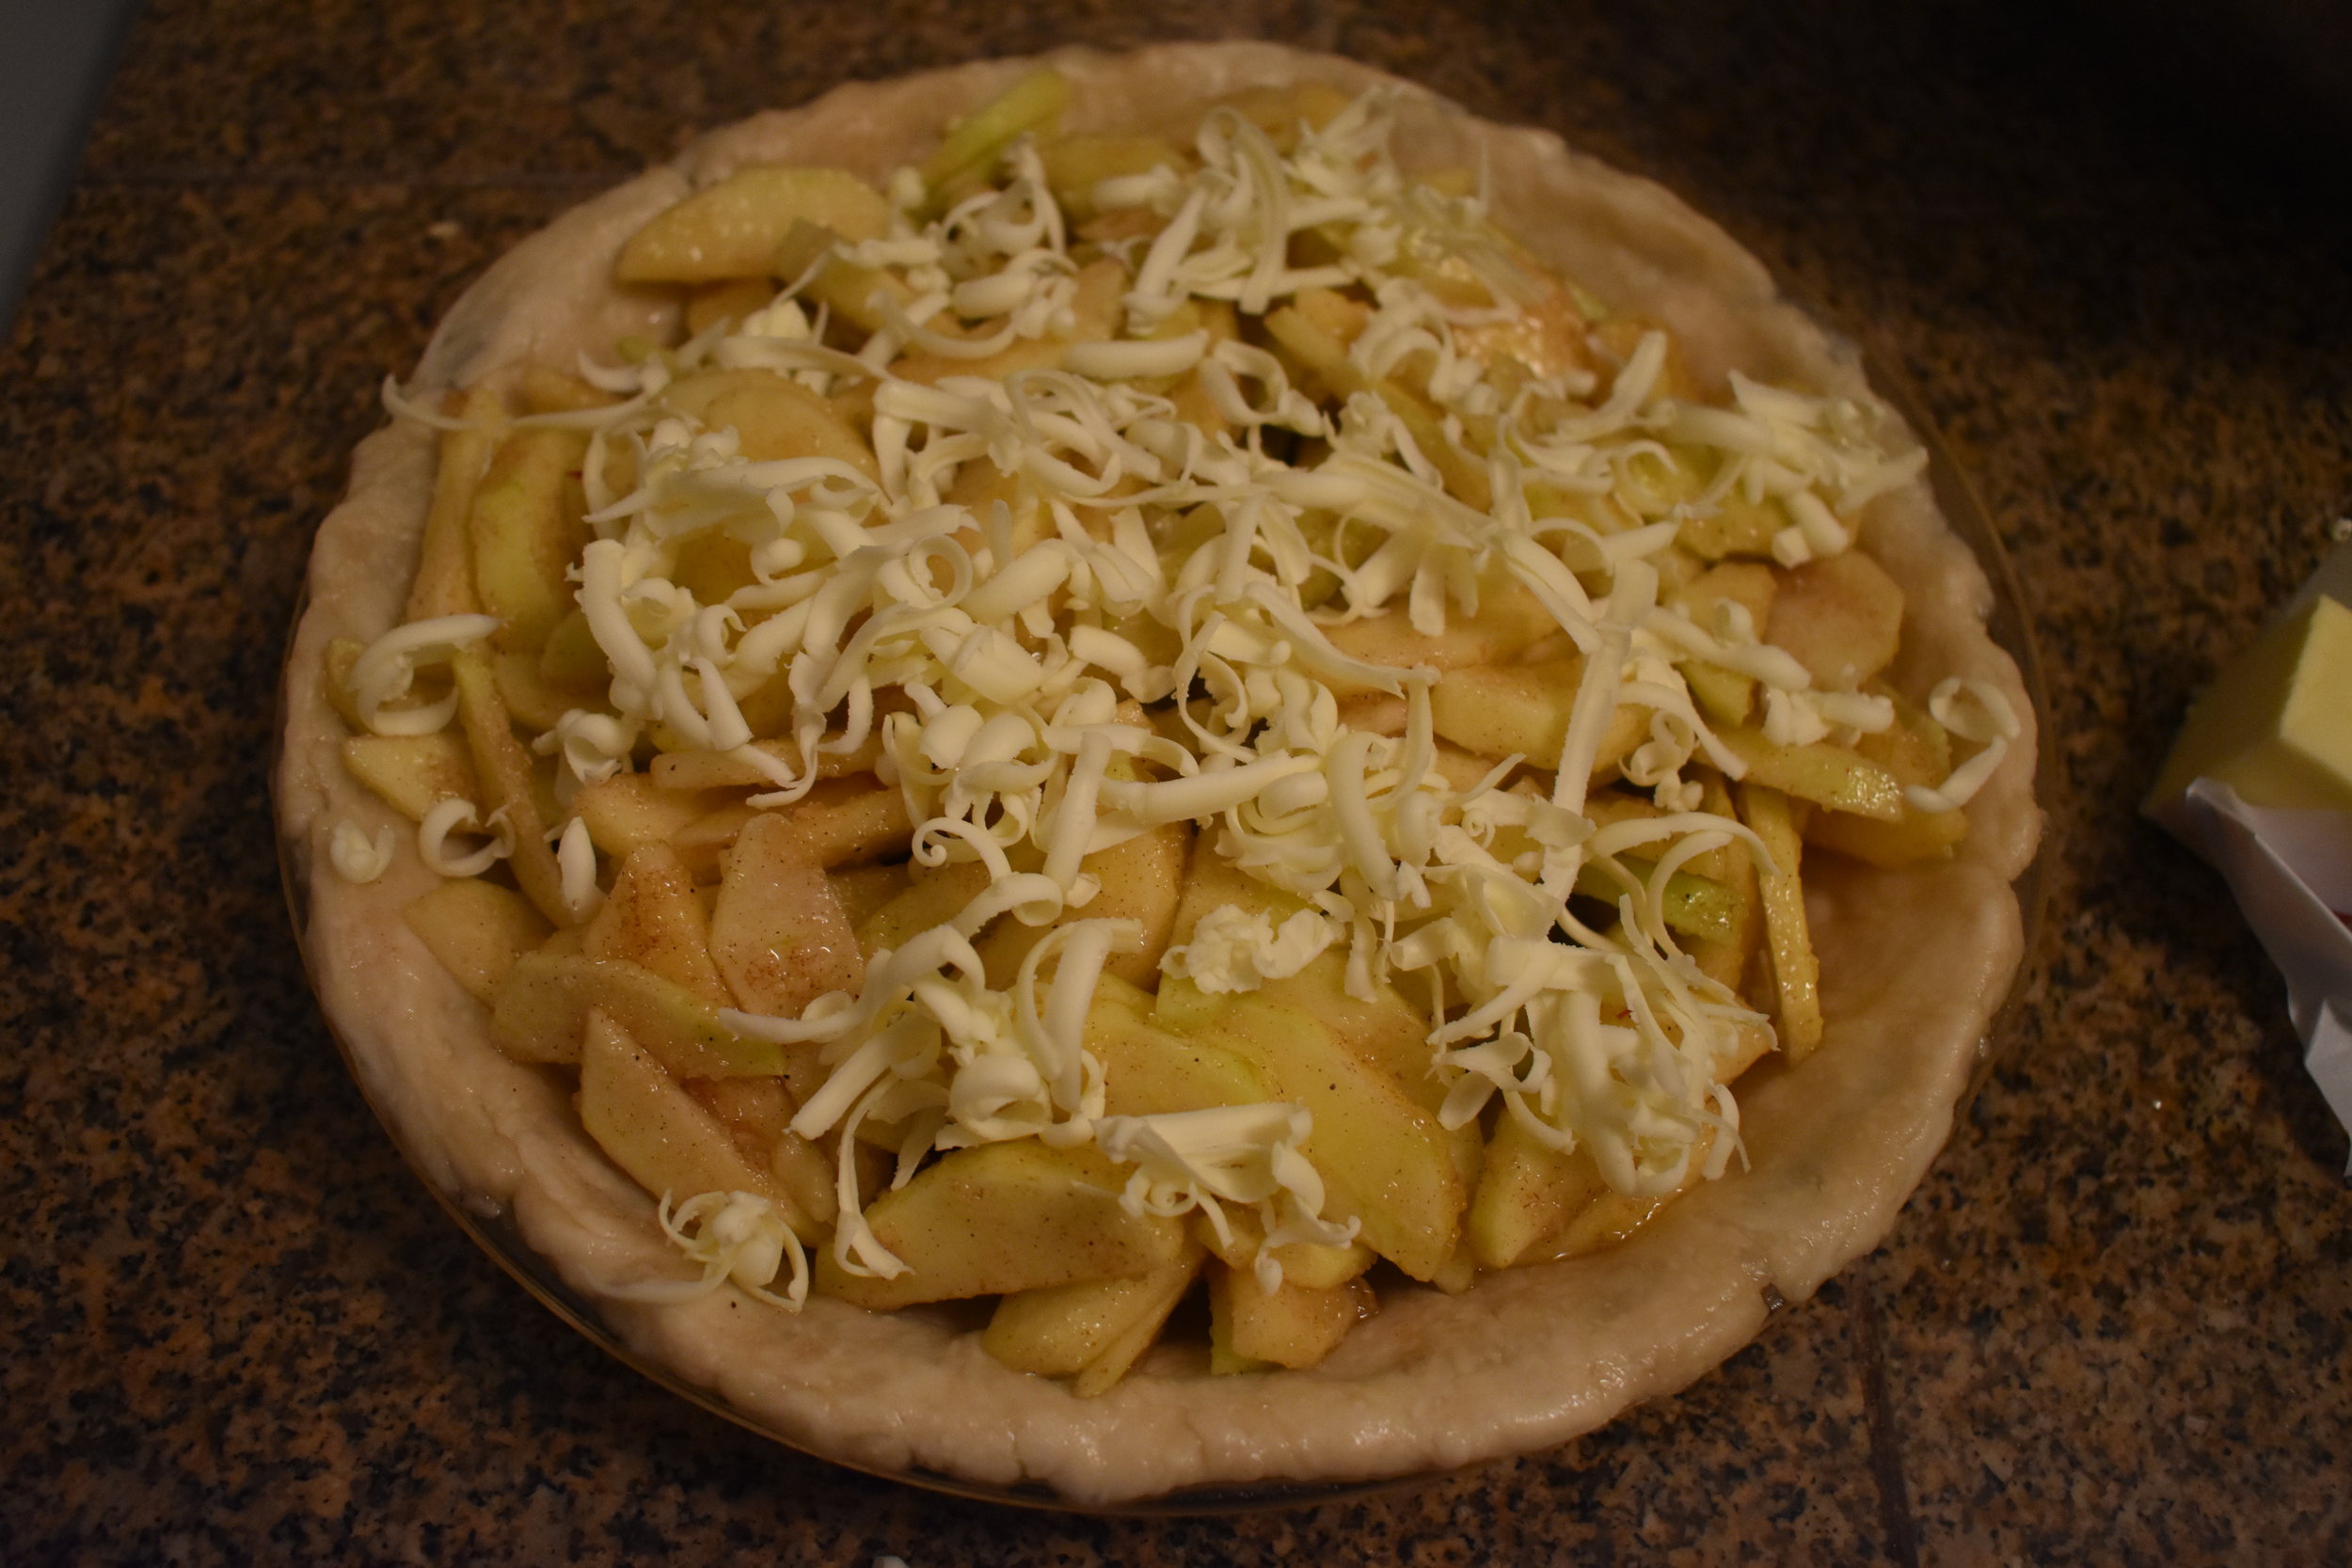
  4. Pour mixture into pie shell.
  5. Cut butter into small pieces and dot the top.
    • I also sometimes grate cold butter using a cheese grater, this distributes it more evenly
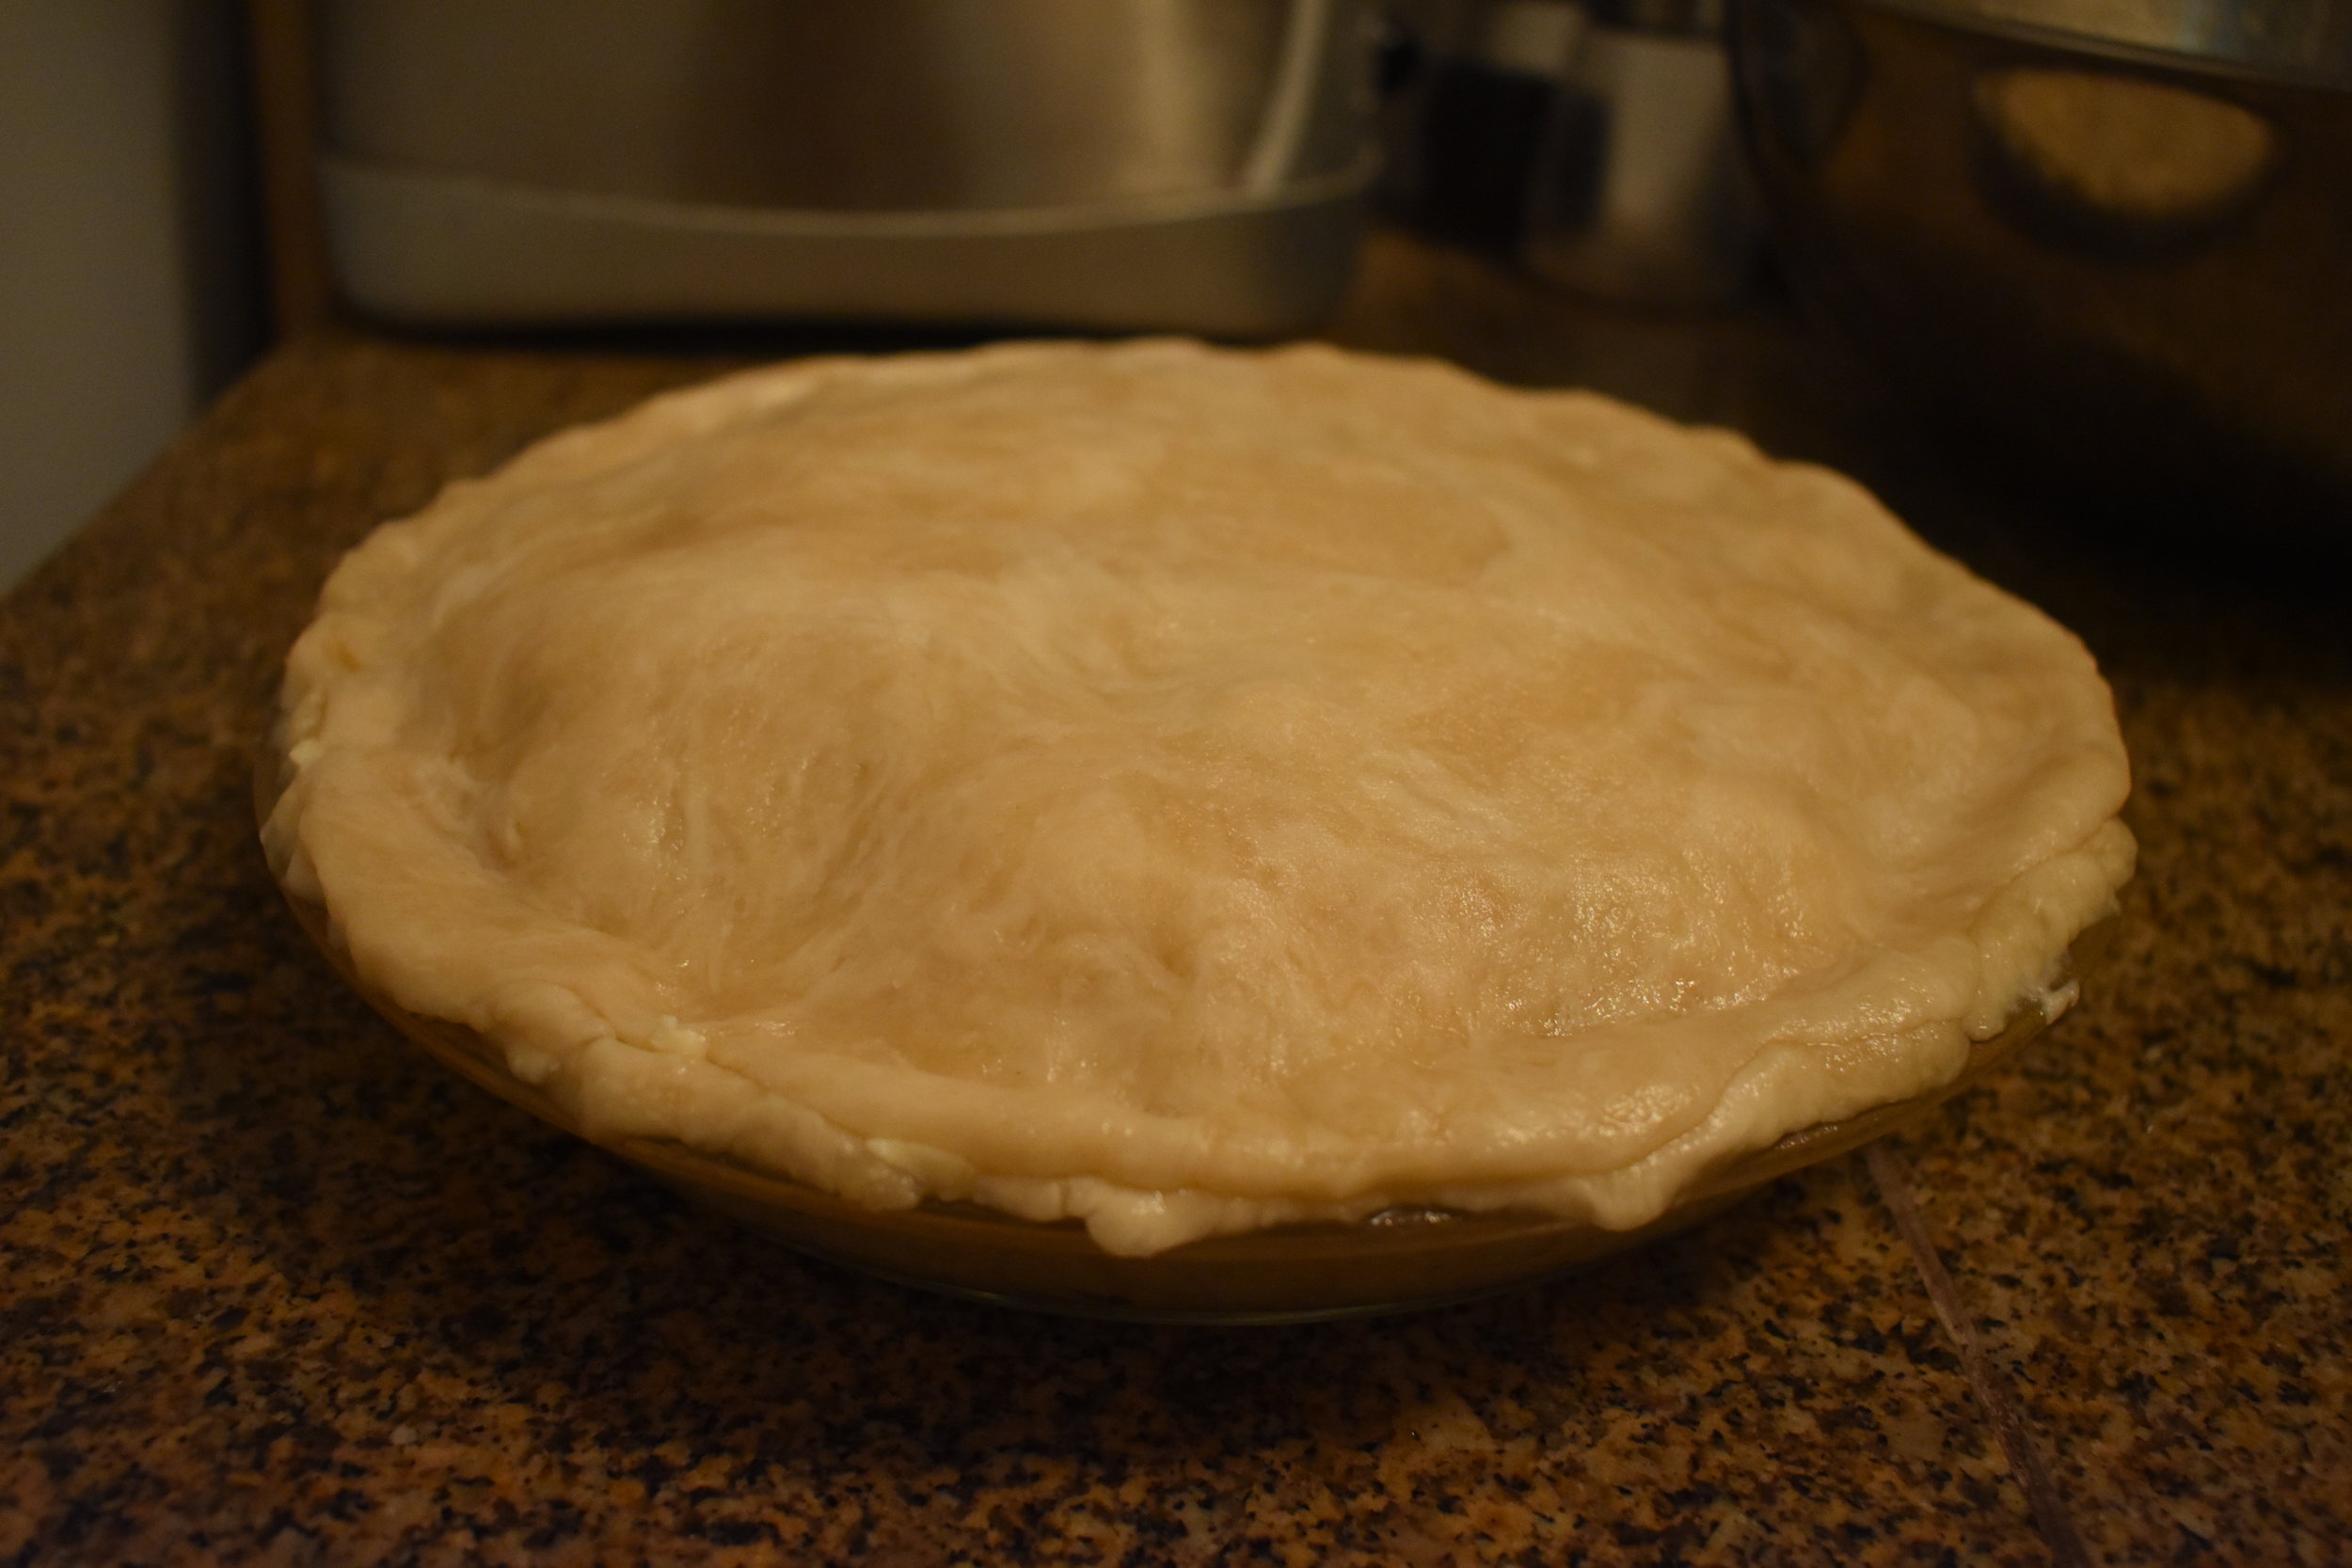
  6. Moisten edges of crust and put top in place
    • I do this the way my grandma taught me. This strategy works for even the most delicate of pie crusts. 
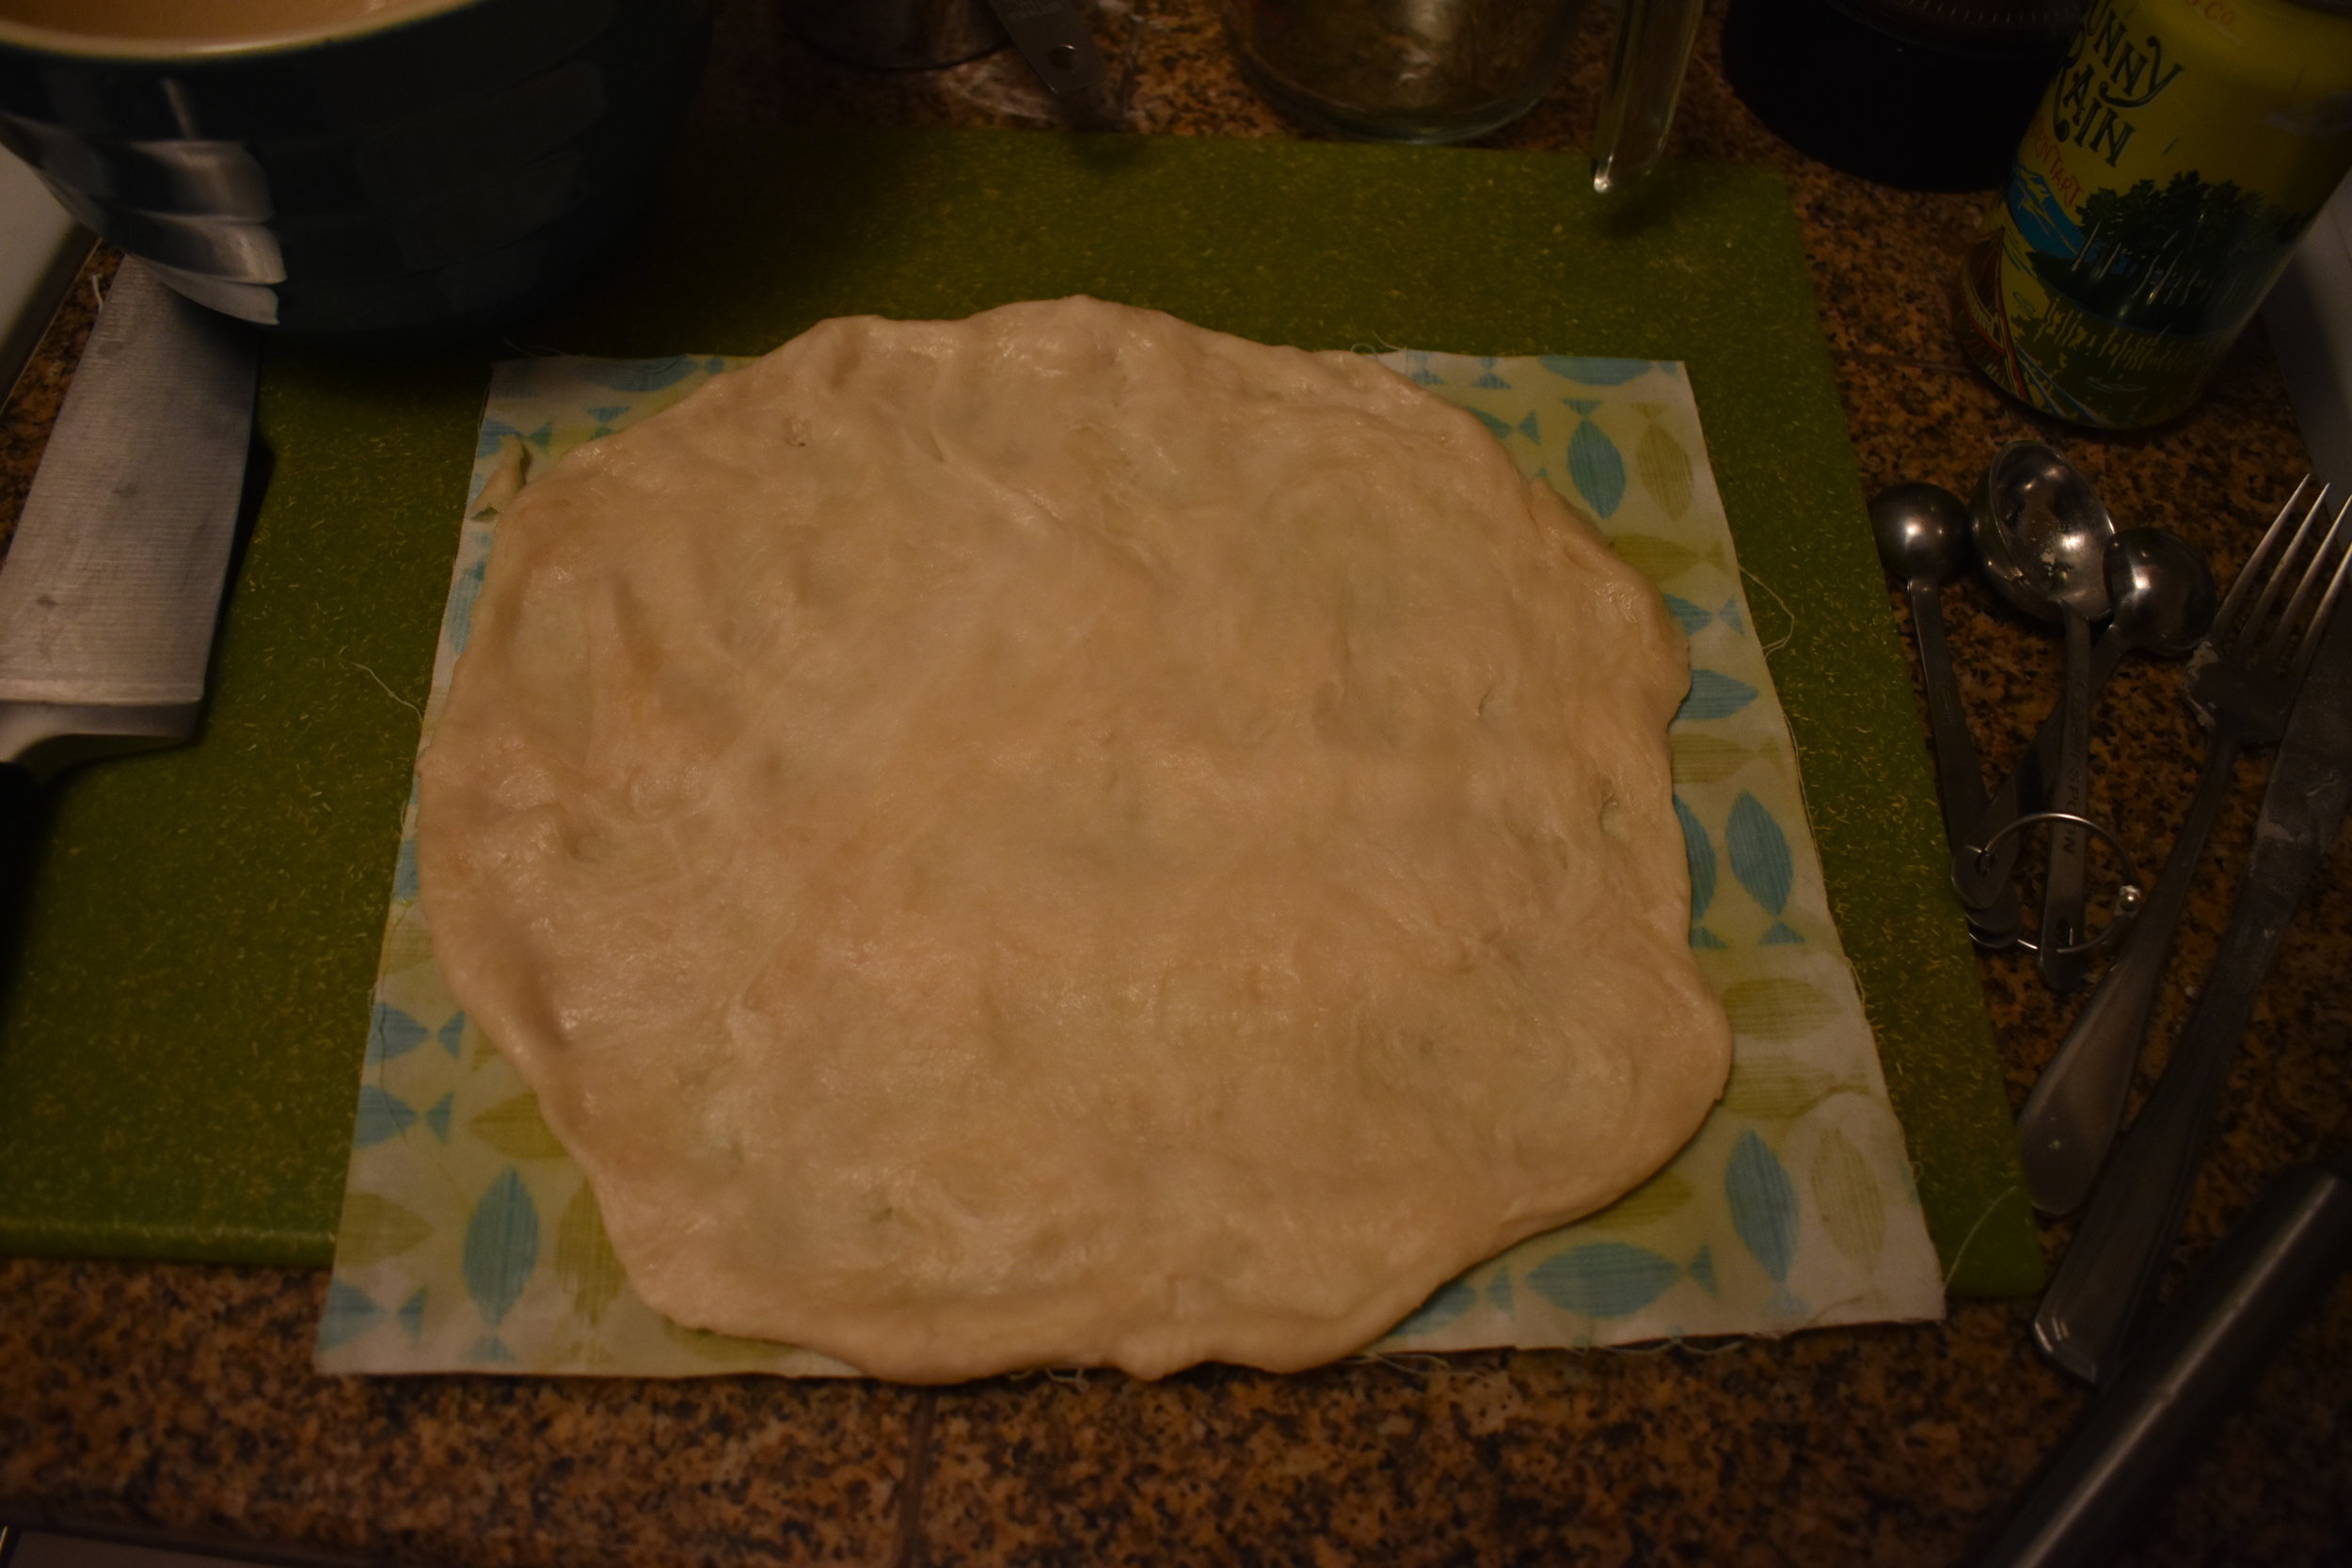
    1. On a piece of beeswax cloth, press out crust to the size of the pie (about 9 inch diameter.
    2. Use the cloth to lift and place the crust over the pie
    3. Slowly roll the cloth back, making sure you leave the crust cleanly on the pie.
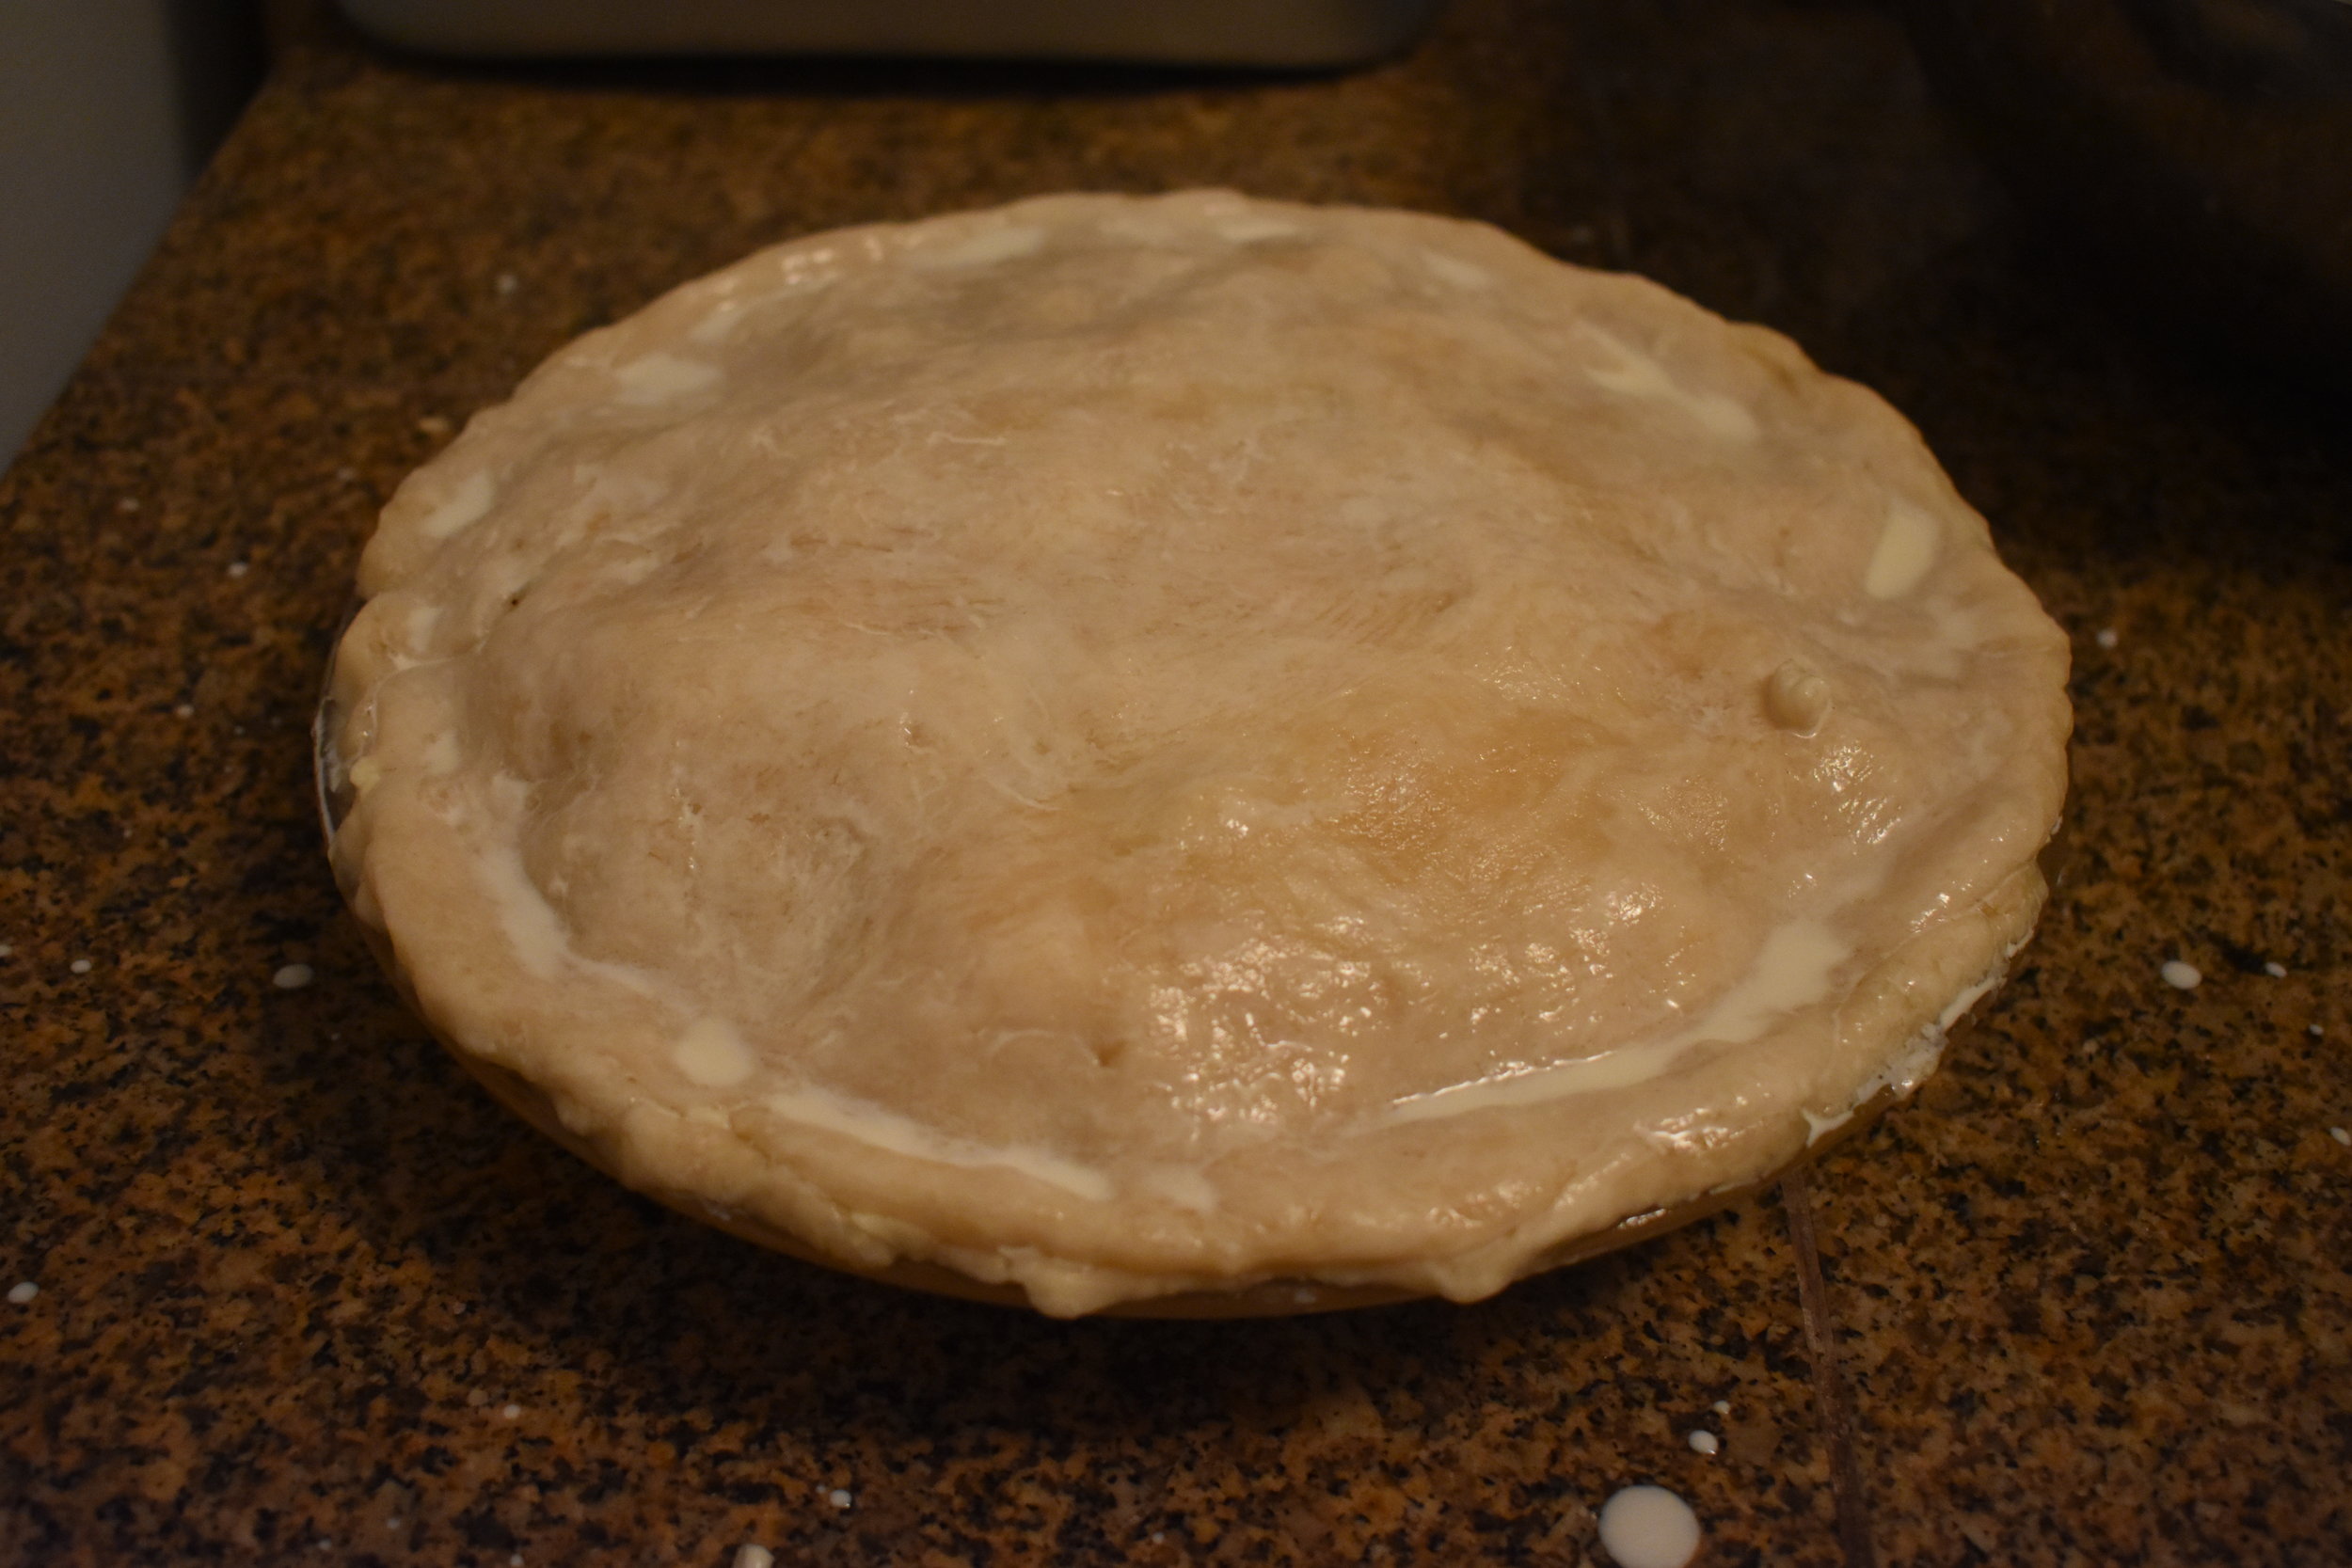
  7. Press and crimp edges, gloss crust with heavy cream.
    • You can continue to re-coat every 10-20 min throughout the baking process.
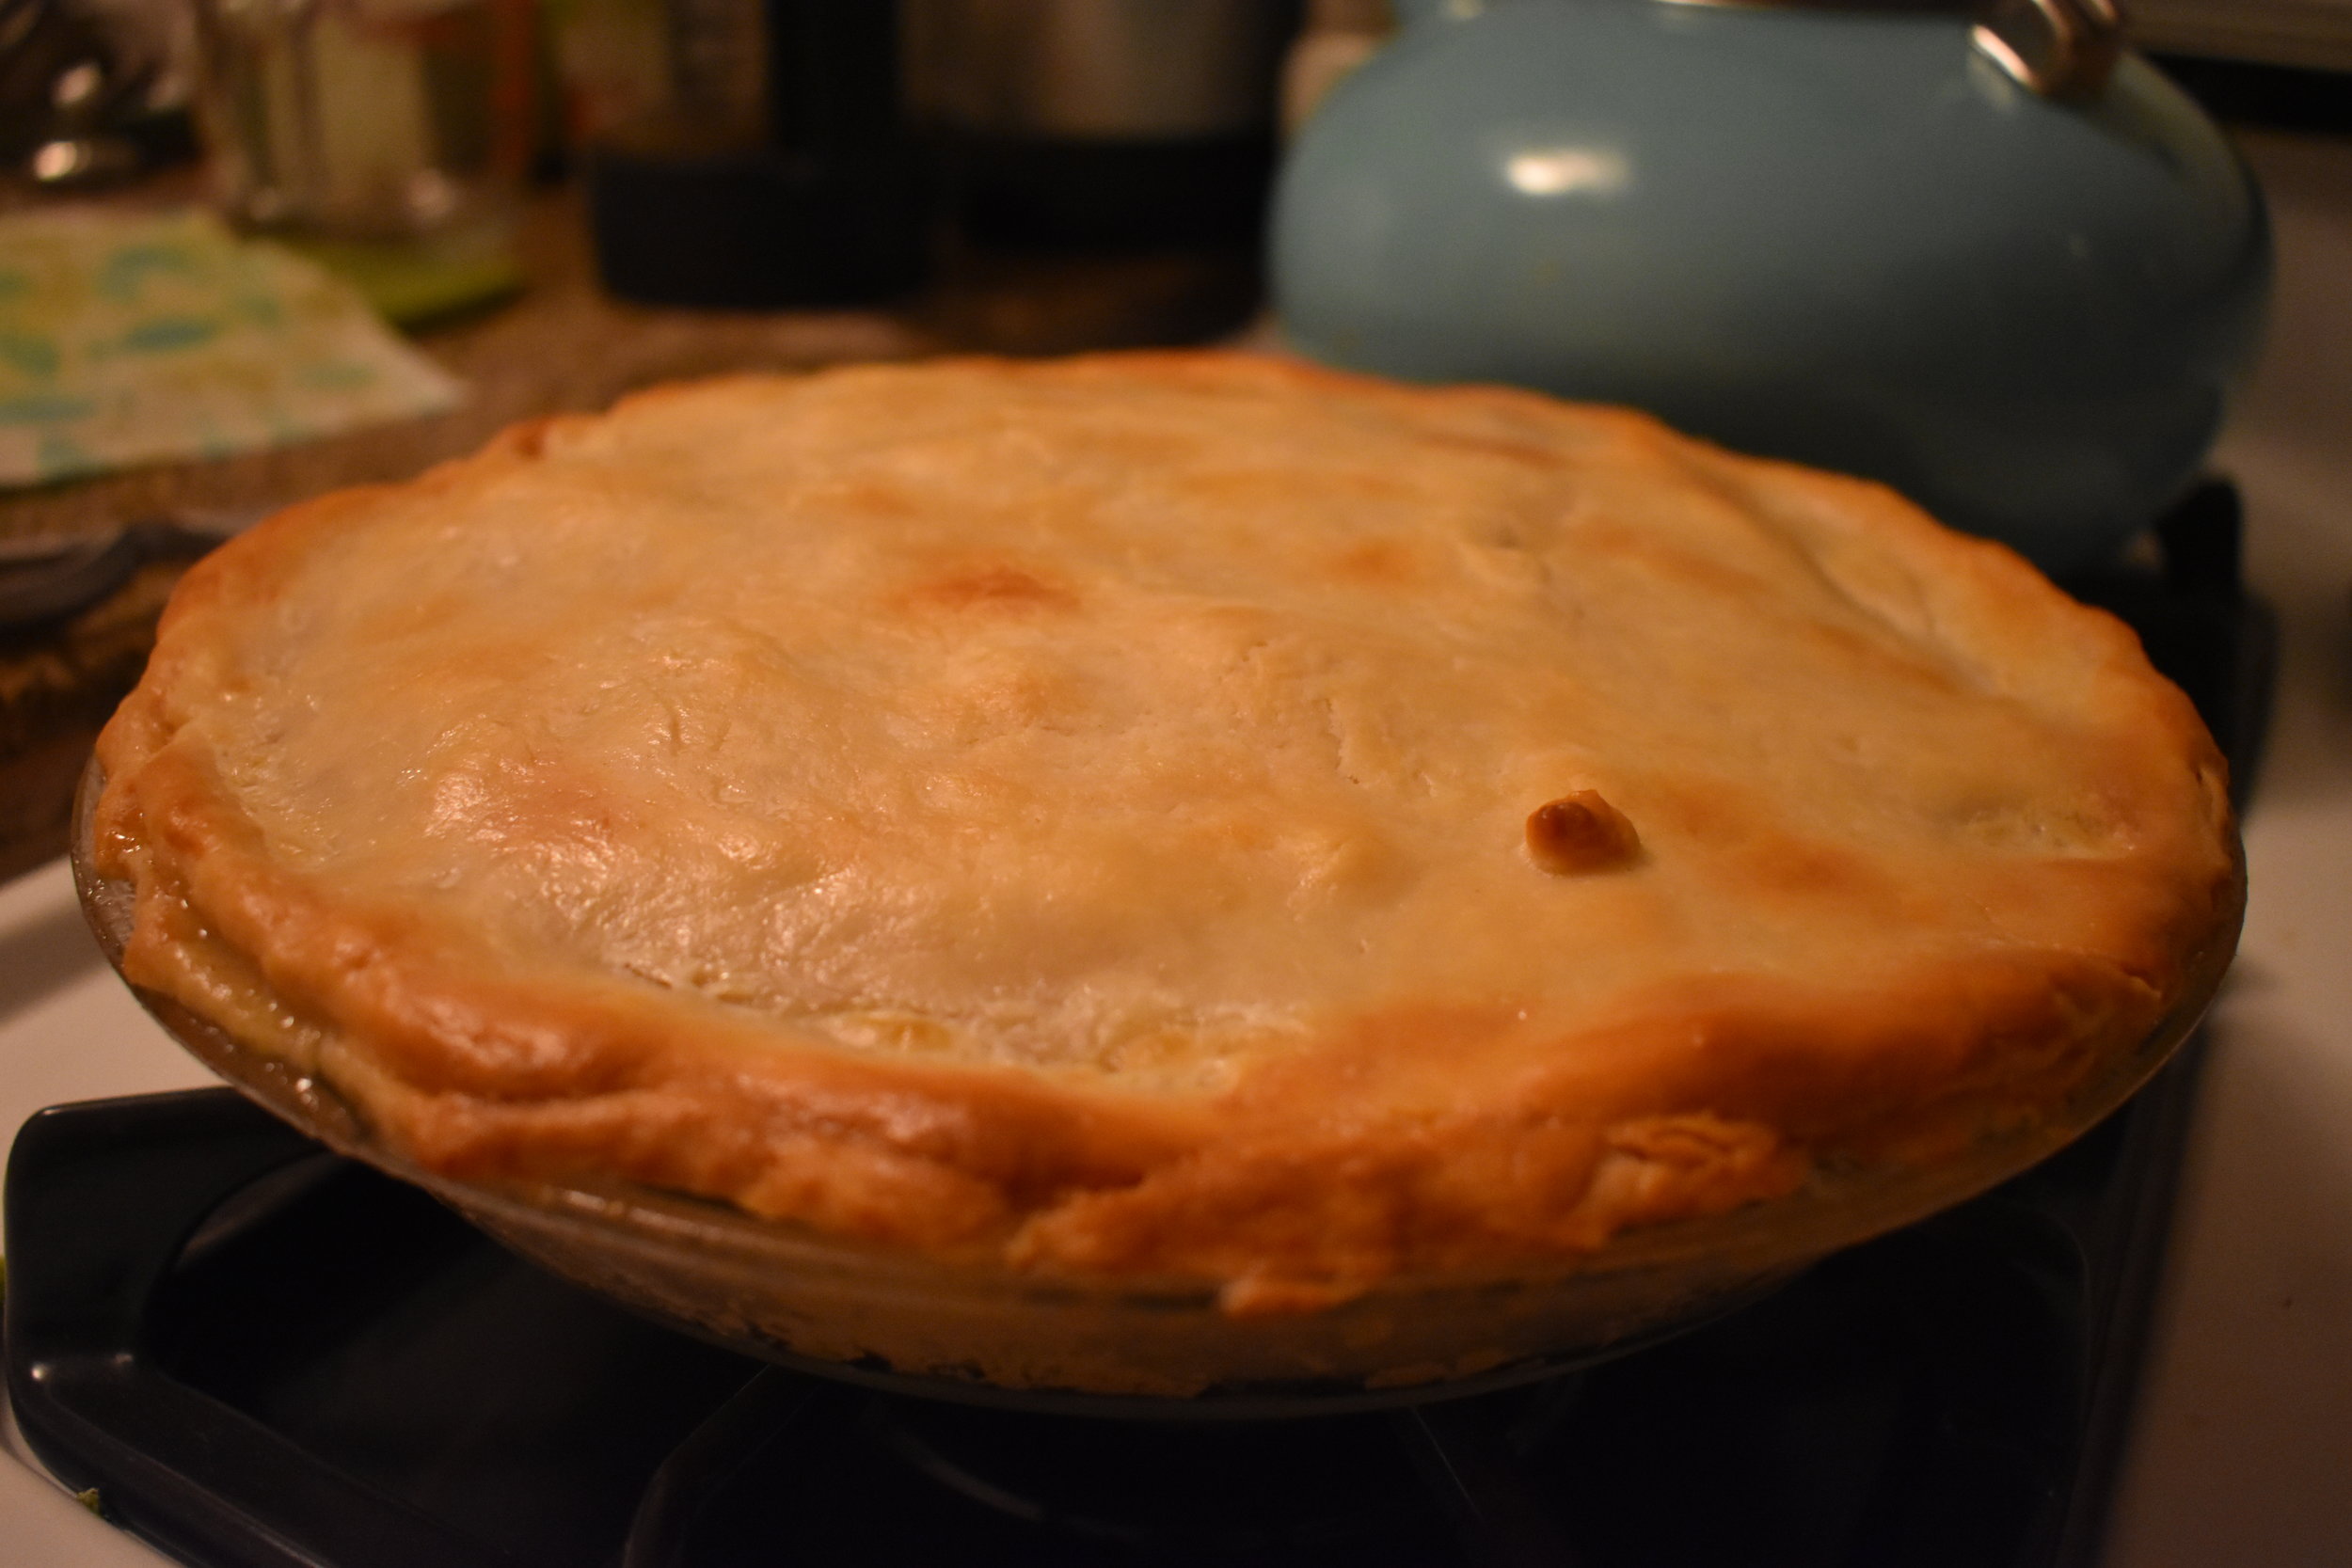
  8. Bake at 400 F for 30 - 45 min. until crust is golden brown and the insides are bubbling.
    • I often place a baking sheet under my pie to catch any drippings and check regularly to ensure my crust isn't burning.