“The clearest way into the Universe is through a forest wilderness.”
This past weekend I went on my first backpacking trip while living a zero waste lifestyle. I have to admit I wasn't successful at producing zero waste, but I did have very little! And I'm confident I can make even better choices next trip.
Where
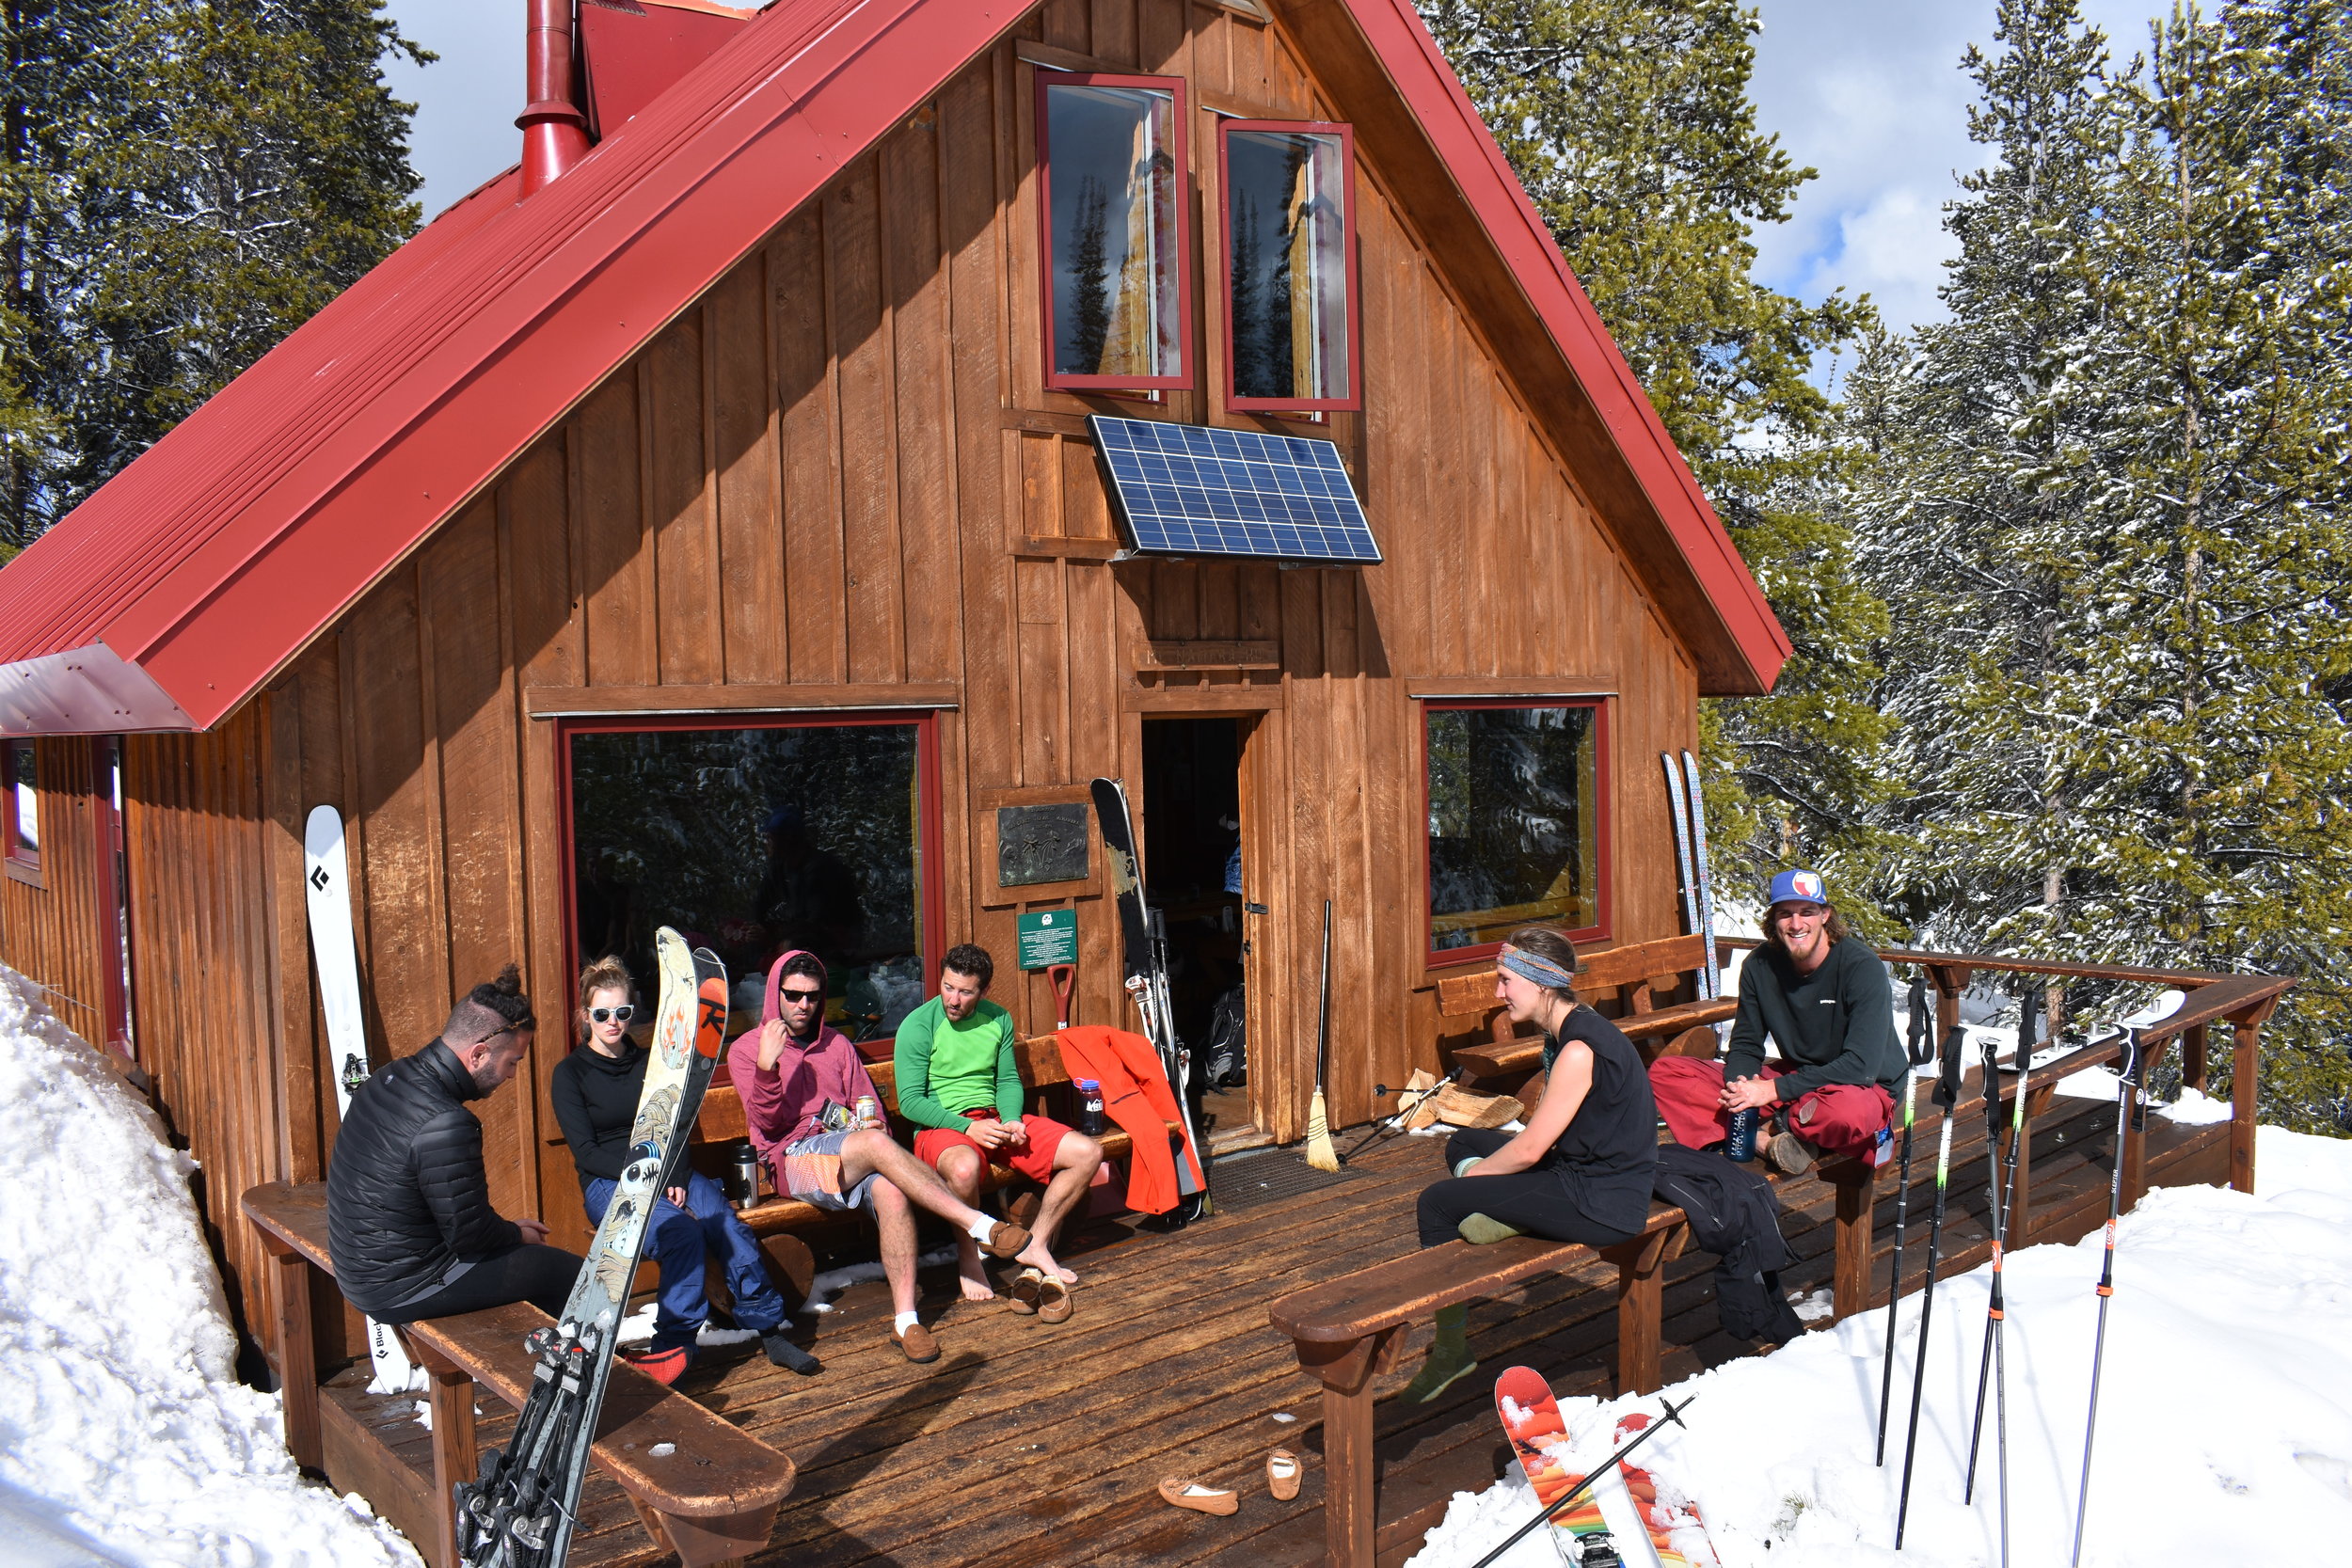
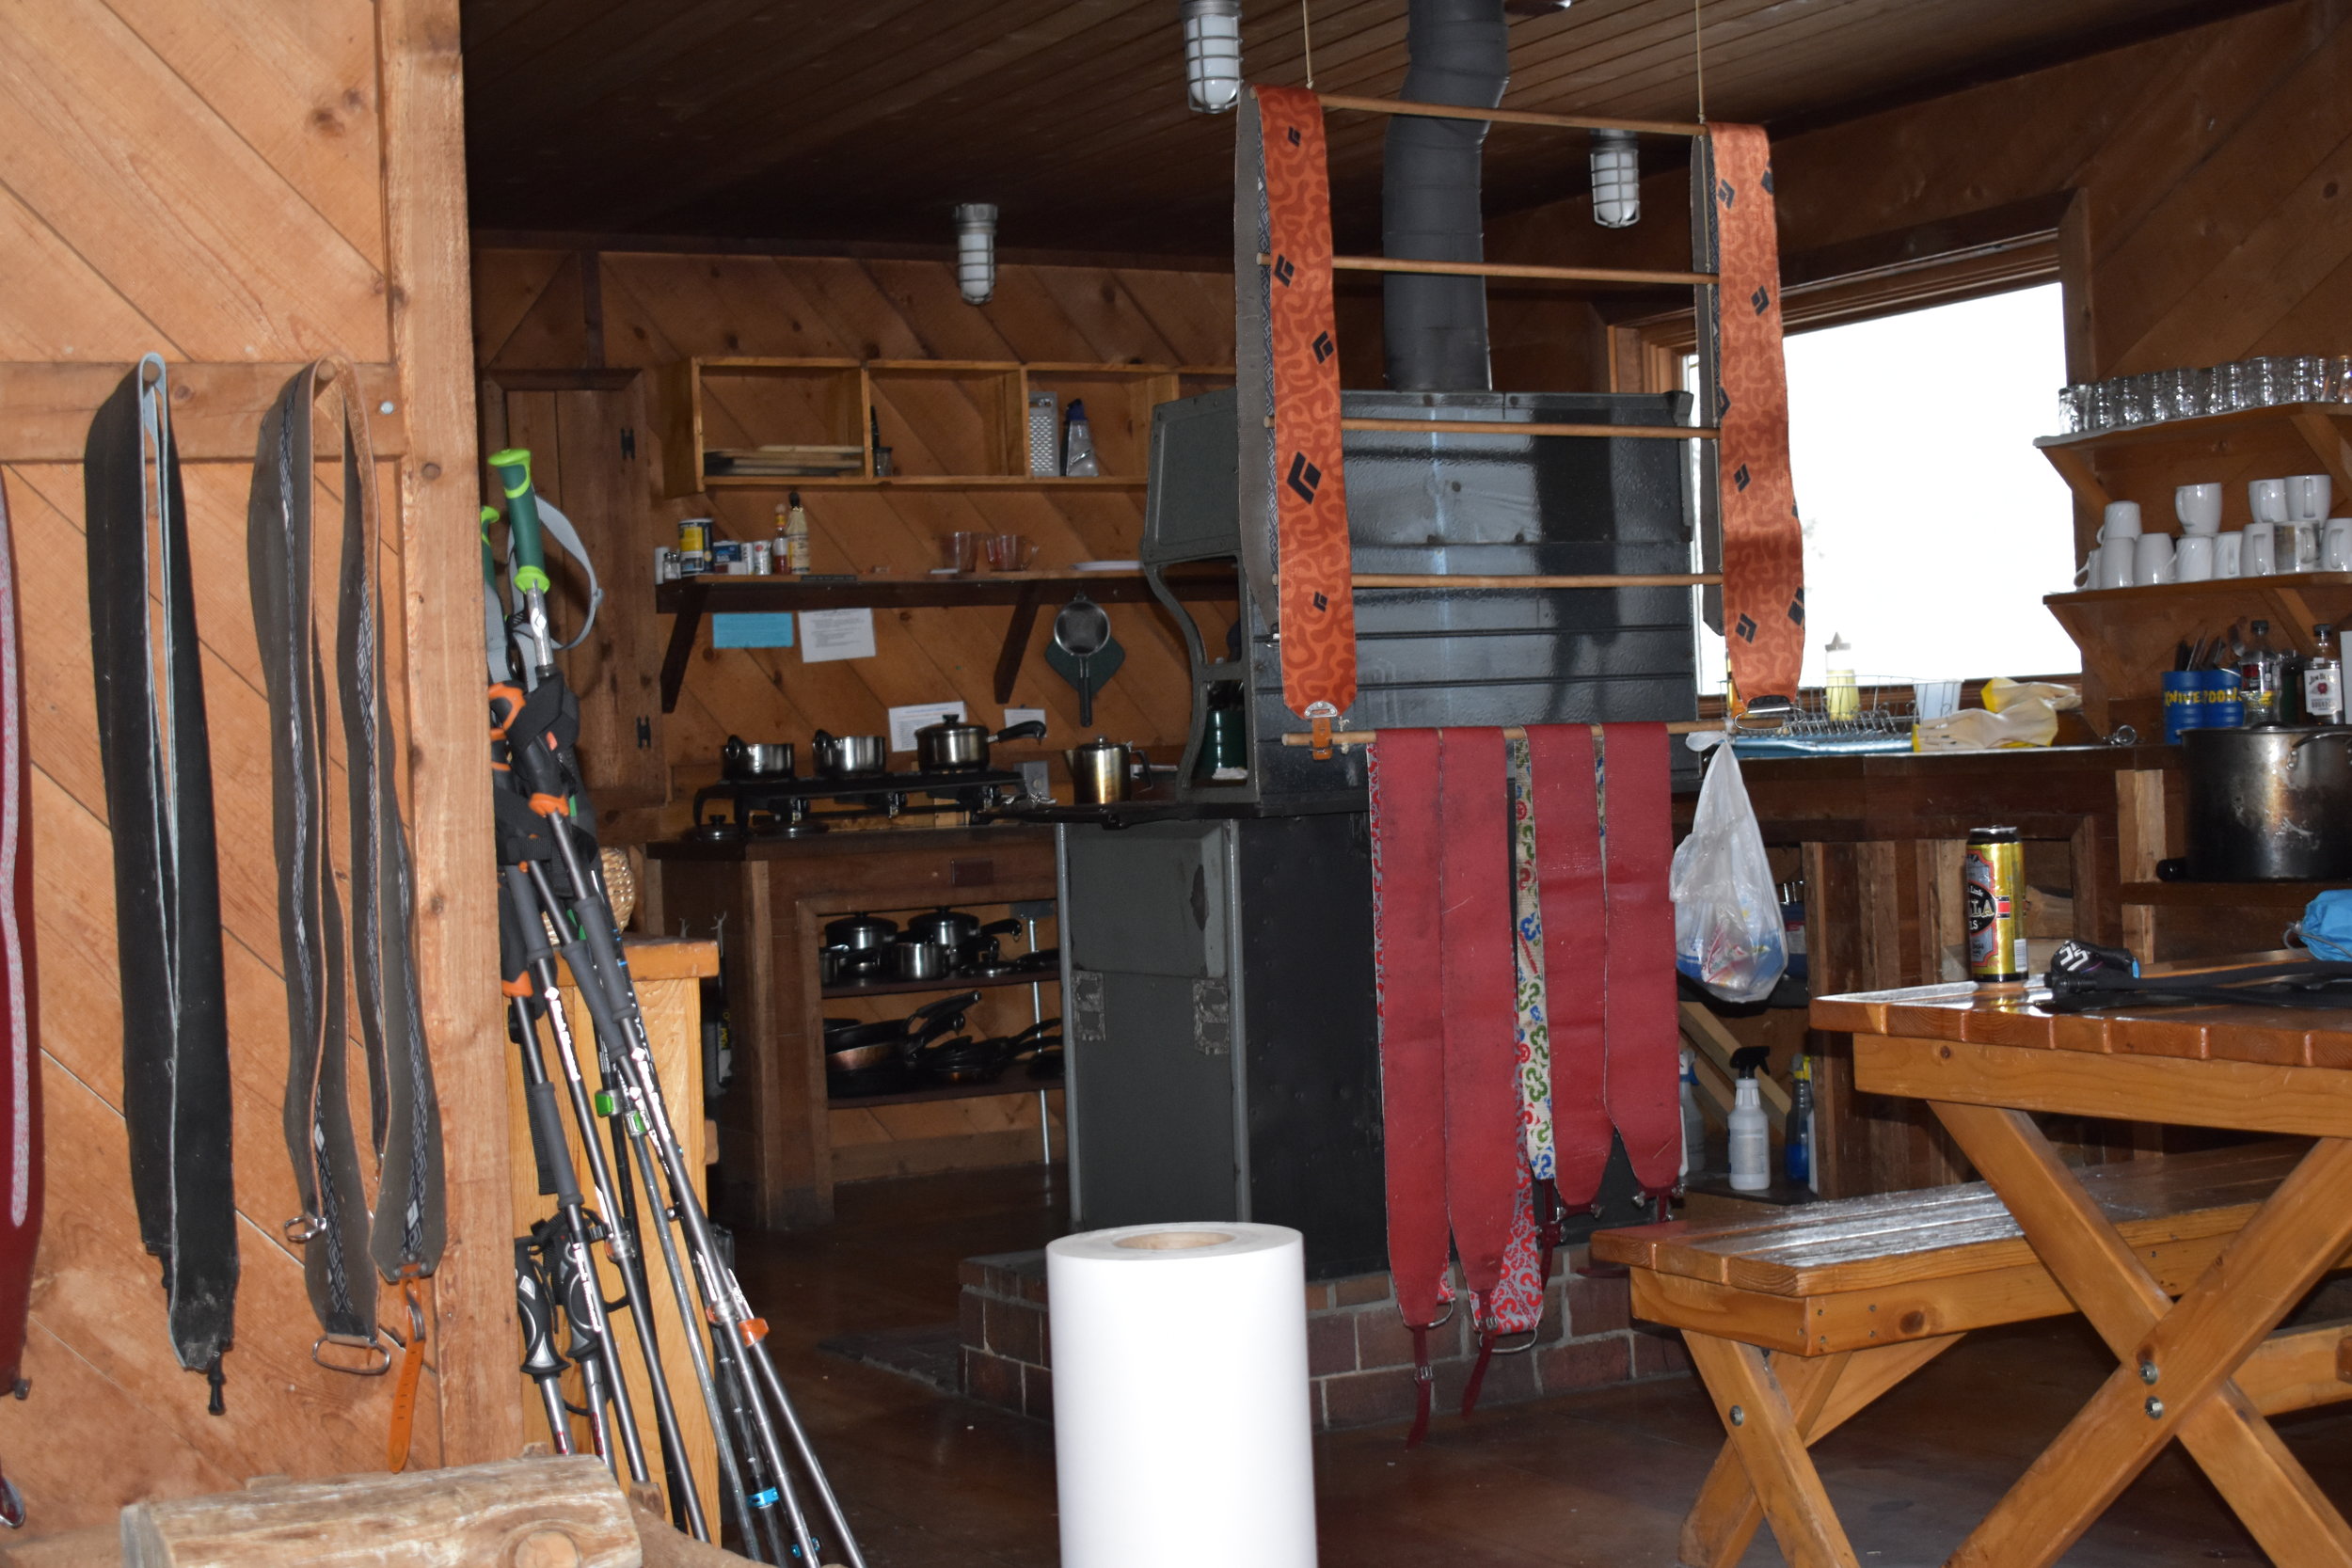
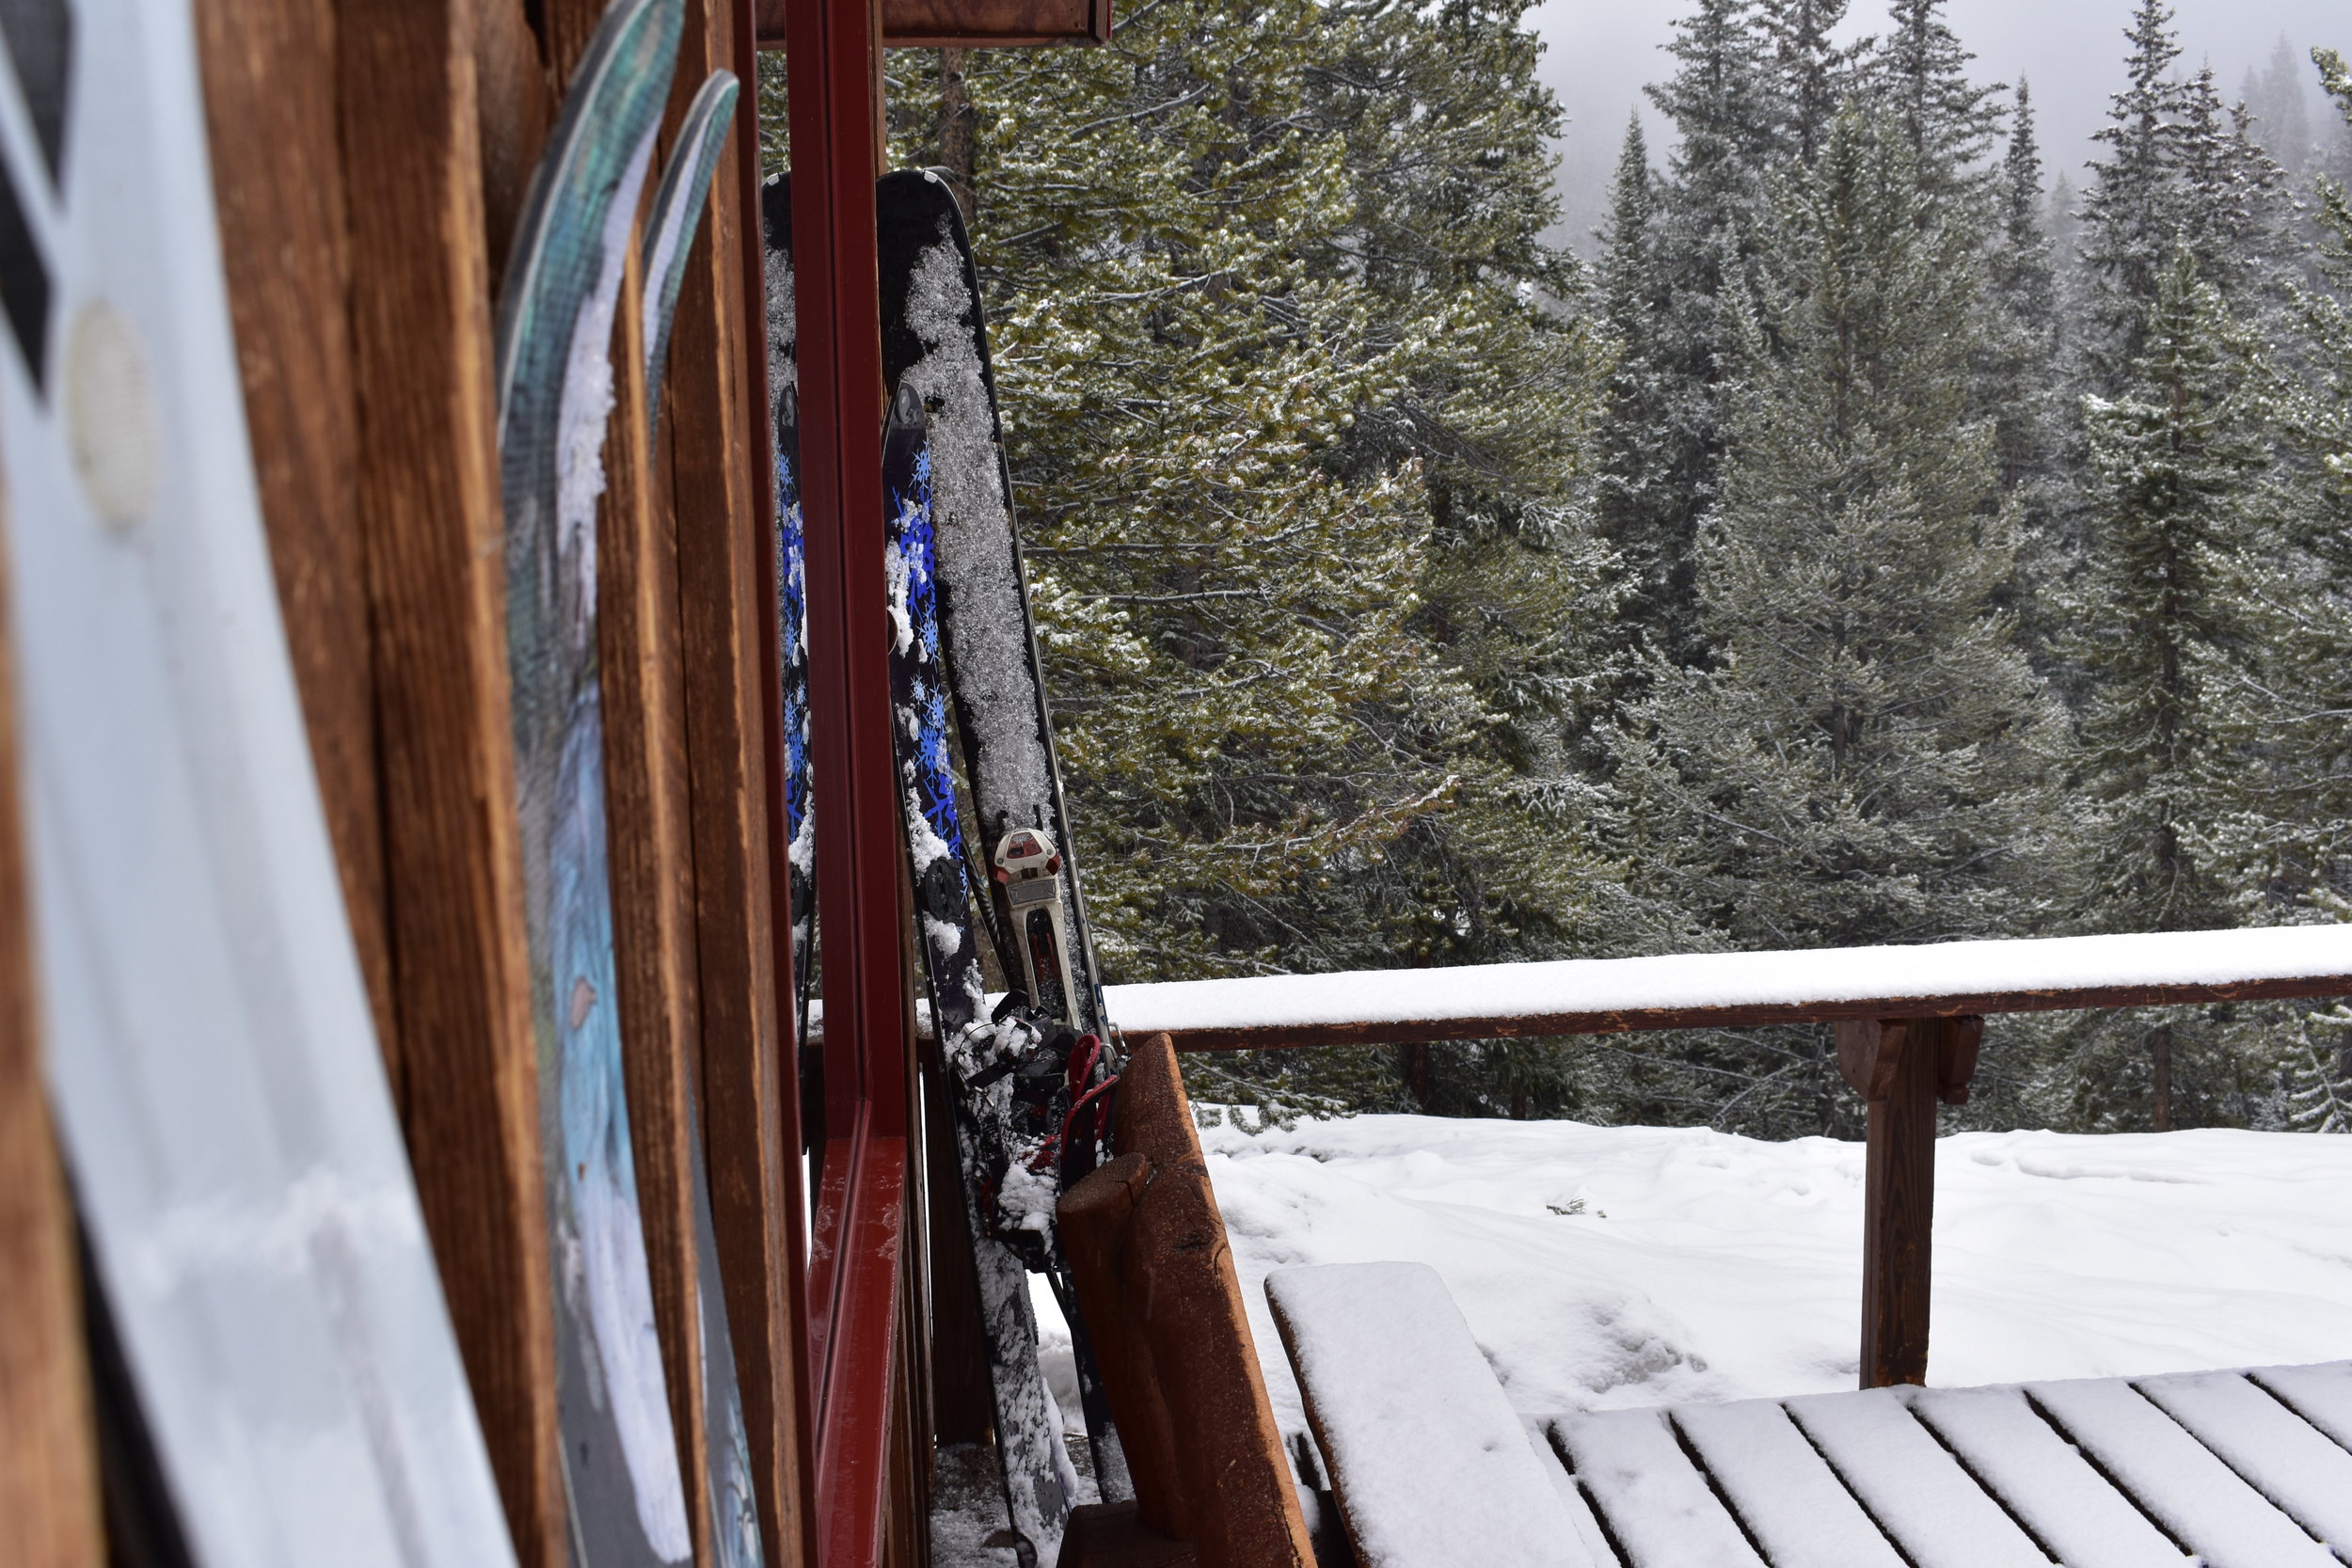
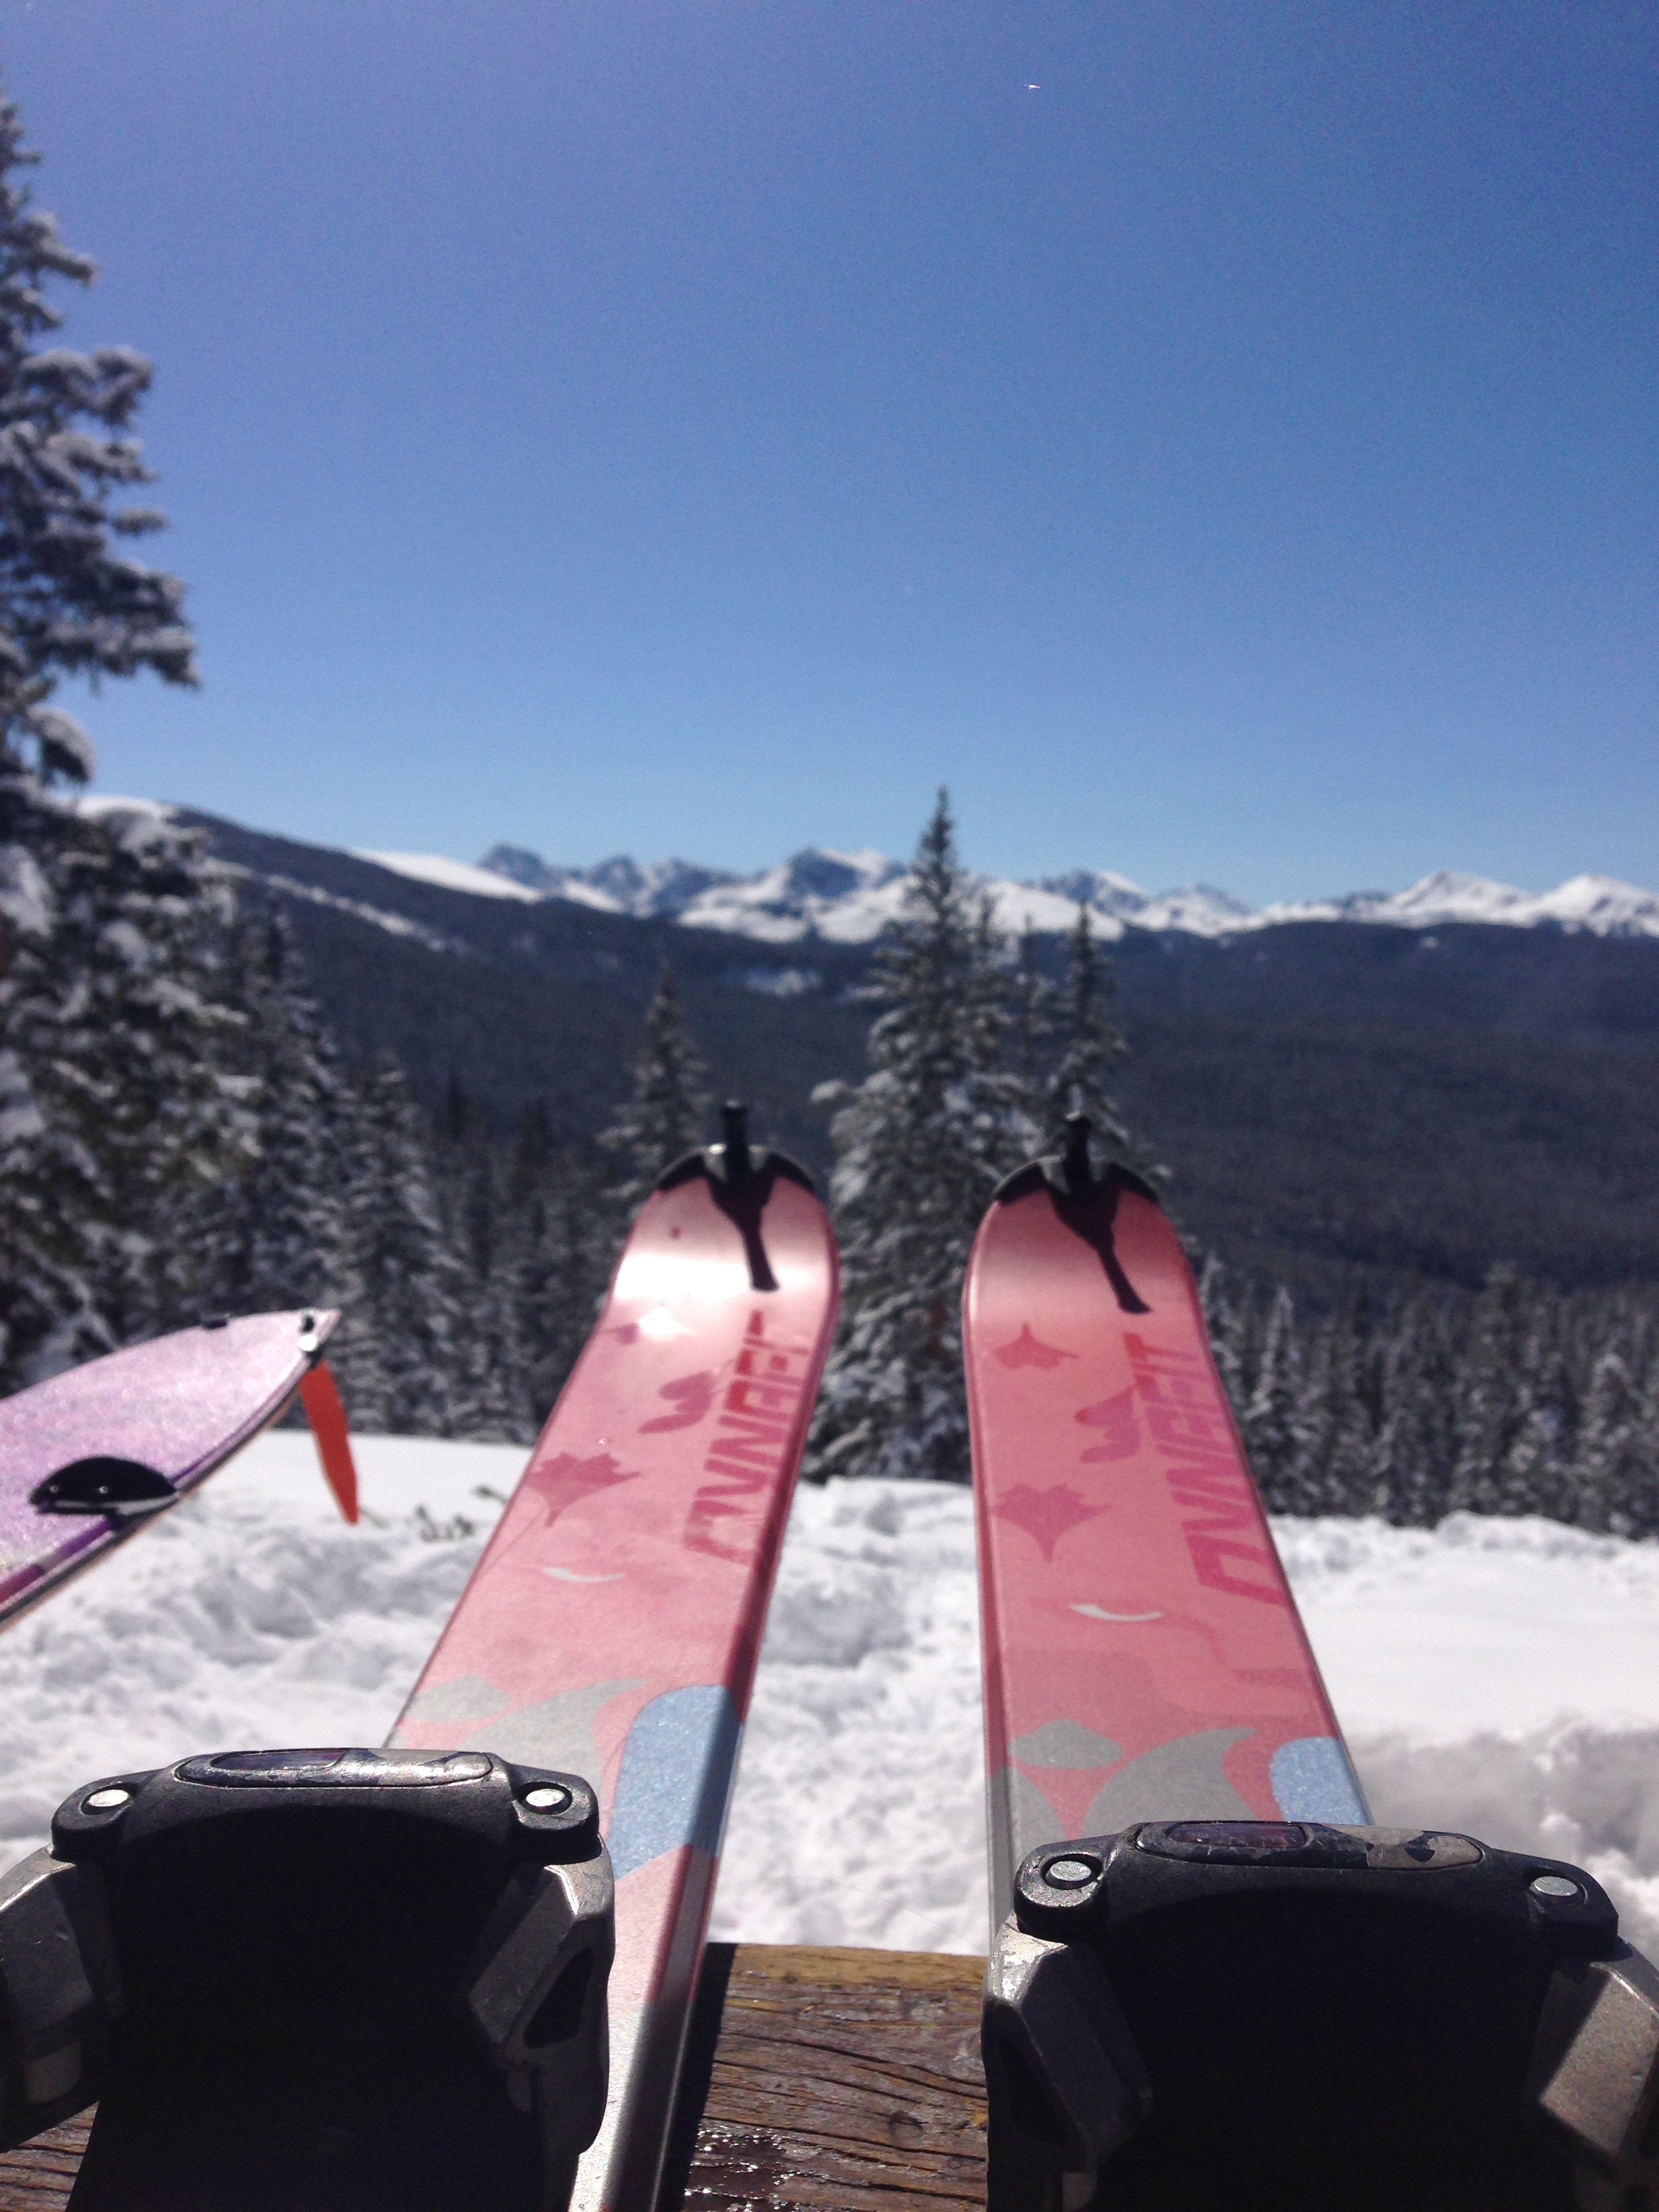
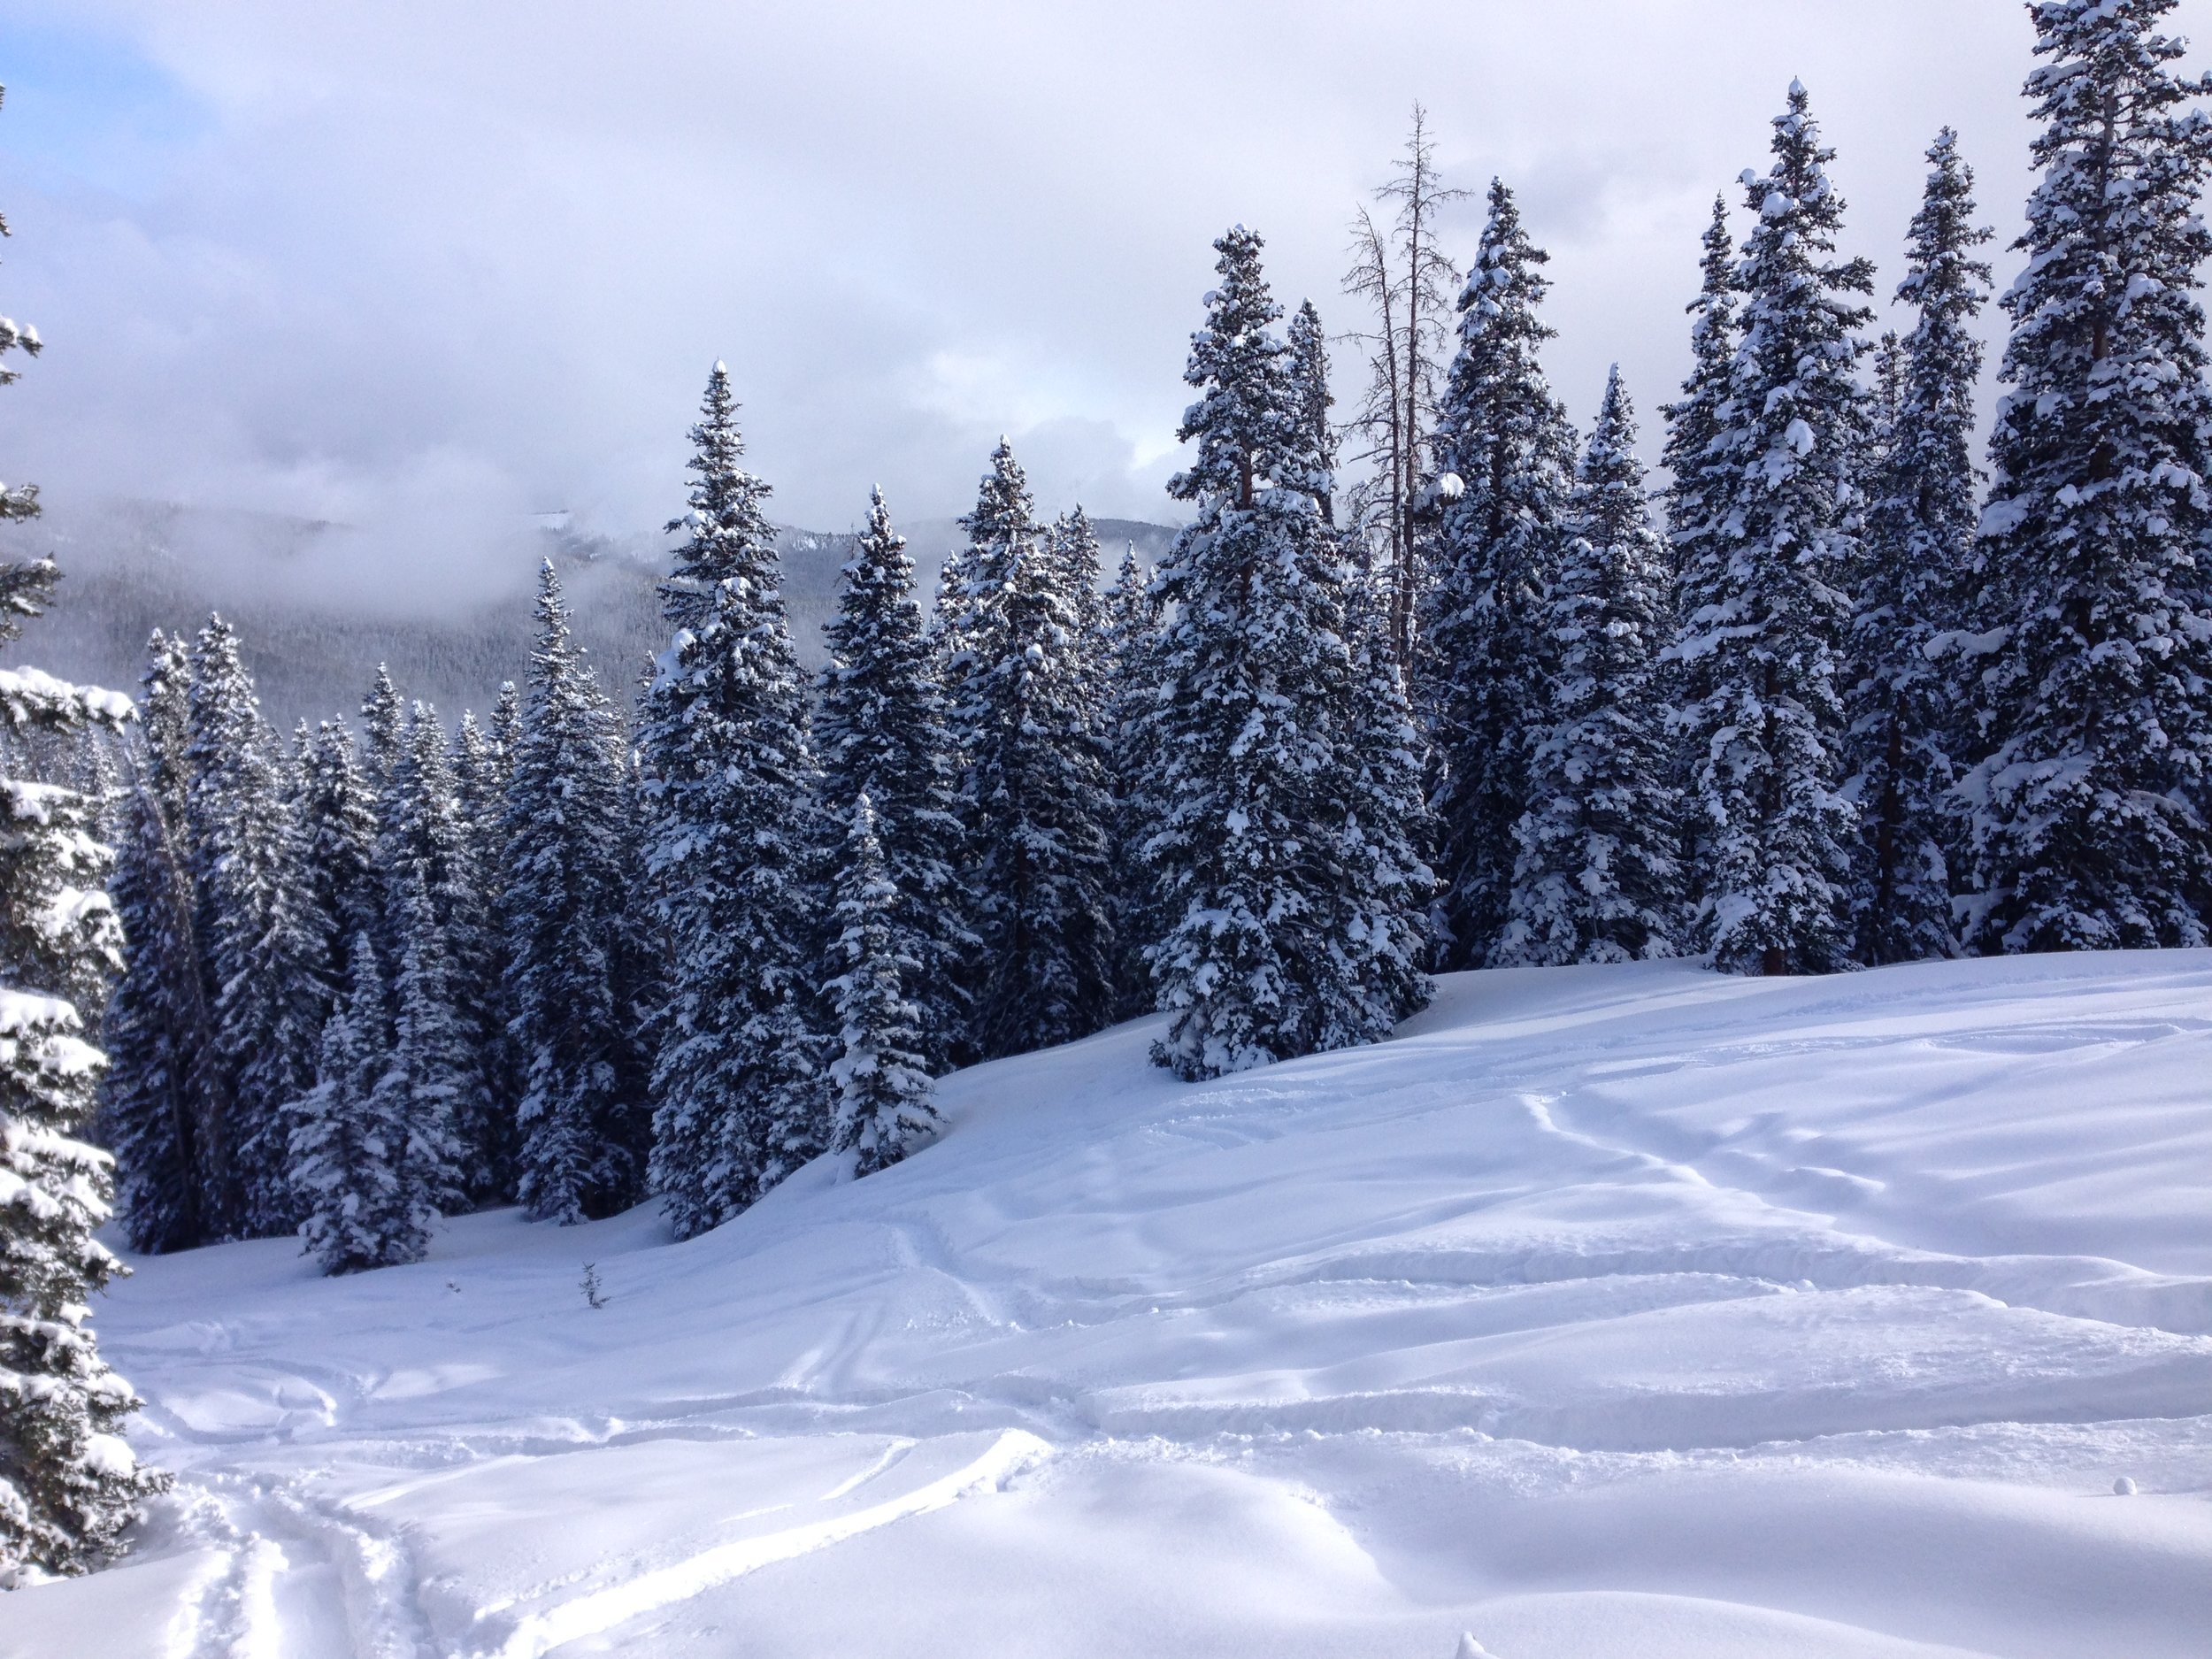
So one of the glorious perks of living in Colorful Colorado is winter backpacking to the amazing 10th Mountain Division Huts. I had the privledge of hiking 4.8 miles through White River National Forest to McNamera Hut. It's basically a quintessential cabin in the woods, complete with wood burning stove, wood burning oven, and outhouse. We make our own water (using the wood burning stove), and sleep in bunk rooms fitted with comfortable pads and pillows (or at least they feel comfortable after a day of touring).
Because of these amenities, there's no need to carry sleeping pads, tents, or kitchen gear on this trip. These are replaced with avalanche gear (shovel, probe, and beacon), skis, and some extra booze.
Packing
As you can see above, I have my clothes (to pack and to wear while hiking/skiing) sleeping bag, food, and booze. The challenge of zero waste backpacking is bringing your food in containers. Many backpackers use ziplock baggies and/or dehydrated foods like Mountain House meals. While these are light weight and convenient, they produce quite a bit of plastic waste which, ironically, will eventually pollute the beautiful natural places which we are packing into.
Giving up the convenience of dehydrated meals does mean slightly more weight, and some heavier containers. While I love my glass jars and steel canisters, they aren't so fantastic for backpacking simply because of their weight. Knowing that this trip was going to happen, I started keeping plastic containers, several that I bought even before going zero waste. These totaled: two plastic coconut oil containers, two Talenti gelato containers, a cardboard tea canister, and one new almond butter. The rest were storage containers I already had.
Meal Plan:
- Day 1 (hiking in):
- Lunch: trail mix
- Dinner: broccoli-cheese fritters with brown rice
- Snacks: 1 orange, trail mix
- Day 2:
- Breakfast: Oatmeal with dried cranberries
- Lunch: pizza bagel
- Dinner: broccoli-cheese fritters with brown rice
- Snacks: apple with almond butter, trail mix
- Day 3:
- Breakfast: Oatmeal with dried cranberries
- Lunch: broccoli-cheese fritter sandwich
- Dinner: pizza bagel
- Snacks: apple with almond butter, trail mix
- Day 4 (hiking out):
- Breakfast: Oatmeal with dried cranberries
- Snacks: Trail Mix, 1 orange
Food / Container List:
- 2 Bagels - large reused plastic coconut oil container
- 1 cheese jalapeño muffin - stored with bagels
- 1 ciabatta roll - stored with bagels
- 1 cup marinara sauce - small reused plastic coconut oil container
- 1 cup shredded parmesan - small blue tupperware
- 2 Tbsp seasonings - small clear tupperware, stored with shredded cheese
- 1 cup brown rice - small reused ice cream container
- 2 Tbsp honey - small squeeze container
- 8 teabags - cardboard tea canister
- 2 sticks of butter - homemade beeswax cloth
- 15 broccoli cheese fritters - large reused ice cream container
- 1 small container almond butter - original packaging
- 3 oranges (ate one before the hike)
- 2 apples
- 2 cups of dried oatmeal with dried cranberries mixed in - cotton bag
- 1.5 lbs trail mix - cotton bag
- 1 waterbottle full of whiskey
- 2 cans of beer
My pack totaled 38 lbs once I added a full 2 L CamelBak and 64 oz KleanKanteen bottle, which is the lightest I think I've ever packed with!
Waste
This is the 4 grams worth of trash that I produced on this four day trip, that's less than 0.01 lb! I'm feeling pretty good about that for my first backpacking venture.
My waste included:
- Plastic label from my almond butter
- Plastic lid lining to my almond butter
- 4 fruit stickers
- Plastic from around one of the ice cream containers
- the plastic covering of the whisky bottle top
Now that I have plastic containers that work for backpacking, I'm just going to hold onto them for that purpose. I also made the mistake of buying almond butter in a small plastic container, thinking this would work well. I should have bought almond butter in a jar as normal and then transferred it into a plastic container. Now I know!
why
As with many in the zero waste community, I have chosen this path because the planet and our environment are top priorities in my life. I love being outdoors and in the wild. The time I spend in these magical places helps me affirm that as a society we need to make a monumental effort to continue to protect them.
One of the steps we can take toward protecting these spellbinding places is to reduce our waste, particularly plastic.
So if you are someone who cherishes the outdoors and who values our natural world, take some small steps to reduce your waste footprint, especially while you are out enjoying what nature has to offer.
“Do not go where the path may lead, go instead where there is no path and leave a trail.”
