Personal Care

Easy DIY Lip Balm

Living in high and dry Colorado can really do a number on lips and skin.  I tend to use a lot of lip balm and have been able to get by with what I already had on hand up until recently, I've just started to run low so have started making my own, and its super easy!

Ingredients

  1. 1 part grated beeswax
  2. 2 parts coconut oil
  3. 2 parts shea or coco butter
  4. 15-20 drops of essential oil of choice (optional)
    • I used lavender
  5. 1 pinch dried flowers of choice (optional)
    • these are really more for aesthetics than anything else but they should continue 

Instructions

  1. pour about an inch of water into a pan
  2. place a small glass jar into the pan and set stove heat to medium
  3. once warm, add beeswax, coconut oil, and shea/coco butter
  4. once all components are melted add in the essential oil
  5. Pour into reusable jars and let cool completely (1-2 hours) before using

And that's it! Enjoy your new, non-toxic, homemade lip balm!

Shampoo Bars

Meet the newest addition to my shower: a jumping juniper shampoo bar from LUSH!

So far, my attempts at a homemade, color-friendly shampoo for my newly dyed hair haven't gone quite according to plan. So, I needed something that could keep my hair from looking like a grease ball.  It's worked great so far, my hair looks awesome (oil free) and still has it's mermaid colors.  


The girl who helped me at the store was super nice and directed me to a bar that was good for color and for my hair type. When I told her I didn't want packaging, She let me put the bar right in the tin.  As I was checking out and she even said to me "oh I won't staple your receipts then because that's waste, right?" Thank you awesome, awesome LUSH employee for actually listening and giving a damn about your customers!

I'll update on how long the bar lasts and how my color does over the next month or so!

Update: Aug 27, 2017

DSC_0059.JPG

Well, I finally used up my Jumping Juniper shampoo bar! That sucker lasted WAY longer than I expected, a full 5 months! I think this makes shampoo bars one of the most cost effective hair care methods, though I'll have to crunch the numbers later.

I was really impressed with how well my dyed hair retained its color with the shampoo bar. I was generally not scrubbing directly into the color, but I got lots of comments about how long it was lasting (I've never dyed my hair before so that was new to me too). 

Since I had such a great experience, I am trying out another one!  I recently purchased their Montalbano citrus bar and their sea-salt/coconut oil conditioner bar. I'm loving them, too! The solid conditioner does a great job of moisturizing without making my hair greasy. I'd say these are an excellent addition to any zero waste bathroom!

More updates to follow.


DIY Vanilla Lavender Bath Bombs

DSC_0021.jpg

So my cousin, aka my best friend, LOVES Lush's bath bombs.  And to be fair, I am a huge fan of lush and the products they put out. However, I figured I could make these on my own.  And with Galentine's day coming up (February 13th!) I knew I had to make a zero waste treat for my girlfriends!

Ingredients:

  • 1 cup Baking Soda
  • 1/2 cup Citric Acid
    • Citric acid is a weak acid that naturally occurs in citric fruits.  It is responsible for the fizzing of the bath bomb. I bought mine in the bulk spice section at Sprouts.
  • 1/2 cup Epsom Salt or table salt
  • 2 teaspoons olive oil or sweet almond oil
  • 2 teaspoons witch hazel or water
  • 1 teaspoon vanilla extract or water
  • 20-30 drops lavender essential oil
    • You can use whatever essential oils you want, I just like lavender because of its calming/ soothing scent
  • 1-2 teaspoons dried lavender buds (optional)
    • you can either add these in with the dry ingredients or sprinkle on the bottom of your mold before you start and they will come out on top of the bath bomb
  • Some sort of mold: silicone molds, ice cube trays, cupcake tins, etc.
    • if using a tray or pan, grease with oil before hand (not butter)

Instructions:

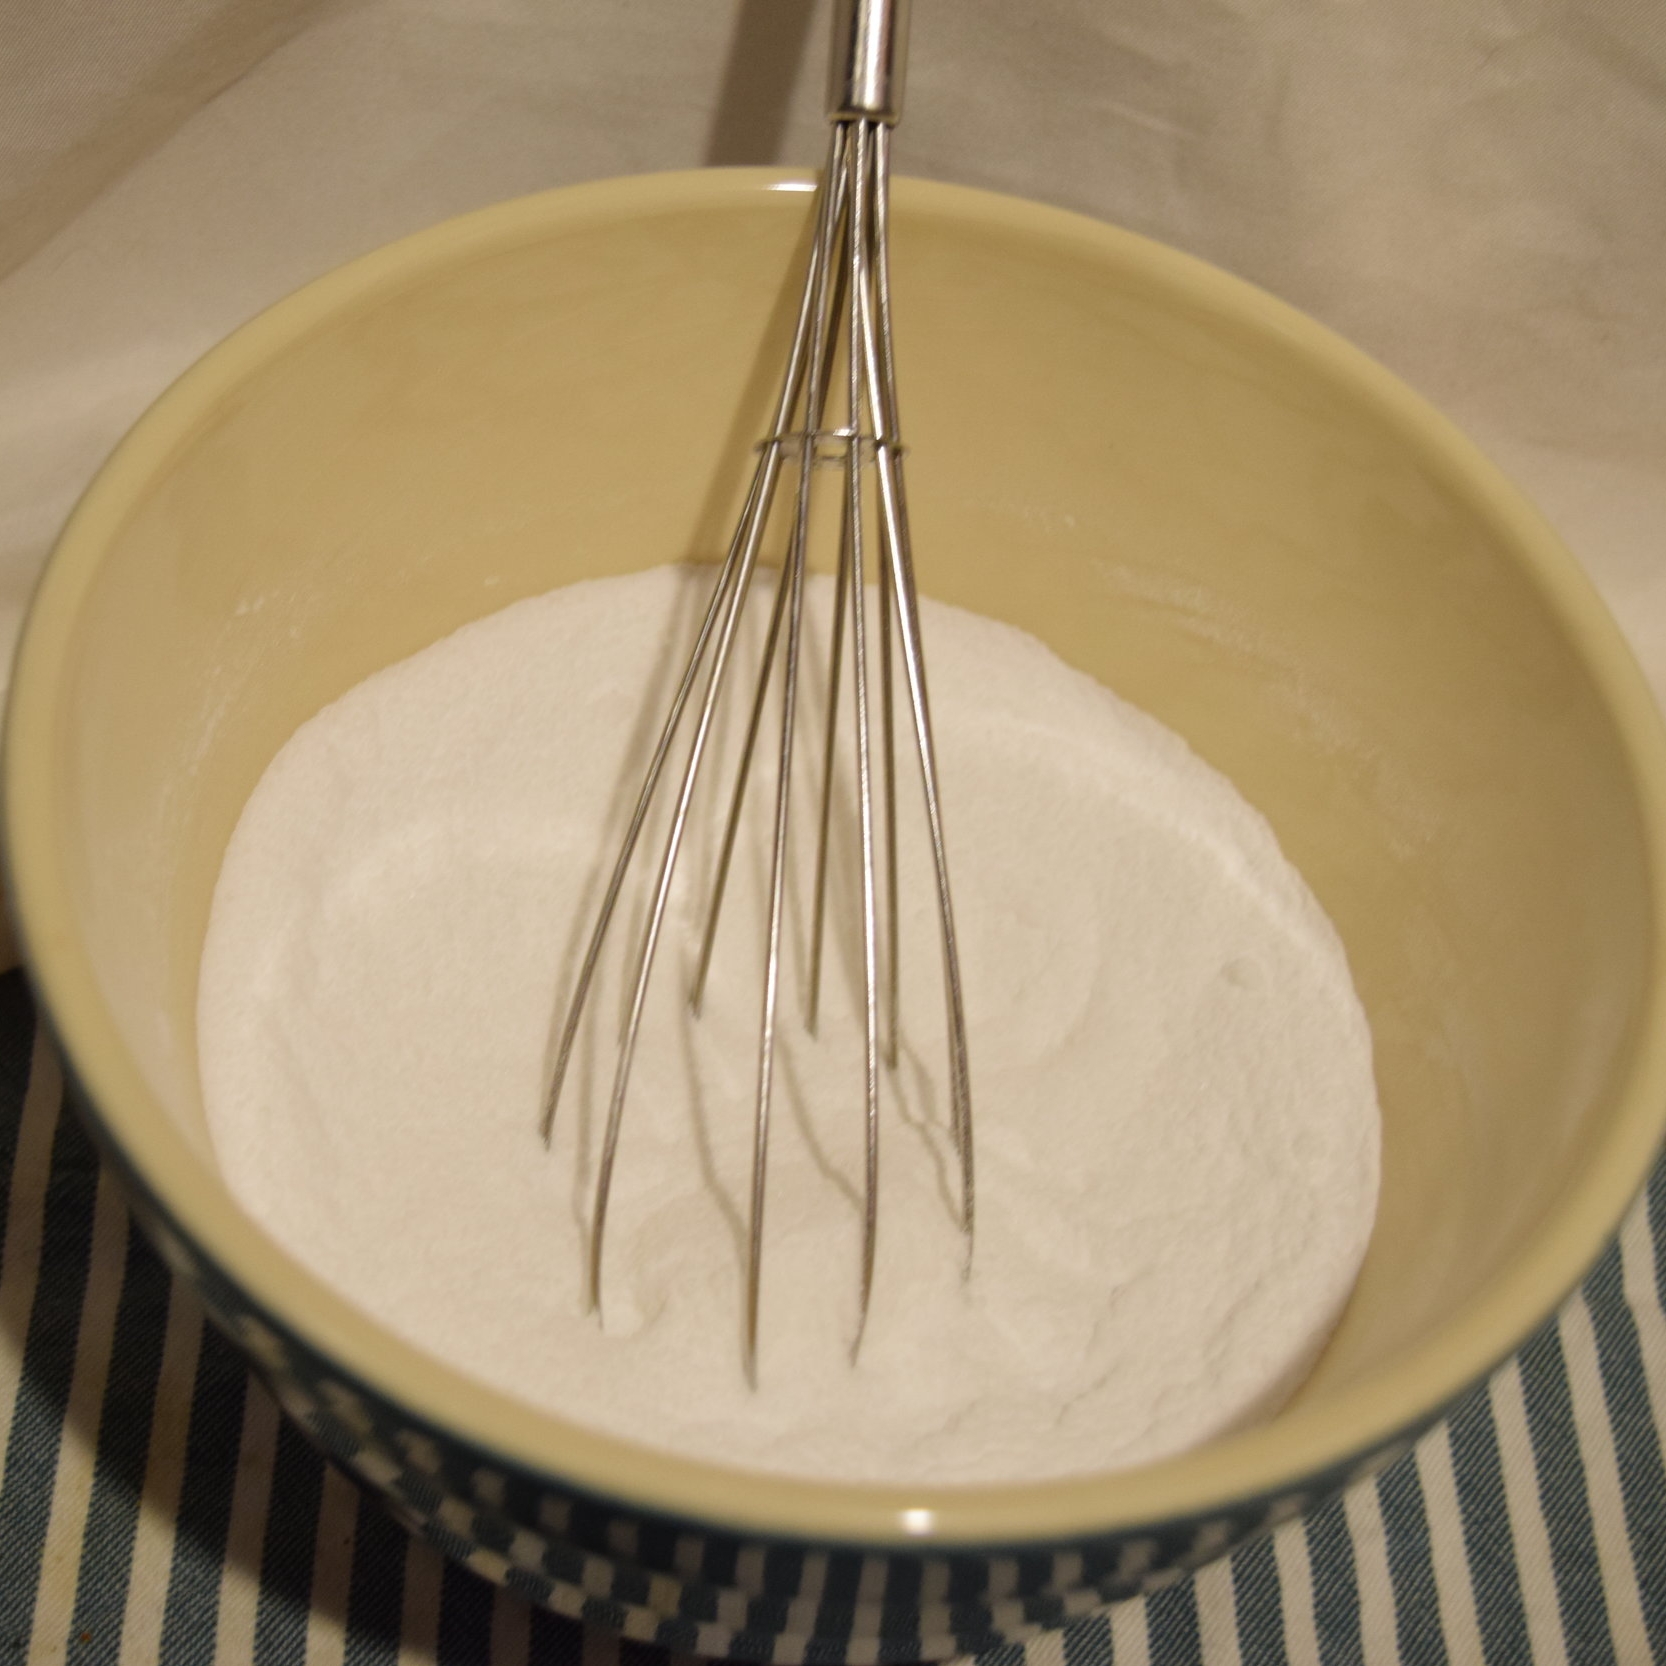
  1. Combine dy ingredients (baking soda, citric acid, and epsom salt, lavender buds) into a bowl and whisk together
  2. In a separate bowl, combine the wet ingredients (olive oil, witch hazel, vanilla extract, essential oil) and whisk until will mixed
  3. Pour the wet ingredients into the dry ones and very quickly mix with your hands.
  4. At this point the mixture should hold together when you squeeze it. If it doesn't, add some more witch hazel or spritz with water.
  5. Press the mixture firmly into your molds and let it sit out for 24-48 hours or until hardened (48 hours is better)
    1. These will continue to puff up over the course of the next few hours (it will look like you have little white muffins), just press them down with your fingers when they do!
  6. Once removed, store in airtight container and use within 2 months!

To use:  Place into your warm bath as you get in it and enjoy the fizzy, vanilla-lavender glory!