Home

DIY Backyard Compost Bin

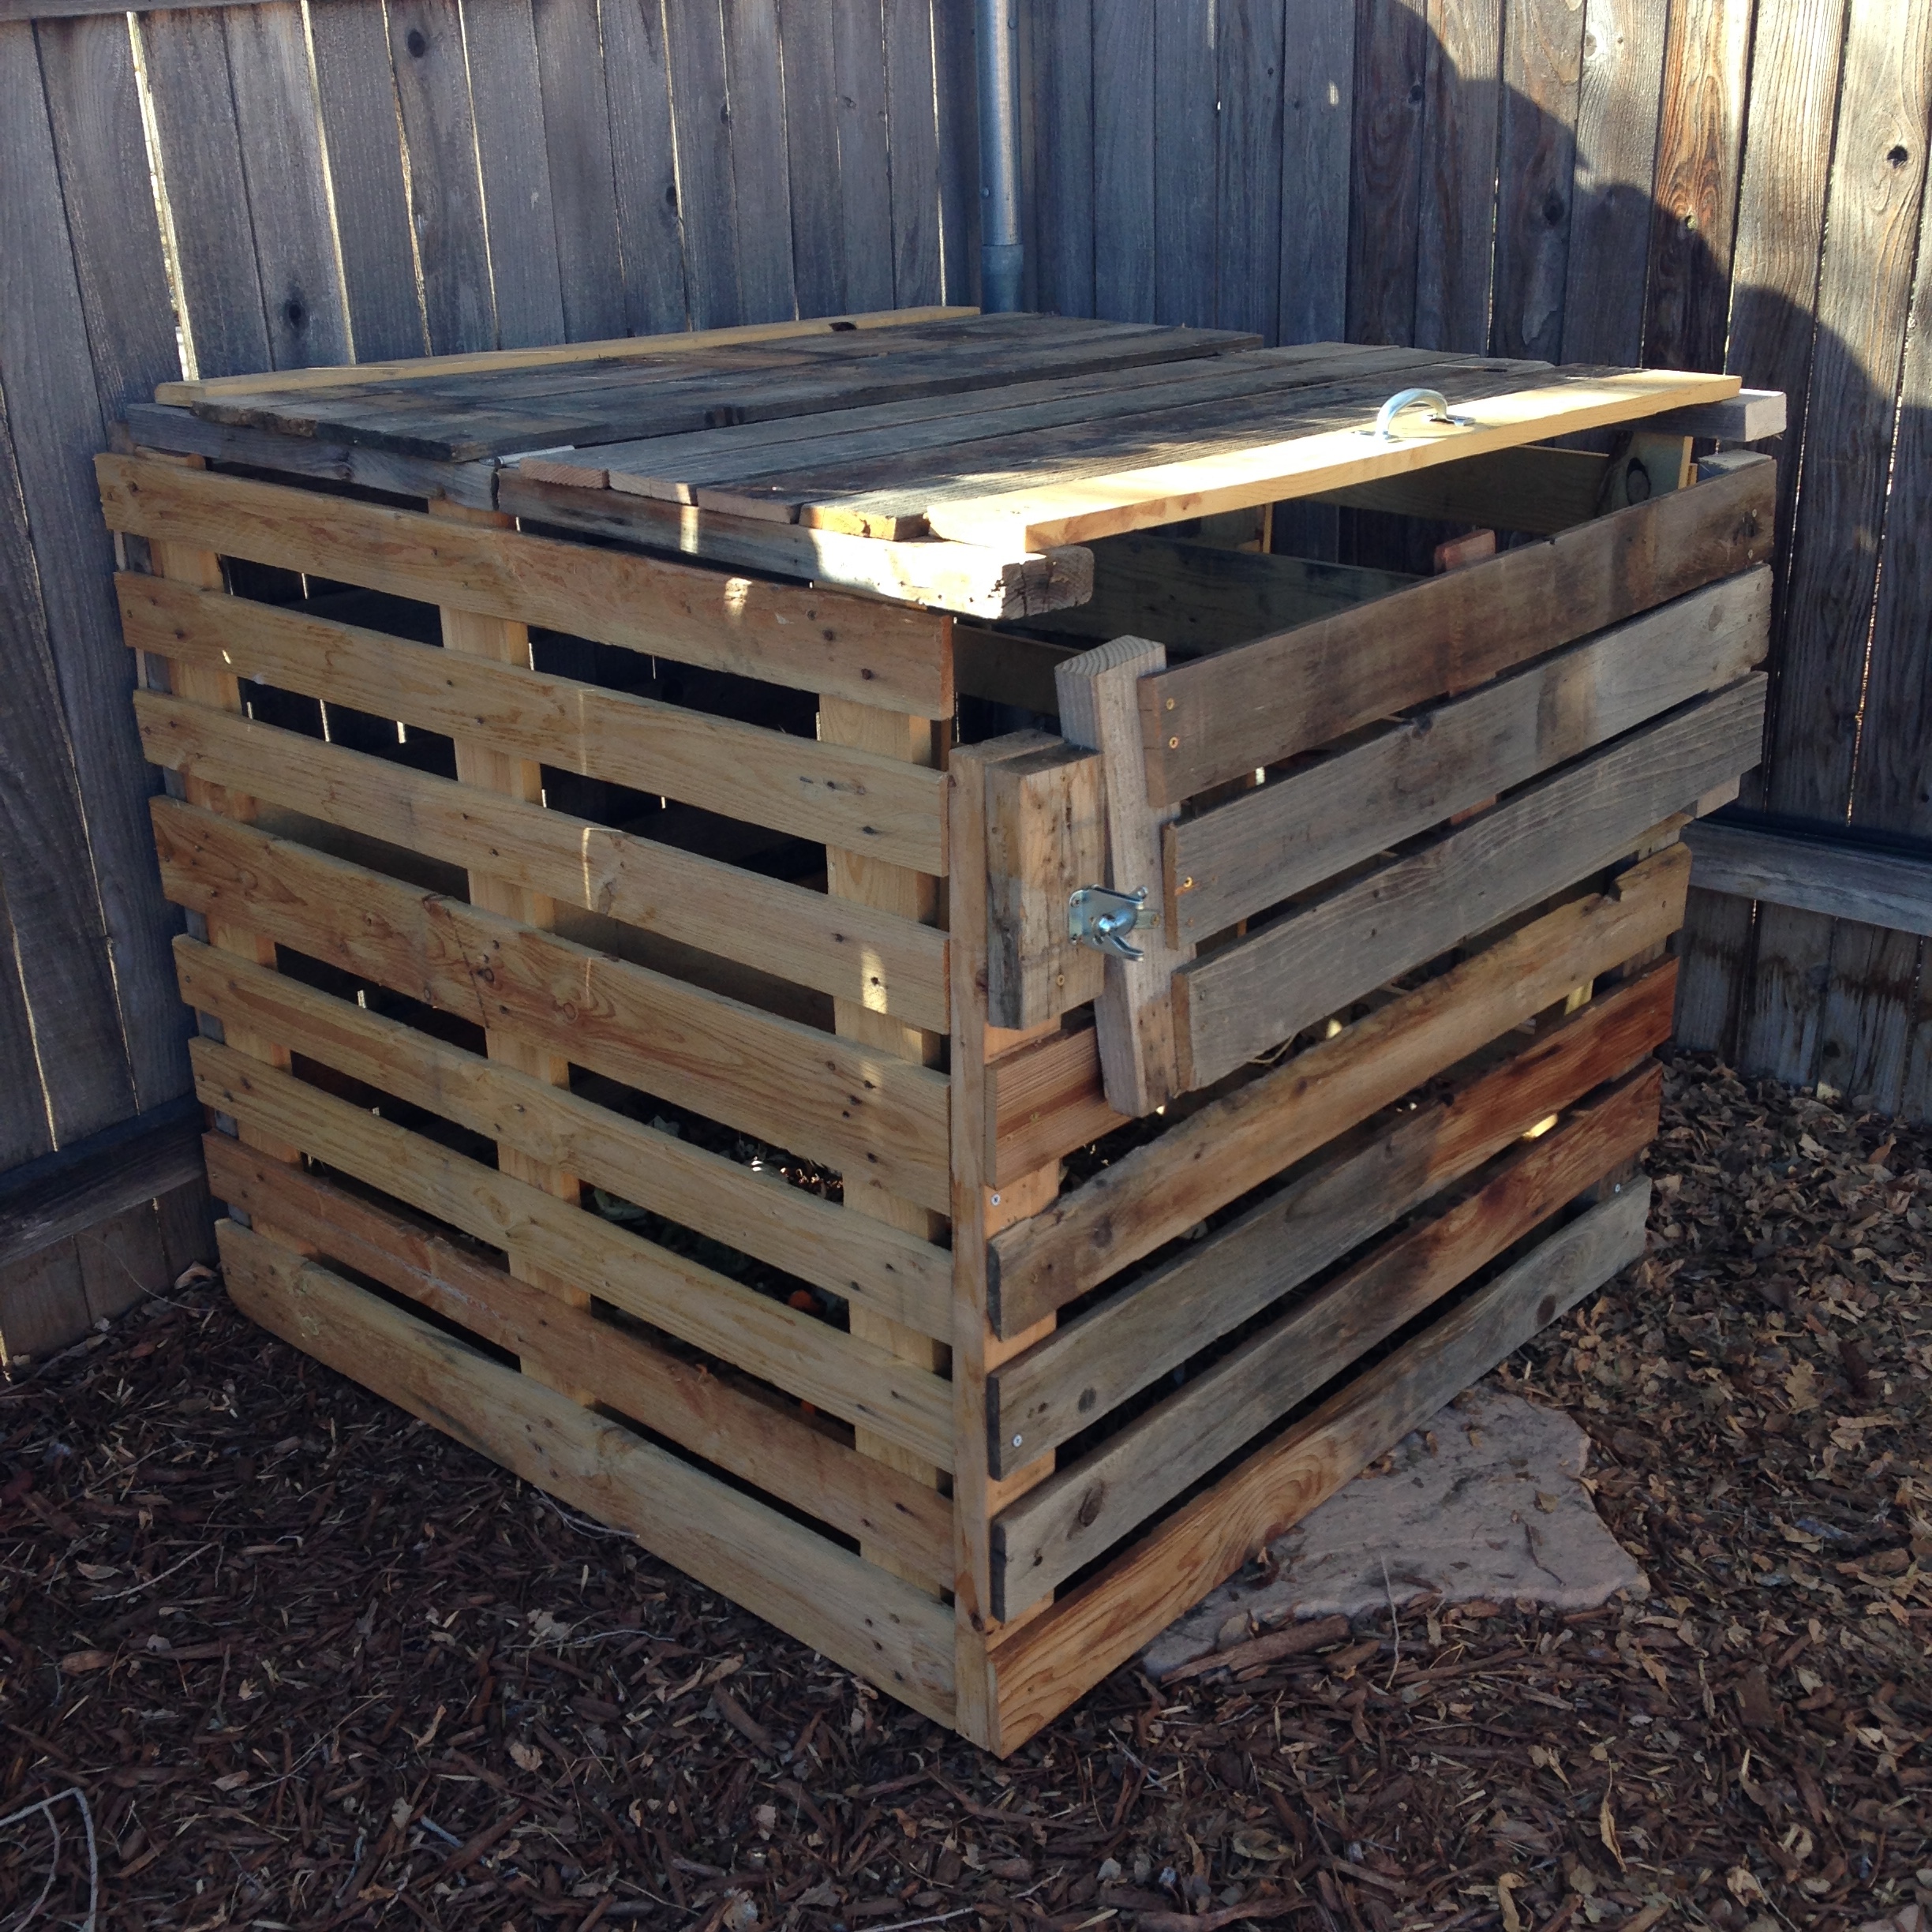
I am so extremely excited about this, my friends. I've been wanting to build myself a compost bin for years now!  Finally in November I moved into a house where I could feasible have one in the backyard.  But with moving and the holidays, etc. I just didn't get it done.

However, on Thursday I spent basically the whole day working on this, and I'm super happy with the way it came out. 

Materials

Wood: I was able to use two pallets that my roommate picked up for free from a local brewery, along with a bunch of old fence planks we had from re-doing the fence. This means that all of my wood was free!

If you don't have spare wood handy, you could definitely do this with 4-5 pallets, ideally all the same size.

Hardware

  1. 2 inch and 4 inch screws
  2. 3 Hinges
  3. 1 metal handle 
  4. 1 fence latch

Tools

  1. Hammer
  2. Drill with appropriate bits
  3. Skill saw*
  4. Miter Saw*

* You could do this project without the saws if you found pallets that were all the same size. Because I was working with many different sizes of wood, the saws were definitely needed!

Execution

I based my design off of This Old House's DIY Compost Bin, and really enjoyed it. Their design was easy to understand, had awesome diagrams, and I could adjust from it pretty simply (I used different measurements).

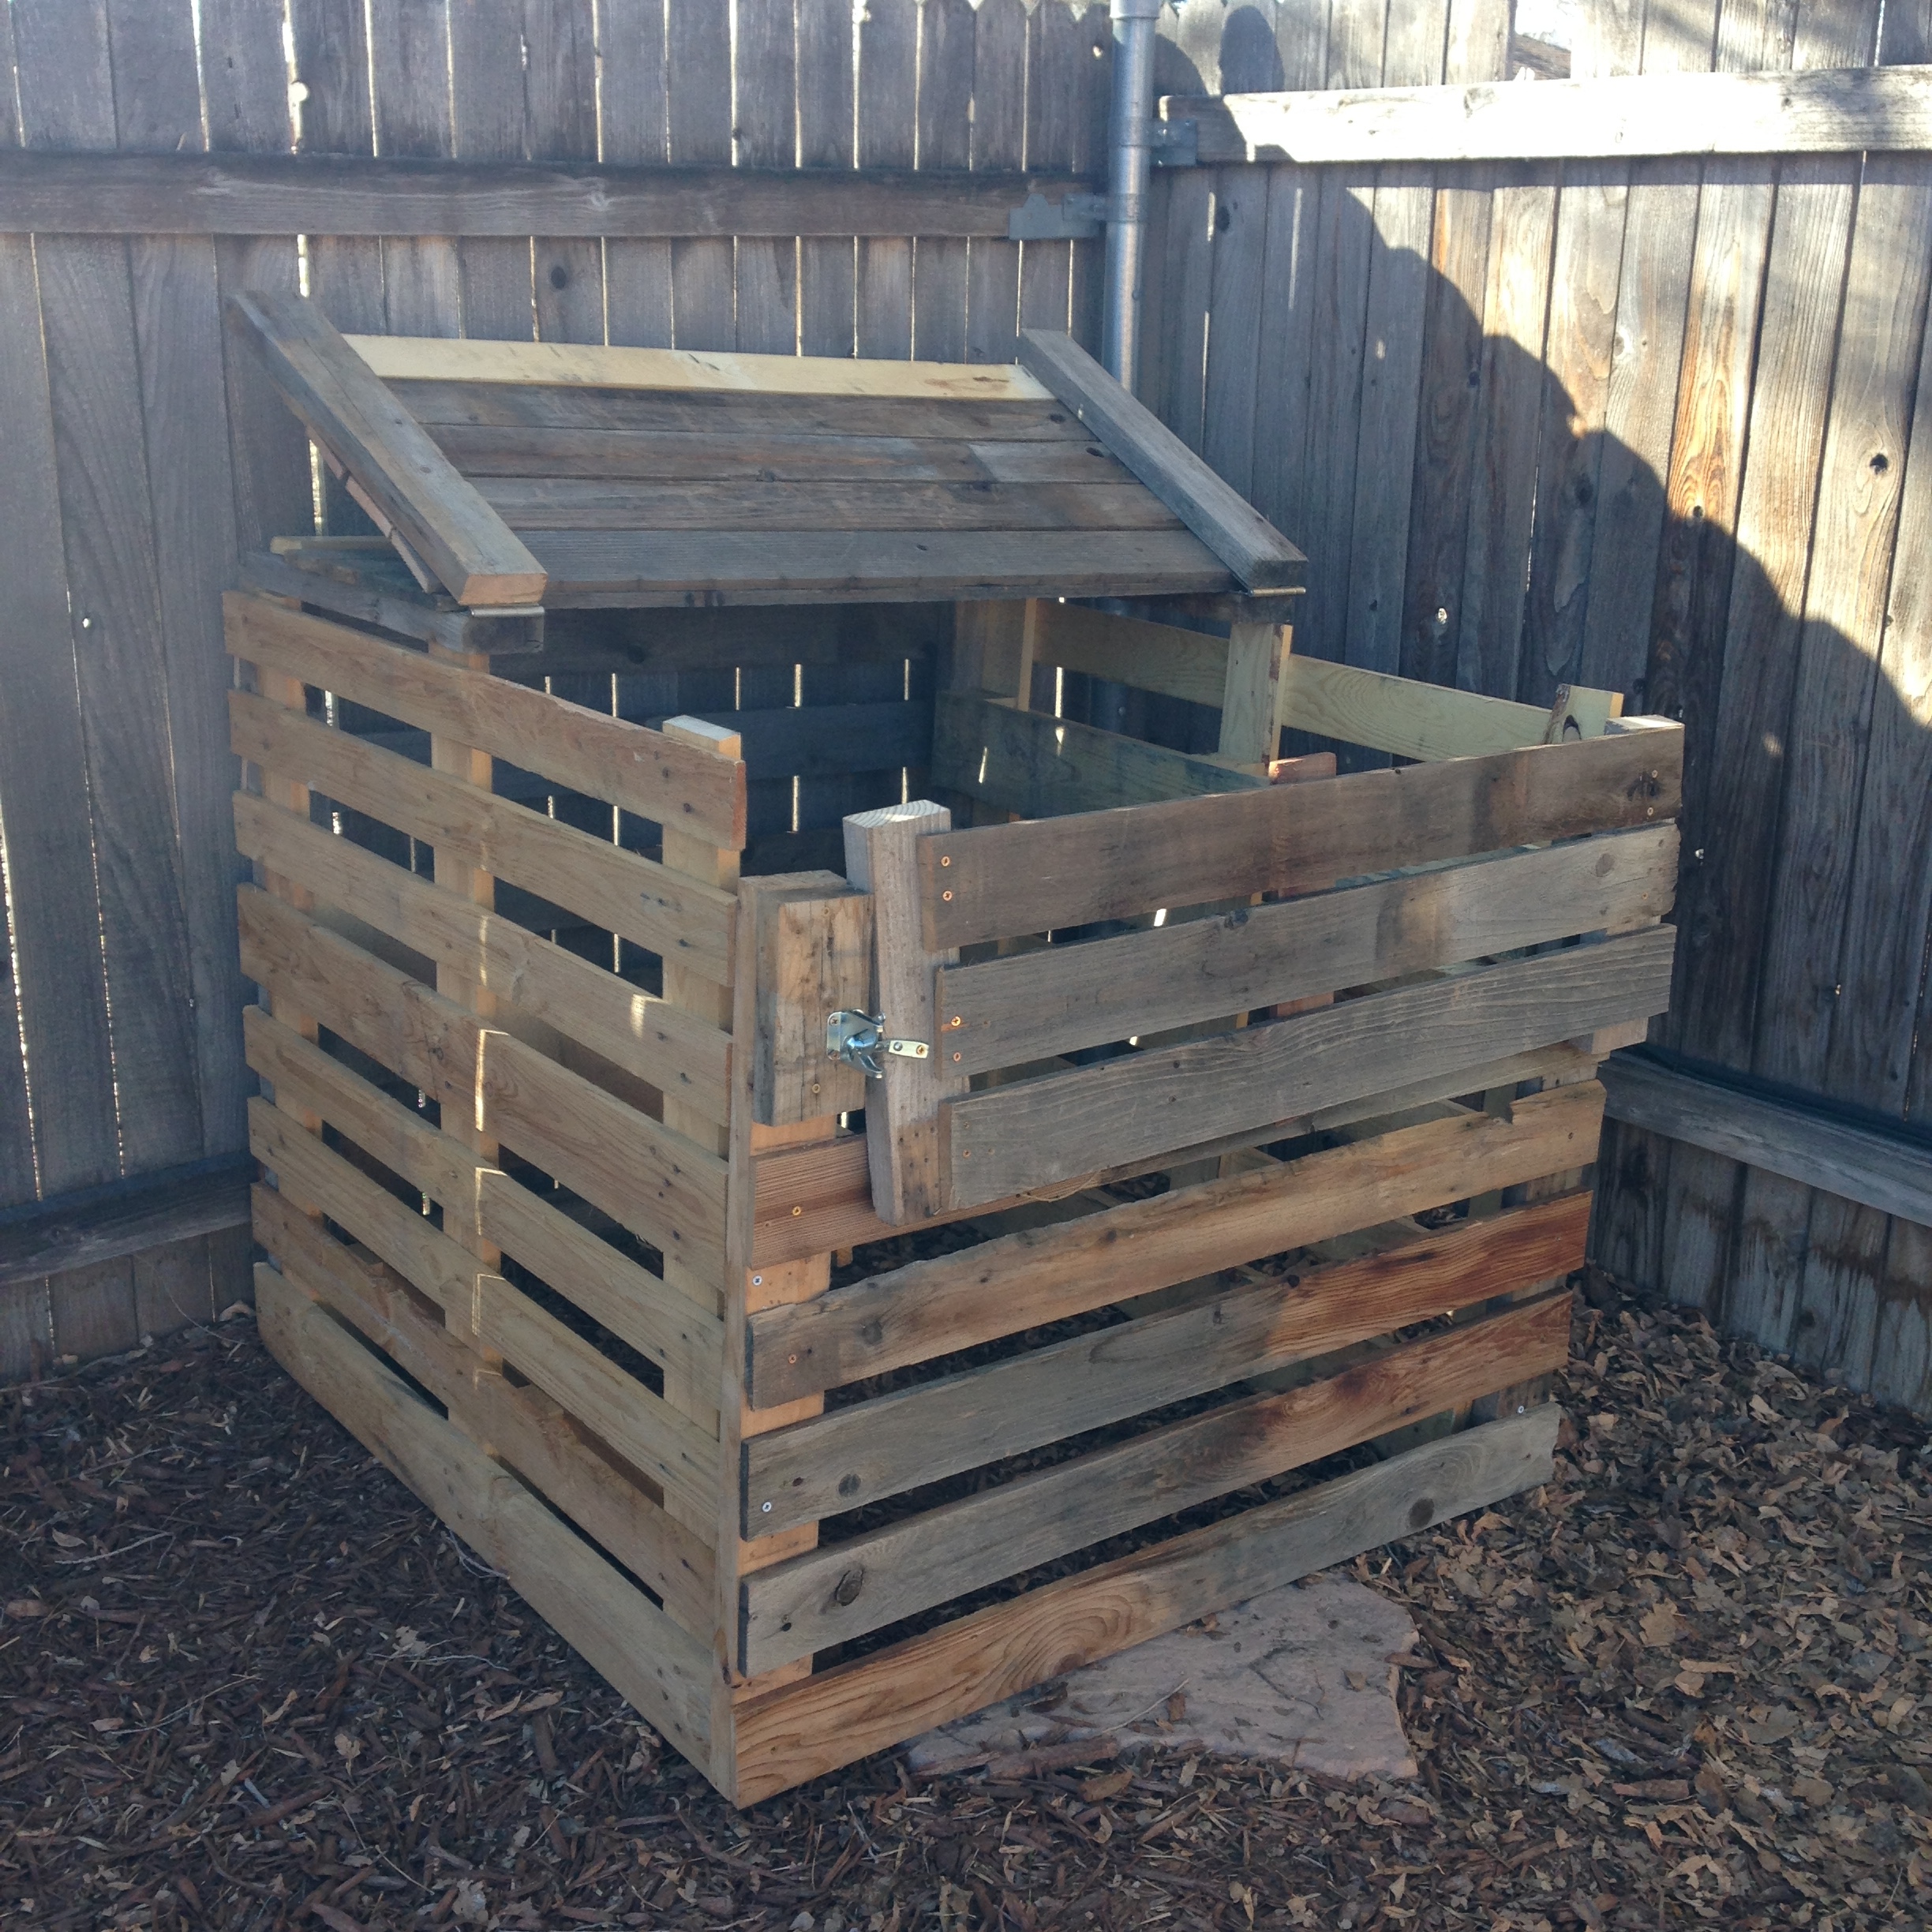
Instead of having a slid-in-slide-out top segment, I made mine hinged. Either way works totally fine!

1. I started out with two sturdy but different sized pallets.

2. I partially broke down and then resized the pallets so that they were both 36" high. I kept their original width of 46" and left the "inner workings"for some extra stability.  This gave me 2 out of 4 sides

3. I made one more 36"x 46" side using two vertical planks (36") and six horizontal ones (46").

4. I brought these three sides to the location where I wanted to assemble/keep the compost bin.

5. Then I attach the three side walls at two corners.

6. Making the front involved making a fixed lower segment and a hinged top segment.

7. For the fixed lower portion I made a 25"x"46" wall just like I made the sides (only shorter), by attaching 5 horizontal planks to two vertical ones. 

5. I attached this to the empty front portion of the bin.

6. Then, I measured to determine the dimensions of my hinged segment (14" tall x 41" wide)

7.  Made hinged section using three vertical planks and three horizontal.

8.  Attached hinge and latch.

9. To make the lid I needed two segments each 23"x46" so I could attach them with a hinge in the middle.

10. I attached these using two hinges, one on each side, and added a handle for easy opening and closing.

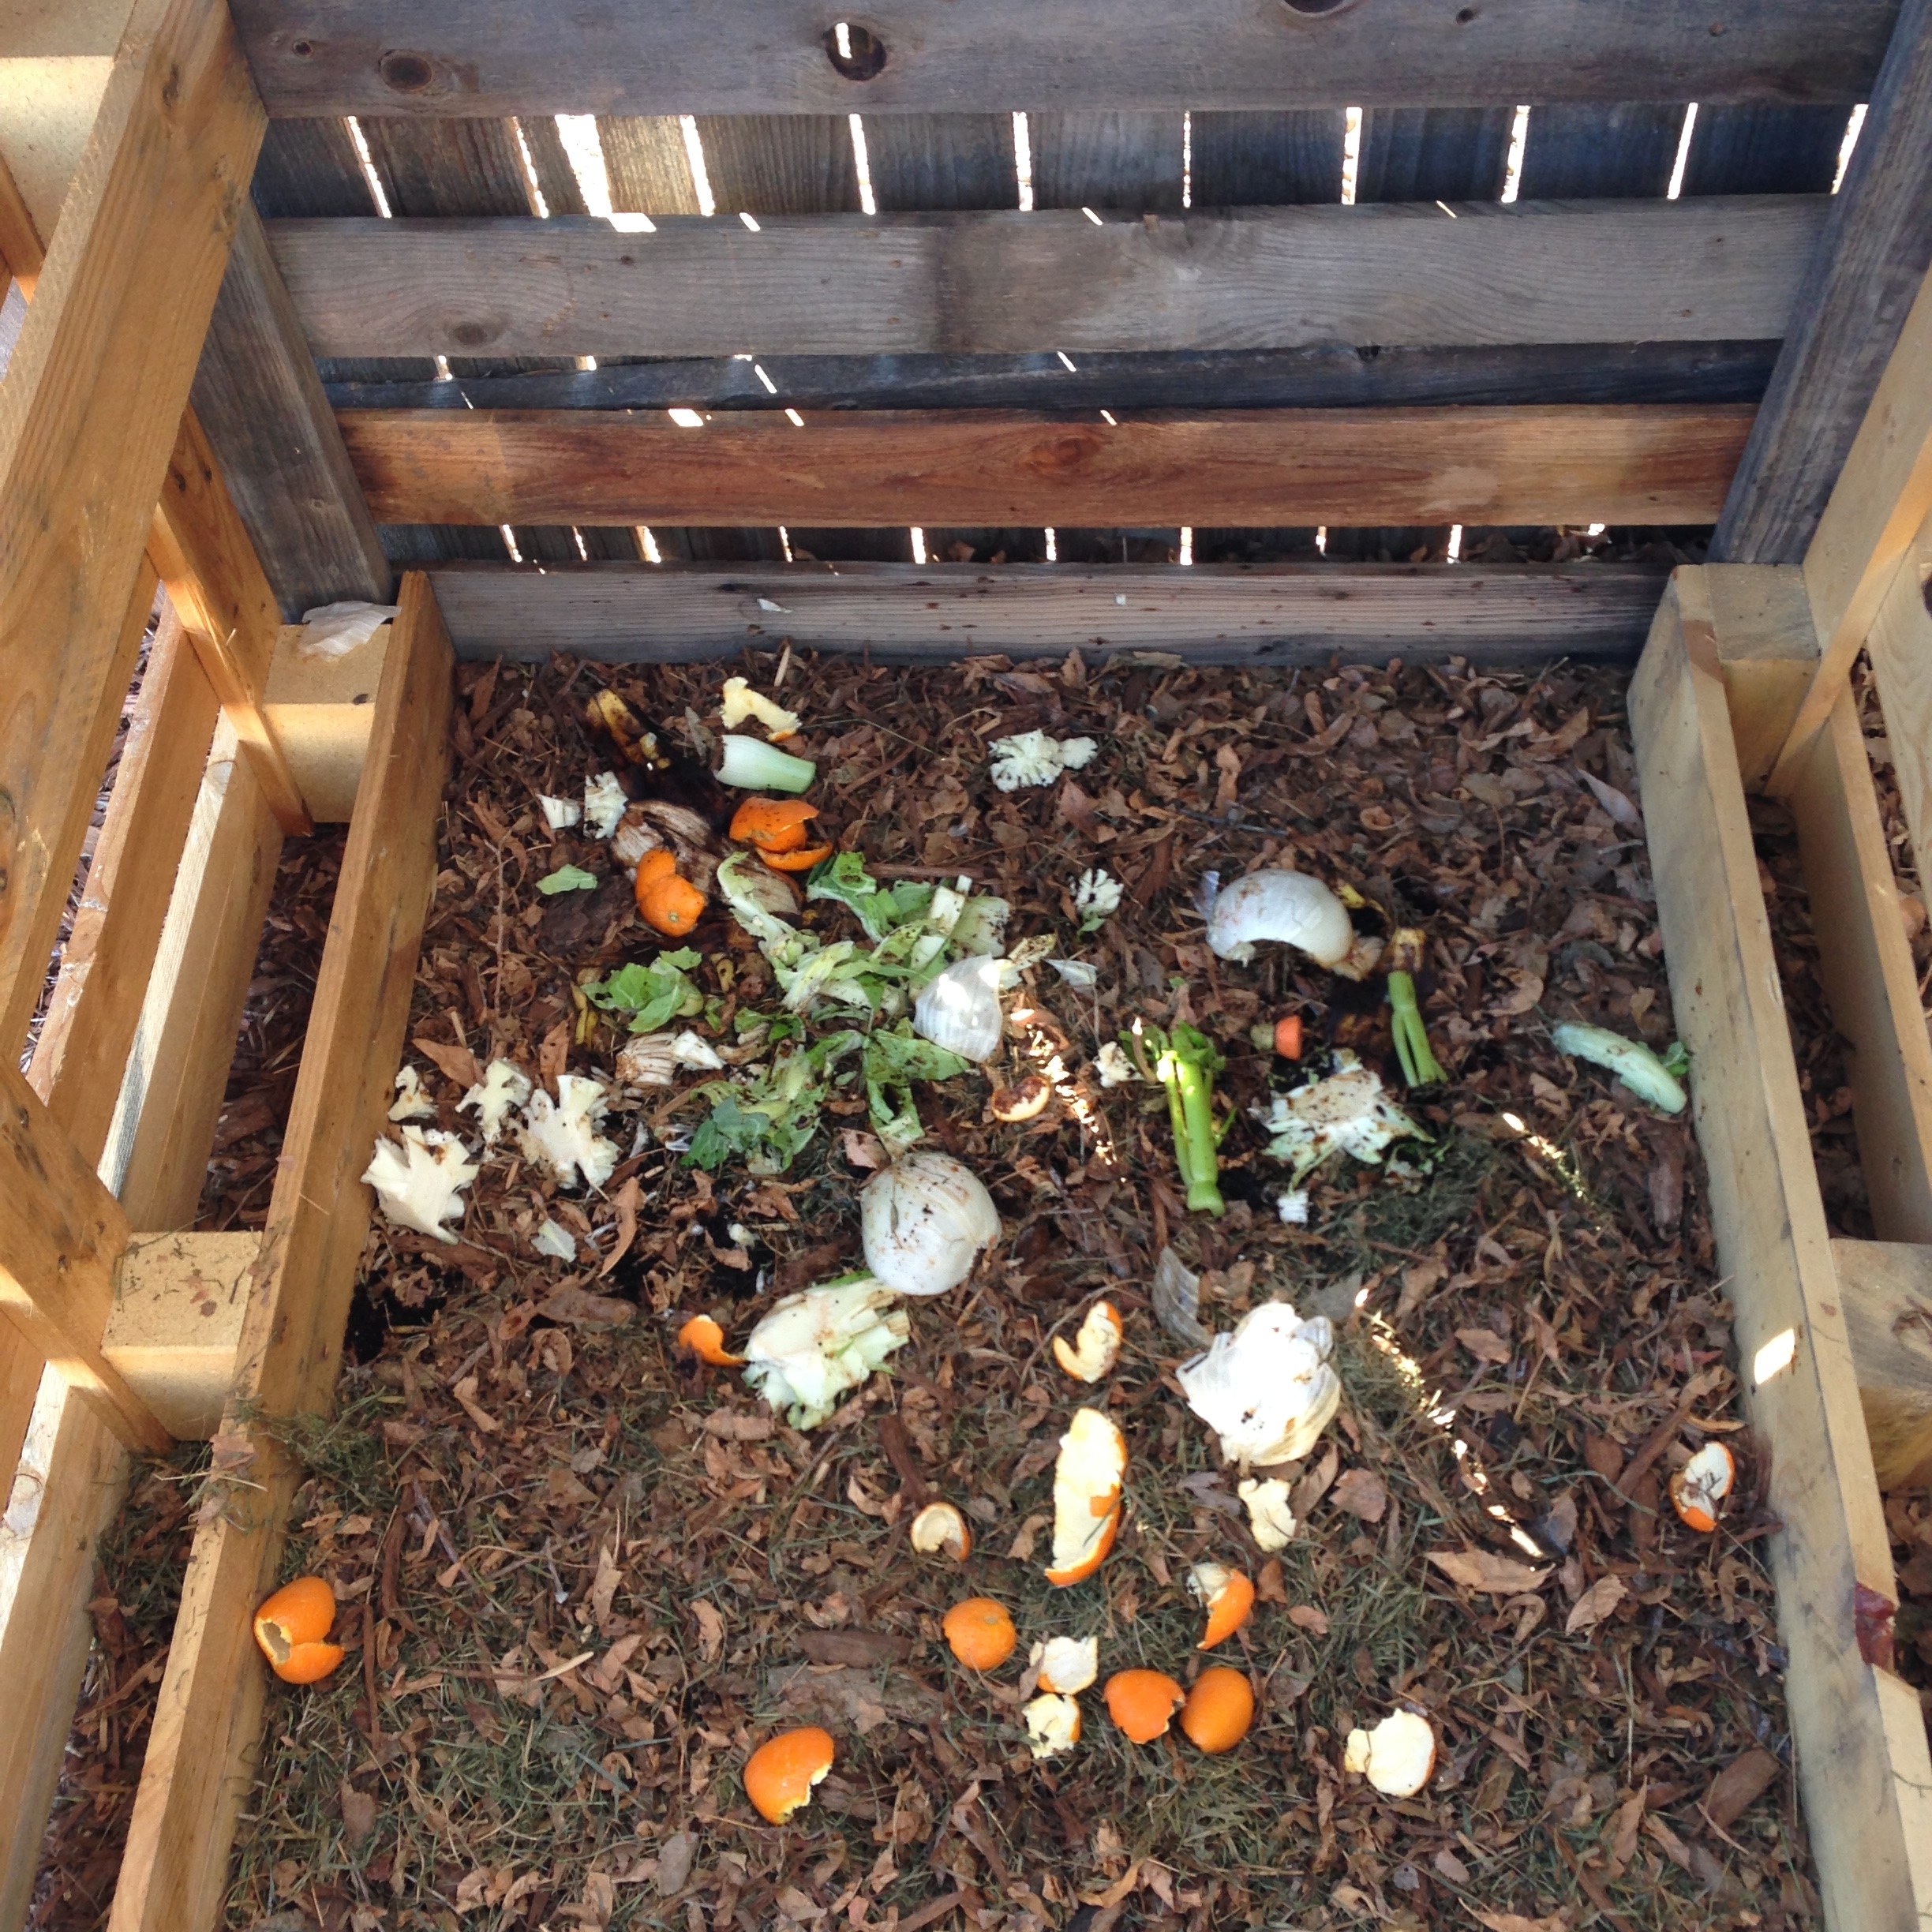
And that was it! Once I was done I threw in some dead leaves and lawn clippings we still had in a pile from fall.  Then in goes the rest of our stuff! I'll do another post in the future about how to compost correctly.

To be frank this project took me a while as I sort of fumbled my way through re-designing and re-doing several steps.  I'd say it took about 5 hours total, but if I had planned and prepped better it could have been about 3 instead.

Cost

Okay, so you're average retail compost bin will cost you between about $50.00-$150.00. A comparable bin to the one I made would be minimally $100.  

My materials and cost was:

  • Wood: $0.00
  • Screws: $10.00 (for 1 lb, I did not use them all)
  • Hinges x 3: $8.00
  • Handle x 1: $3.50 
  • Latches x 1: $4.00

Total Cost: $25.50

Alternate Options

If you are interested in building you're own compost bin and have a backyard to do so, these designs are also awesome:

  1. How to build a compost bin from pallets
  2. How to build a compost bin from cedar lattices 
  3. Easy, square, wood and wire compost bin
  4. Simple wood and wire compost bin

If you are interested in composting but do not have the backyard to do so, here are some indoor composting options:

  1. Under the sink
  2. Retail option

3 Ingredient Laundry Detergent

Right now I have this giant container of laundry detergent that I bought because it is supposed to be eco-friendly and non-toxic.  While I believe it's better than most of what you can buy, it was relatively expensive and as I started doing a lot more DIY body care, I figured there had to be a way to do this right. 

First off, if you don't feel like homemaking every little thing like I am attempting to do, I'm going to start suggesting awesome products that you can buy and still go zero waste or low impact!

Retail alternative: The Simply co.

If you don't want to homemake your laundry detergent but still want a better option I'd recommend The Simply Co. This company was started by Lauren Singer who runs the zero waste blog Trash is for Tossers. Her laundry detergent has 3 (or 4 if you want scented) ingredients and is awesome!

Ok, so if you are still looking to homemake your laundry detergent here's what you'll need:

Ingredients

  1. 1 box Baking soda (about 14 oz)
  2. 1 box Washing soda (about 14 oz)
  3. 1 bar castile soap (about 5 oz)

To Make

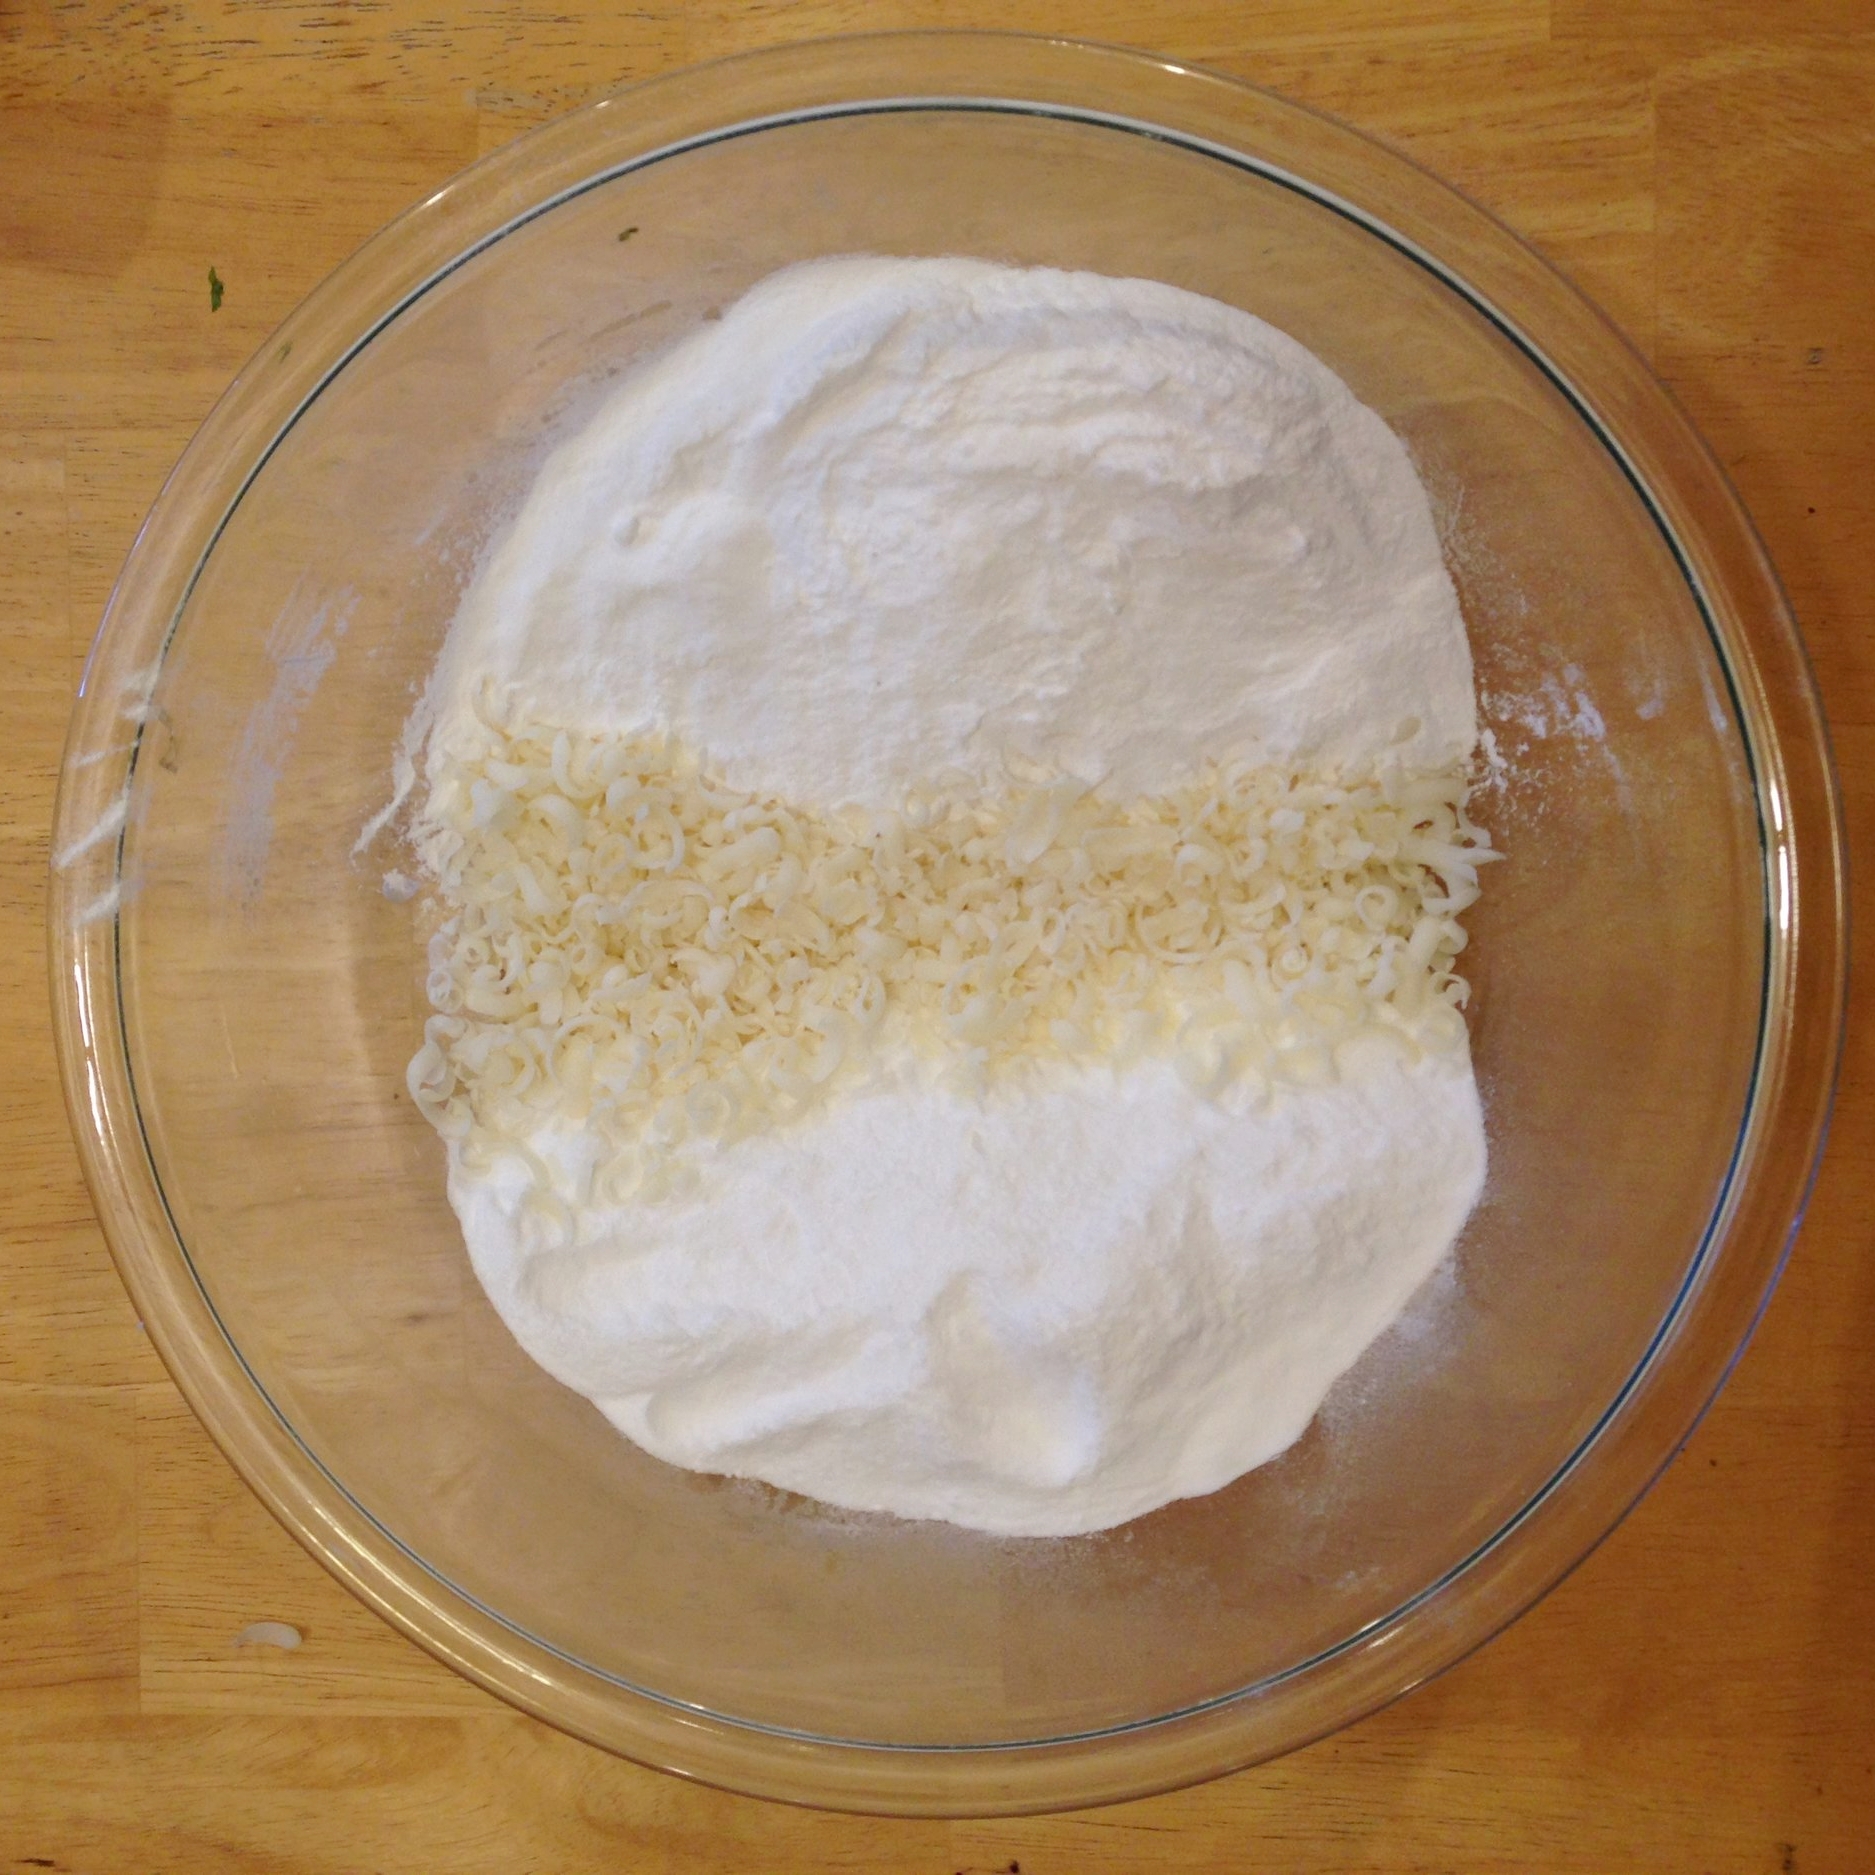
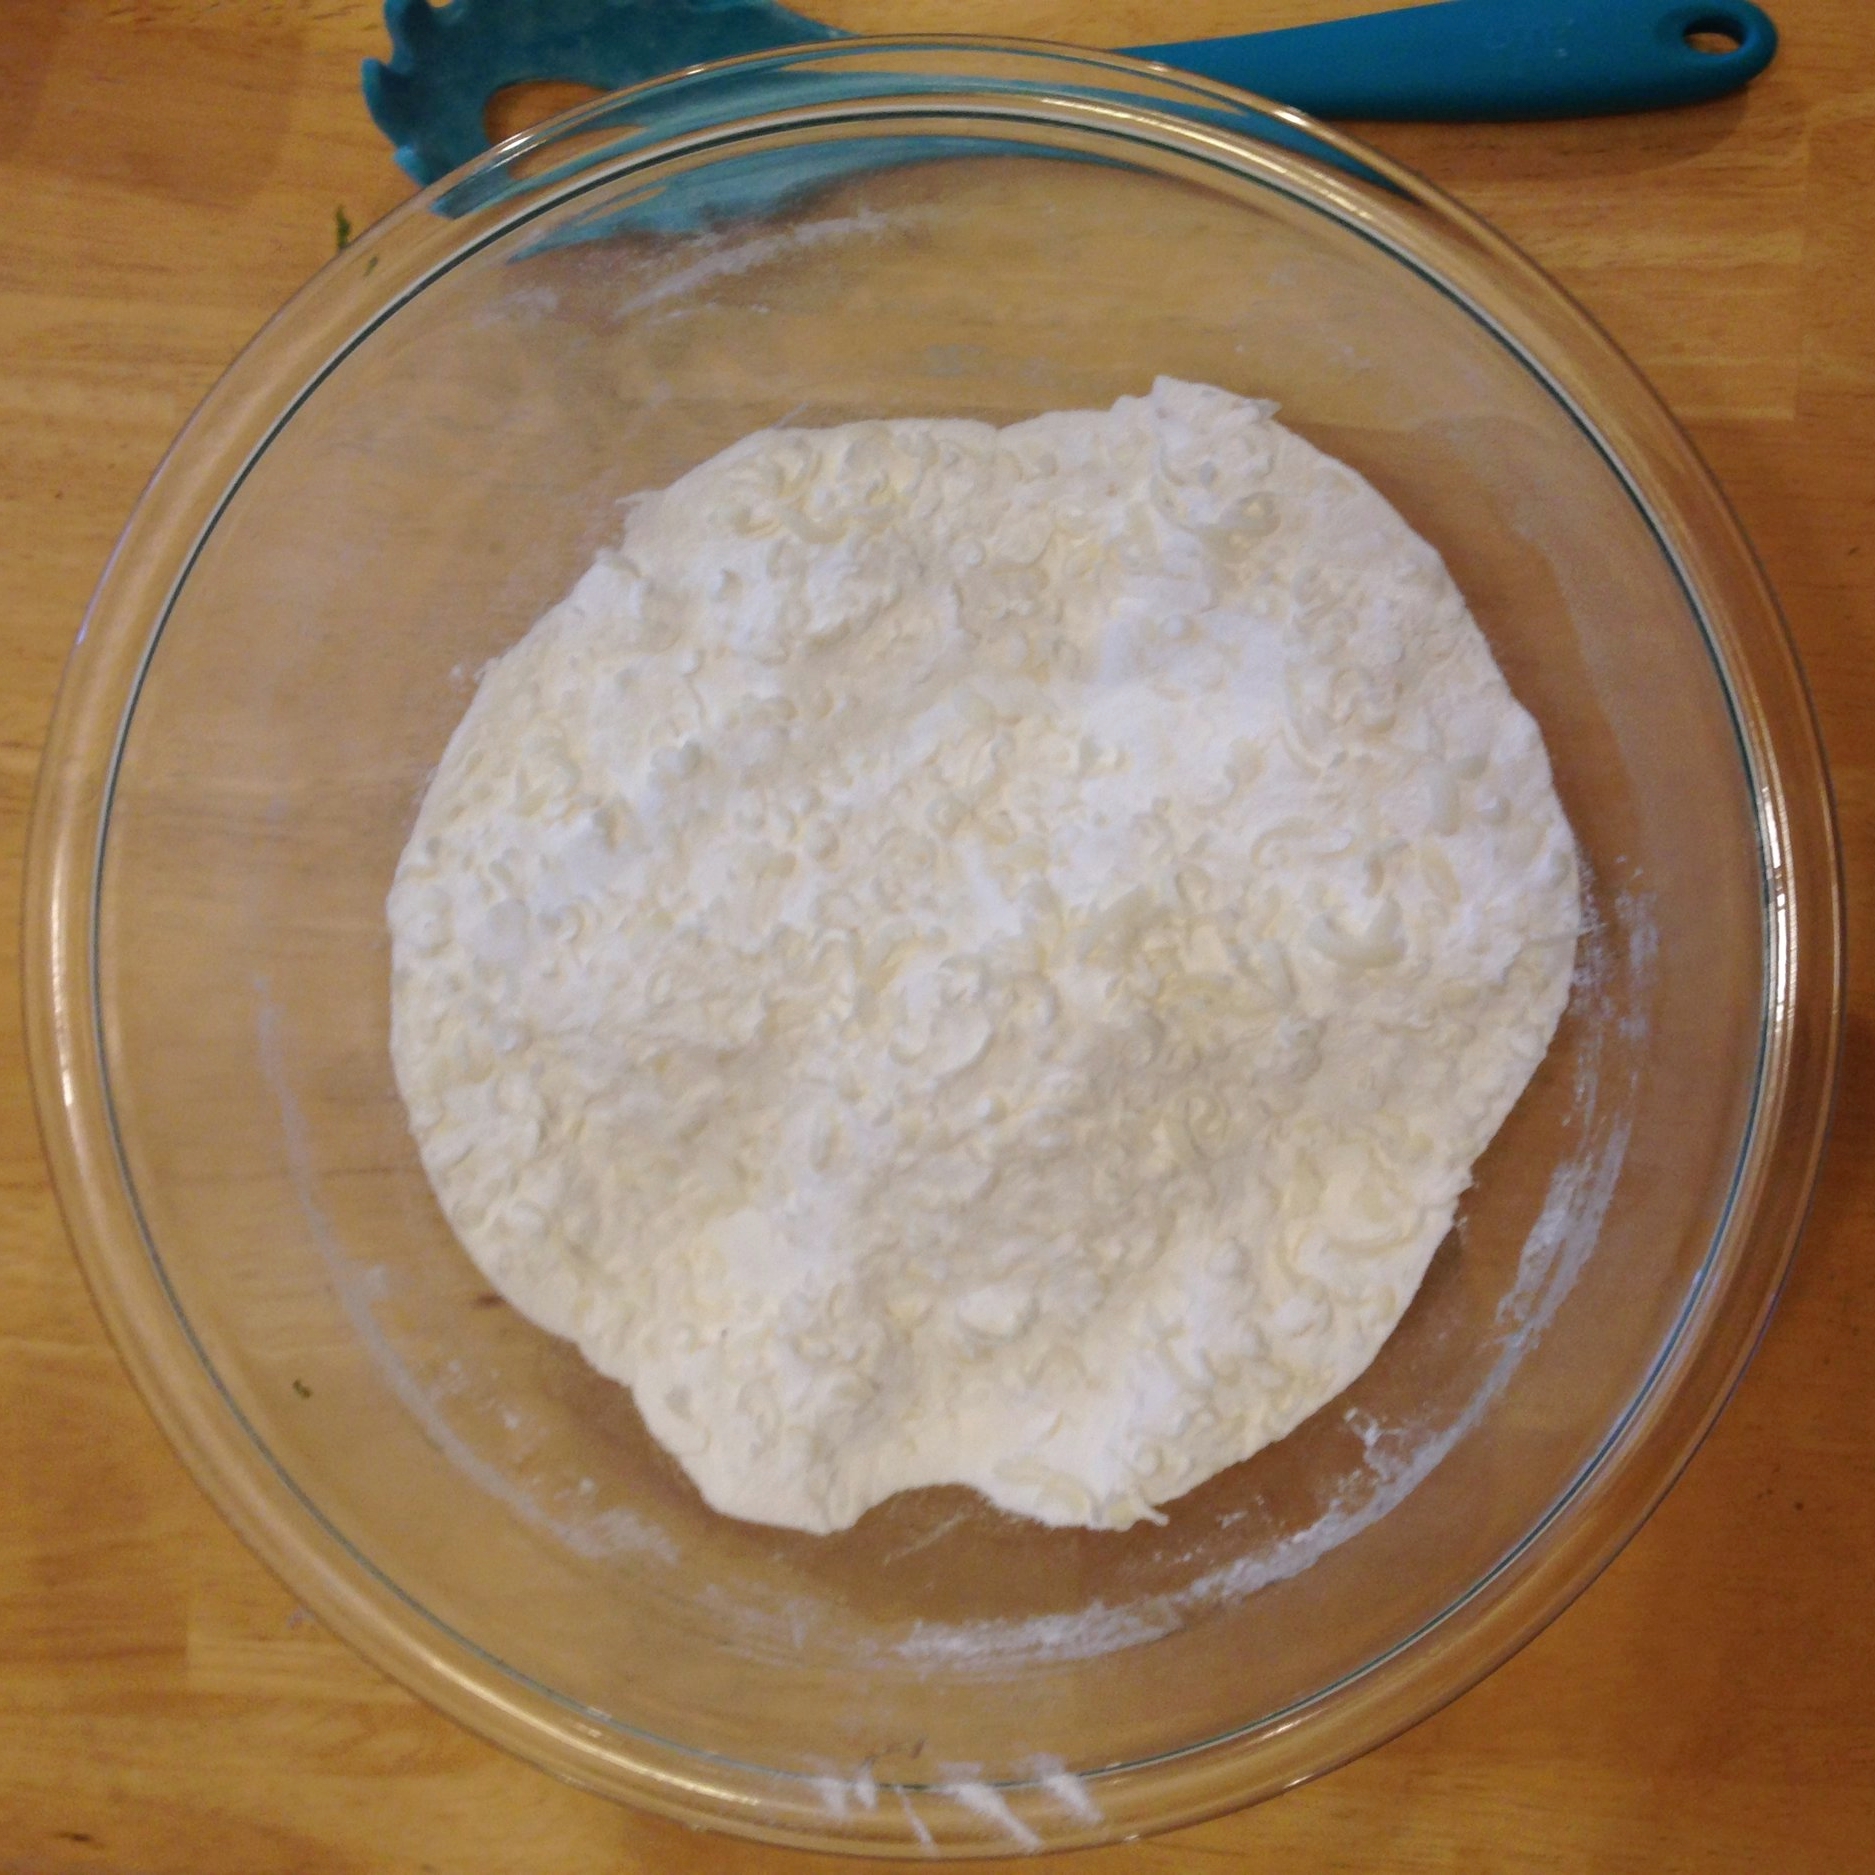
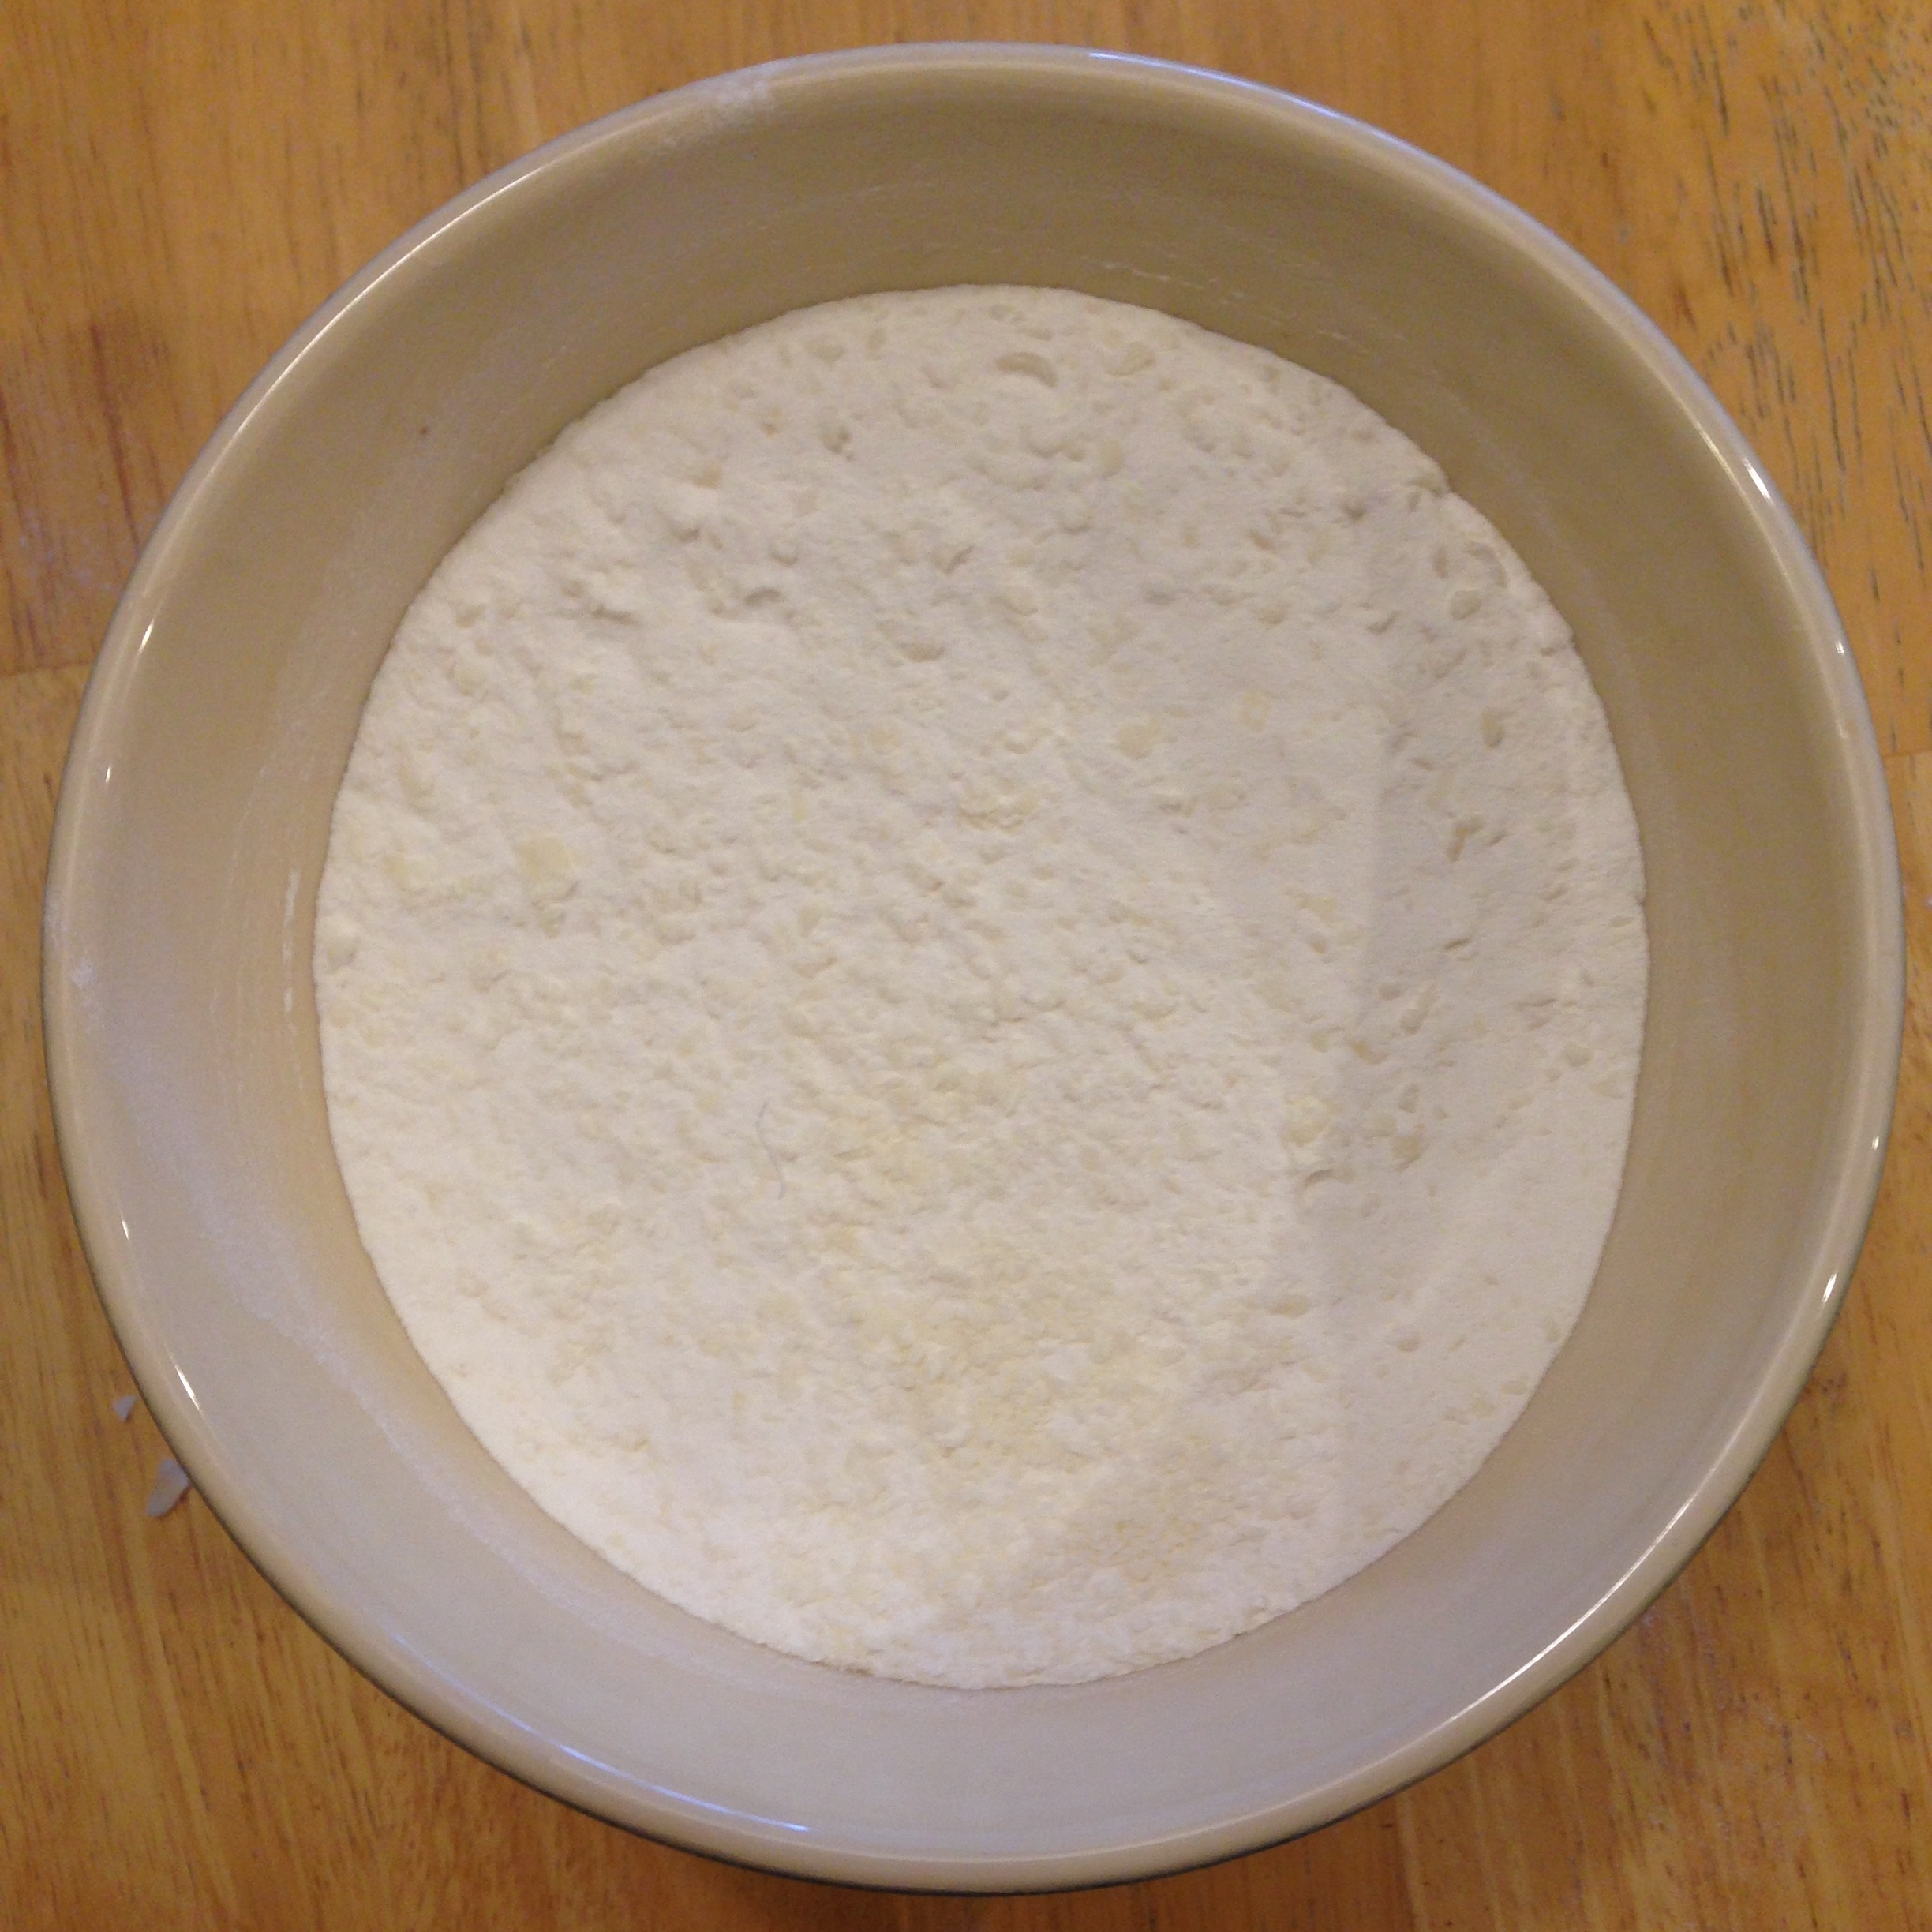
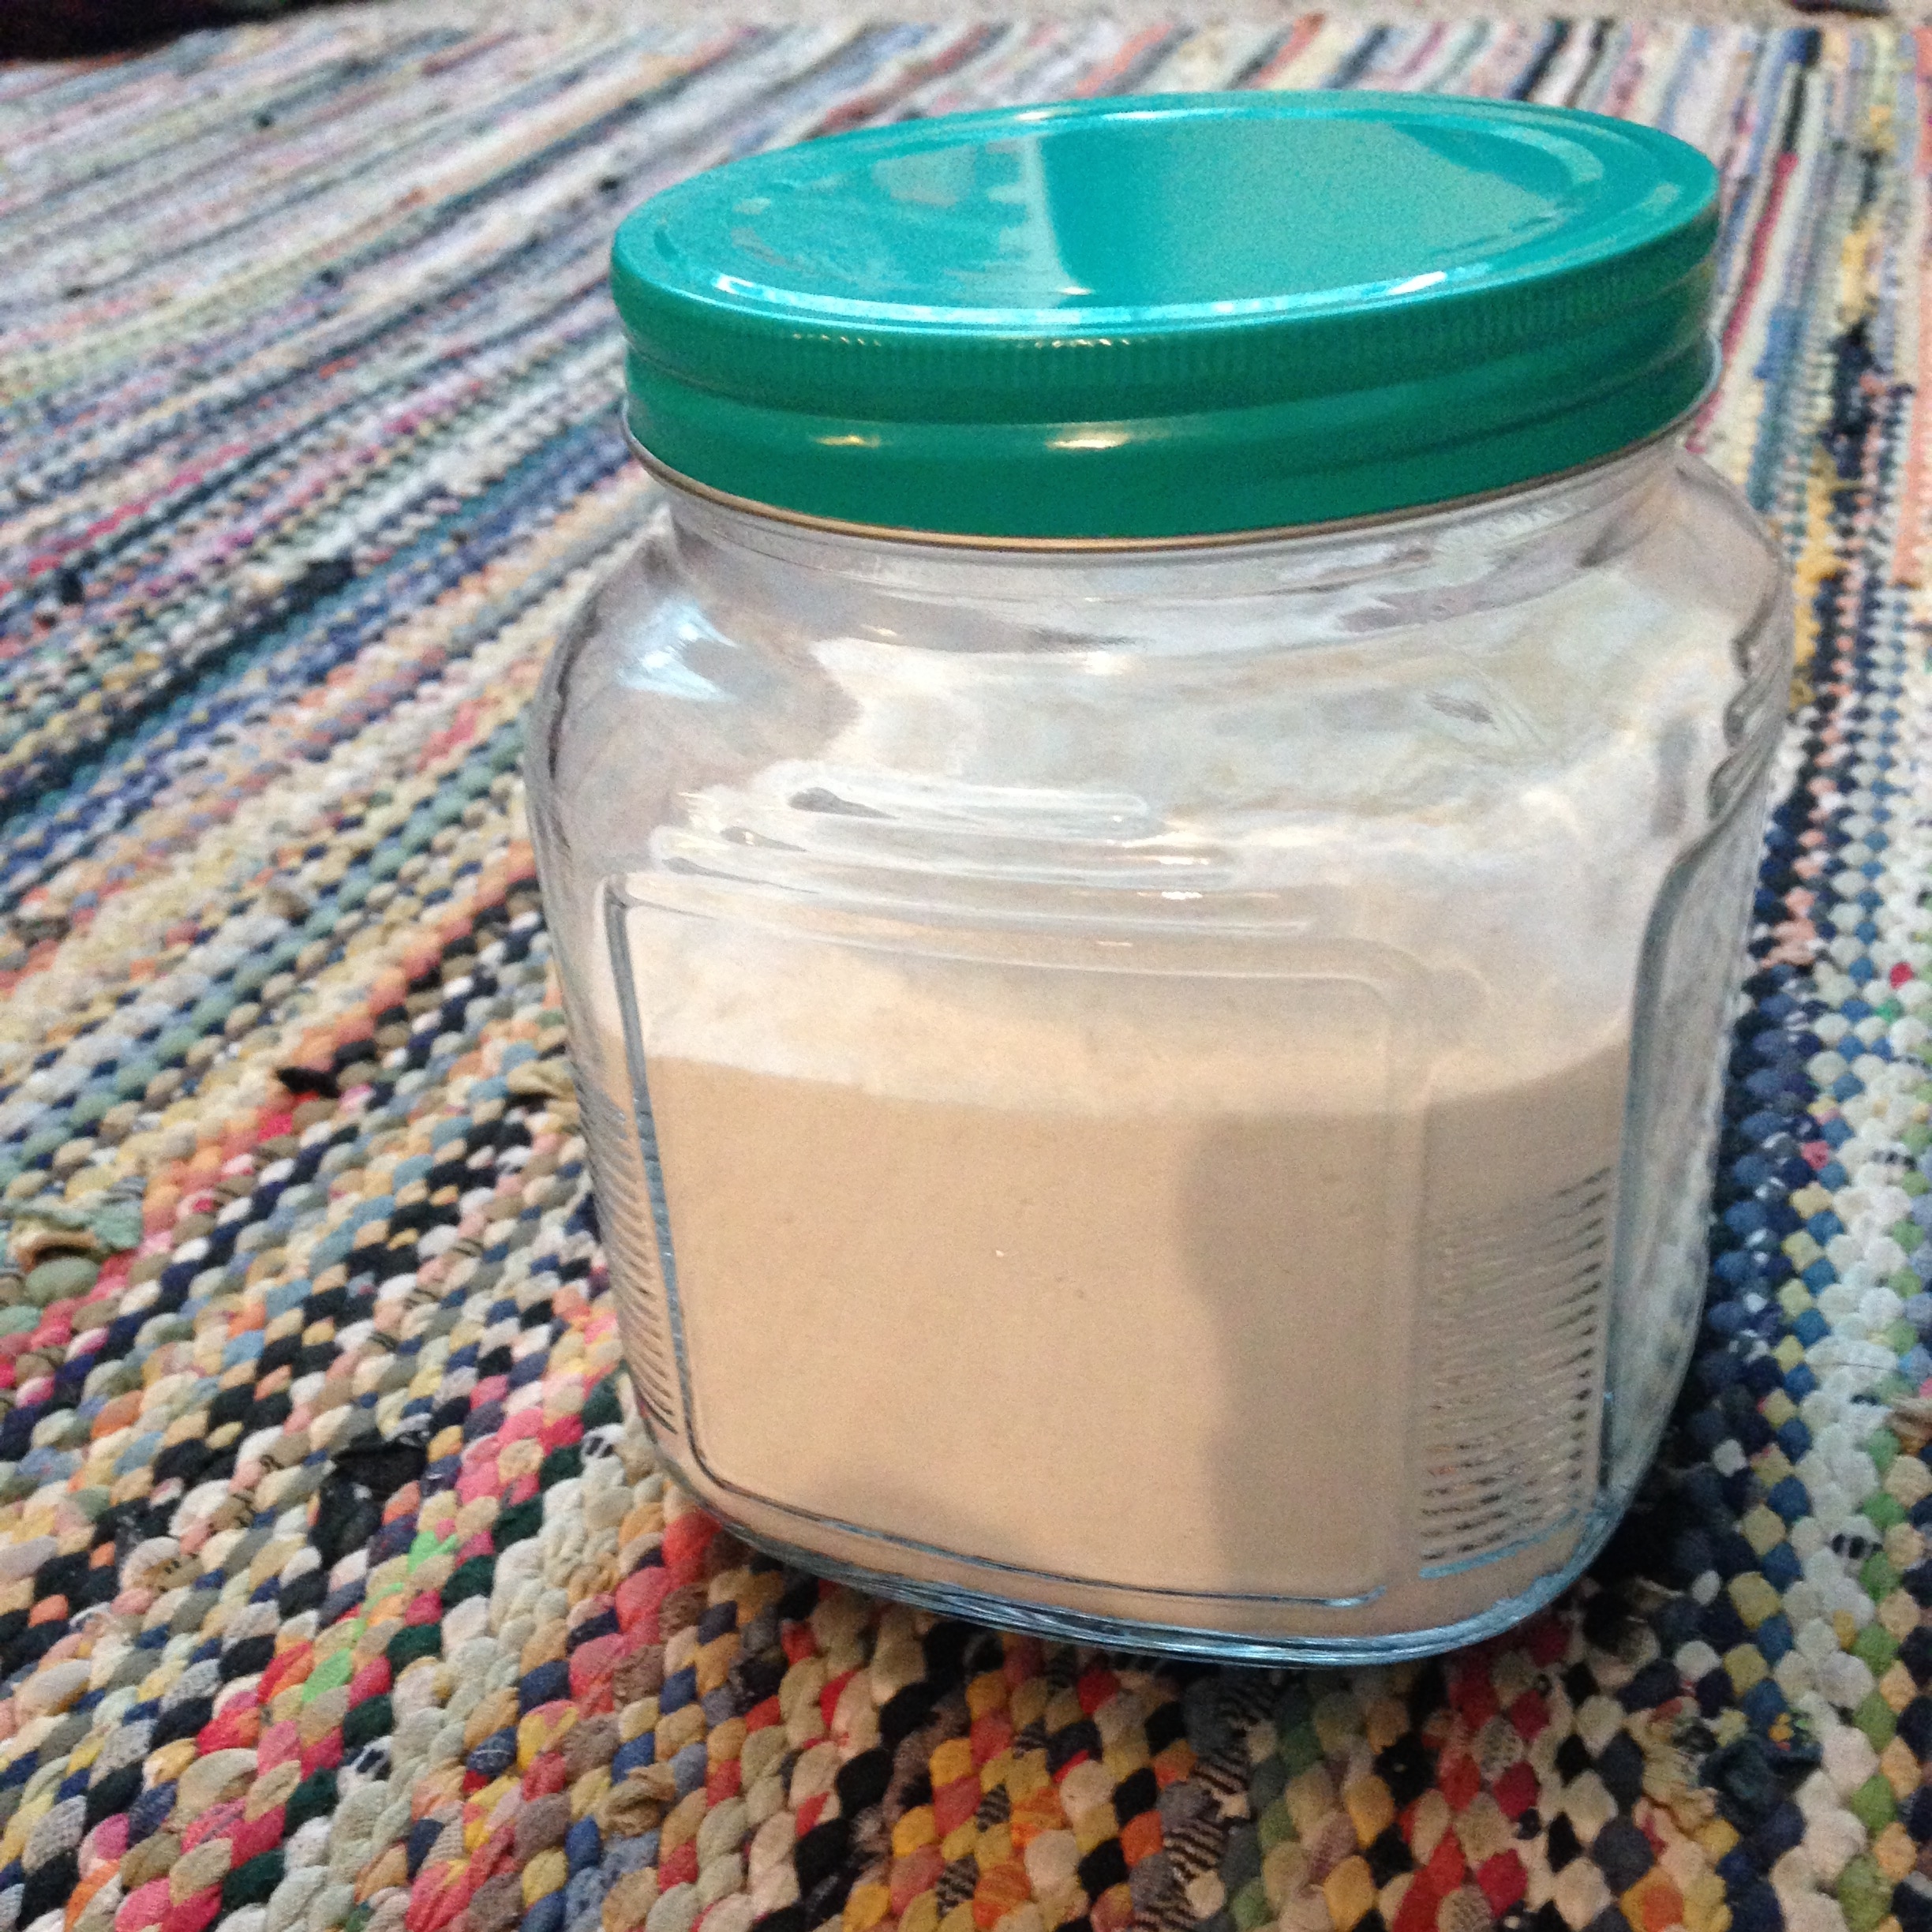
  1. Mix baking soda and washing soda together
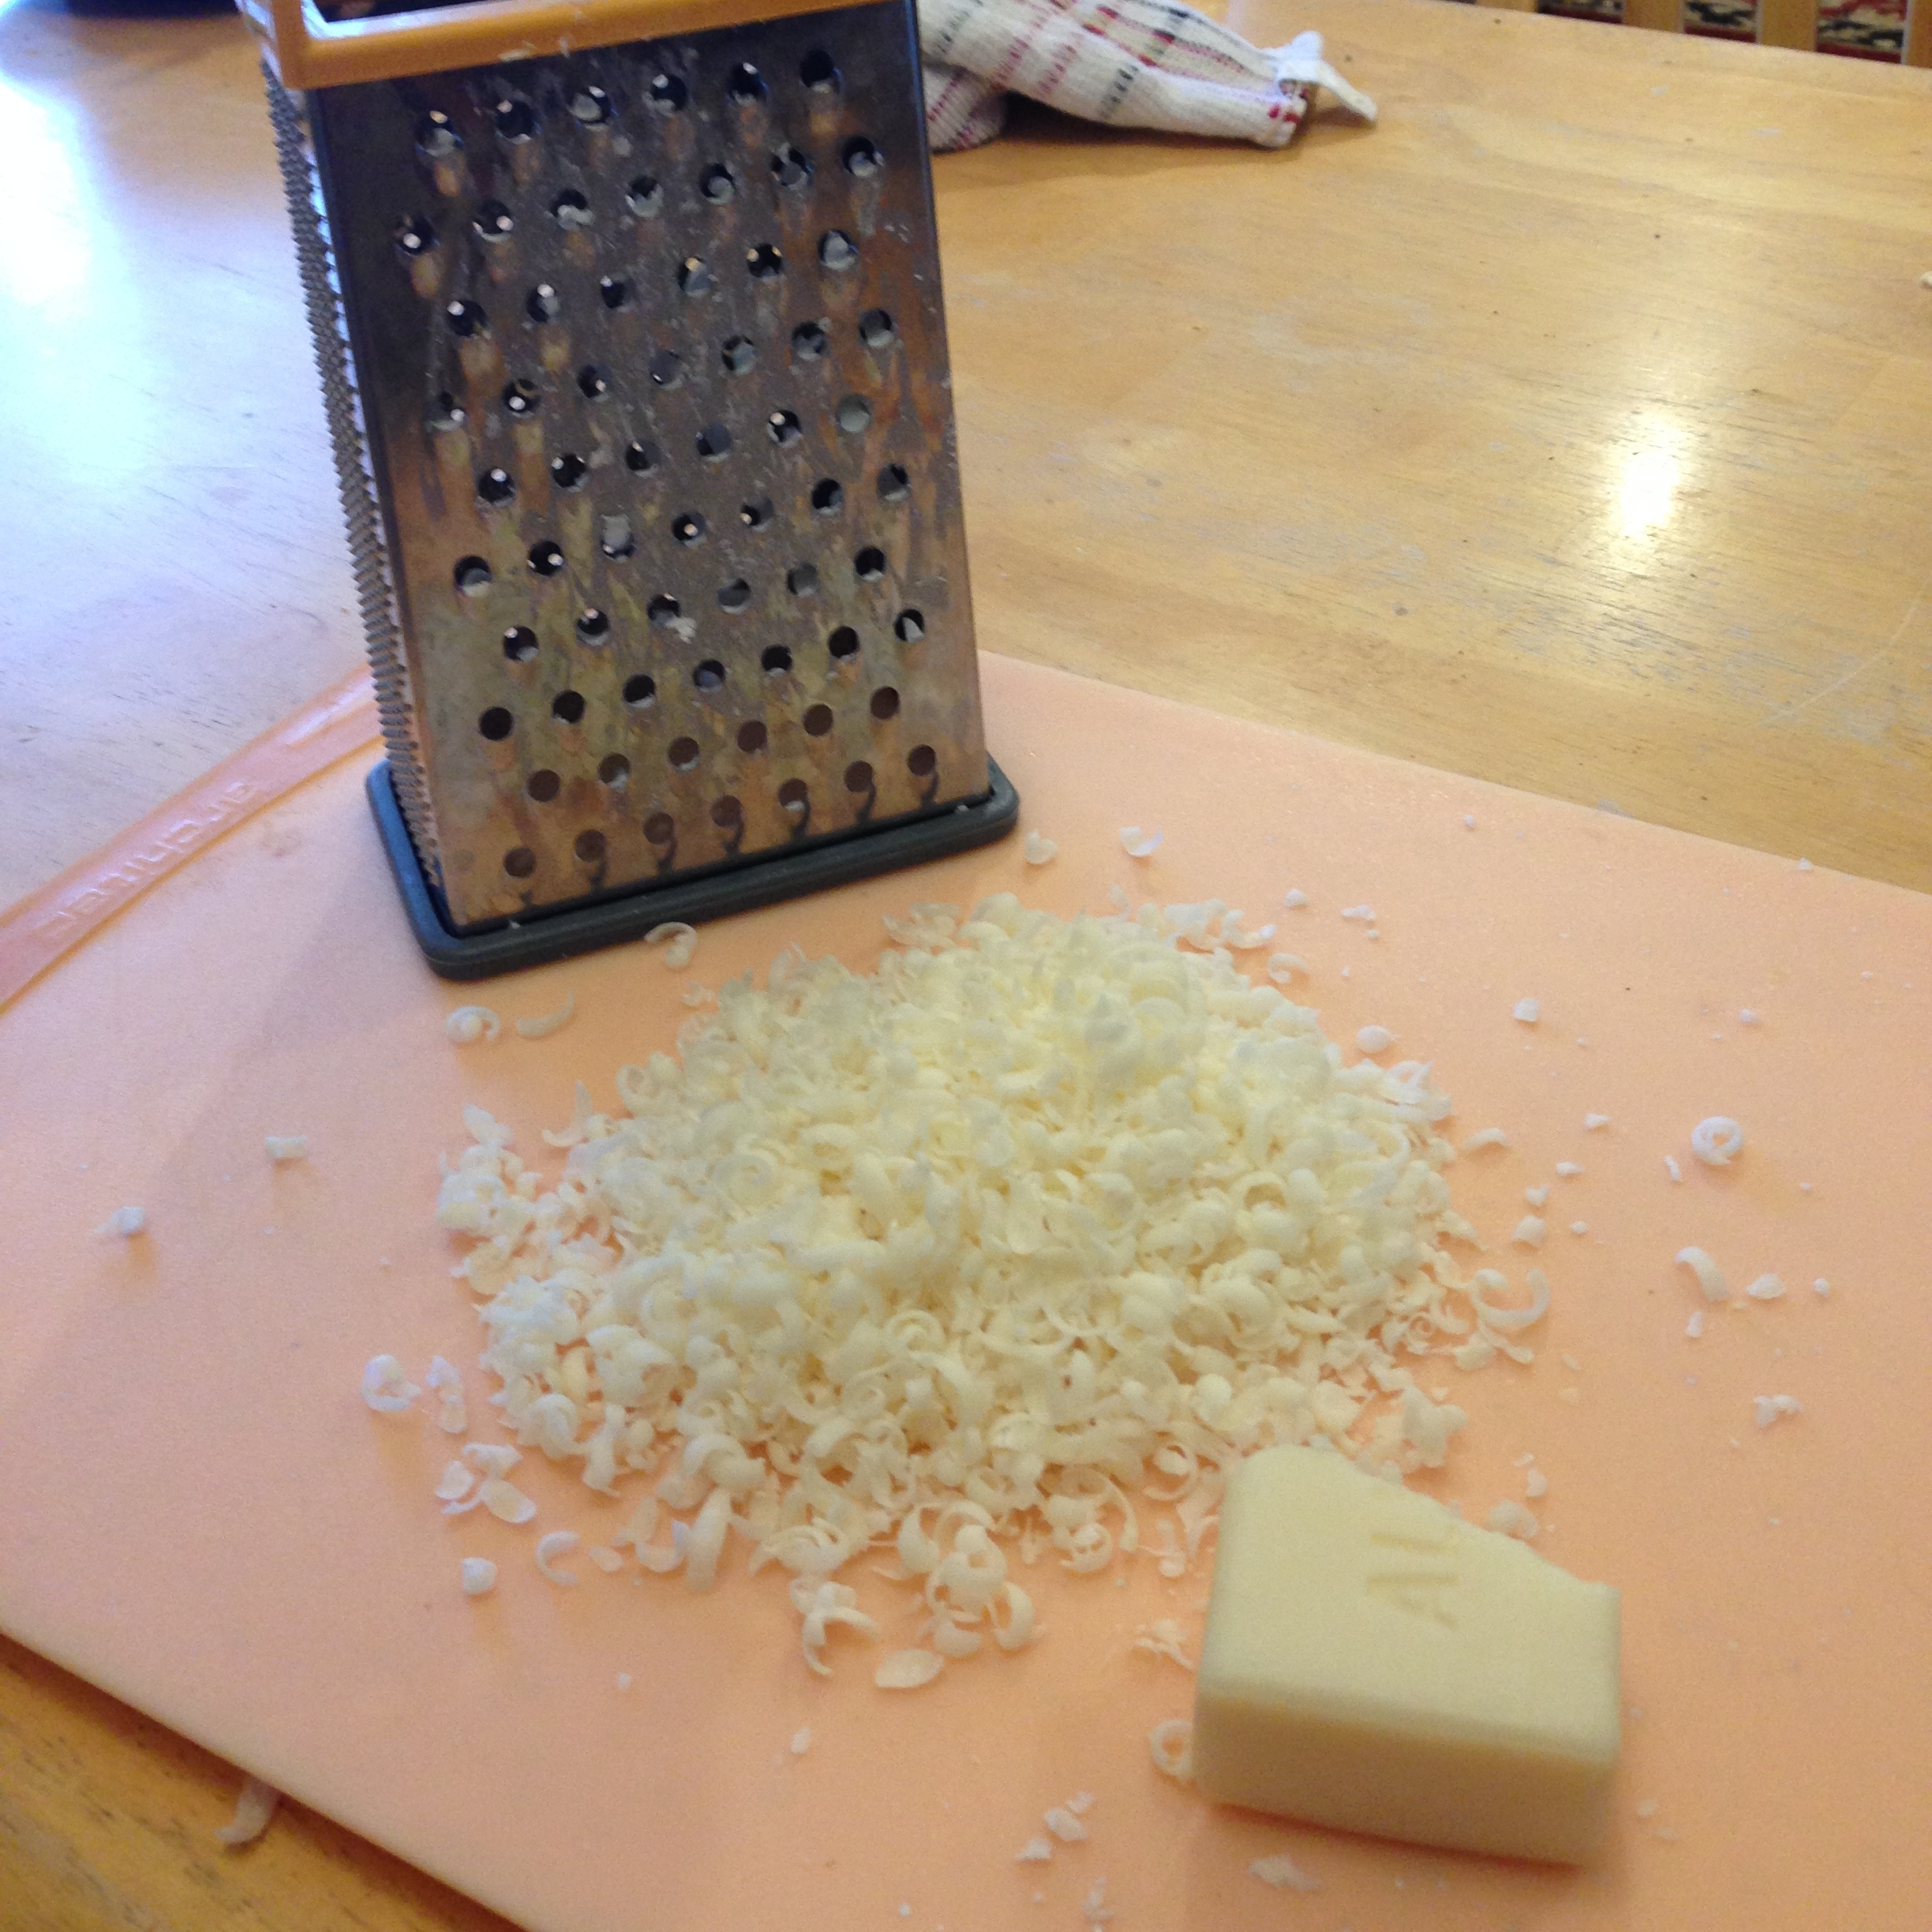
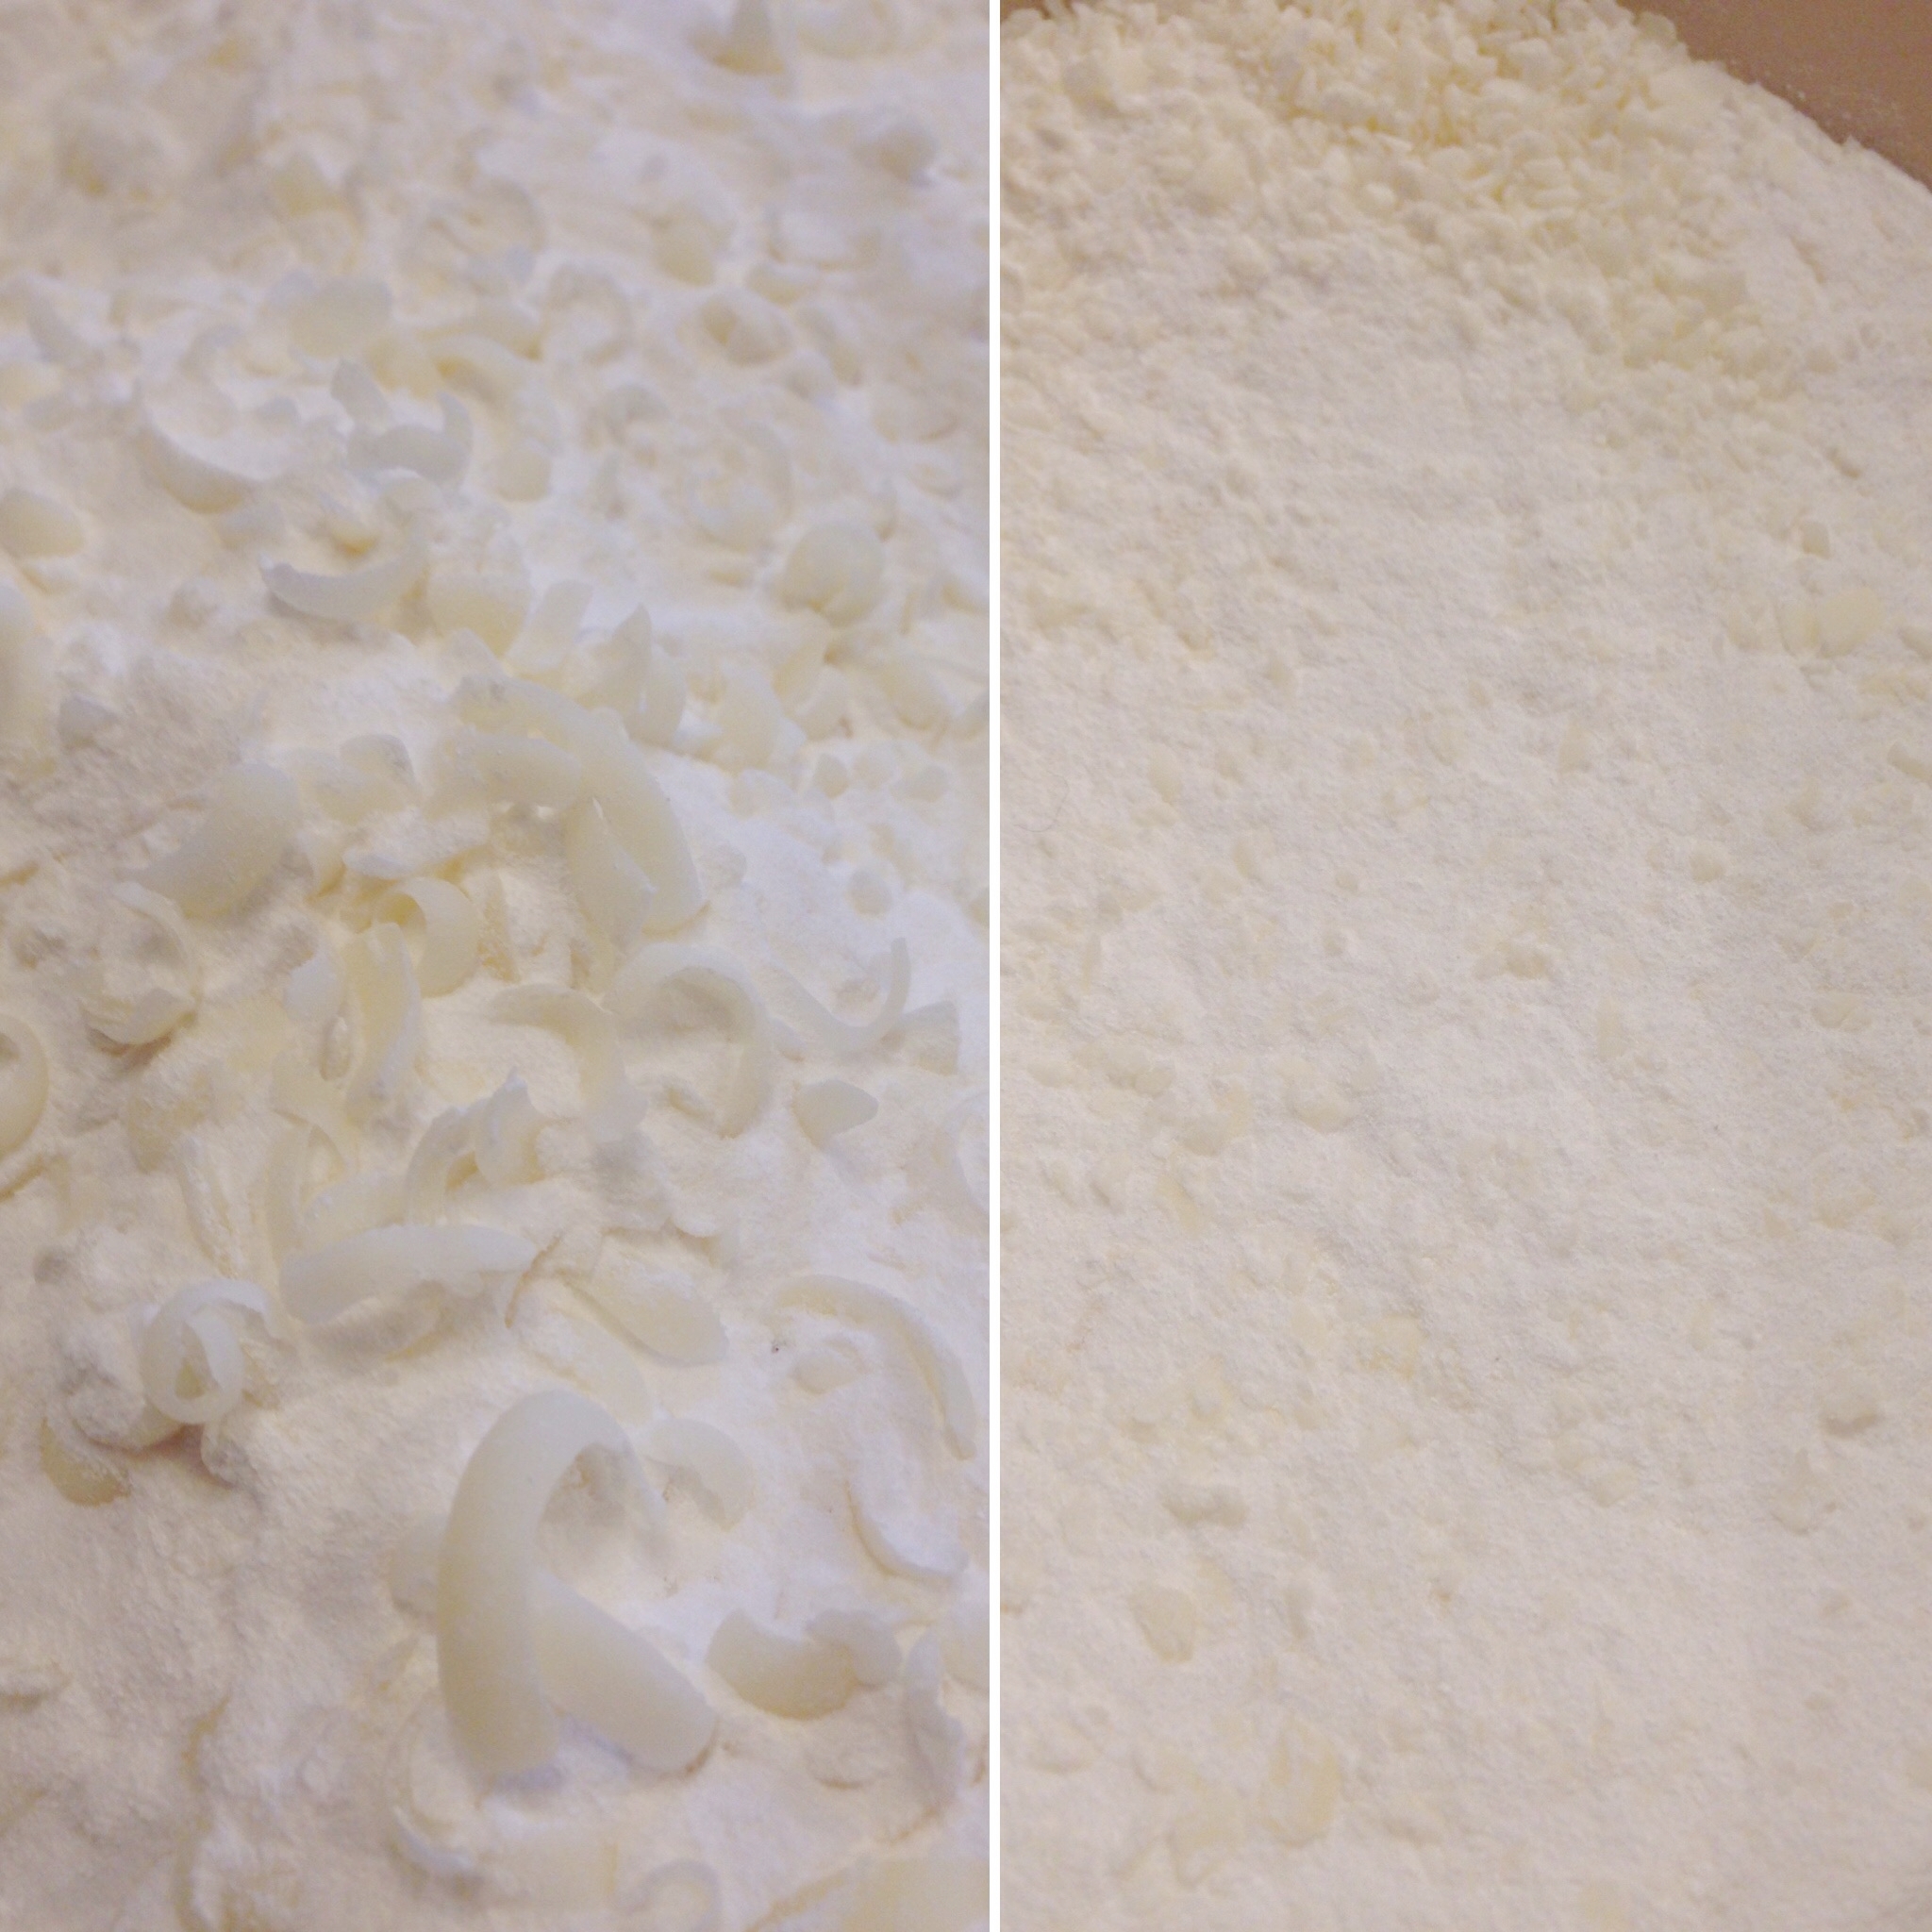
  2. Shave the whole bar of soap and mix it into your sodas
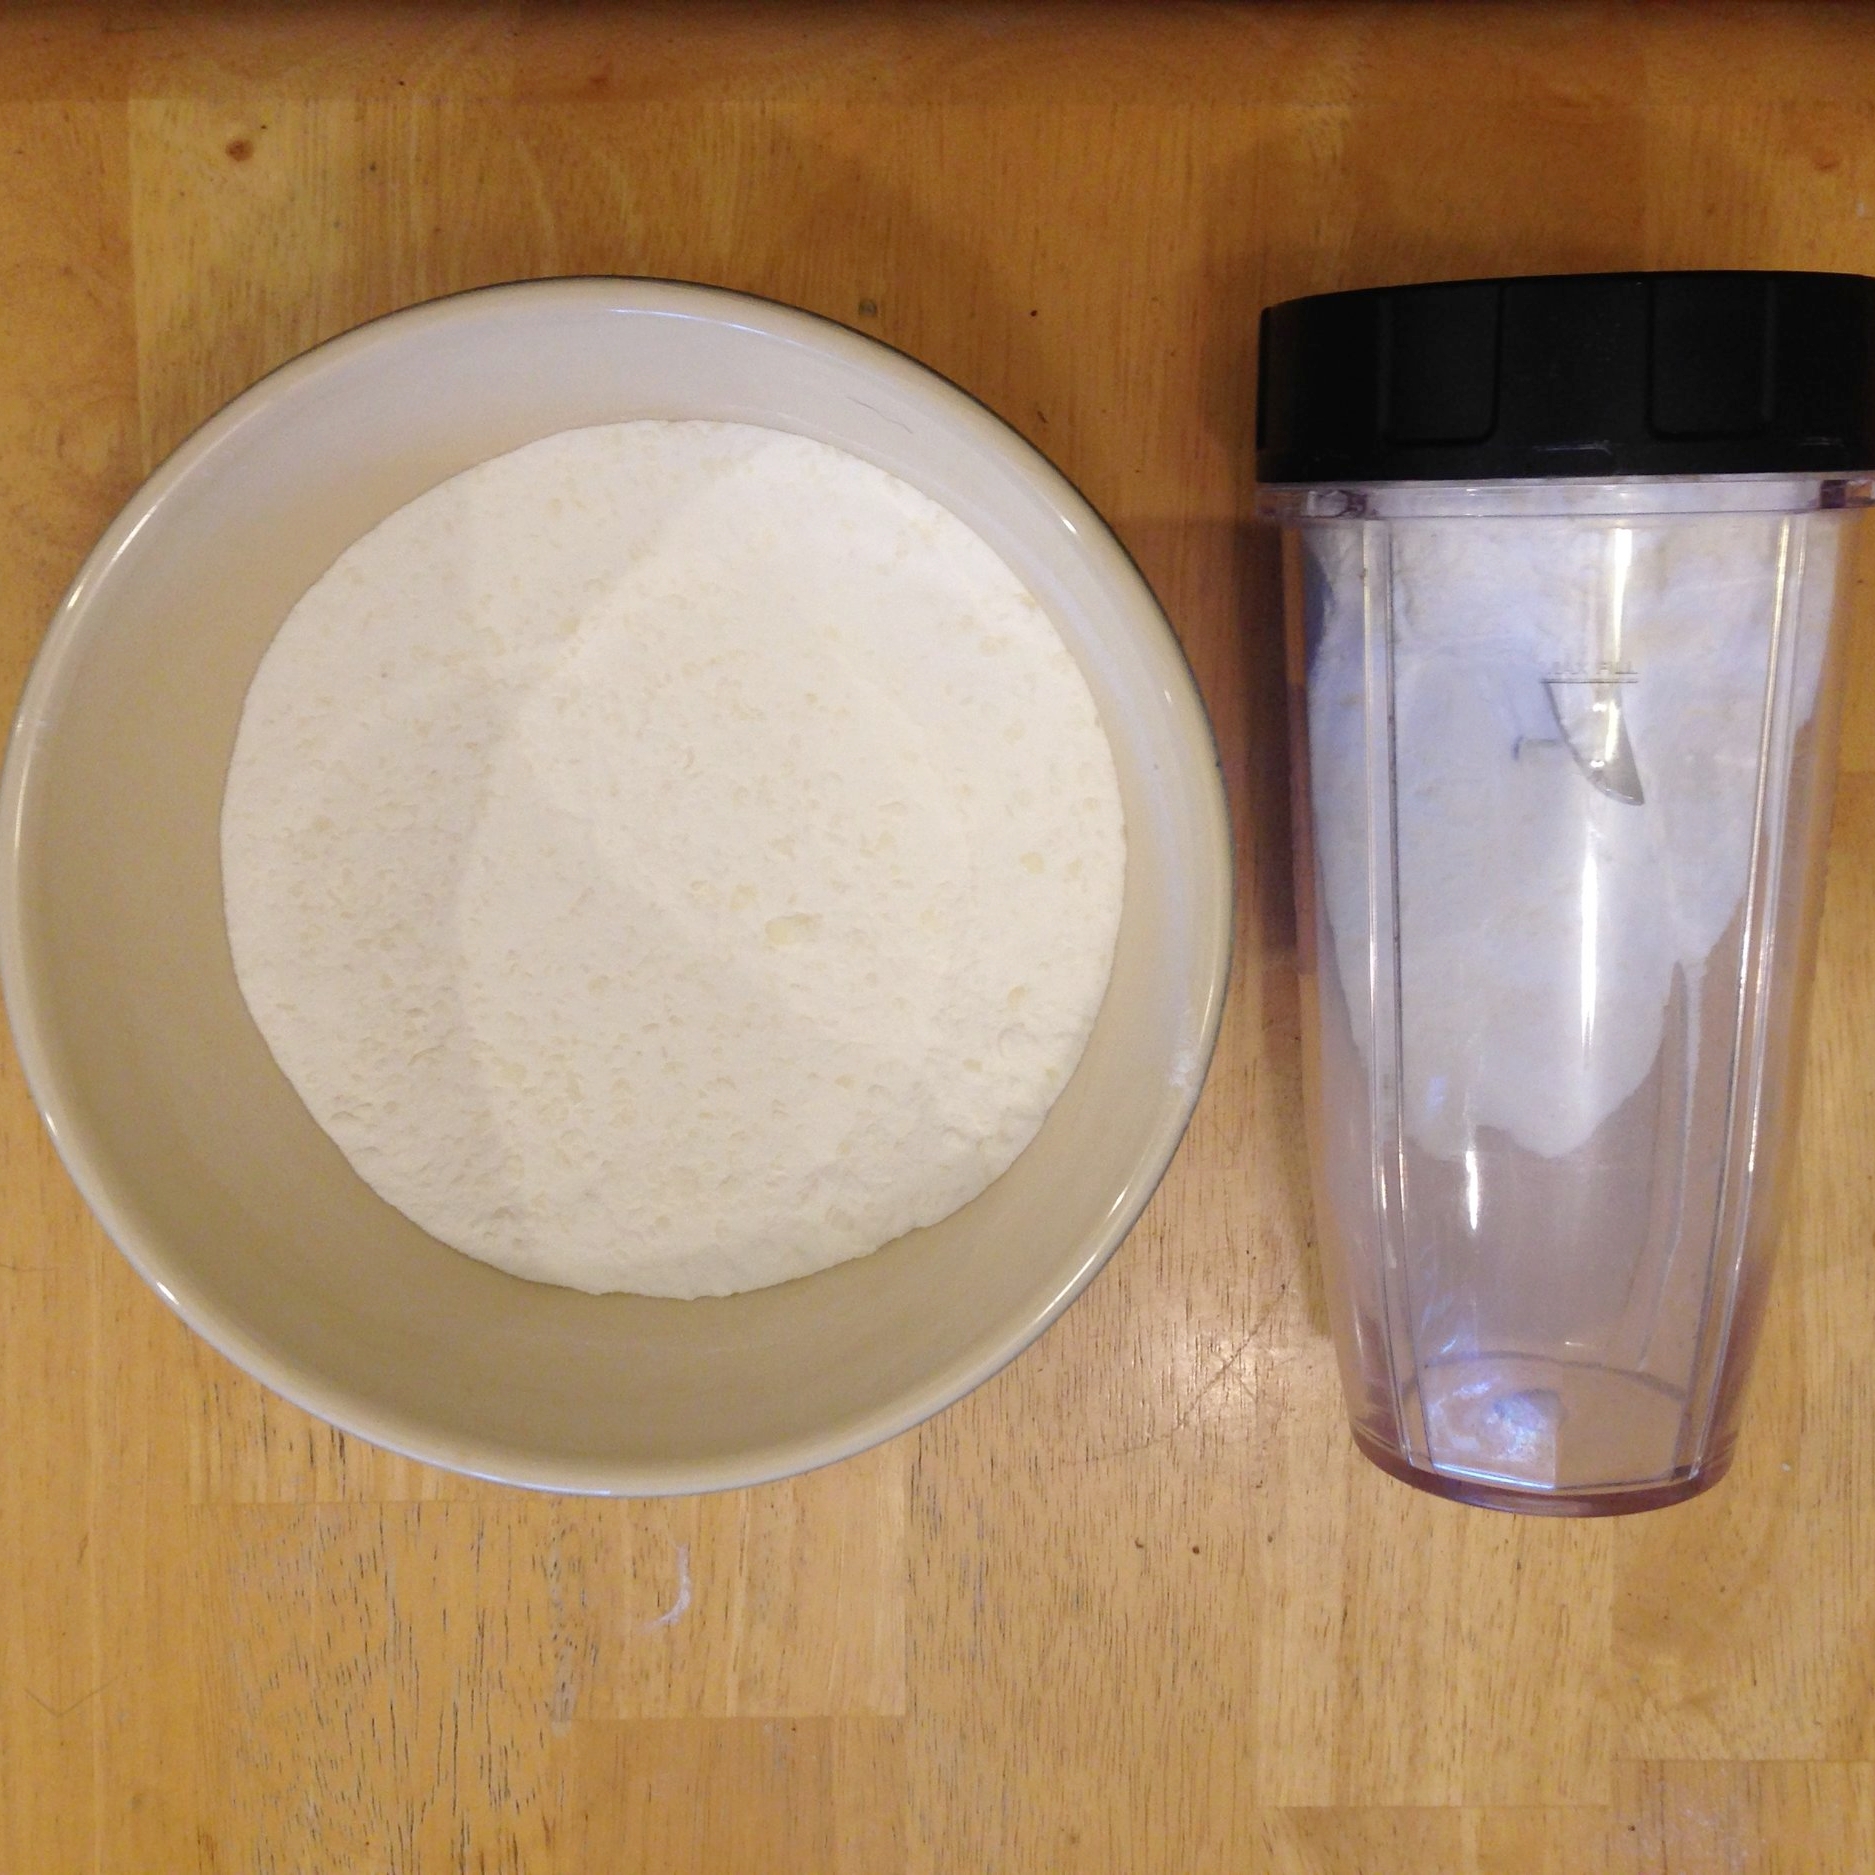
  3. You can put these in a blender/food processor for it to be extra powdery, this is particularly useful if you're like me and wash your laundry in cold water since it's easier for the detergent to dissolve.


To Use

  1. Add 1 Tbsp. for a small load (2-3 for large)
  2. I also use vinegar as a fabric softener, about 1/4 cup for a small load, 1/3-1/2 cup for large
    • Make sure the vinegar is put into a fabric softener section of the wash, or put it in for the rinse cycle.
    • Sometimes I throw some essential oils in the vinegar: I recommend 1-5 drops of lemon, lavender, and/or rosemary essential oils for washing (amount added will depend on brand of essential oils)

This recipe makes about 33 oz of detergent, which would give you approximately 65 small loads of laundry. You could double or triple the recipe if you wanted to.  

Cost

2 boxes of baking soda: $2.00

1 bar castille soap:        $4.50

Total: $7.50

Special Note: Washing soda  

So washing soda can be found at big stores like Walmart and Target, but not always.  I ran into this, no stores near me carry it.  However, washing soda is incredibly easy to make from baking soda: all you need is heat!  So if it's not readily available to you, and you're already savvy enough to make your own laundry detergent, just make the washing soda for it too. Follow this super easy DIY from mommypotamus to make your own!


Acknowledgements:

While my recipe is not a replication of any of these bloggers, I did use their posts for guidance and feel they should be acknowledged:

Katie of wellnessmama.com, Find her laundry detergent recipe here

Matt and Betsy Jabs of diynatural.com, find their laundry detergent recipe here! 

5 Things I Carry With Me

DSC_0011.JPG

In order to go zero waste, I have made a habit of keeping certain things on my person at all times:

1. A cloth napkin

Good for use as a napkin, a small hand towel, even a handkerchief when the nose starts running (after which it is washed and replaced!) You can find these on sale or used (especially if you don't care about color!), I recommend 100% cotton if possible!

2. A fork/Spork

It's nice when I have all the utensils on me (fork, knife, and spoon), but at least a fork or a spork tends to stay in my purse/backpack at all times

3. Stainless Steel Straw  

These are obviously good to replace plastic straws in drinks and smoothies. But they are also awesome for stirring cream/honey into coffee or tea instead to those terrible plastic stirrers!

4. Reusable Coffee Cup / Water bottle

I generally have both of these, but minimally one! I have tea throughout the whole day, and need to hydrate as well! My Klean Kanteen Insulated Tumbler also makes a great pint glass at bars or BBQs!


DSC_0017.JPG

5. Food Canister

So I don't always have a food canister on me, but I make an effort to bring one whenever I'm going to go out to eat so I can put leftovers in it! Minimizes food waste and packaging all in one!


I'll admit, I haven't perfected the art of remembering these every time I leave the house.  I feel as though a huge part of this process is reshaping your habits.  So I'm working on it.  Whether it's bringing bags to the grocery store, learning to buy in bulk, or carrying my reusable spork around, I'm working on improving my habits to truly go zero waste.