DIY

Easy Sock Bun for Long Hair

DSC_0267.JPG

prep the sock

  1. Get a Sock. Find an old, unmatched sock that you don't wear or don't care to wear anymore.  
    • Ideally you want one close to your hair color but it doesn't need to be.
  2. Cut the sock. Use a pair of scissors to cut off the toe (about 1 inch)
  3. Roll the sock. Start at the ankle end of the sock and roll until you are left with a donut shape.

Make the Bun

  1. Brush out your hair. The end product looks best when the hair is brushed all the way through.
  2. Make a ponytail. You can make it as high or low as you want, it just depends where you want the bun to sit.
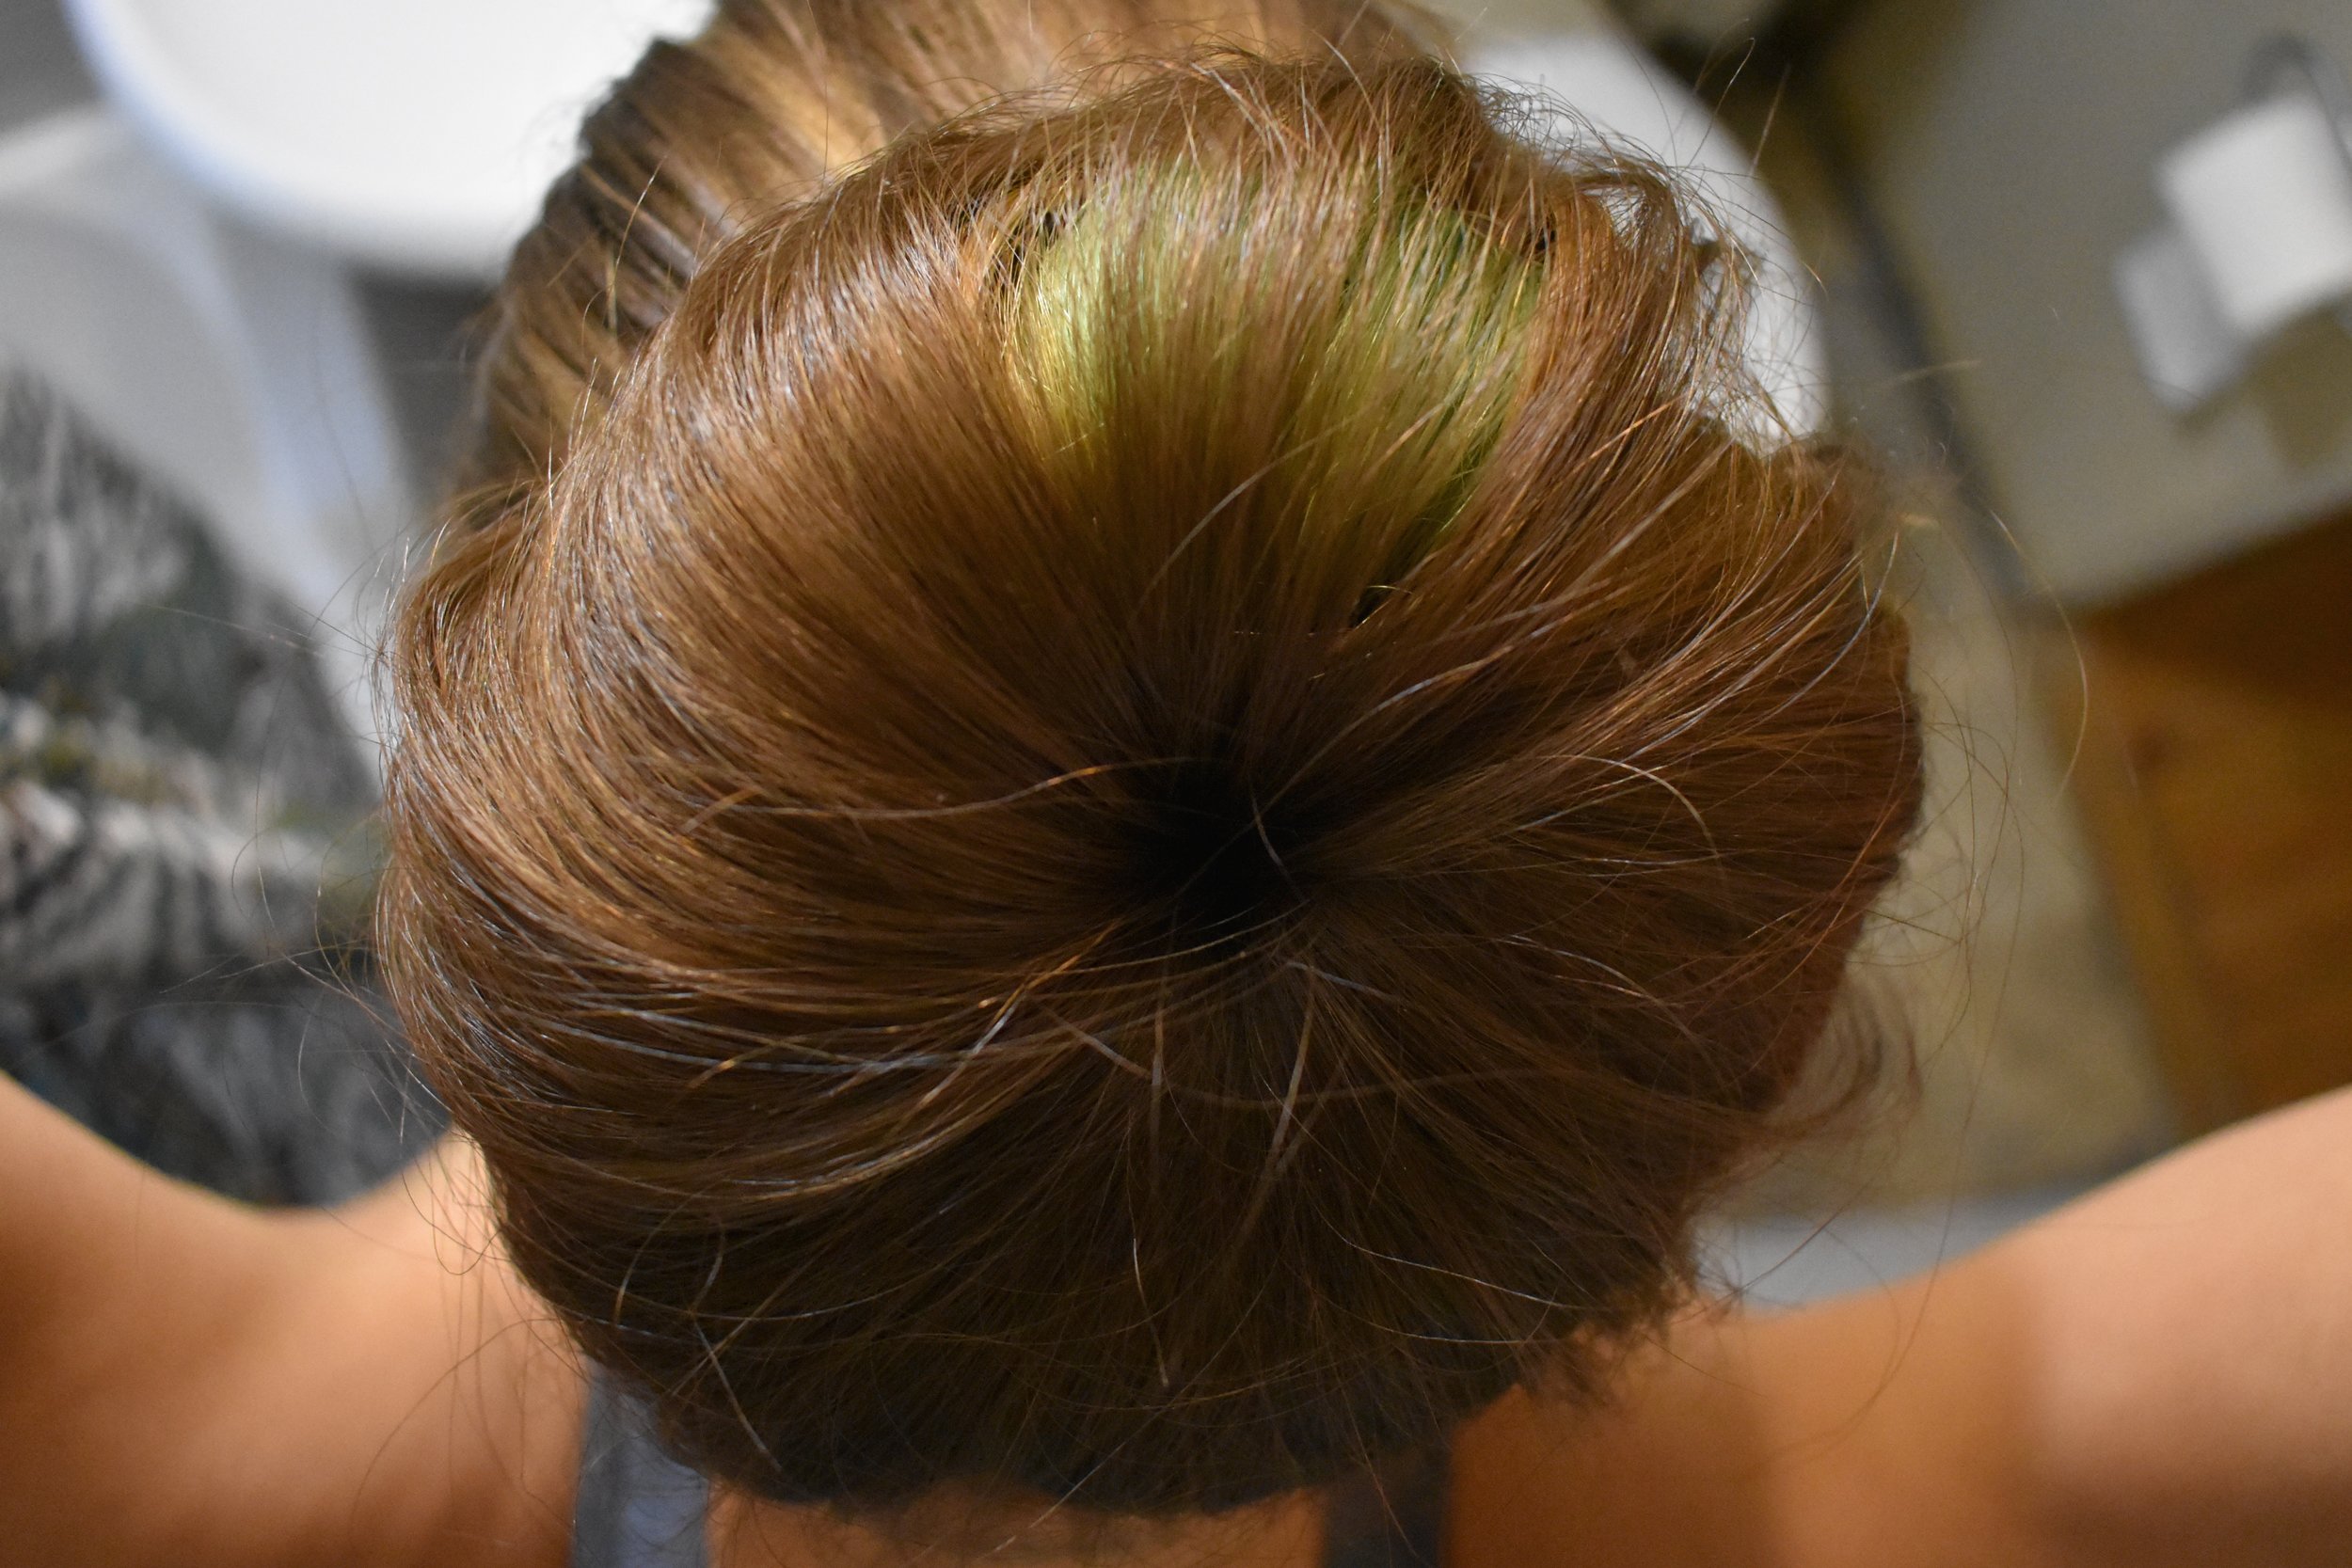
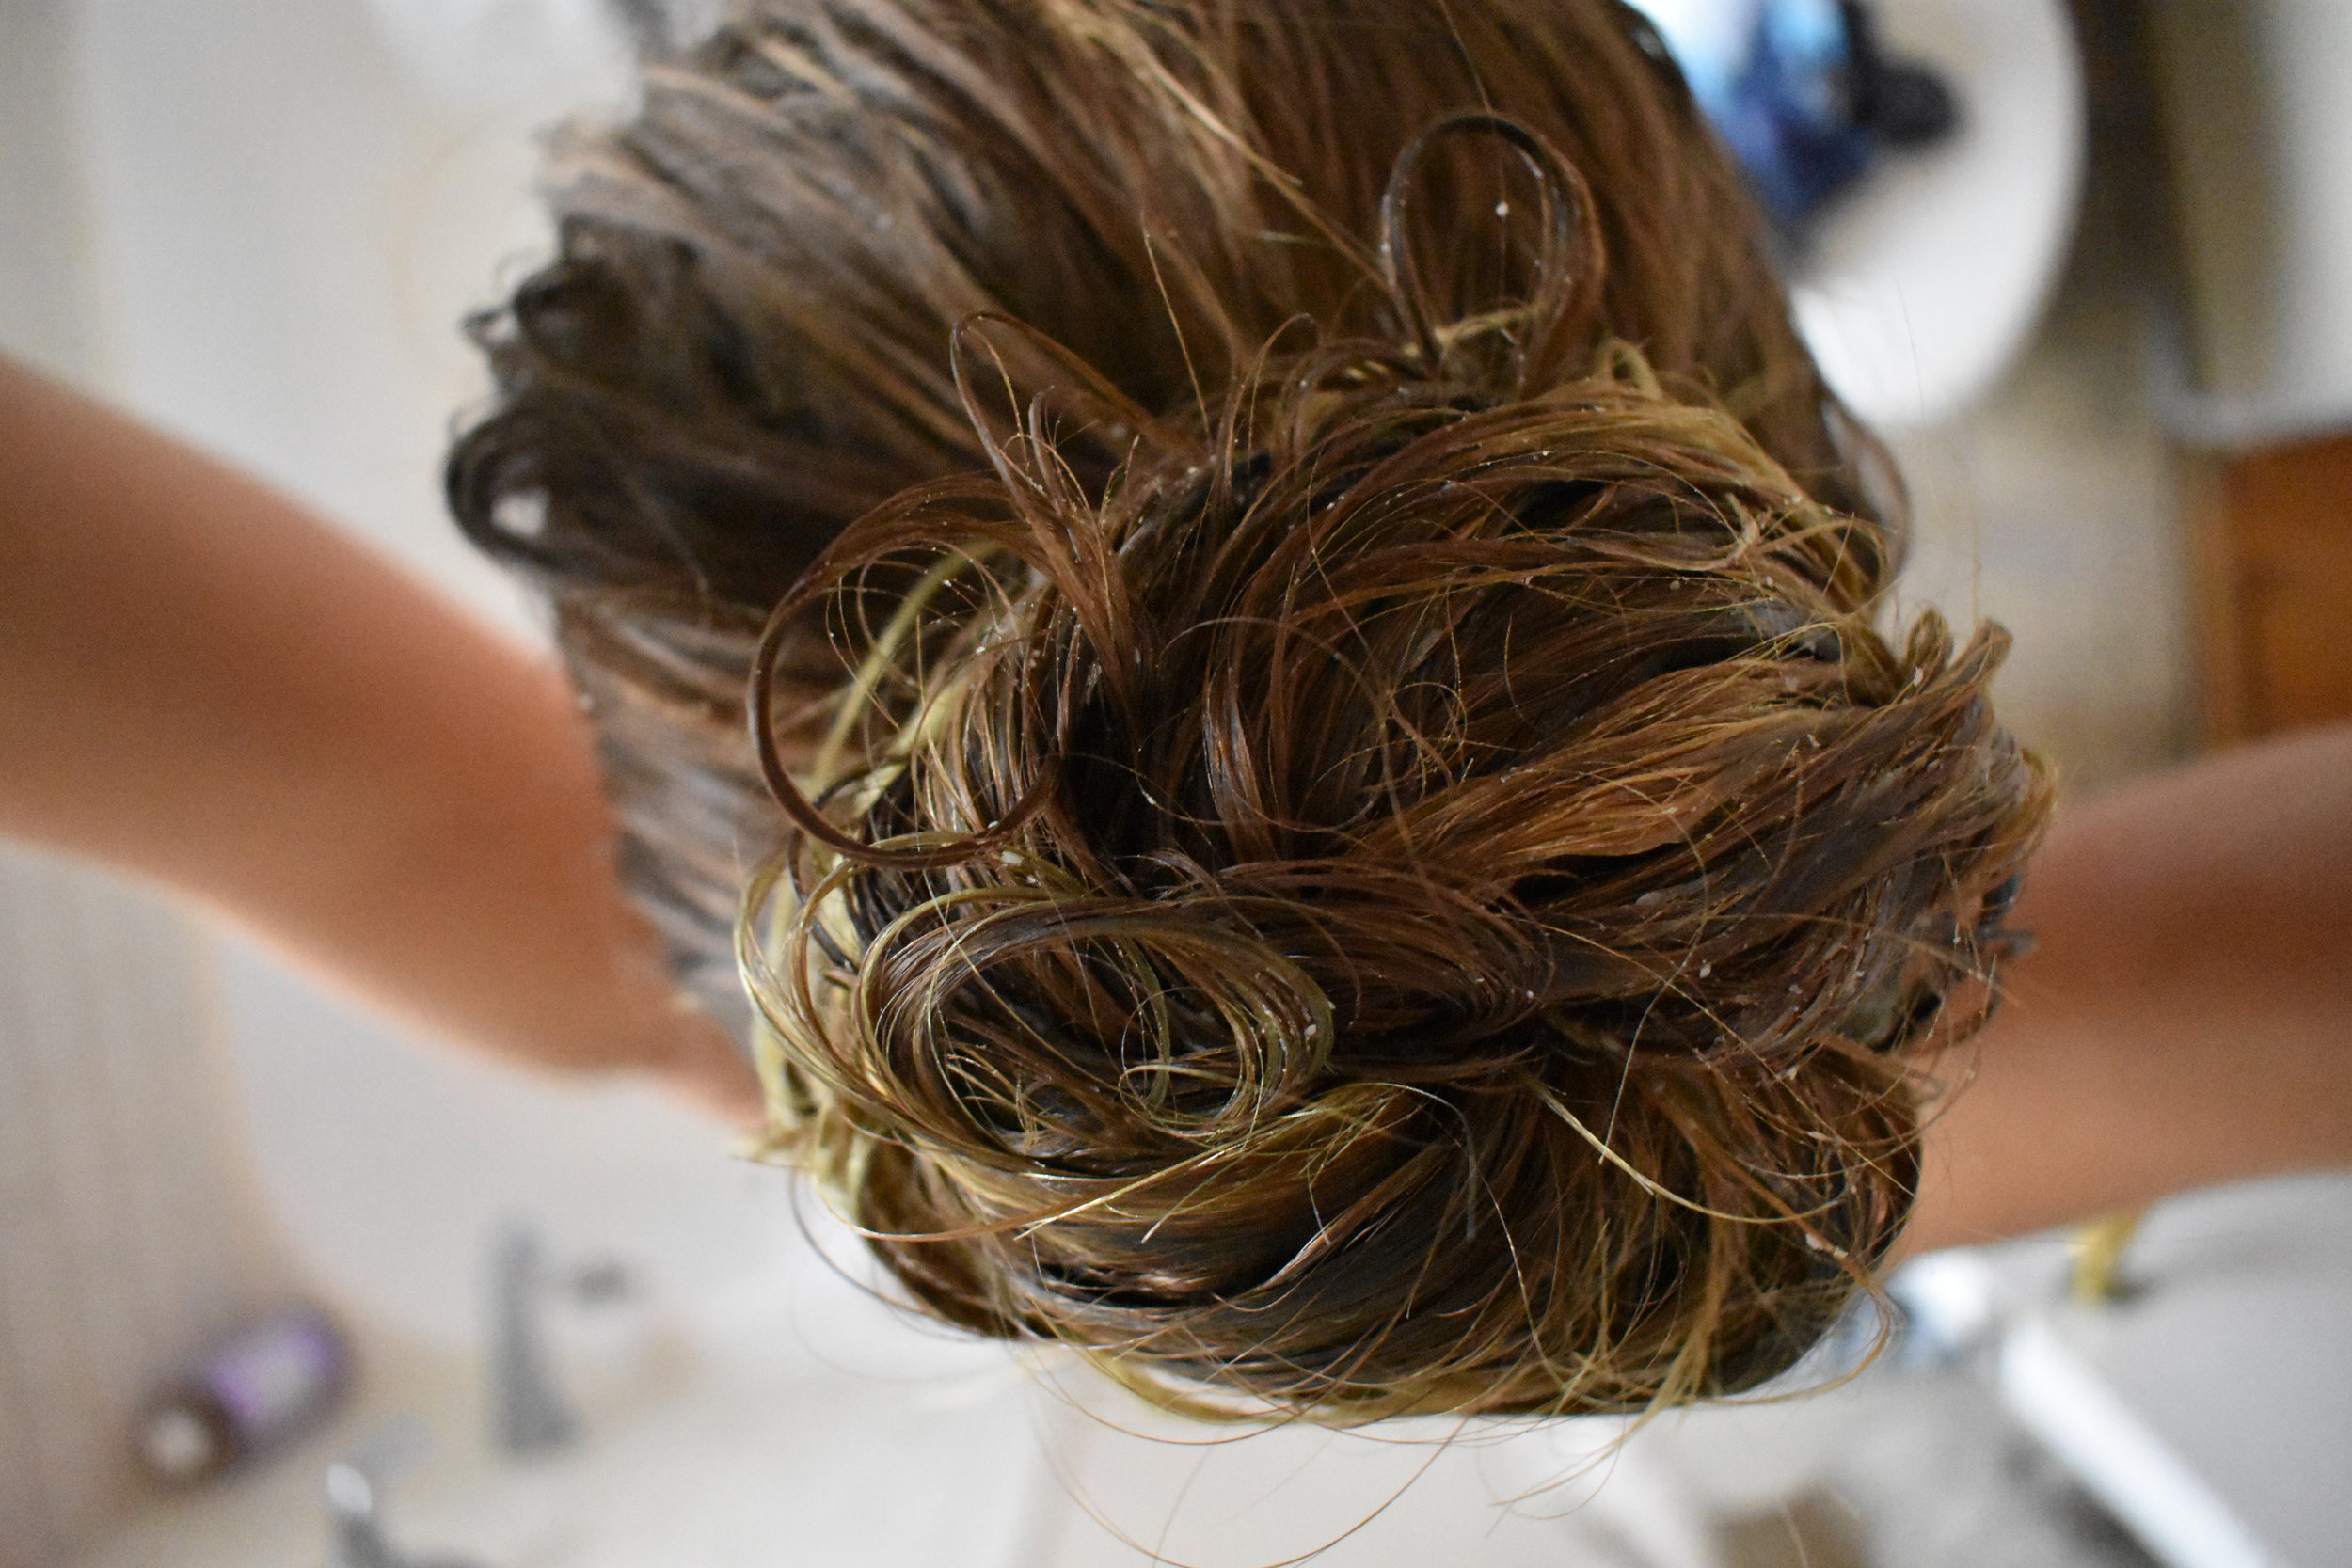
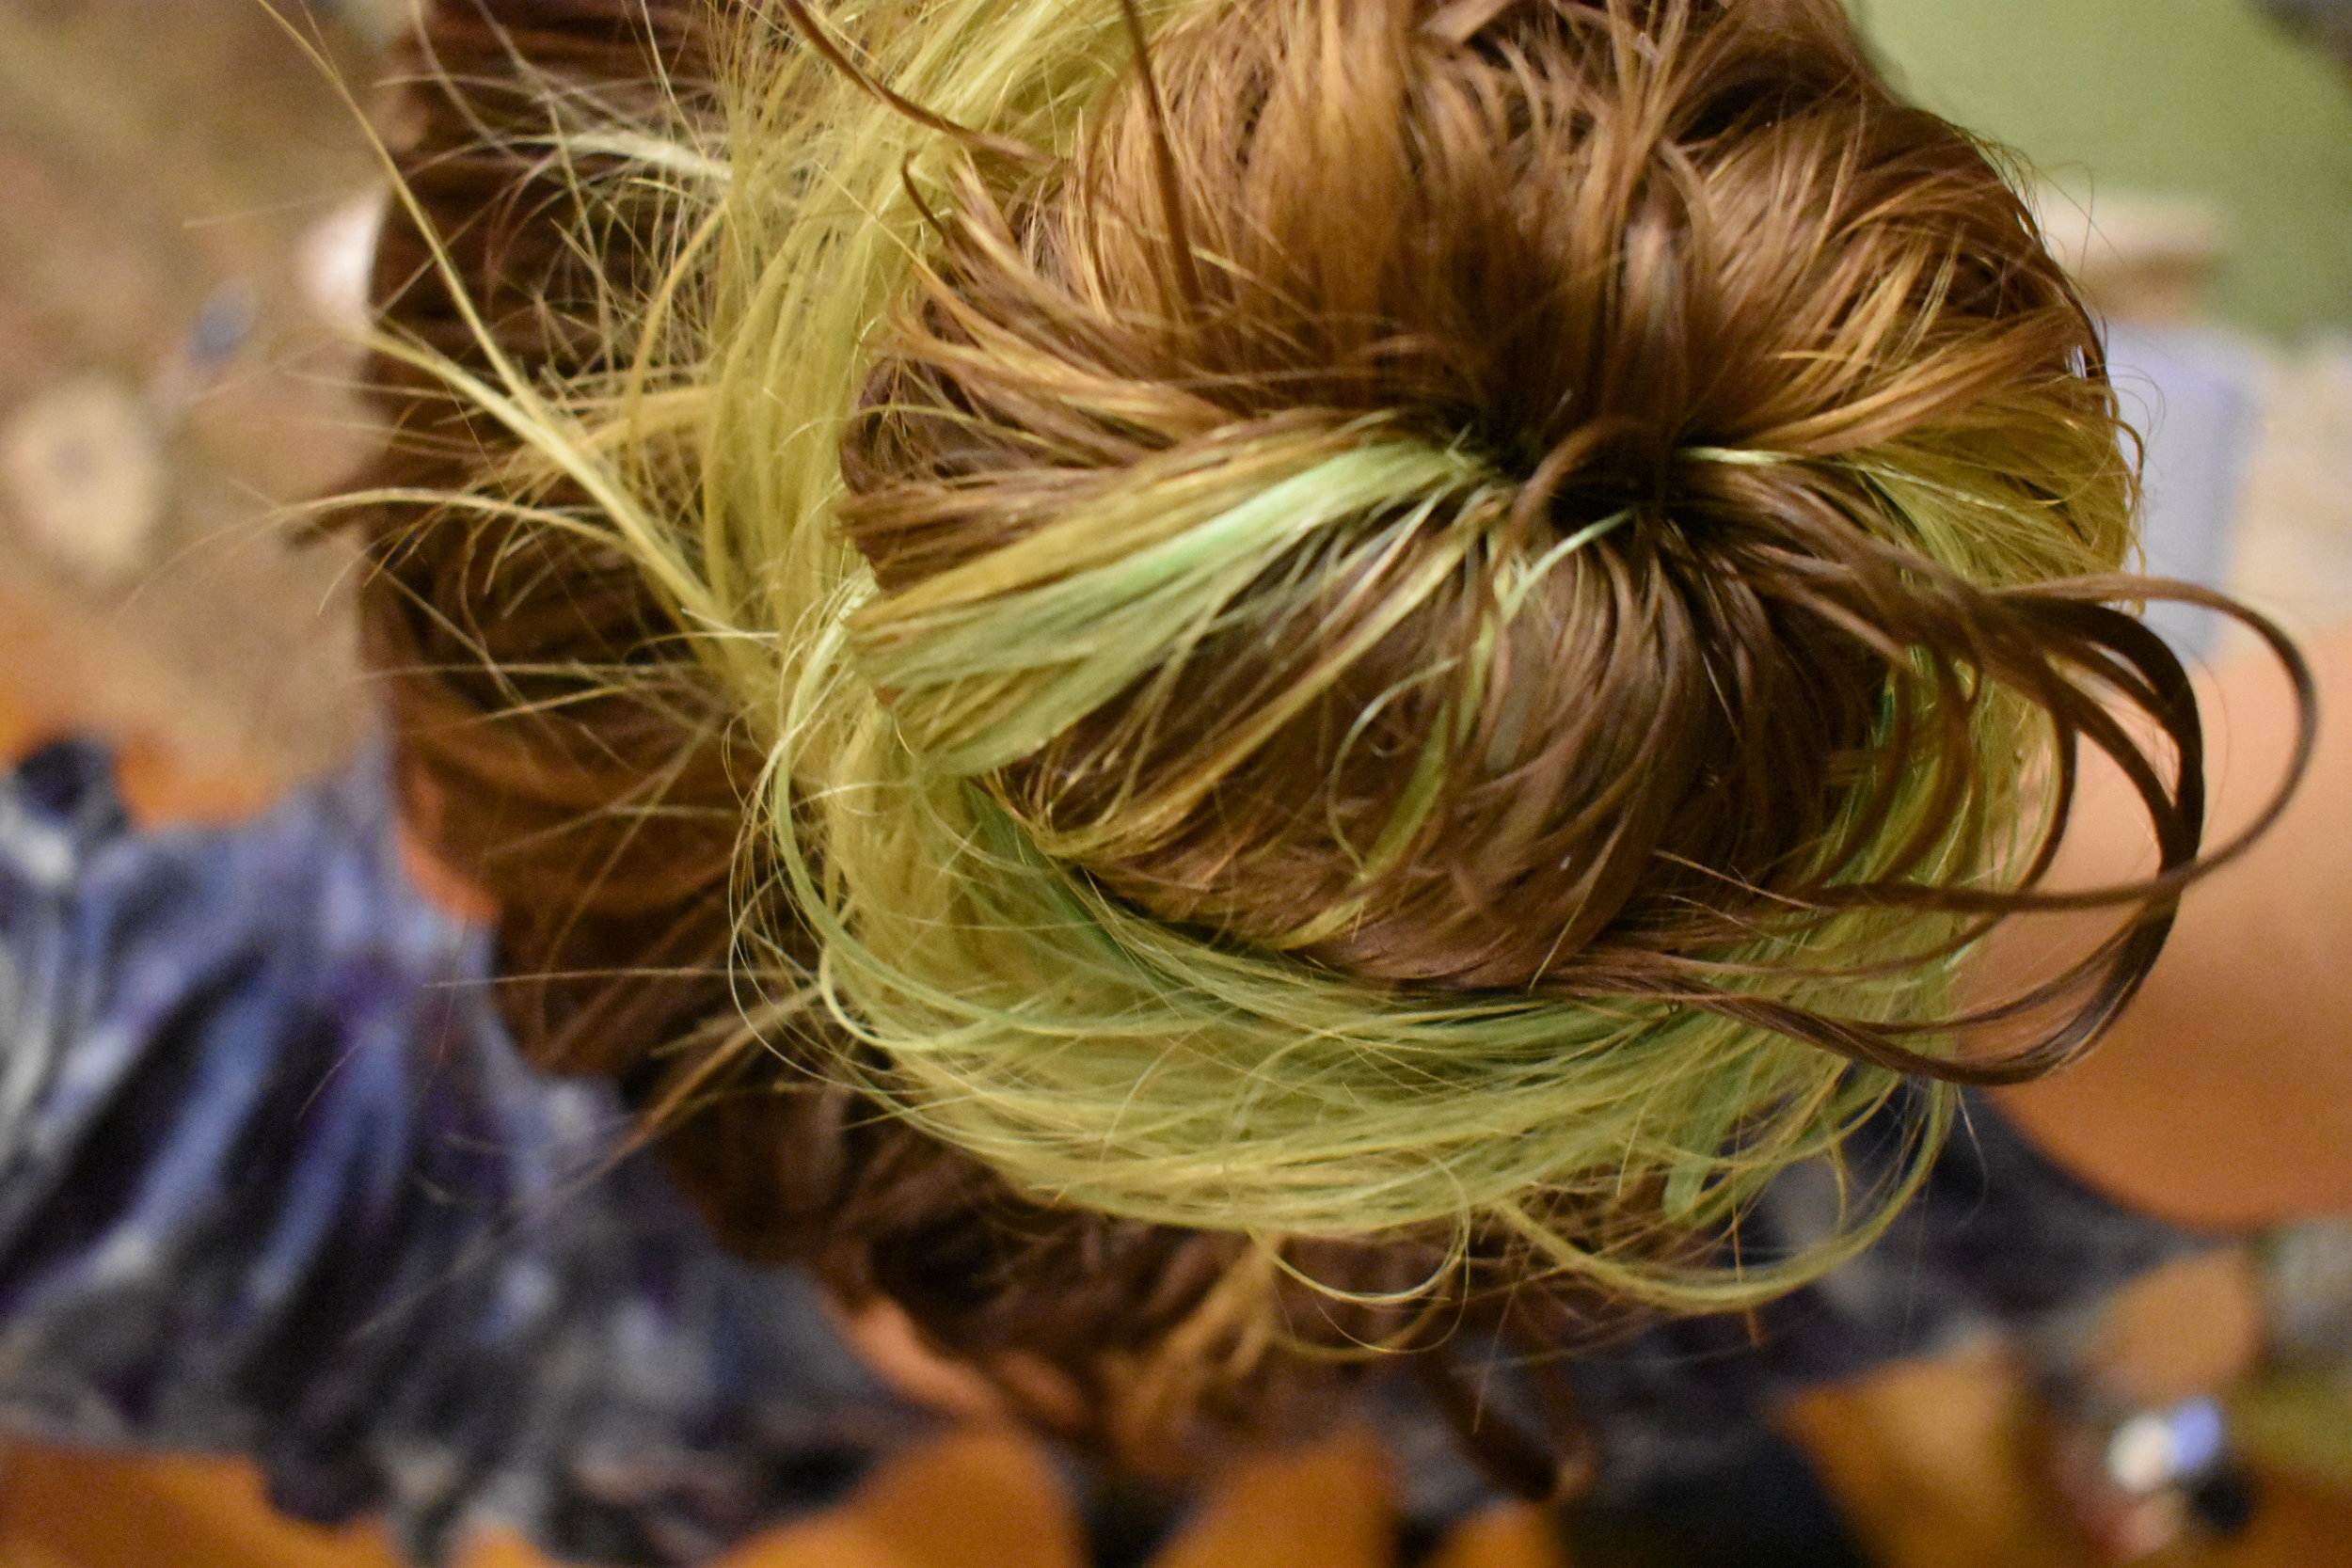
  3. Pull, Tuck, and Roll. Pull the tip of your ponytail through the middle of the sock, and begin tucking and rolling the ends around sock doughnut. Continue rolling all the way down to the base of your ponytail.
    • It may not look good until the very last roll so don't get discouraged!
  4. Secure at base as needed.
    • My sock bun stayed in all night w/o any bobby pins or hair spray, just be sure its rolled tight at the end!
DSC_0275.jpg

For more ideas on how to keep your hair zero waste, see my Zero Waste Hair and DIY Coconut Oil Hair Mask

DIY Coconut Oil Hair Mask and Rinse

DSC_0201.JPG

This past winter was the first time I'd gotten my hair professionally dyed. So, 10 months later, I've noticed that my hair is starting to look a little damaged. I wanted a treatment that I could make with ingredients that I already had in my kitchen. Enter, a hair mask and rinse. 

A coconut oil mask can be as simple as applying 2-4 Tbsps of coconut oil directly to your hair. But if you want a little extra nourishment, you can follow these instructions for a mask and rinse!

Ingredients

  • 2-4 tablespoons coconut oil
  • 5-10 drops essential oils*
  • 2-4 tablespoons of honey*
  • 1-2 eggs

* Optional

Ingredient amounts will depend on length of hair

Making the mask:

  1. Fill a saucepan with water and place on medium heat.
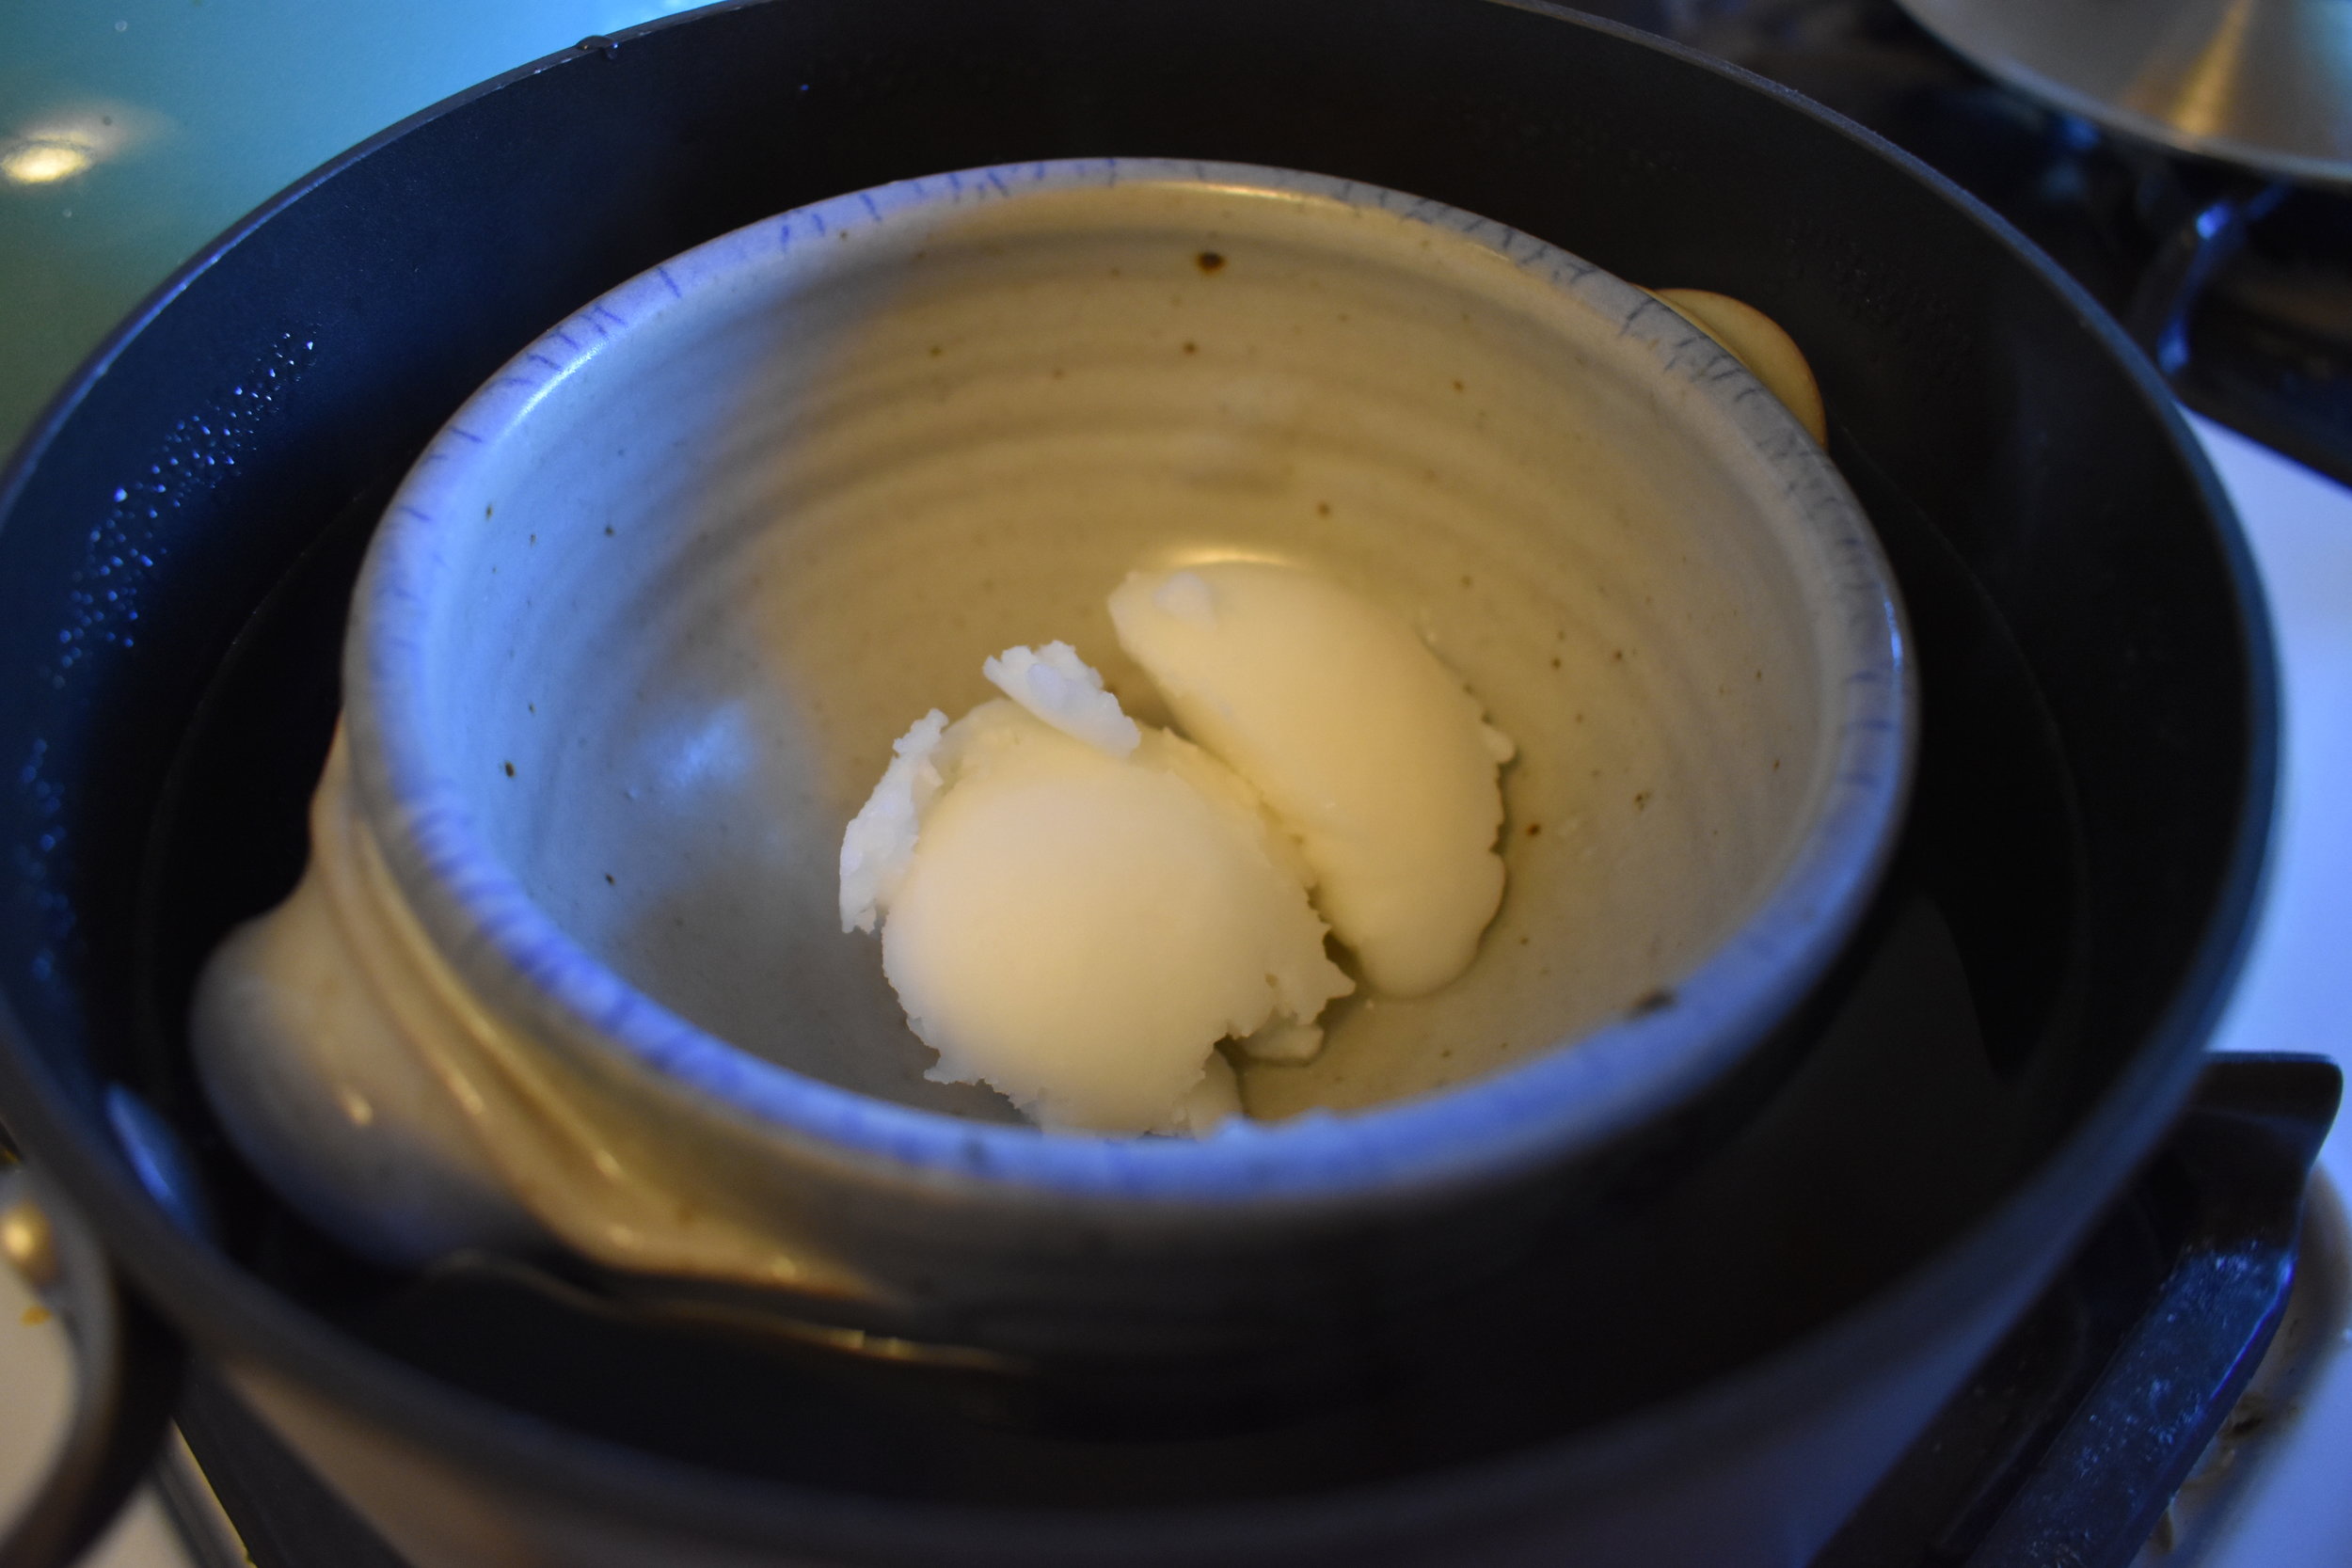
  2. In a small bowl combine coconut oil, honey, and essential oils. 
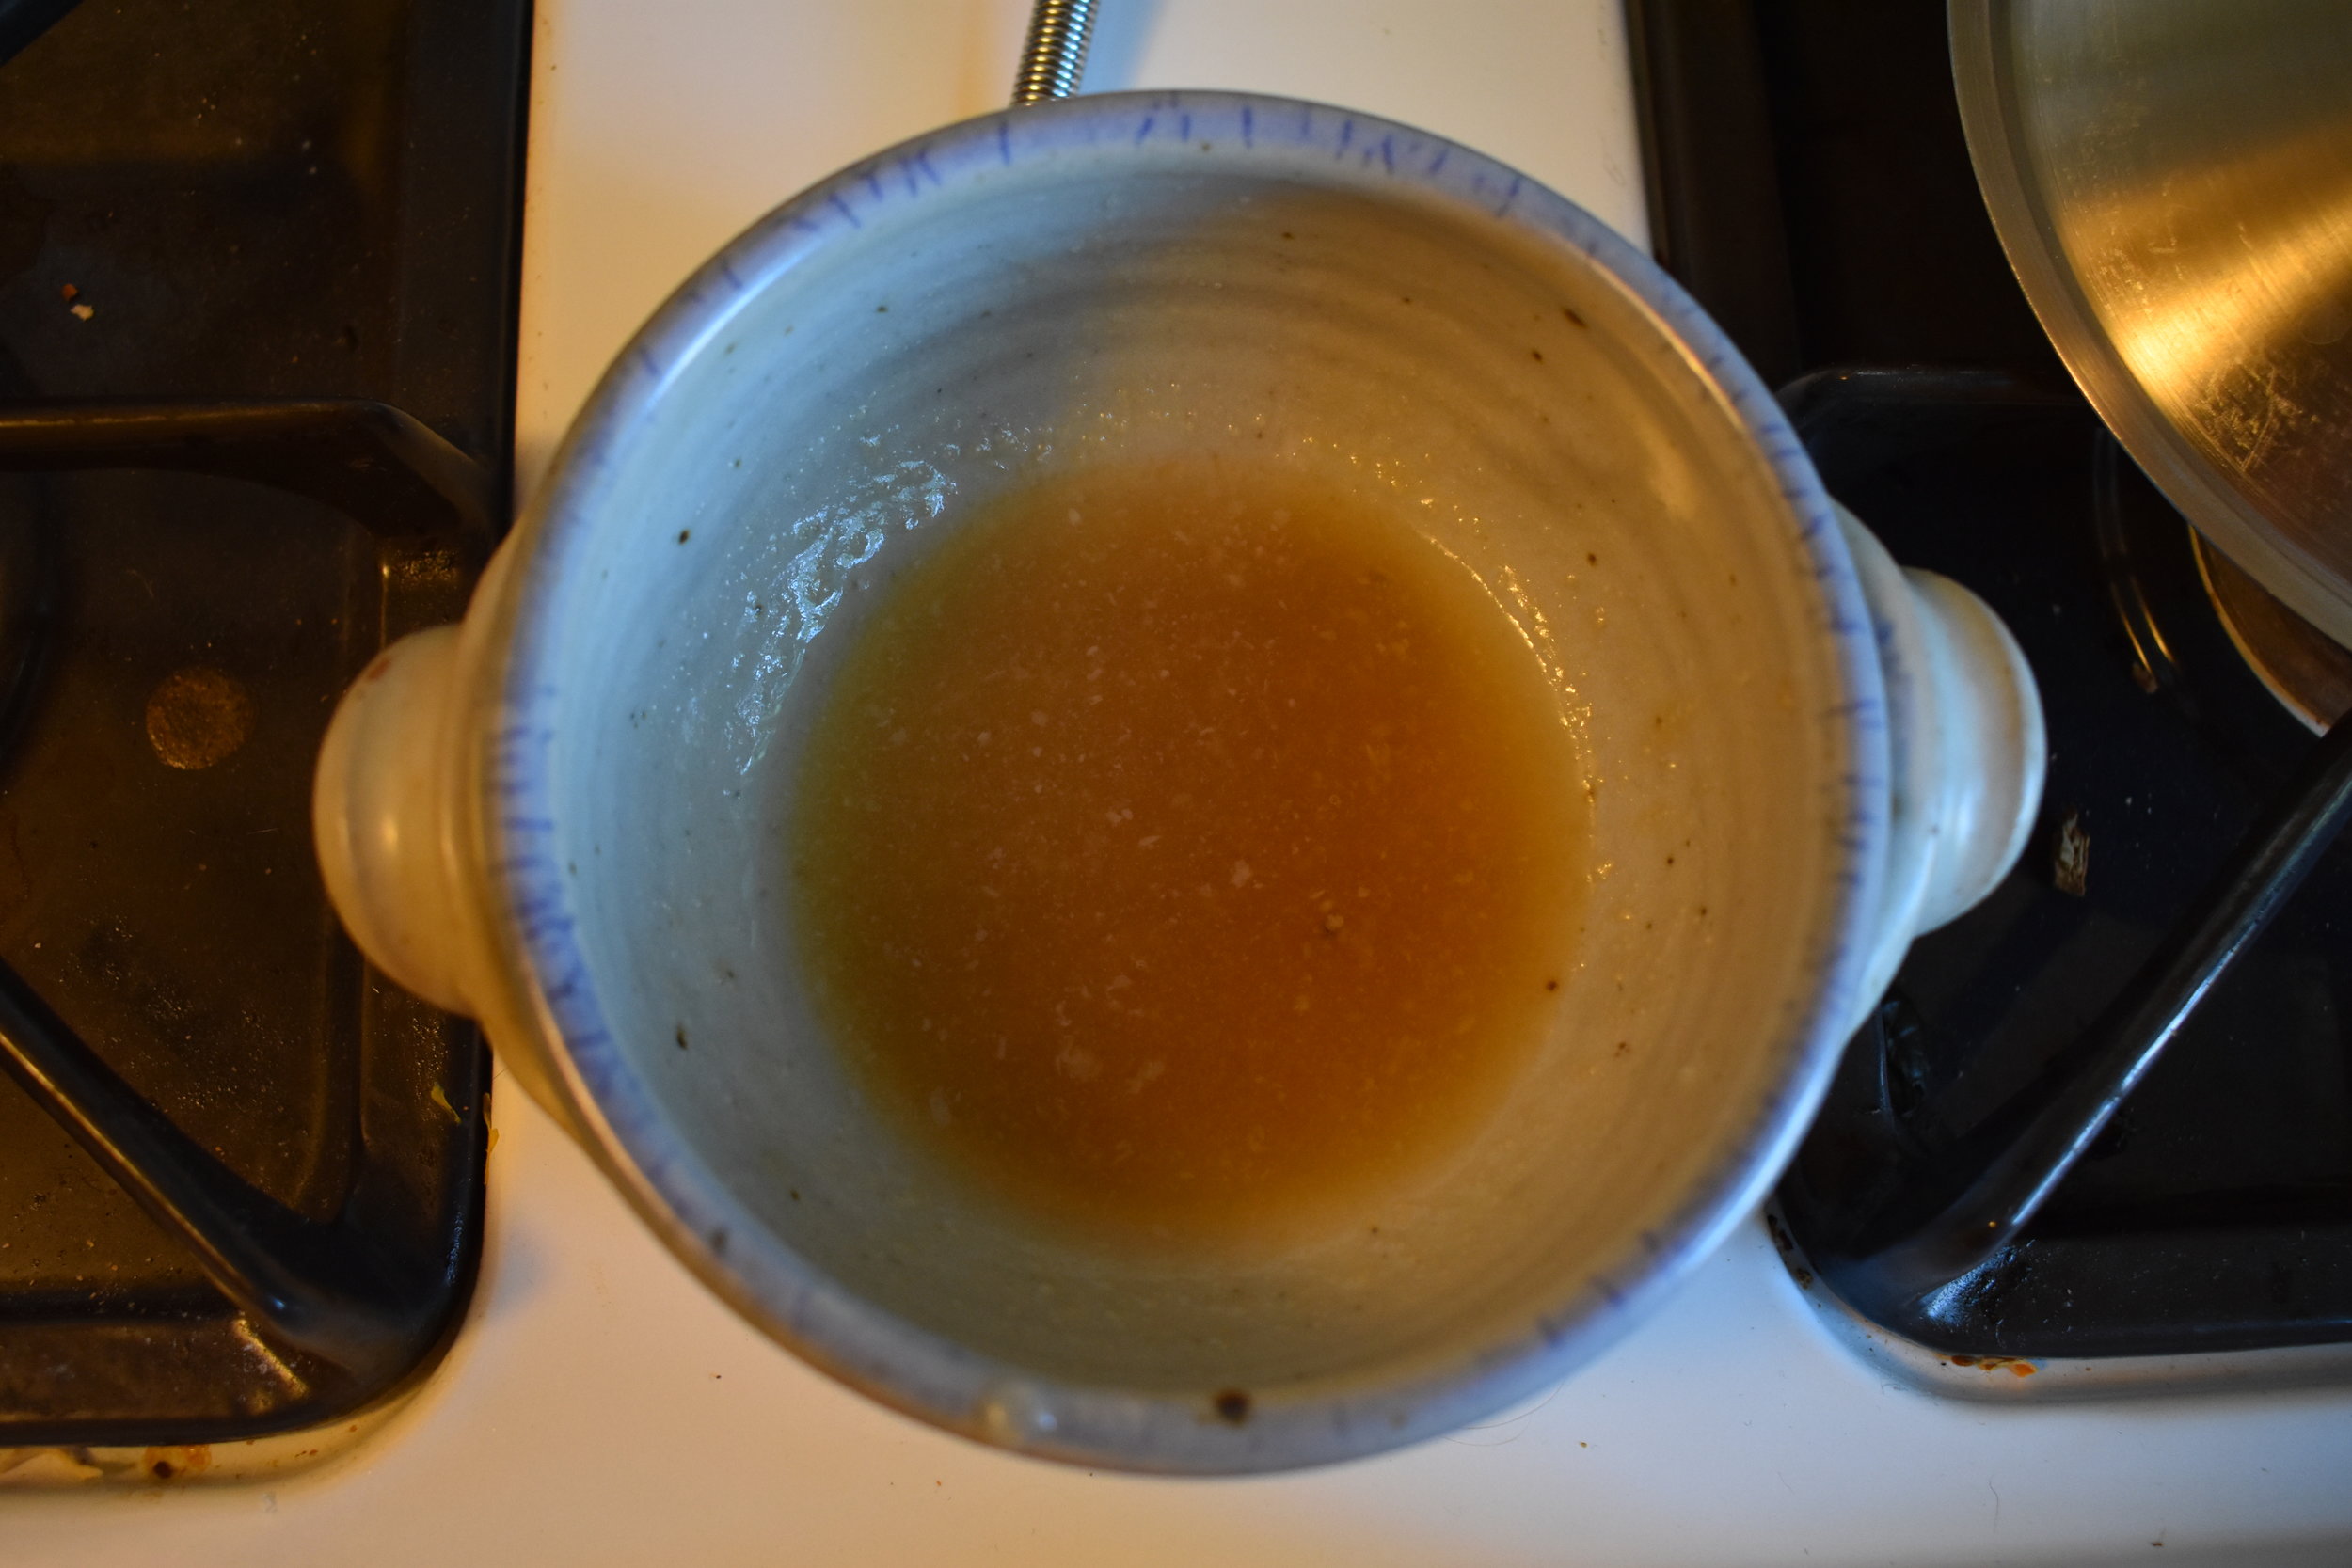
  3. Place small bowl into saucepan to heat the oils.
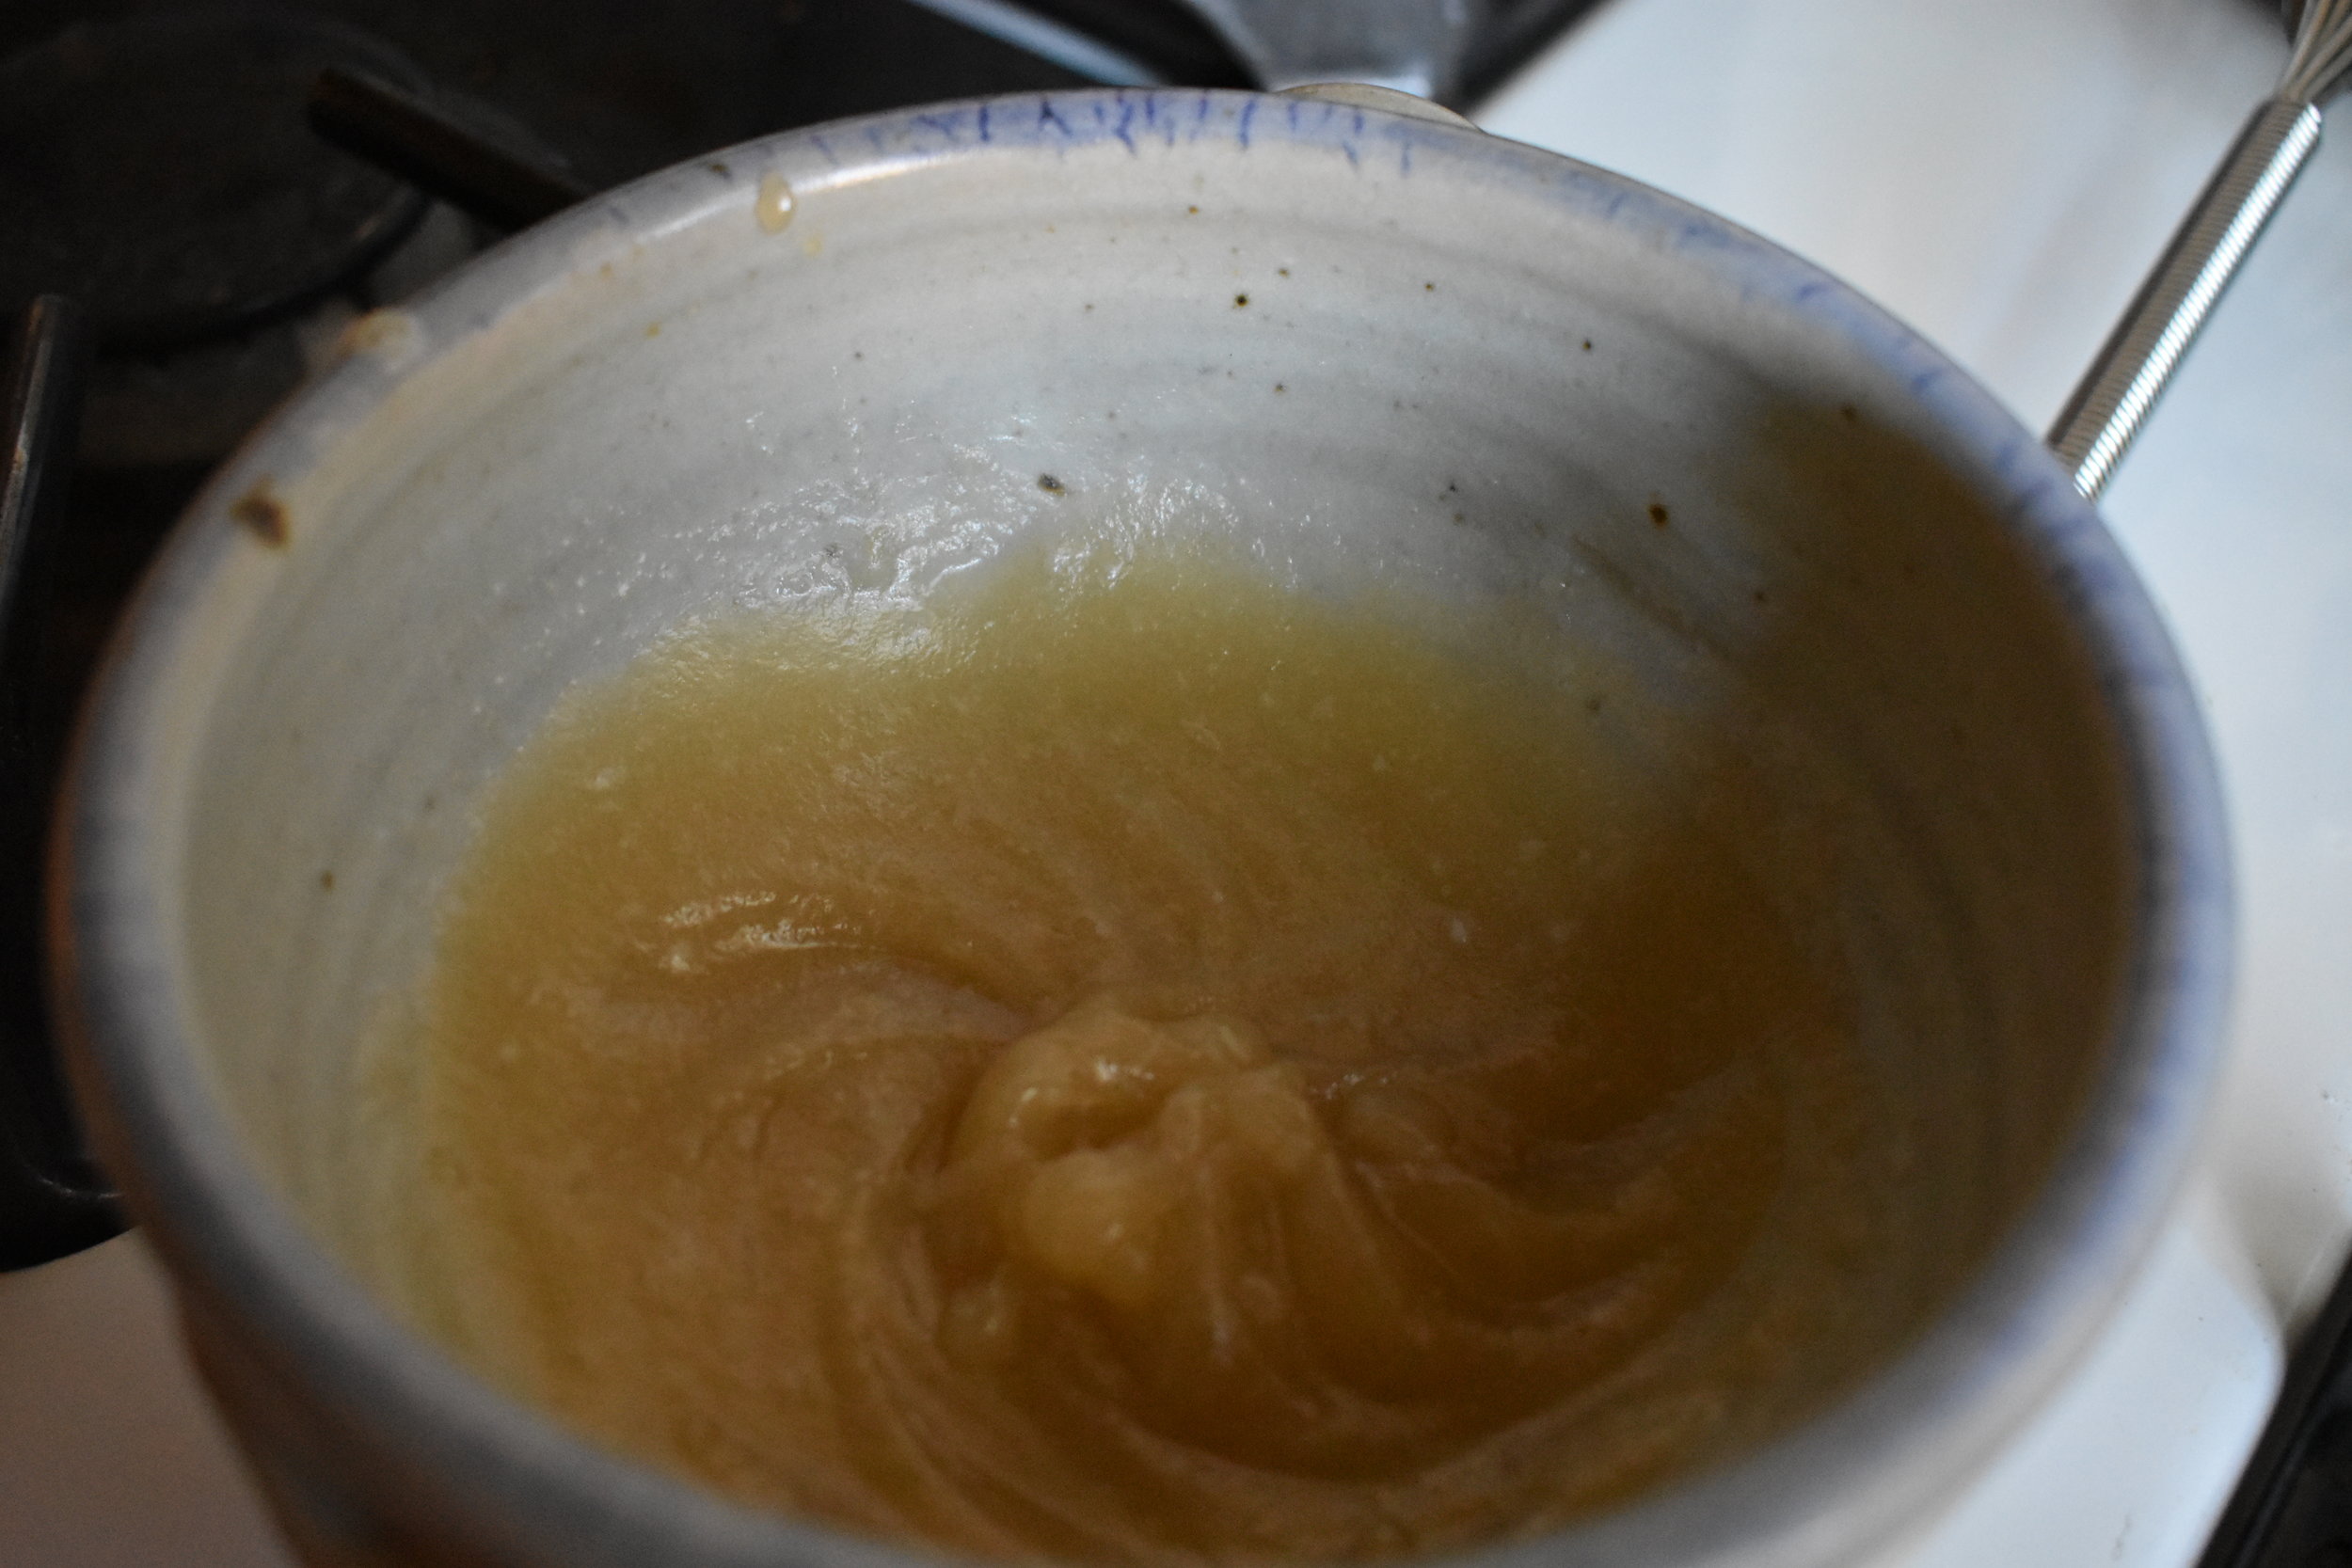
  4. Once softened, whisk oils and honey together.

Application

You can apply the mask to dry or wet hair, but I recommend damp, towel-dried hair. Also be sure to brush / comb your hair beforehand. The mask will make your hair slightly tangled, so best to start with a detangled base.

  1. Apply generously starting from the top of your hair, working down.
  2. Focus on your hair, as opposed to lathering it into your scalp
  3.  Throw your hair up into a bun so you don't have it touching anything while it's sticky
  4. Relax, throw on an episode (or two) of HIMYM, and let the mask sit for 30-60 min 

The Rinse

An egg rinse is a great way to help get your deep-conditioning mask out of your hair. Eggs are clarifying for you hair, so aid in rinsing out this deep conditioning.

  1. Mix 1-2 eggs with 1-2 tablespoons of water.
    1. If you have long hair like mine you may need two eggs.
  2. Coat all of the hair that you treated with the eggs and then massage the rest into your scalp. Then leave for 5-10 min.
    1. I did this in the shower, so that I could apply and rinse w/o a mess
  3. Rinse out with cool-luke warm water
    • This is very important! If you rinse with hot water you could end up with scrambled eggs in your hair!)
  4. Wash your hair as needed, it will be different for every person:
    •  Some people only need the rinse, others just need to shampoo their scalp, and sometimes you need to thoroughly shampoo the hair that you coated with the mask. 
    • I needed to thoroughly shampoo all of my hair, though I normally only shampoo my scalp.

DIY Fruit Fly Trap

fruitflytrap.jpg

Fruit Flies. I like to believe that I can live up to my hippie-dippy ideals of loving all living things, but fruit flies remind me that I am not perfect in this sense. These little buggers have been driving me up a wall this summer!

So I have found that by reducing plastic and other forms of waste, almost everything that I throw away is food waste/compost materials.  This means that our trash attracts and produces fruit flies a wee bit faster than the average.

Part of combating these tiny guys has been keeping our sink clean of dishes (we don't always succeed there...). But we have given in to the fact that they are here until it gets frosty enough to take them out. However, we still like to keep their numbers down and catch them as opposed to having them flying around our kitchen. 

Enter, the fruit fly trap. 

This has been really effective in taking out lots of fruit flies at a time. After 24 hours of having a trap out, most of the flies in the kitchen are in there. I have on by my kitchen window, on the windowsill holding my herbs, and by our fruit bowl (not in our kitchen because we don't really have any counter space).

Materials

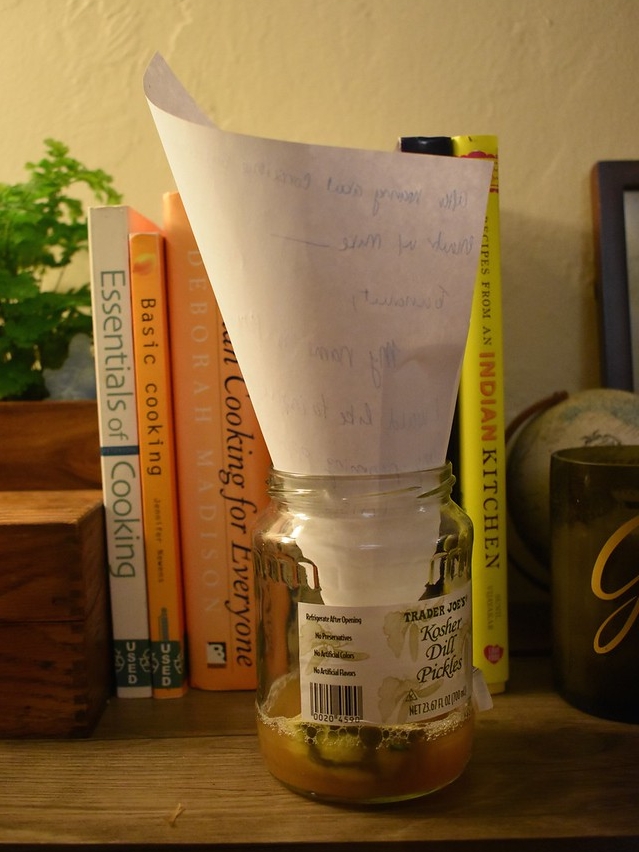
1. Old jar - ones with a smaller mouth tend to work a little better

2. Apple Cider Vinegar

3. Several drops of dish soap

4. Old piece of fruit - I have found citrus fruits to work best

5. Piece of scrap paper / old newspaper

Instructions

1. Pour apple cider vinegar into jar so that there is about 1 inch of vinegar

2. Squeeze 3-5 drops of dishsoap into the vinegar. This breaks the surface tension of the water so that the flies get trapped in the solution.

3. Place the old piece of fruit into the vinegar

4. Curl up the piece of paper so you create a funnel entering the jar. The fruit flies fly down the funnel, but can't find their way out, so even if they don't get trapped in the solution they get trapped at the edges of the jar.

5. Place in an area where you have a fruit fly problem and let nature run its course. 

You'll need to refill the trap every few weeks, depending on how fast the vinegar evaporates.